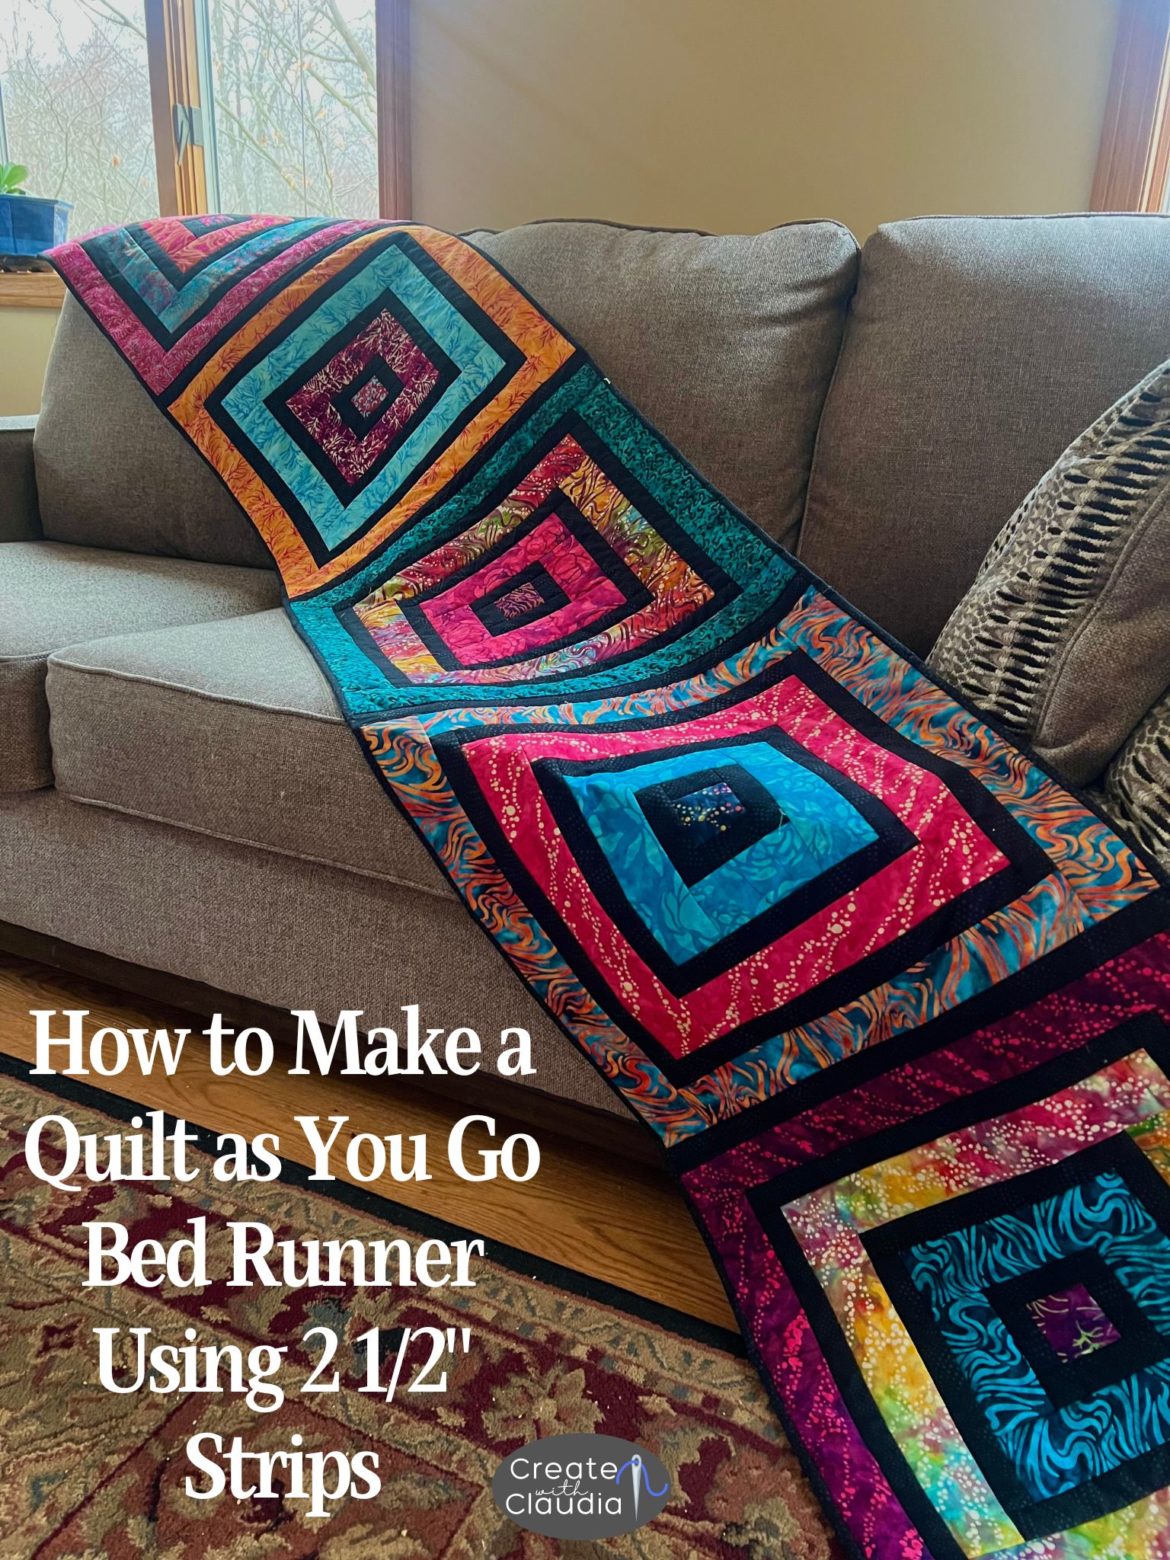
Quilt As You Go Bed Runner Tutorial
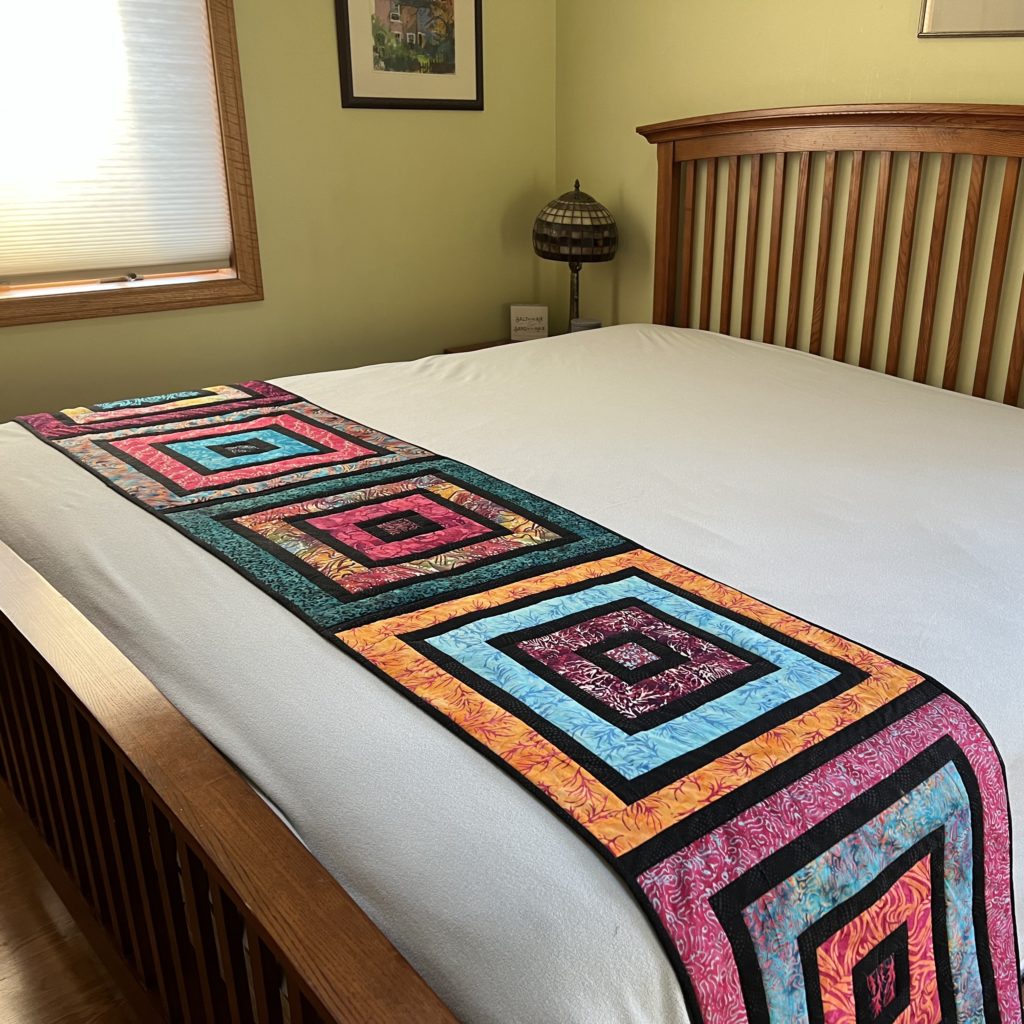
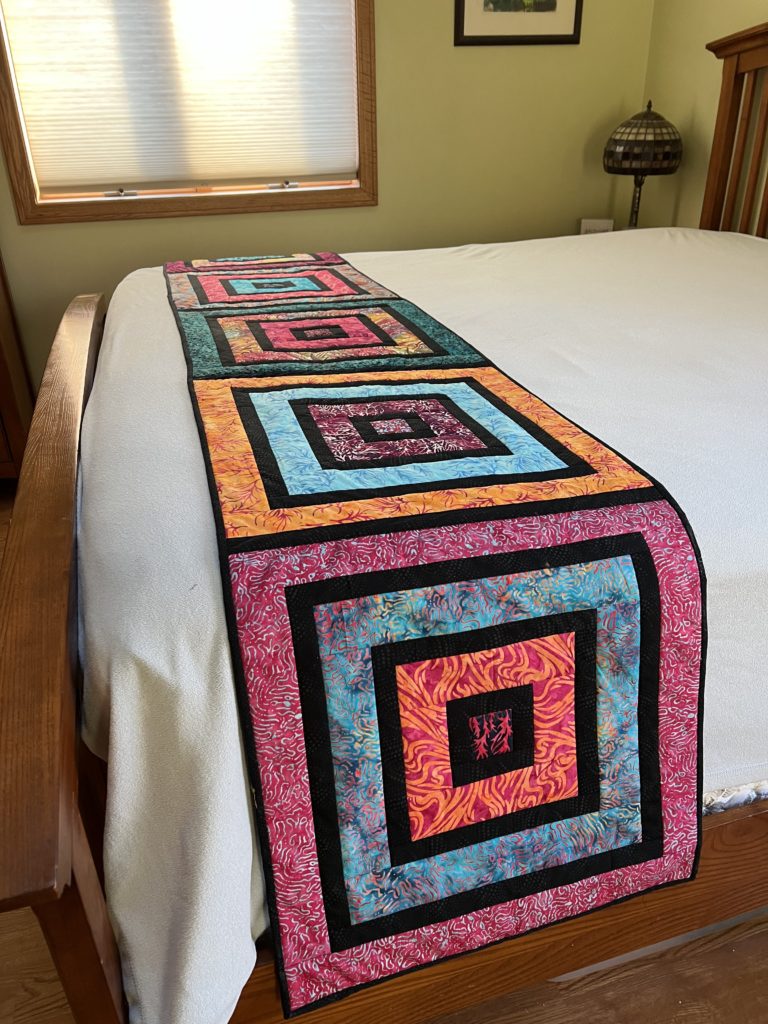
I love making unique projects with batik fabrics, so when I got the chance to make something new I put together this tutorial. As an Island Batik ambassador we are assigned a project a month and for this month we were told that we could do whatever we wanted to. That may be my favorite kind of challenge! That is when I decided to do this quilt as you go bed runner tutorial.
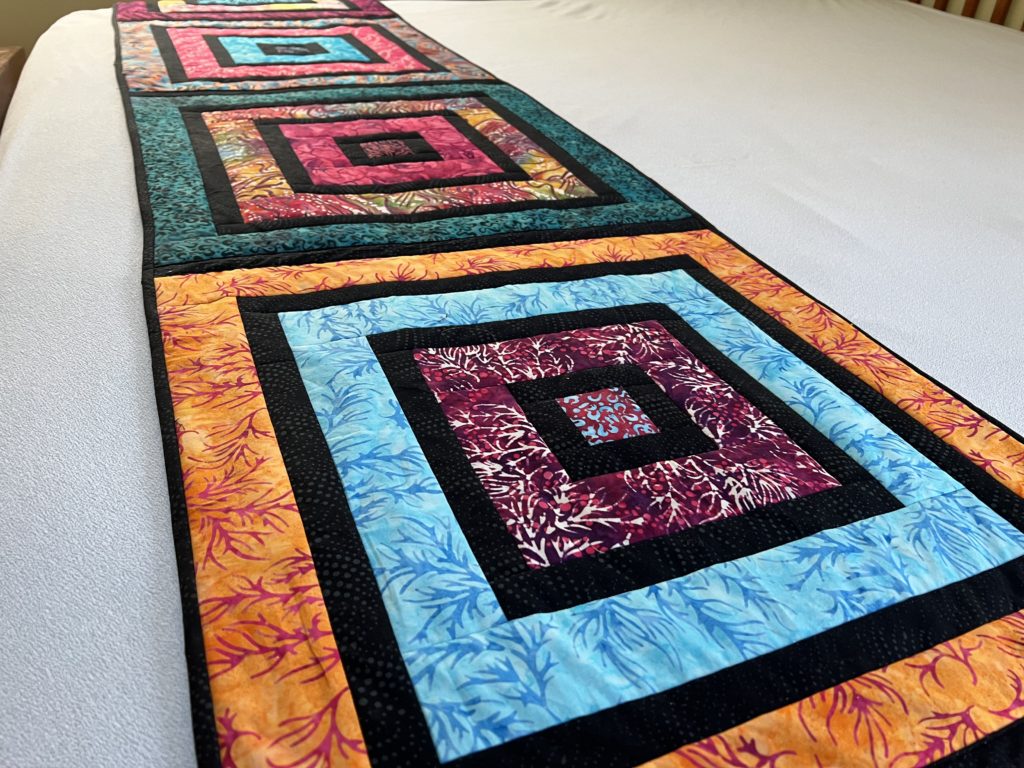
Although I do not make them that often, I enjoy making bed runners. I’ll be honest, I don’t use them that often in my bedroom, but I do in our guest room. They are a great way to really make a bedroom special. This quilt as you go one is pretty easy and looks striking in any color combination.
Disclosure: Items used in this blog were generously provided by Island Batik, Hobbs Batting, Aurifil Thread and Schmetz Needles.
The Fabric
In my most recent ambassador shipment I got a stunning 2 1/2″ strip set of the new Island Batik fabric called Exuberance. It was designed by Deb Tucker’s Studio 180 Design and wow is it gorgeous! Just looks at all of those rich and saturated colors. They reminded me of stained glass which is why I went with black to coordinate with the strips. I was also given 2 yards of Sangria from their Foundations – Precious Pinks line.
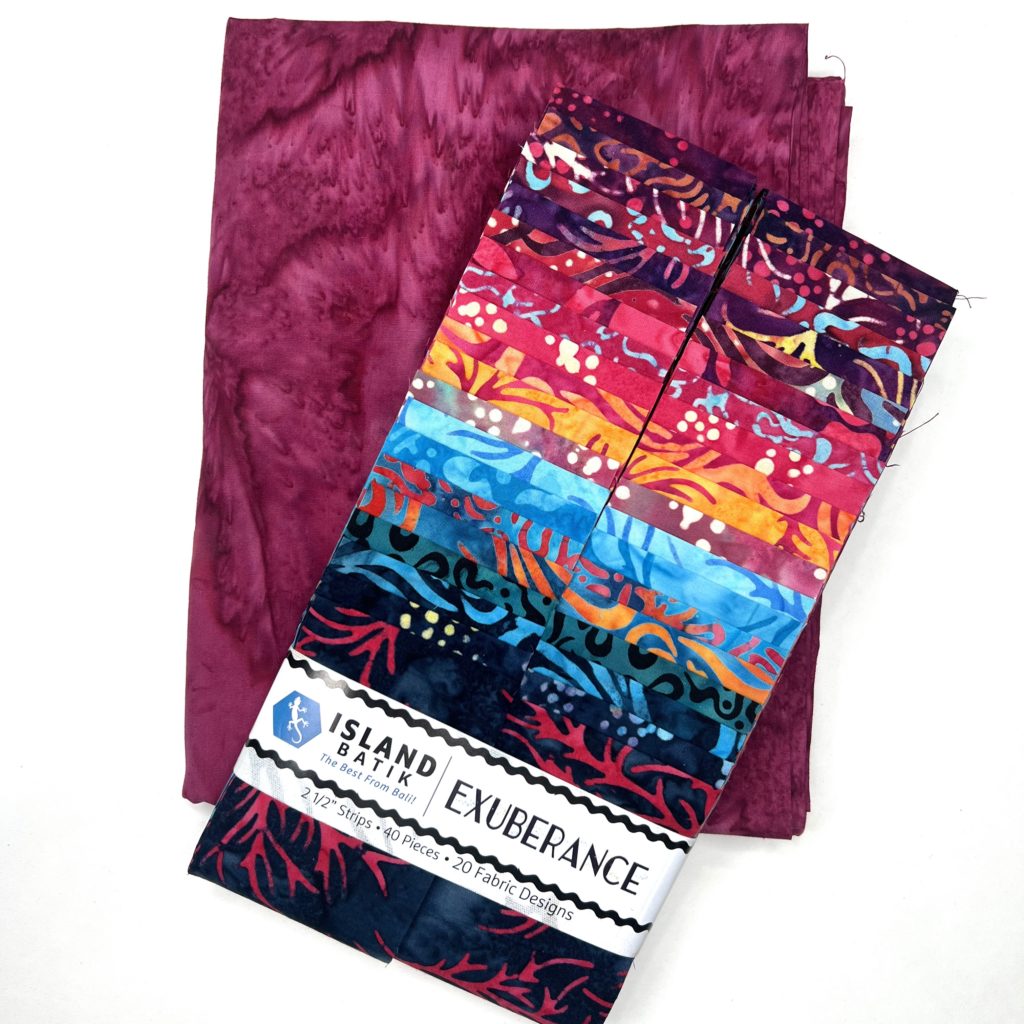
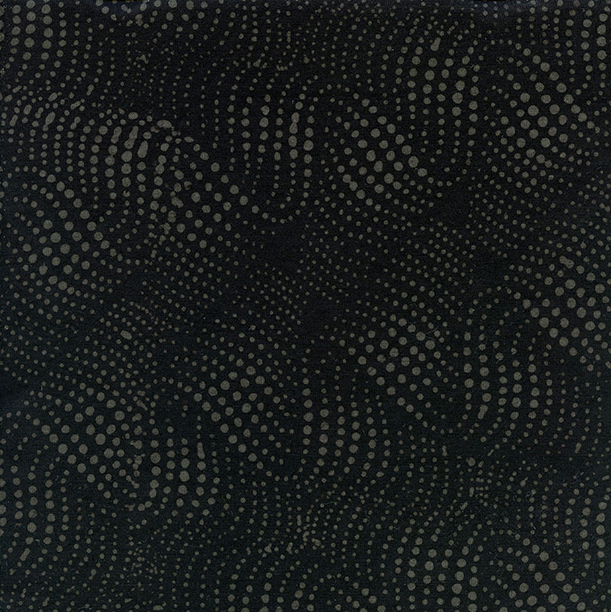
As soon as I saw that fabric line and that rich Sangria color I knew that was the combination I was going to use. Because the strips reminded my of stained glass I decided to use Island Batiks Wavy Dots – Black from the Blenders collection to use as my narrow dividing strips.
Where to get Exuberance:
You can find this beautiful line by Deb Tucker’s Studio 180 Design in the following stores or check with your local quilt shop:
Block Party Studios IA
Creekside Quilts OR
Hancocks of Paducah KY
Tucker University OH
Castle Sewing Centre-CANADA BC
Mulqueen Sewing & Fabric Centers AZ
Designing the Quilt

Using my Electric Quilt 8 software I went to work. I downloaded the fabric images and started playing around. I did change my runner strips around a little bit so the colors are not quite the same. However the overall look is the same.
How to Make Your Own Quilt As You Go Bed Runner
You will find the complete tutorial below, however, I like making video tutorials so if you prefer you can watch the entire process in my YouTube video.
**You Can Download the Quilt as You Go Bed Runner Pattern Here**
About the Runner
This bed runner measures about 20 1/2″ x 105″. While it looks like there are a lot of pieces, they come together easily. The downloadable patterns has all of the directions you will need.
If you do not want to make such a long bed runner, make fewer squares. I think one as a small wall hanging would be very striking. Make two squares and you have a awesome table runner.
What You’ll Need
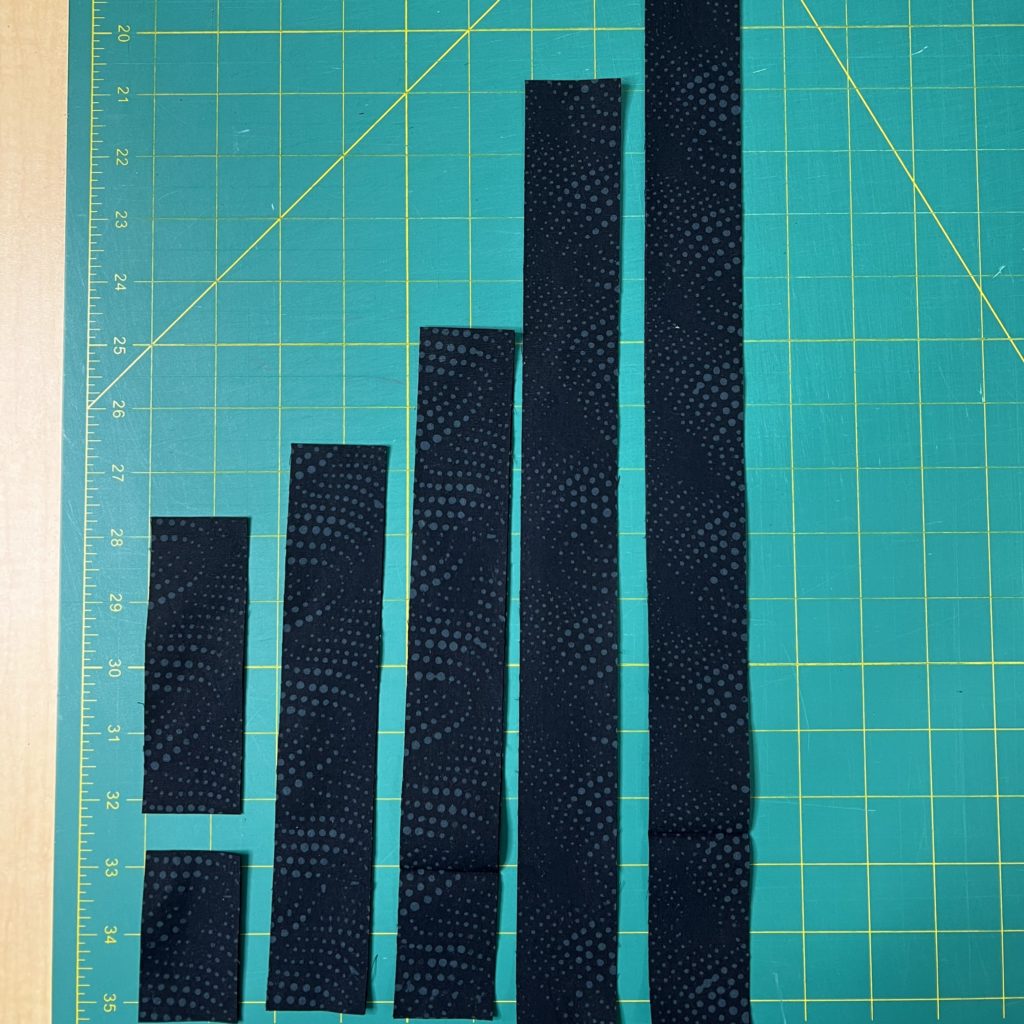
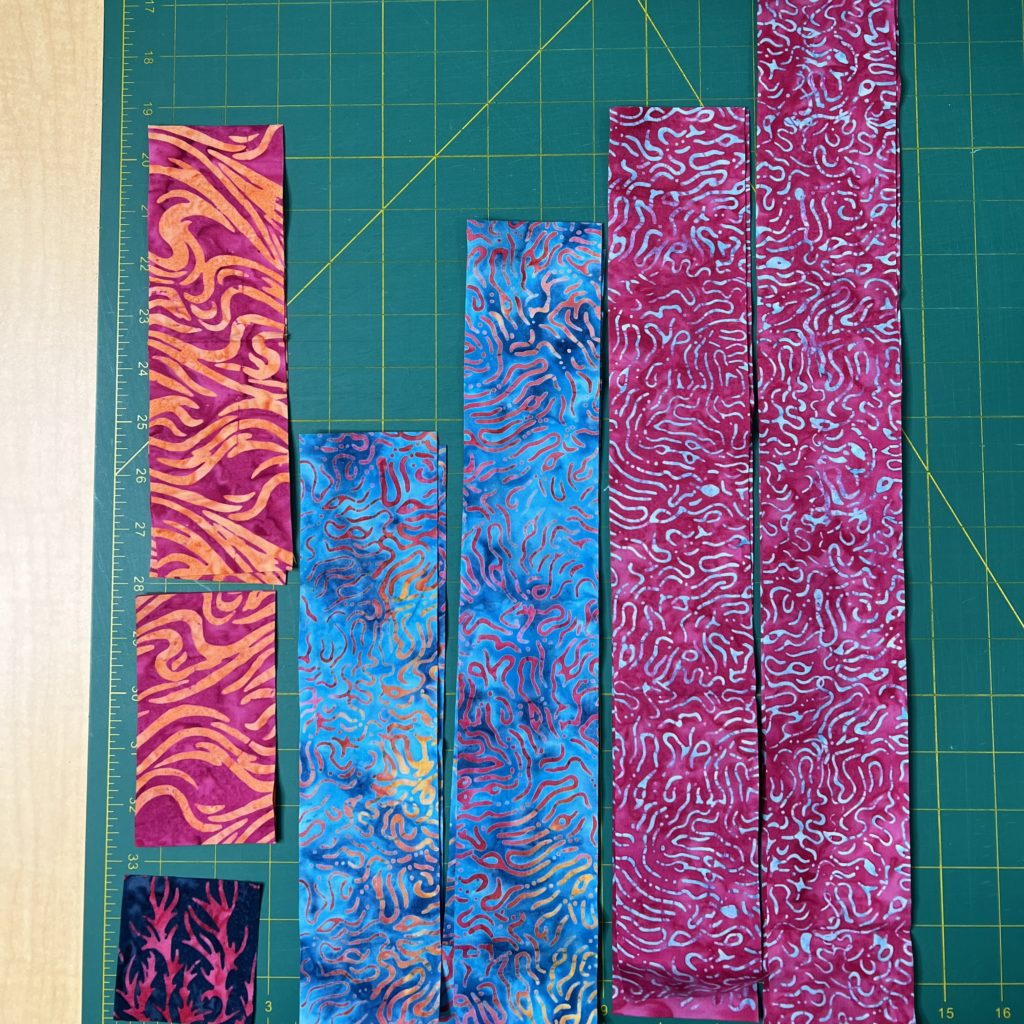
For the Black Sashing in the Blocks
| A – 1 ½” x 2 ½” | 2 per block, 10 for the runner |
| B – 1 ½” x 4 ½” | 2 per block, 10 for the runner |
| C – 1 ½” x 8 ½” | 2 per block, 10 for the runner |
| D – 1 ½” x 10 ½” | 2 per block, 10 for the runner |
| E – 1 ½” x 14 ½” | 2 per block, 10 for the runner |
| F – 1 1 ½” x 16 ½” | 2 per block, 10 for the runner |
For the Colorful Strips
| G – 2 ½” x 2 ½” | 1 per block, 5 for the runner |
| H – 2 ½” x 4 ½” | 2 per block, 10 for the runner |
| I – 2 ½” x 8 ½” | 2 per block, 10 for the runner |
| J – 2 ½” x 10 ½” | 2 per block, 10 for the runner |
| K – 2 ½” x 14 ½” | 2 per block, 10 for the runner |
| L – 2 ½” x 16 ½” | 2 per block, 10 for the runner |
| M – 2 ½” x 20 ½” | 2 per block, 10 for the runner |
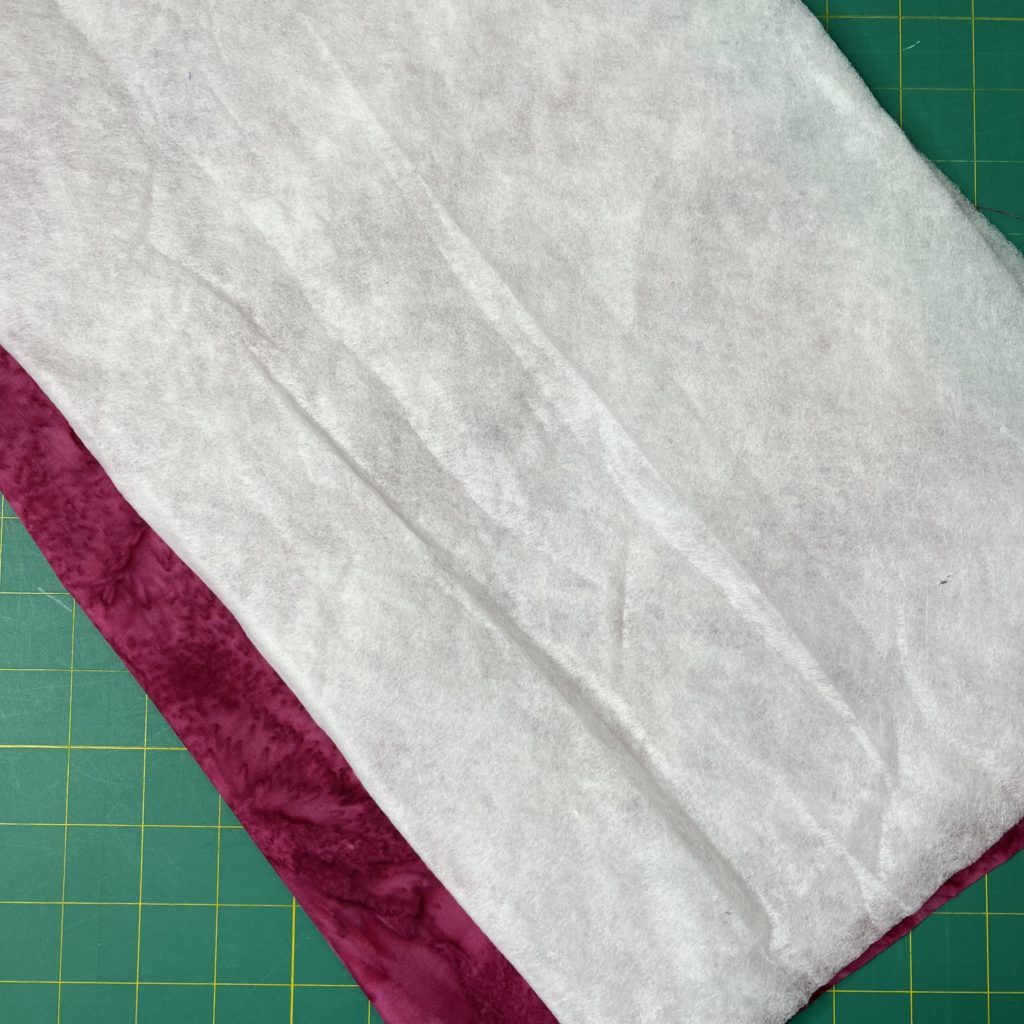
Other
| N – Backing – 24” x 24” | 1 per block, 5 for the runner |
| O – Batting – 24” x 24” | 1 per block, 5 for the runner |
| P – Block Joining Strips for Top Side – 2” x 20 ½” | 4 |
| Q – Block Joining Strips for Underside – 2 ½” x 20 ½” | 4 |
Assembling One Block
In quilt as you go you will be sewing through the quilt top, batting and the backing all at one time. Lay your backing on the table with the right side facing down (towards the table). Then line up your batting on top of the backing. Find the center of the square. Then start adding pieces of the top.
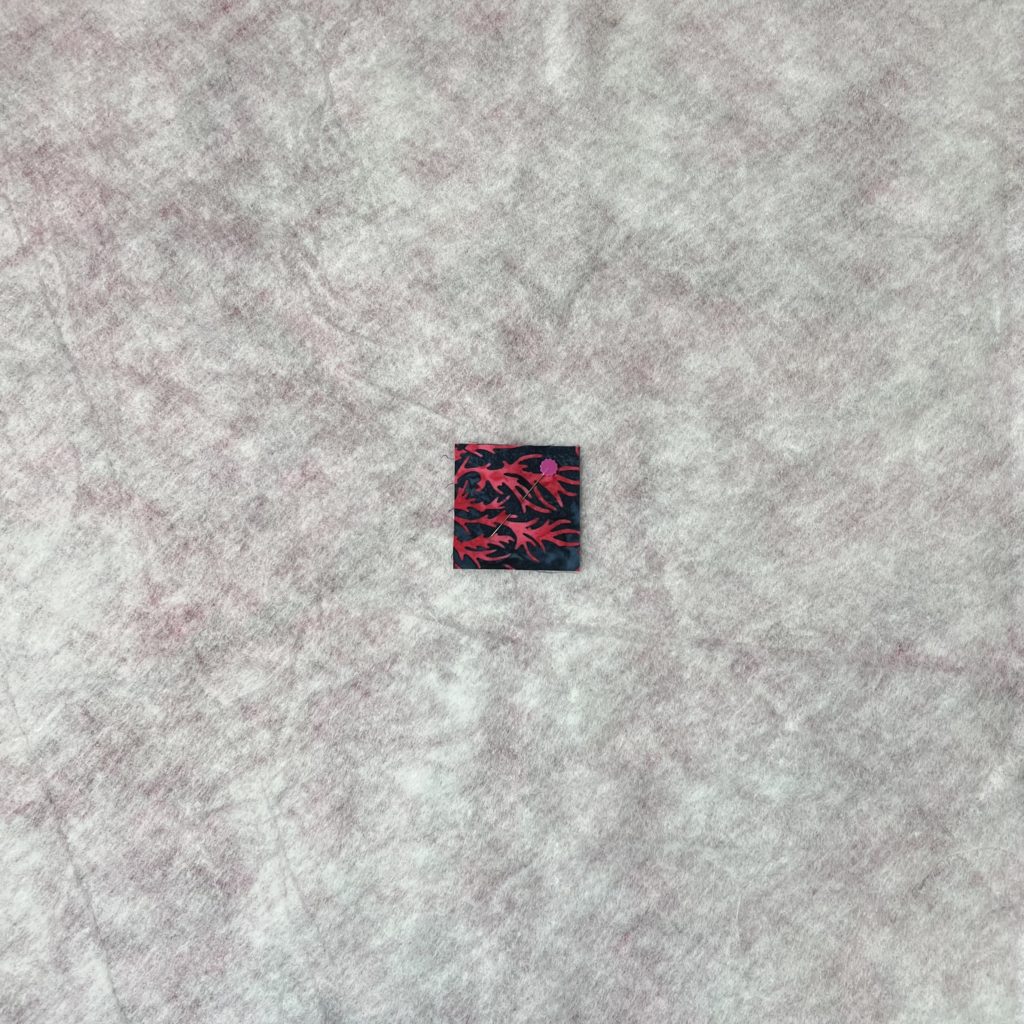
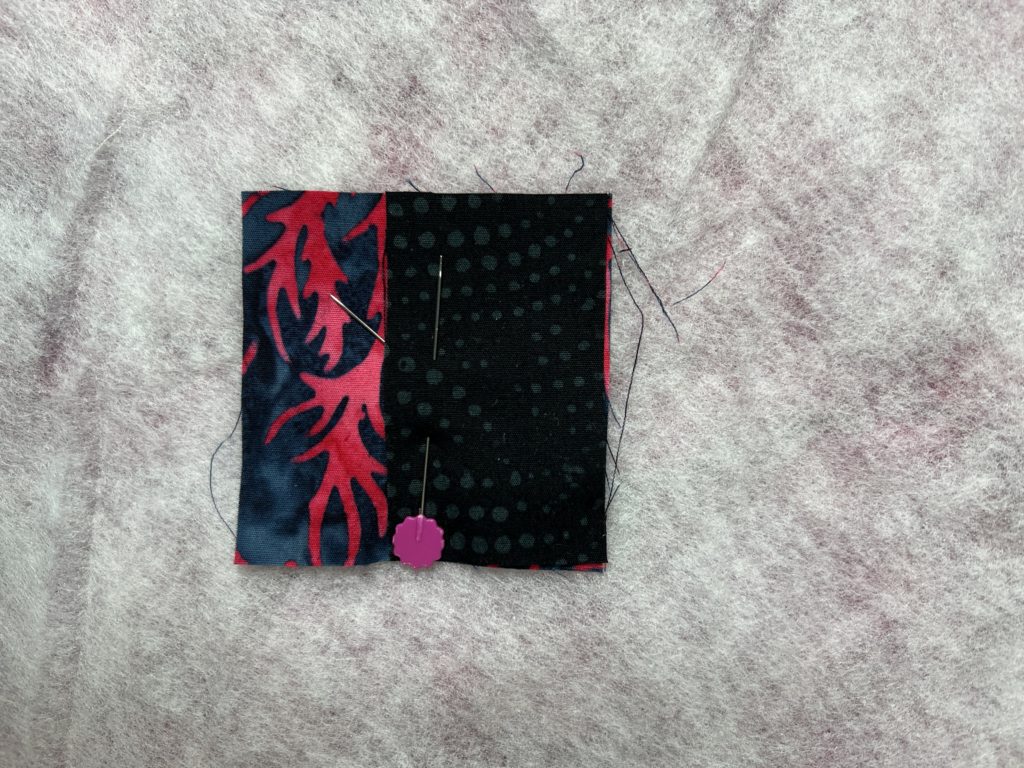
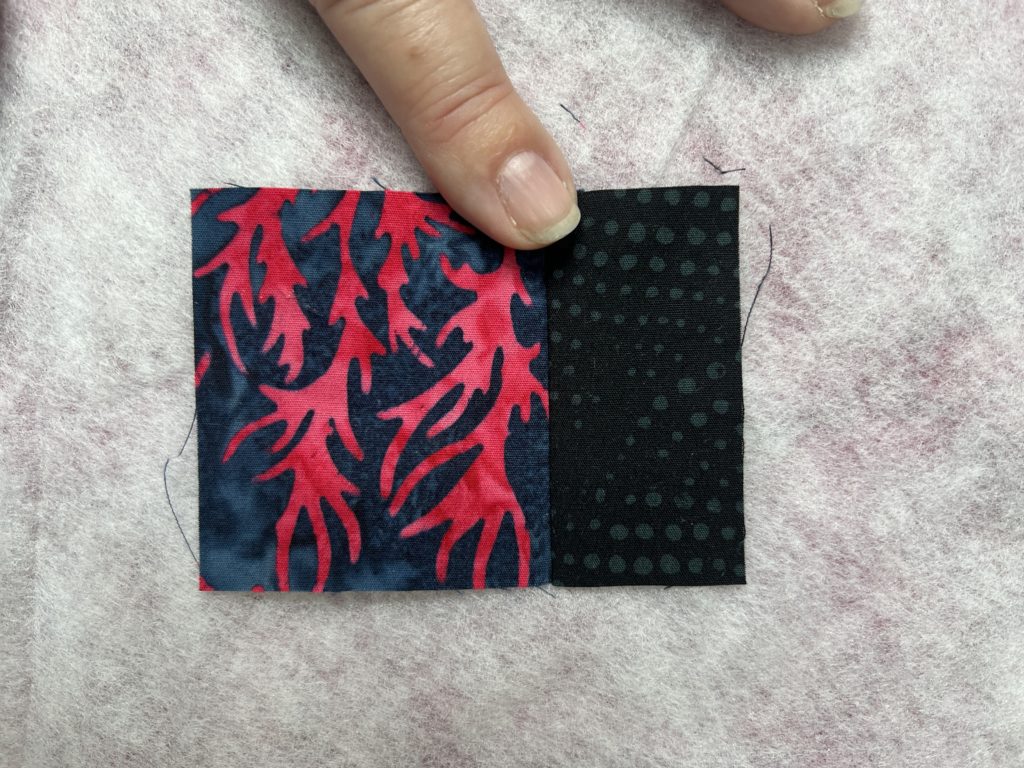
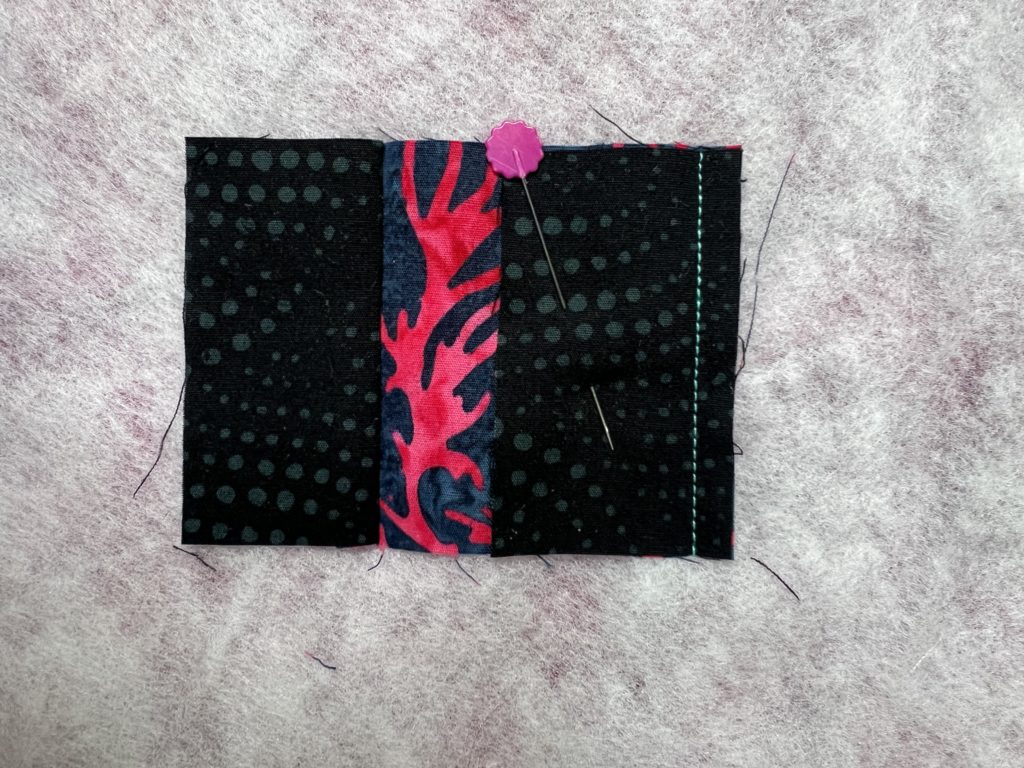
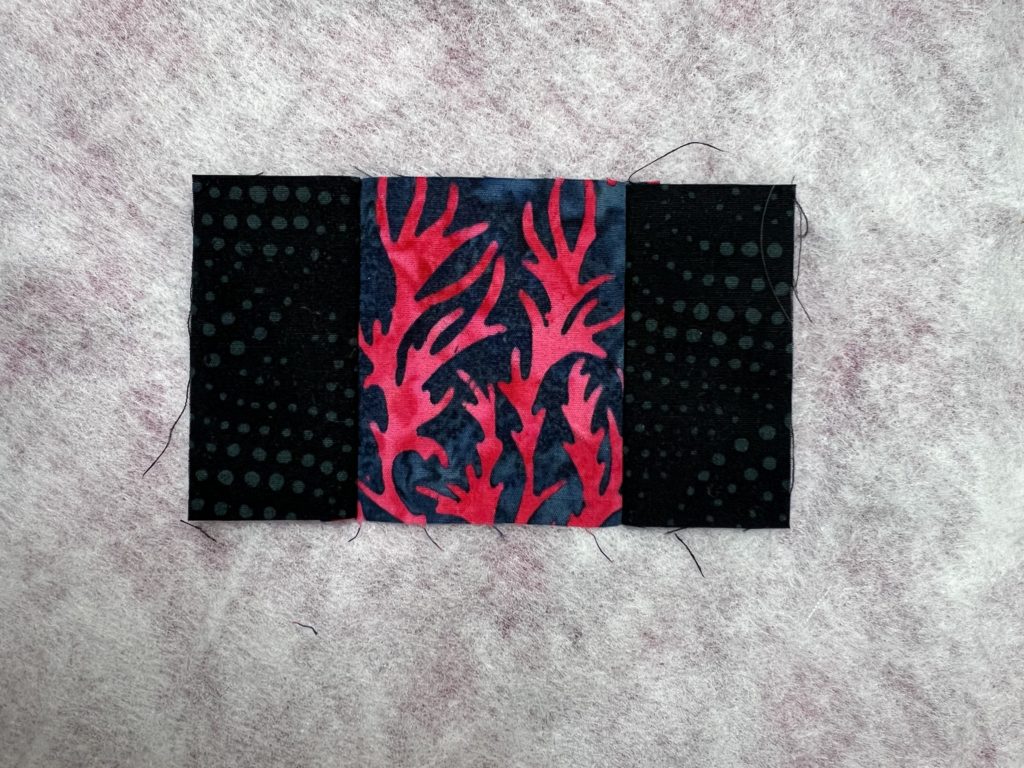
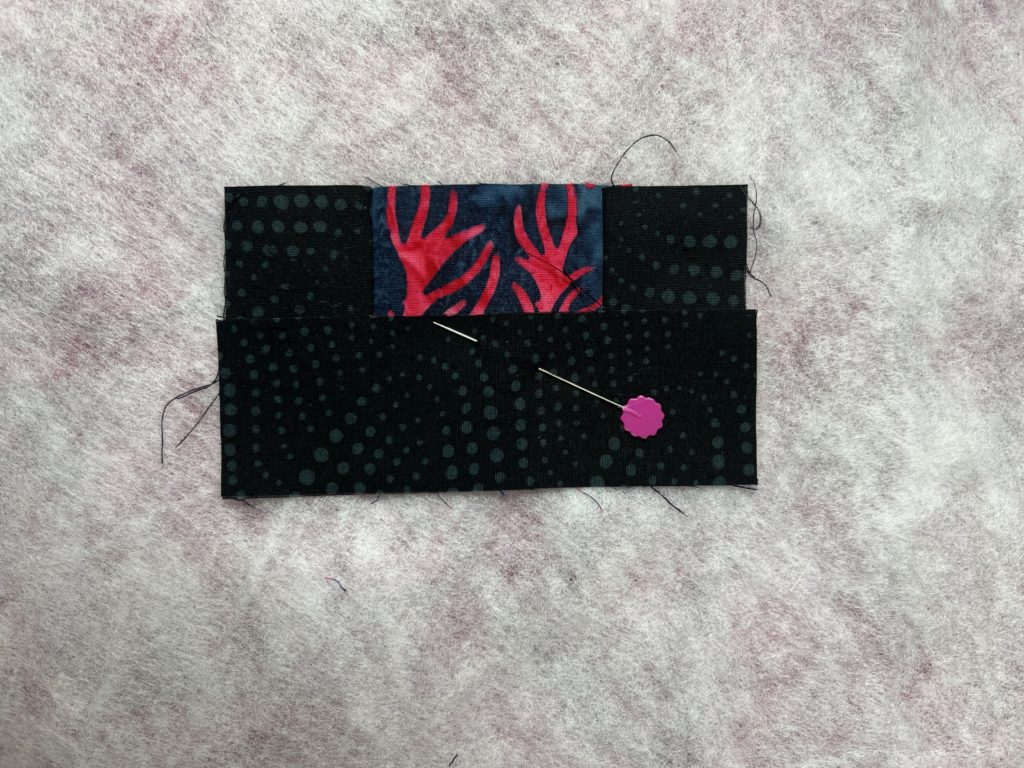
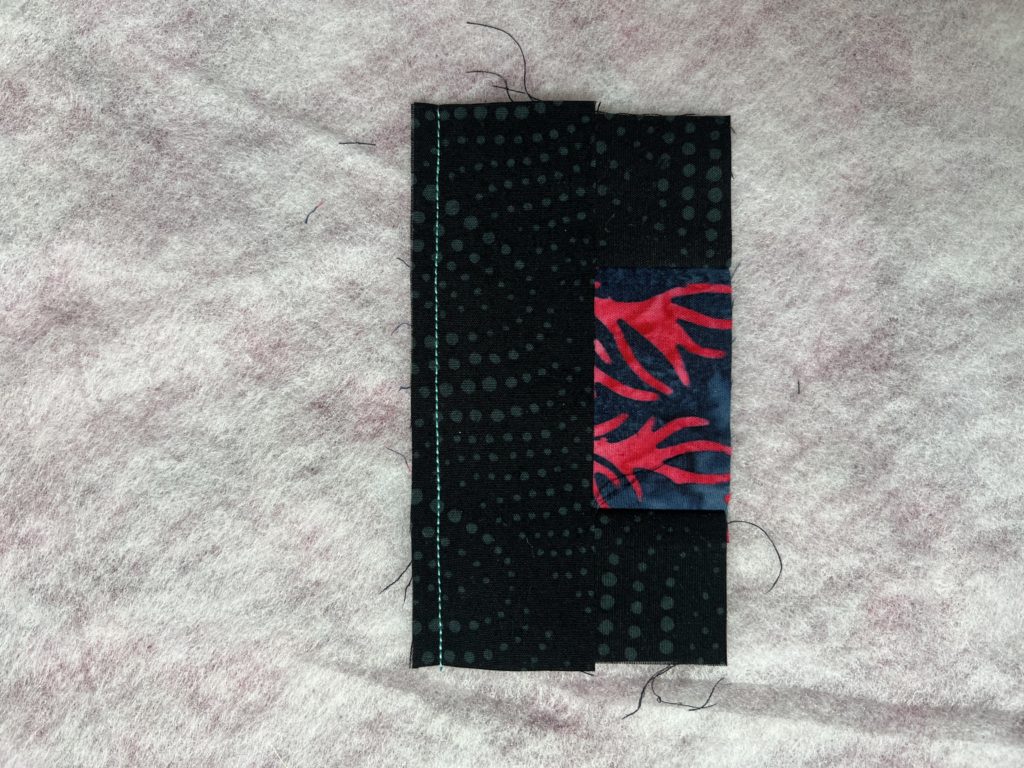
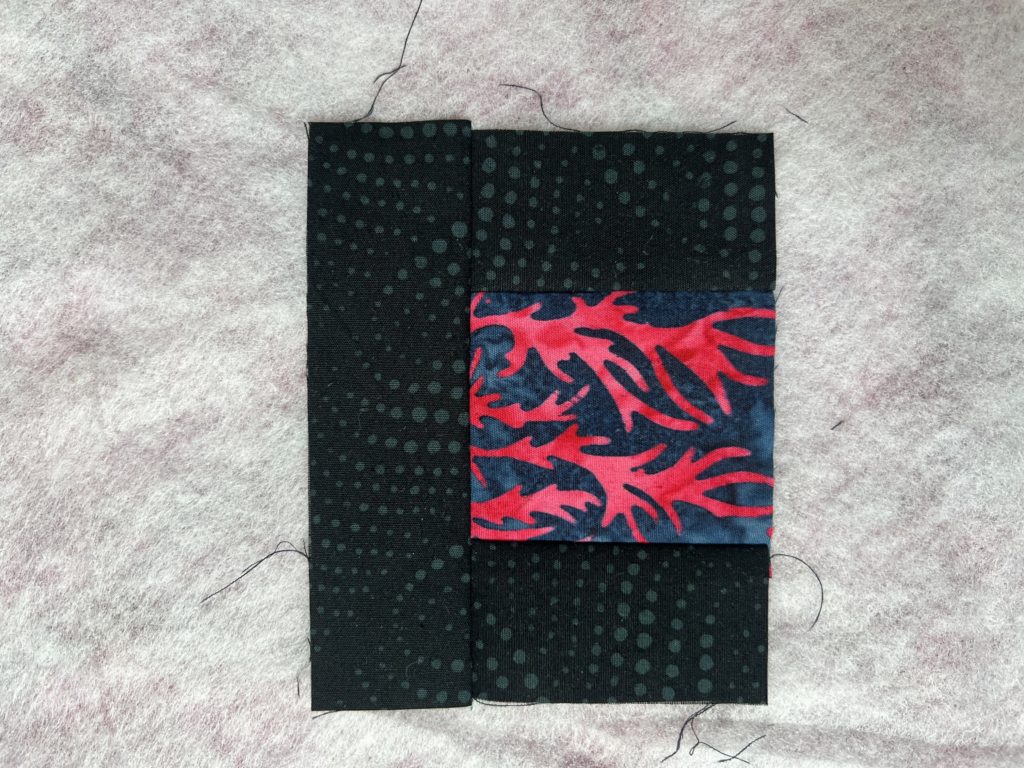
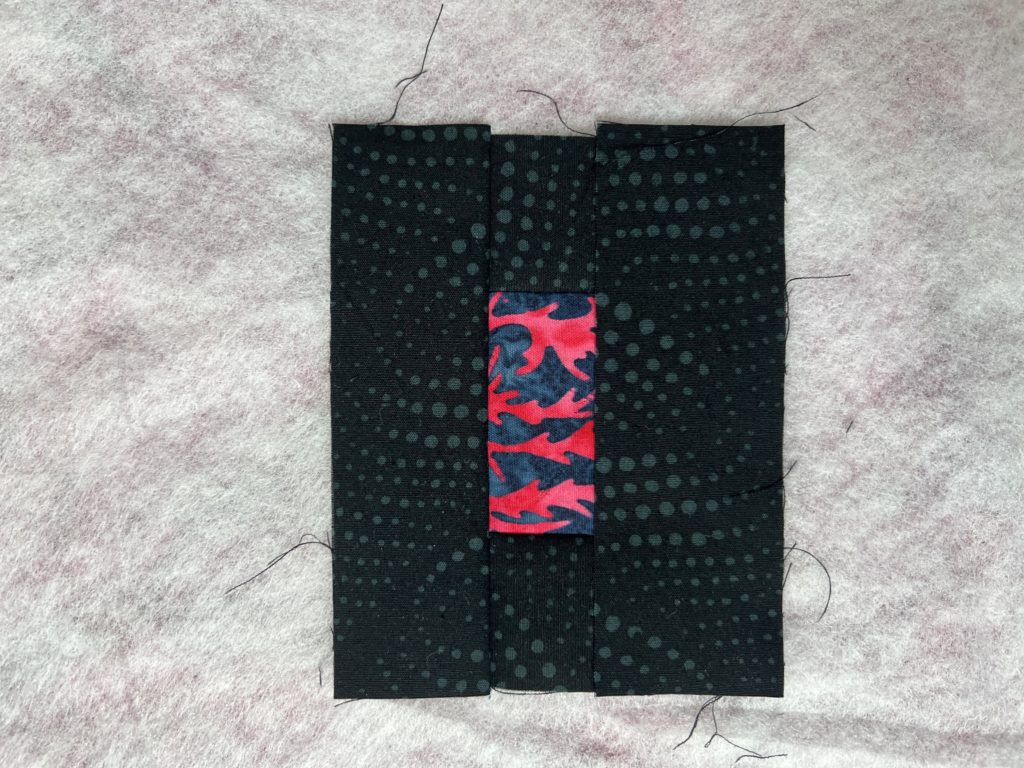
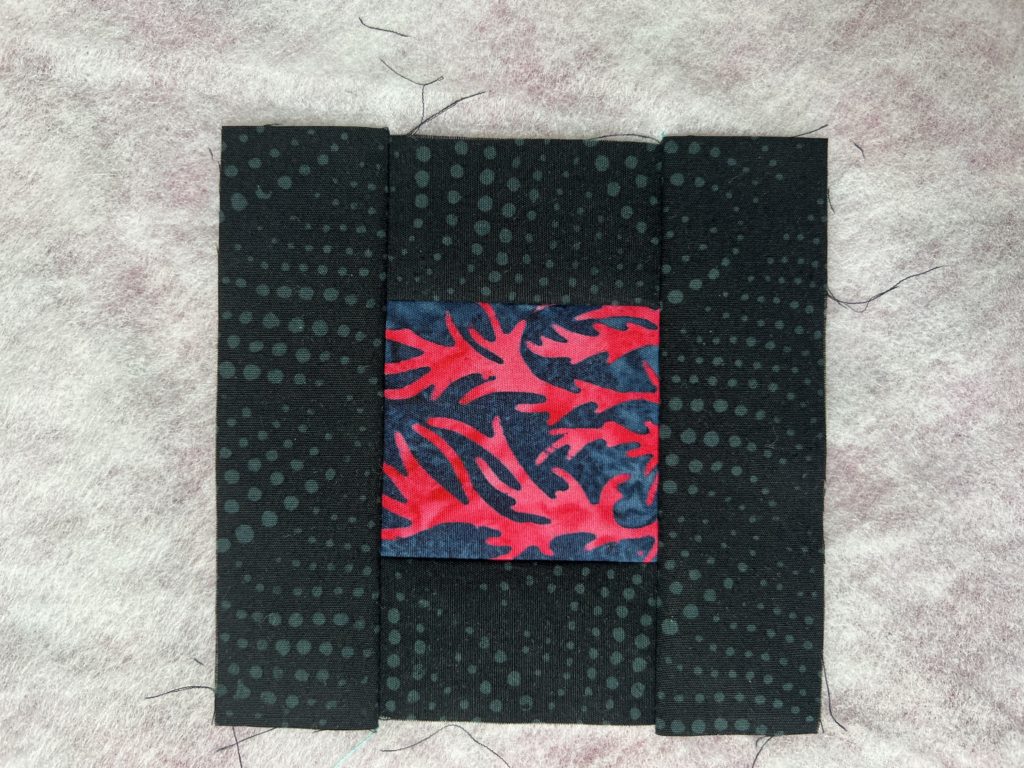
- Pin your first piece (G) (the center square) in place with right side facing up.
- Line the next strip (A) on top of piece G with right side facing down and pin. Using a scant 1/4″ seam allowance, sew along the edge.
- Finger press the sewn piece open
- Add another strip (A) to the opposite side
- Finger press open
- Add a strip (piece B) to the top of the square
- Sew along the edge
- Finger press open
- Add another strip B to the opposite side
- Finger press open
Continue adding strips following the layout diagram below.
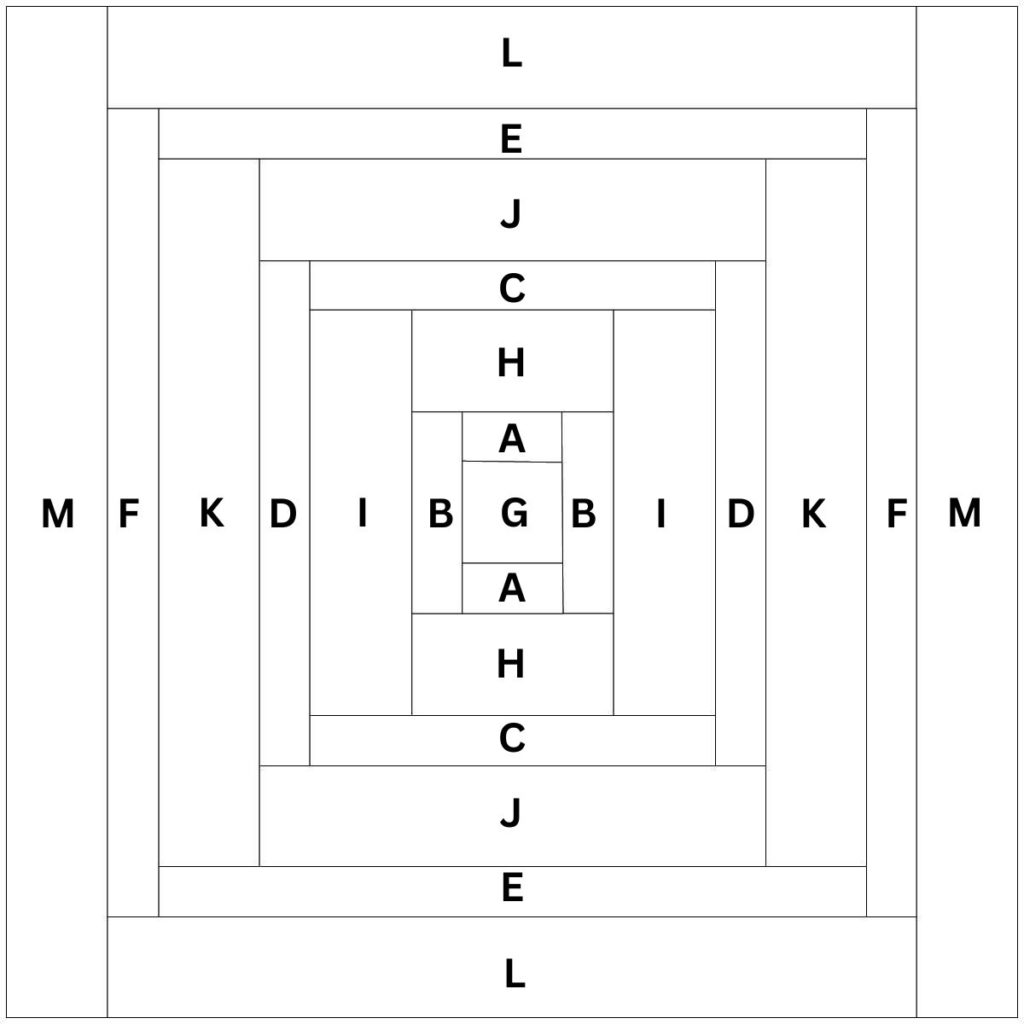
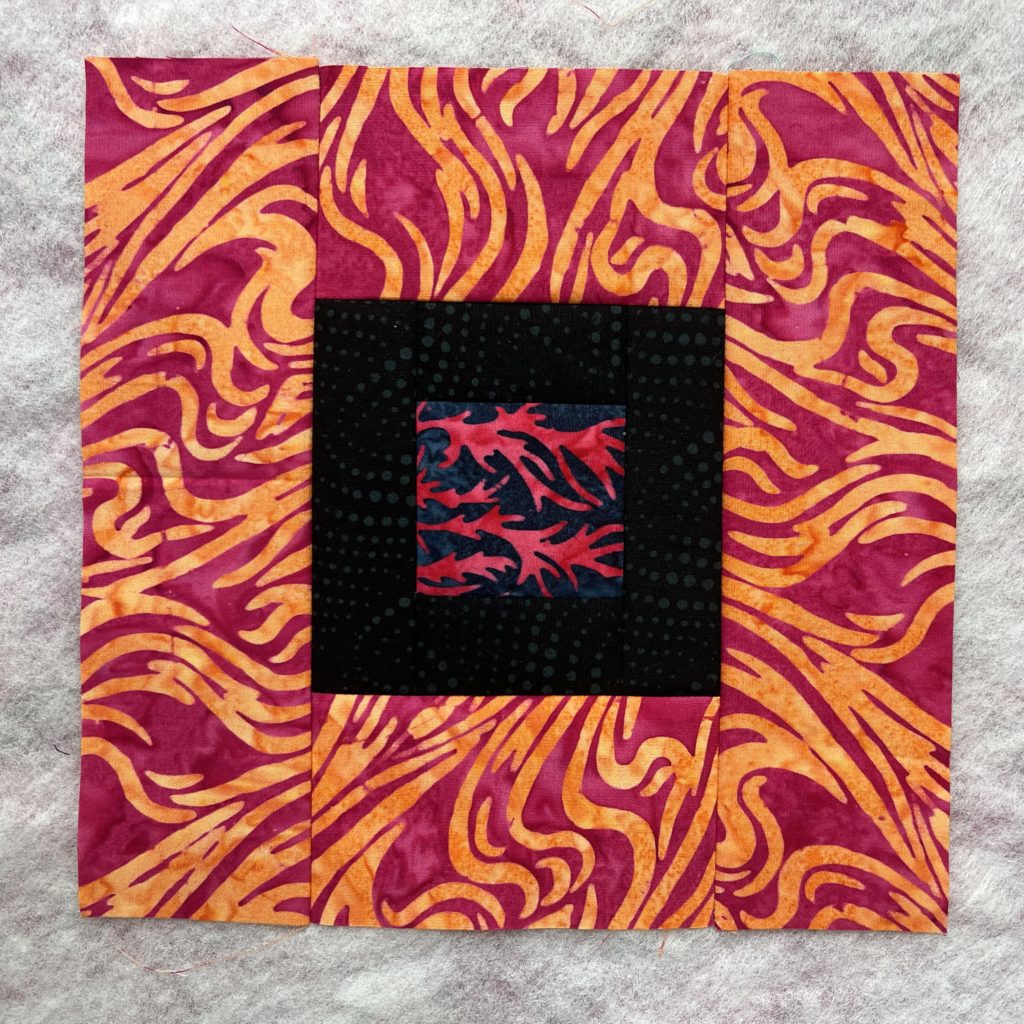
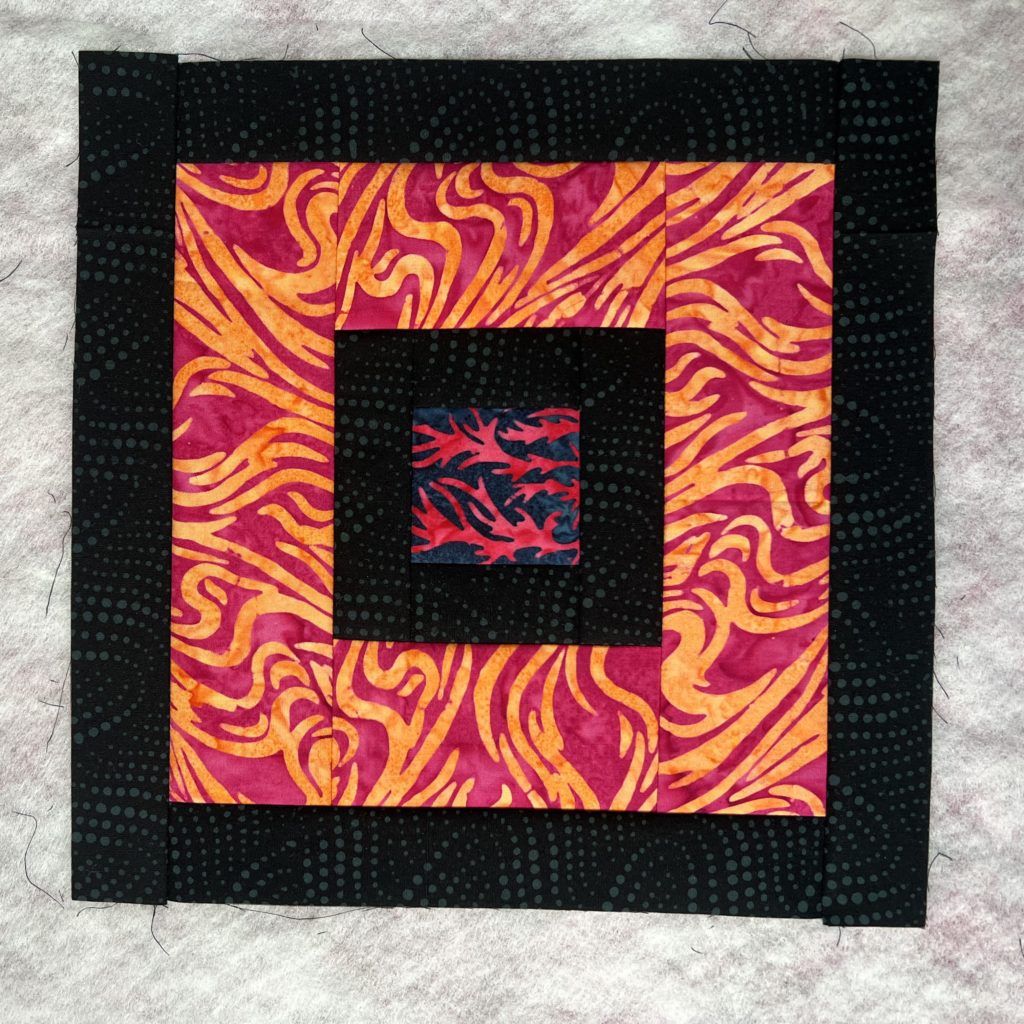
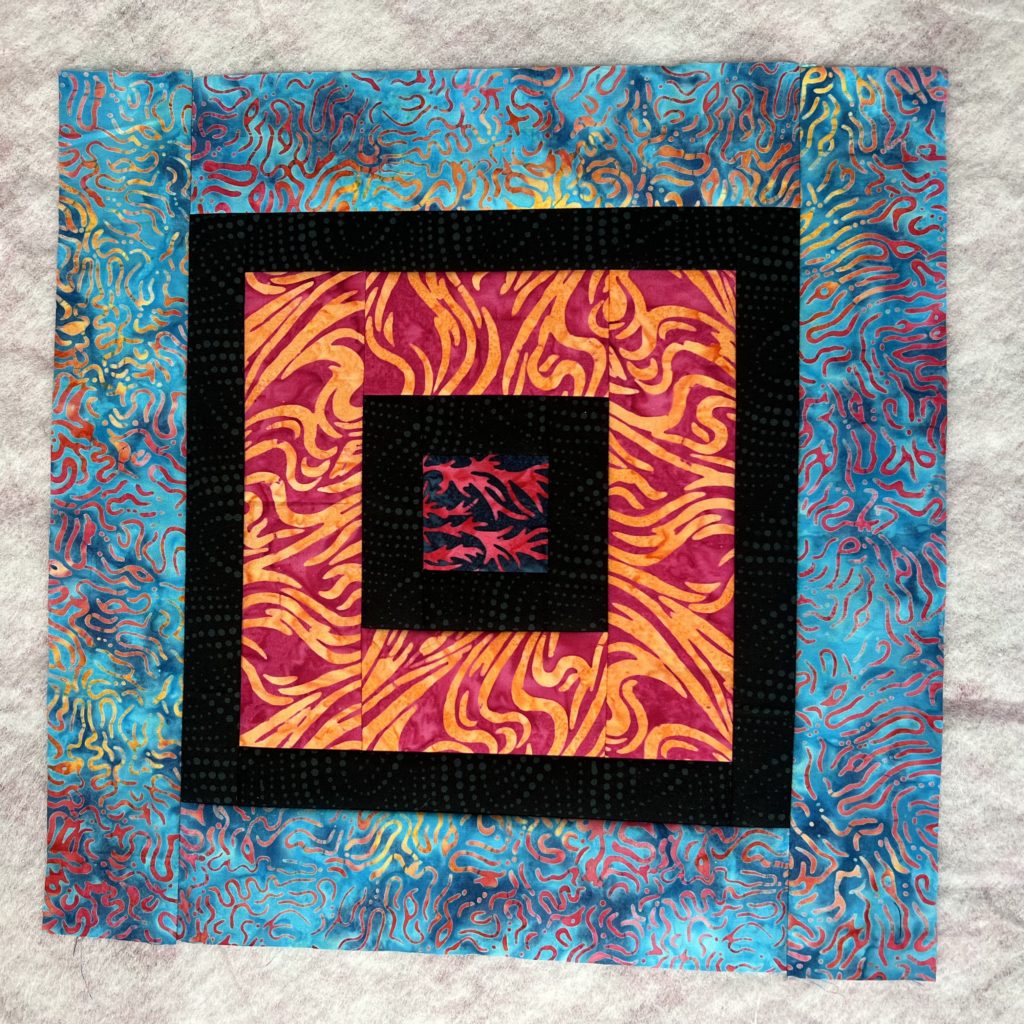
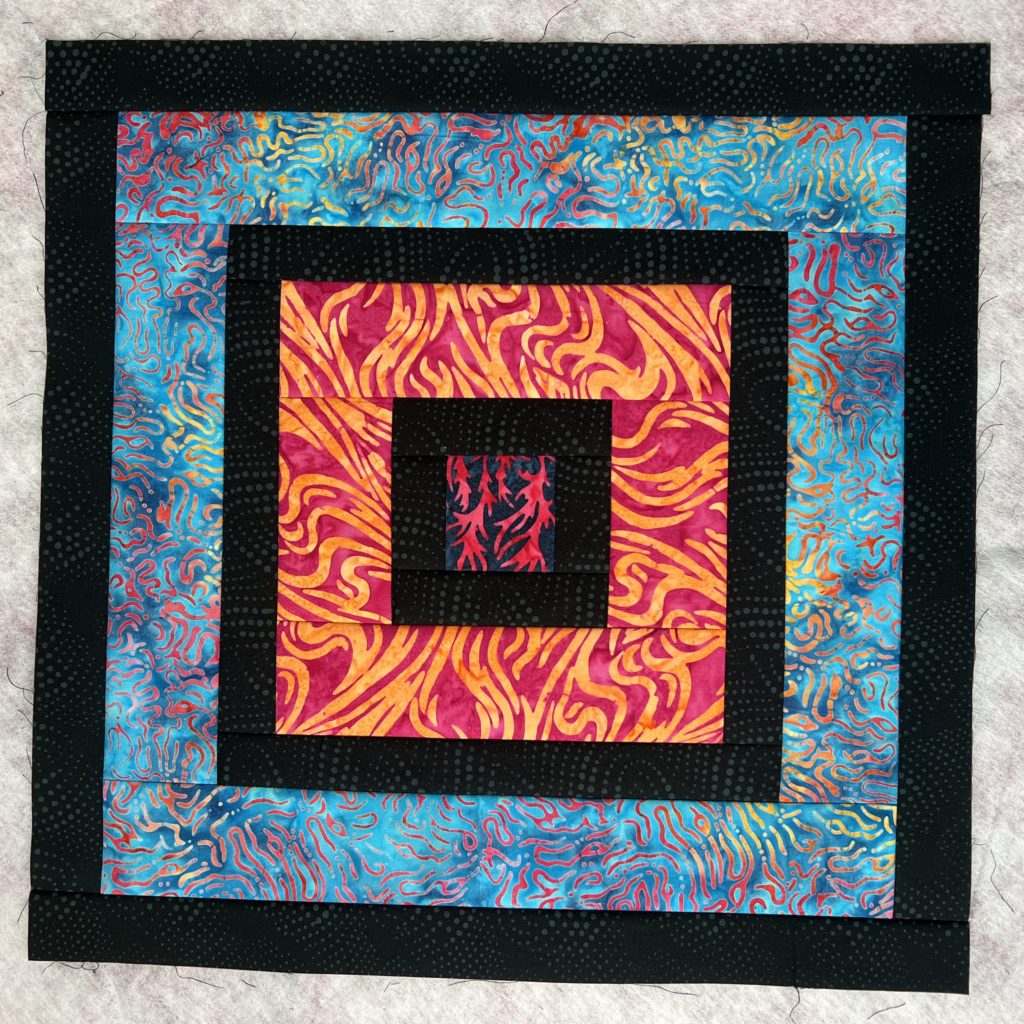
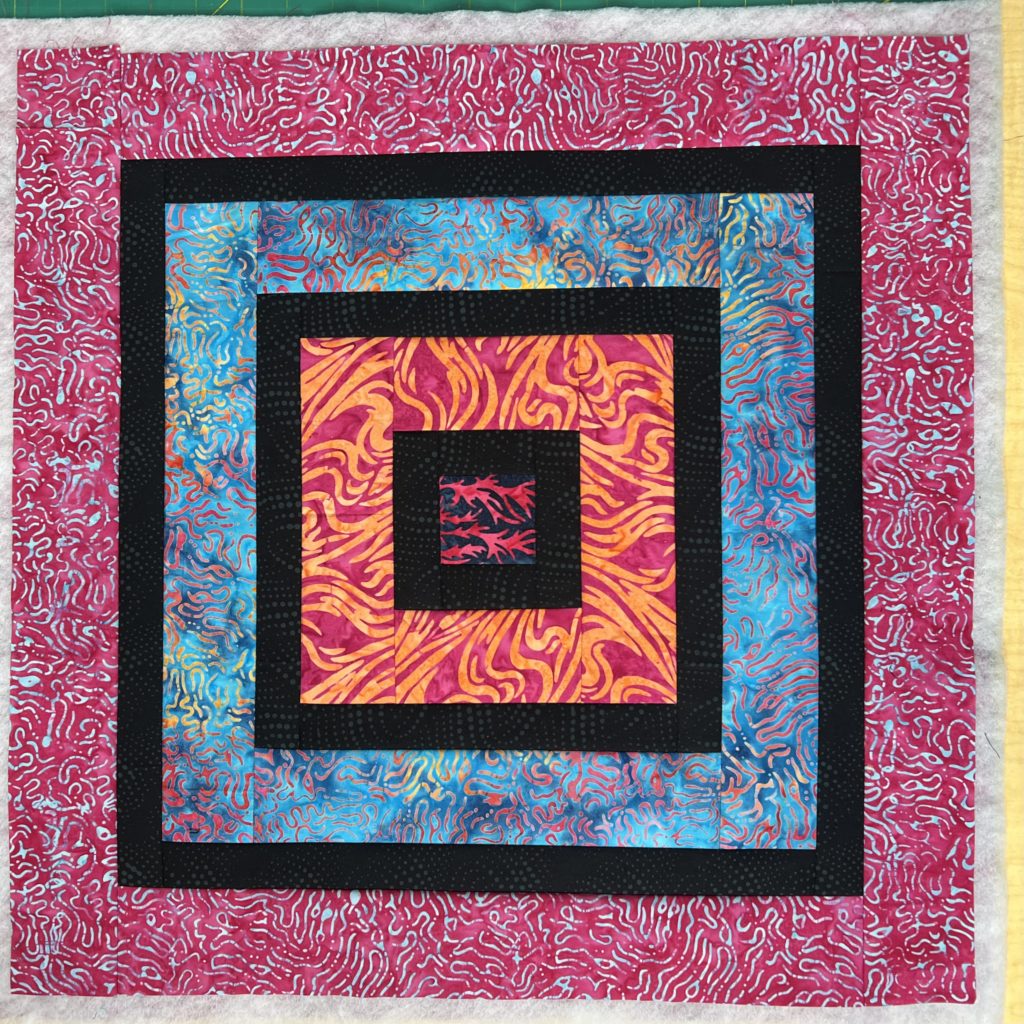
Trim the block down to 20 1/2″ square.
Prepare the Joining Strips
First prepare all the joining strips (pieces P and Q) by folding them in half lengthwise with wrong sides facing each other and pressing. Then open the strip up and, using that center pressing line as a guide, press each of the long edges to the center pressing line. Set the strips aside.
When done, strip P will measure approximately 1” wide x 20 1/2″ long and strip Q will measure approximately 1 1/4″ wide by 20 1/2″ long.
Joining the Quilt As You Go Blocks
Joining the quilt as you go blocks can be a little tricky and I have a particular way that I do mine. If you are already familiar with a different go for it. I use a water soluble glue stick for this step.
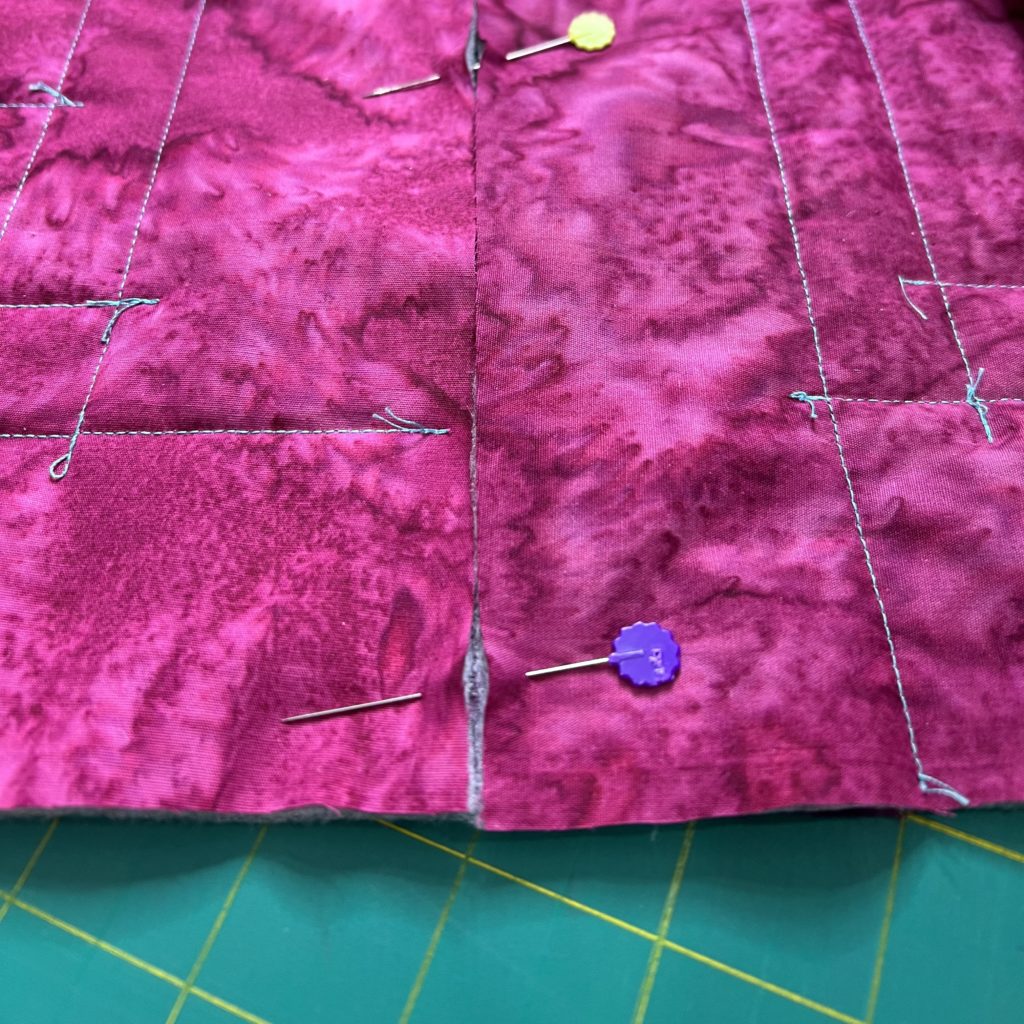
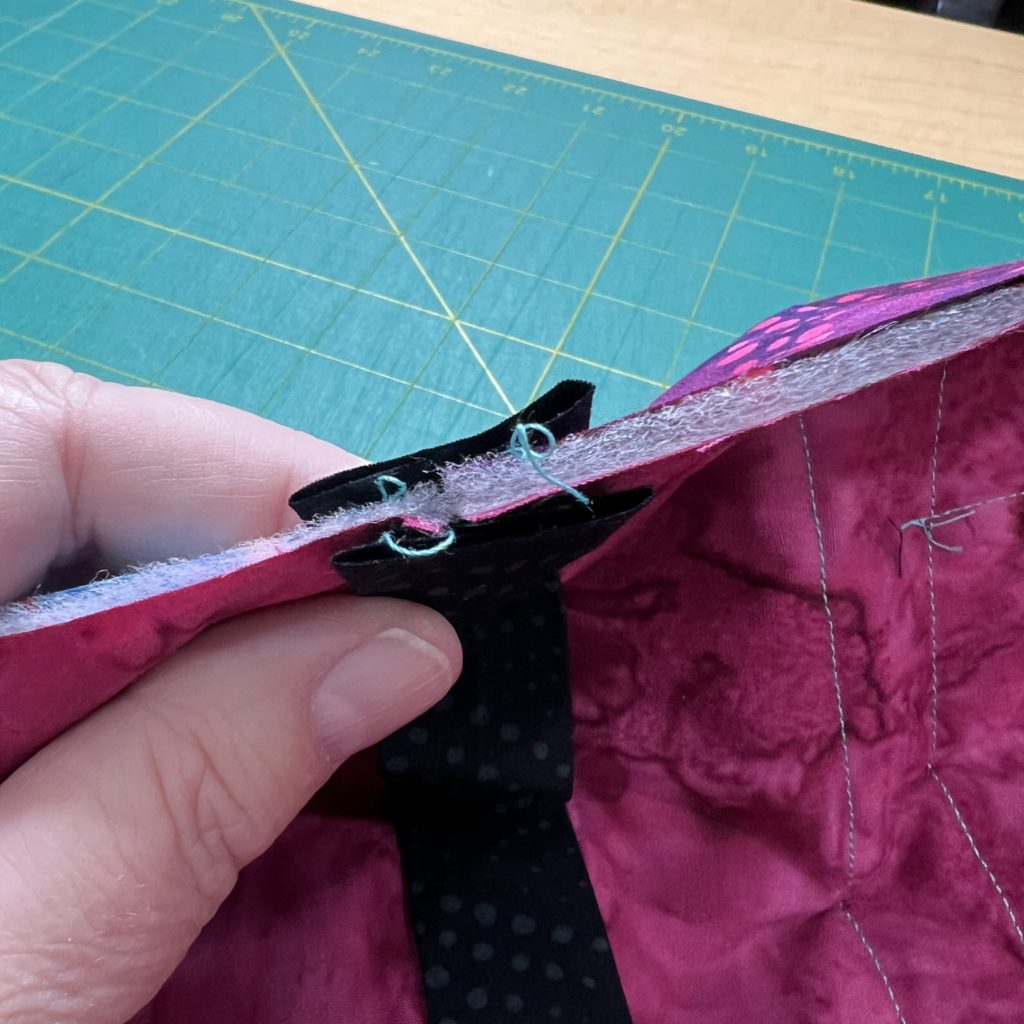
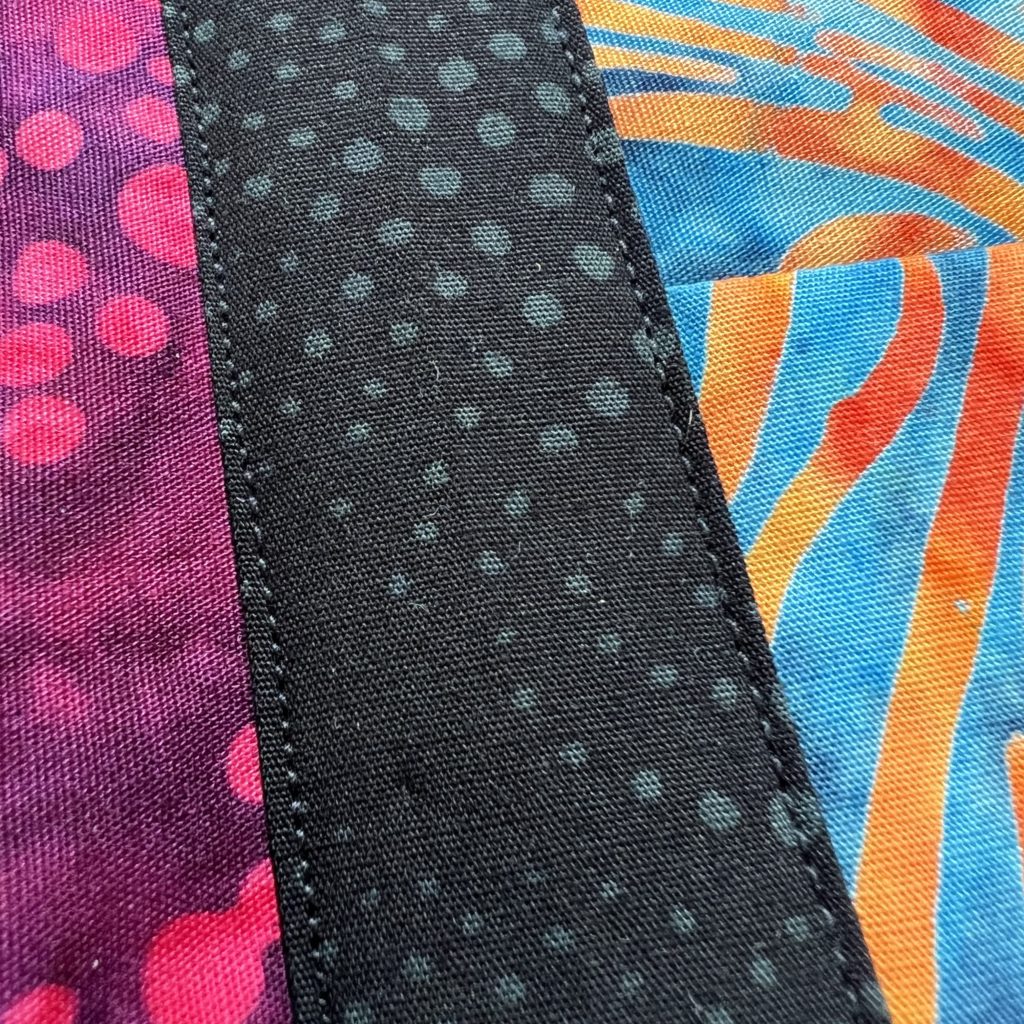
- Pin and/or clip the two blocks together. Using a zig zag stitch, join the two blocks making sure they butt up against each other smoothly.
- Next, glue or pin the more narrow strip (P) to the top of the seam, making sure to cover the zig zag stitching. Glue or pin the wider strip (Q) to the bottom side, making sure it is centered and covering the stitching.
- Sew along both edges of the top strip, making sure to catch the strip on the bottom. That is why I make my bottom strip a bit wider than the top one.
When you are finished, bind using your preferred method and voilá…you have a lovely quilt as you go bed runner!
You will find a link to download the complete pattern above. In addition, my video demonstrates the entire process in detail.
My Other Quilt As You Go Projects
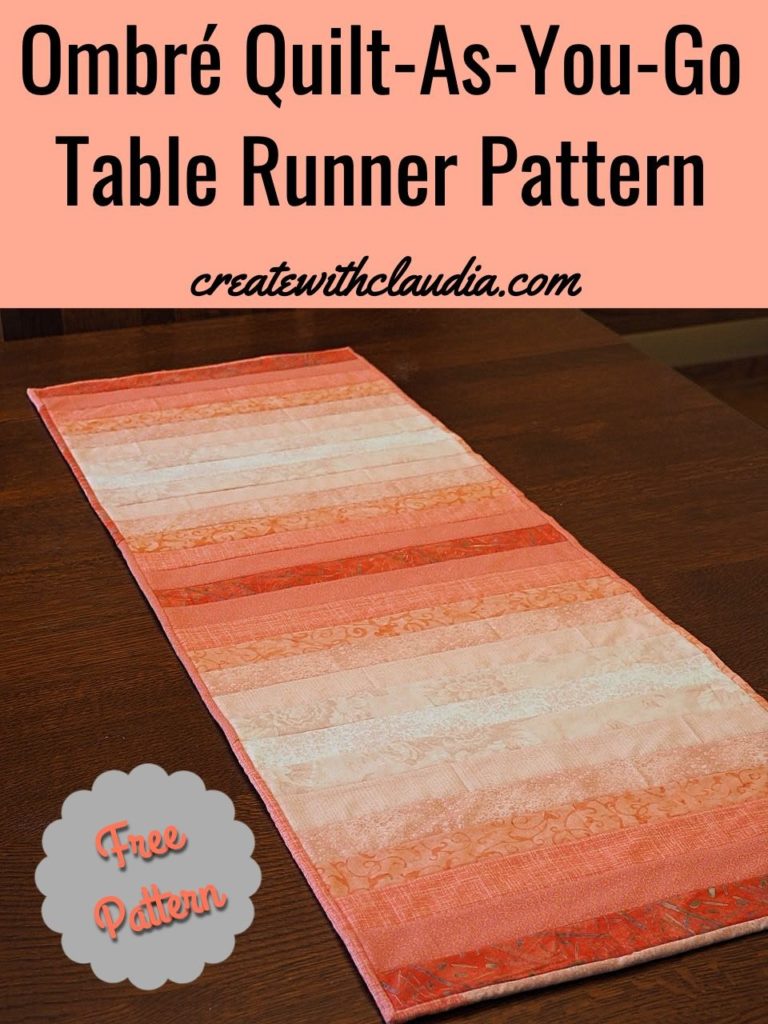
Easy and fun, this ombré table runner would look great in any color combination.
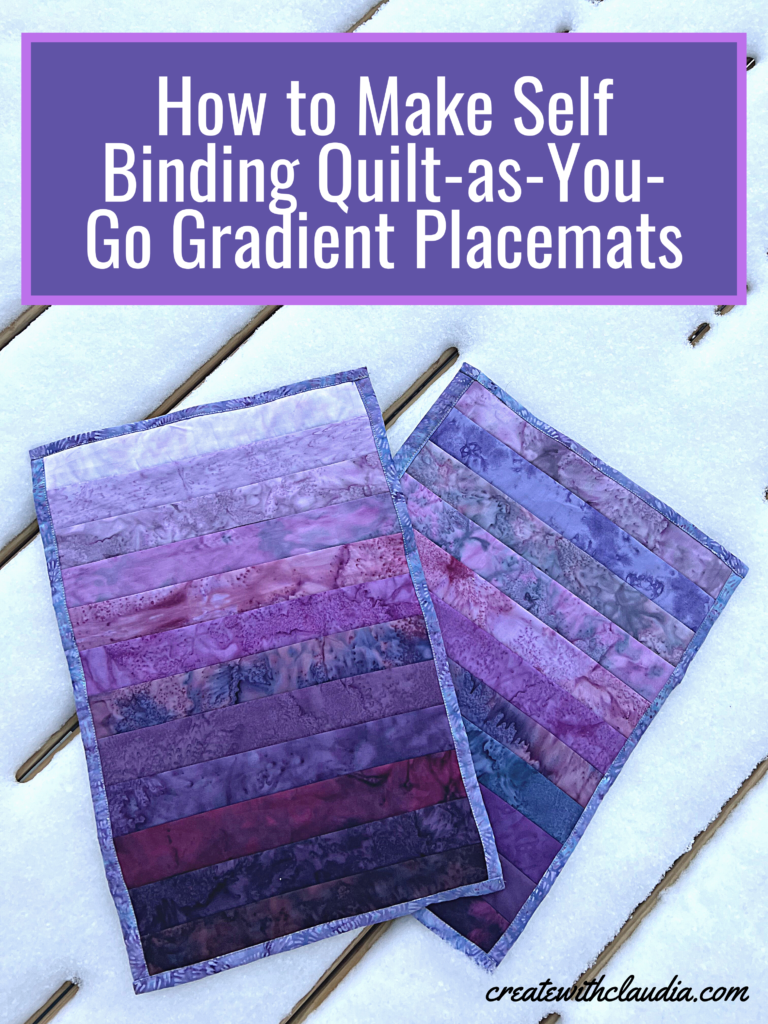
Easy self-binding quilt as you go placemats will be the hit at your next dinner party!
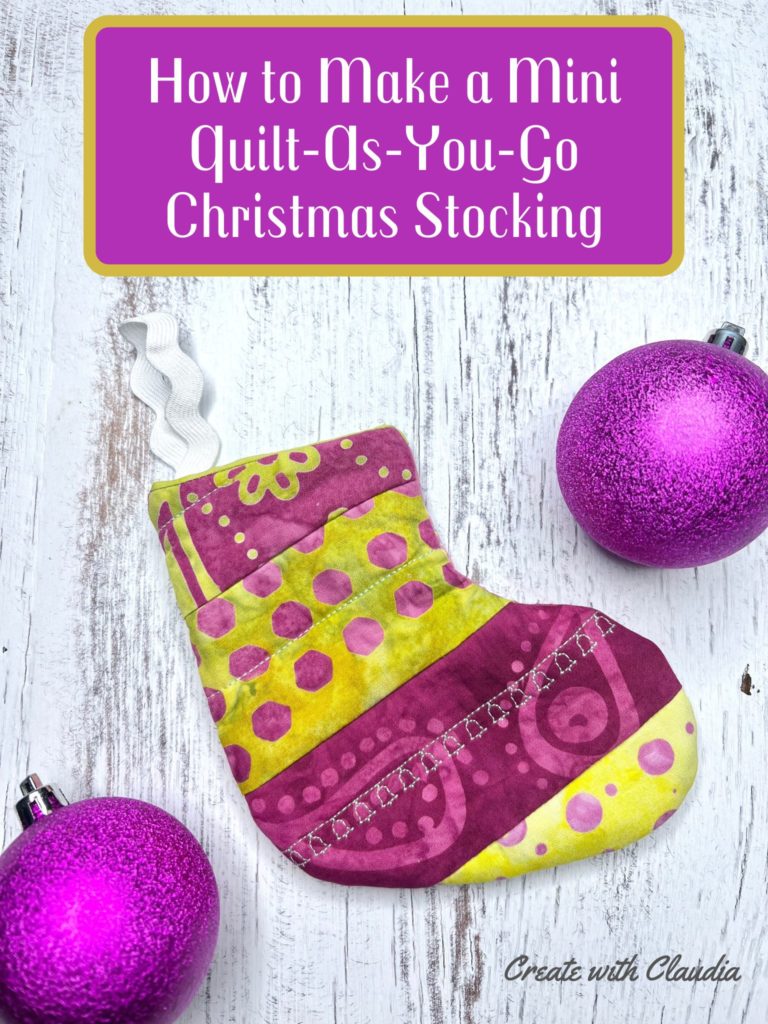
How cute are this mini quilt as you go Christmas stockings?!
Happy Quilting!


8 Comments
Brittany Fisher
March 5, 2023 at 5:16 PMBeautiful!!! I adore bed runners! Perfect pattern for this fabric line
createwithclaudia_7j76hs
March 6, 2023 at 2:29 PMThanks so much. I appreciate it!
Jennifer Thomas
March 6, 2023 at 8:45 AMI love how vibrant this project is, Claudia! It really lights up your guest room. Thanks for the QAYG tutorial. Have a great day!
createwithclaudia_7j76hs
March 6, 2023 at 2:28 PMThanks so much! Have a great day too!
Anorina
April 1, 2023 at 3:44 PMIt’s a beautiful bed runner Claudia. Very bright and vibrant for a pop of colour in the room.
createwithclaudia_7j76hs
April 3, 2023 at 8:50 AMThanks so much! I love the colors in that line!
Brenda @ Songbird Designs
April 5, 2023 at 8:06 AMThis is gorgeous, Claudia! I love the stained glass look. These fabrics are great! Thanks for the tutorials too!!
Violeta
August 17, 2023 at 1:49 PMI love your bright bed runner, and the tutorial is amazing. I’ve featured your post on Crafts on Display again, here: https://craftsondisplay.com/quilting/quilt-as-you-go-bed-runner-tutorial-54515/ I hope you enjoy it, and keep up the fab work!
All the best,