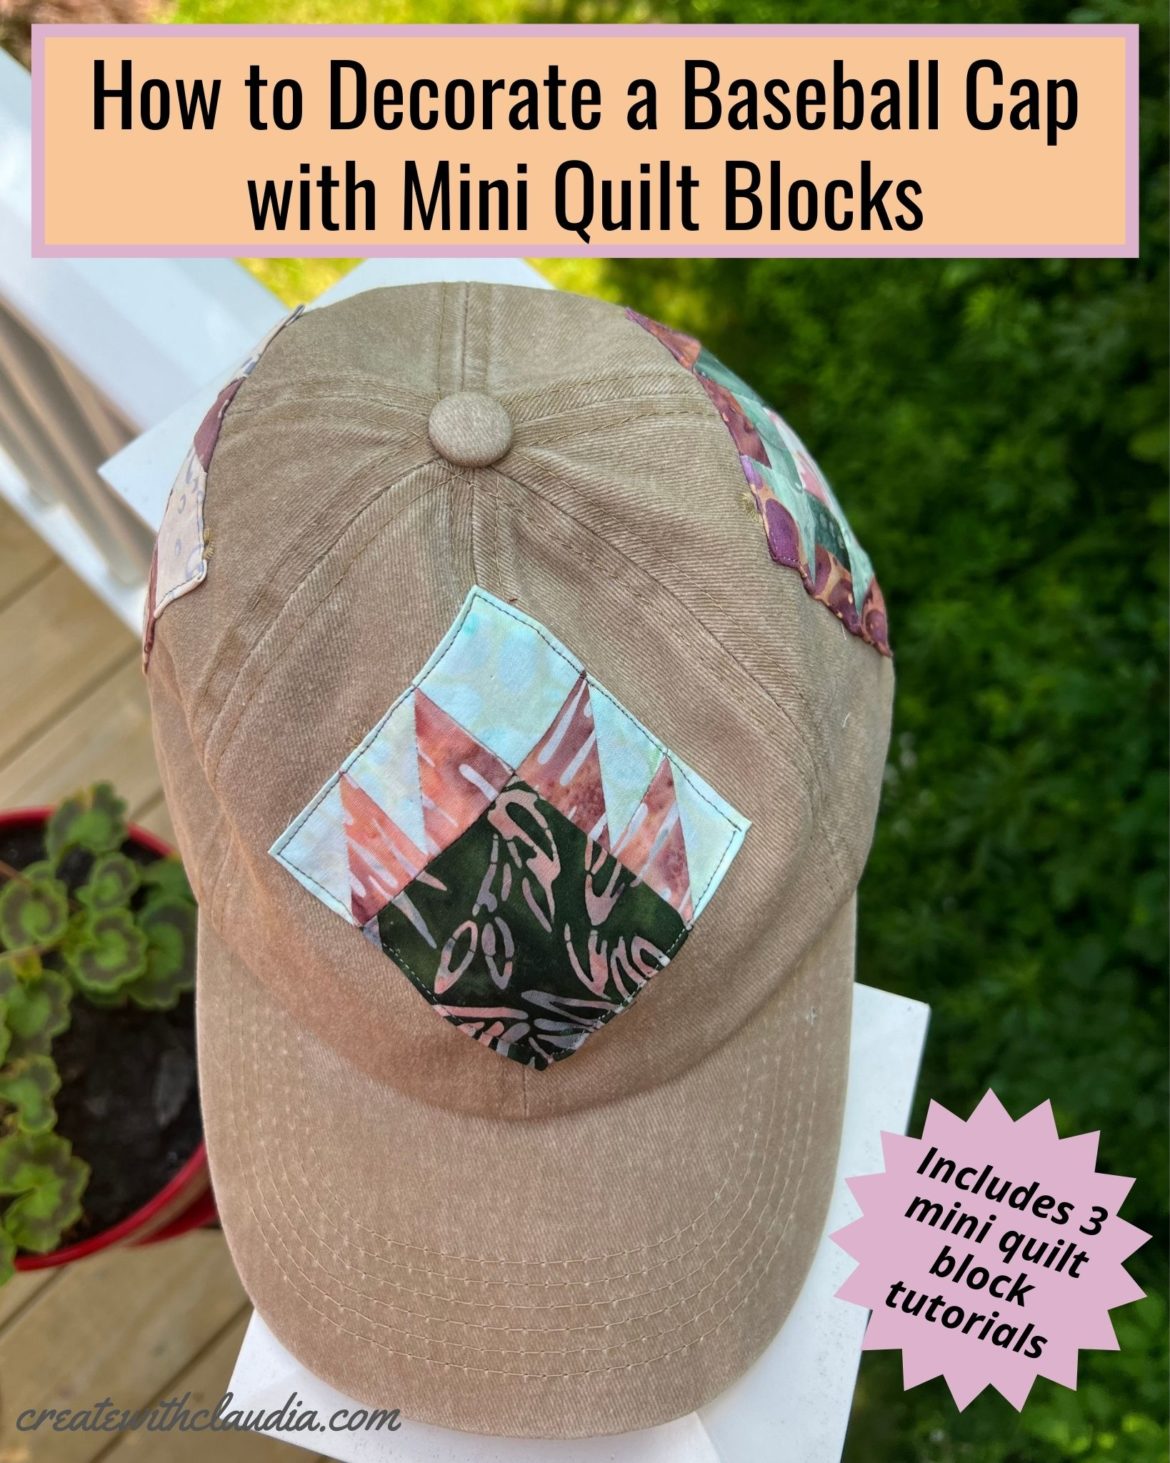
How to Decorate a Baseball Cap with Mini Quilt Blocks
Do you have a plain baseball cap that you don’t wear very often? Why not change it up a little bit and embellish it with a few mini quilt blocks. It is easy. In my tutorial you’ll get instructions for three different blocks and how to attach them to the cap. So if you are interested in adding a little bit of your unique style to your wardrobe, learn how to decorate a baseball cap with mini quilt blocks.
I came up with this project when I was making my June Island Batik Ambassador quilt. It was a New York Beauty challenge and I was given their gorgeous new fabric line called Tranquility which was designed by Deb Tucker’s Studio 180 Designs. After finishing the quilt, I had pieces of the 20 different fabrics left over, so I decided to do something with them. That is how my ball cap was born. Not only that, but I had enough left over to do a little giveaway. Read on until the end to get the info!
Disclosure: The fabric used in this post was generously provided by Island Batik.
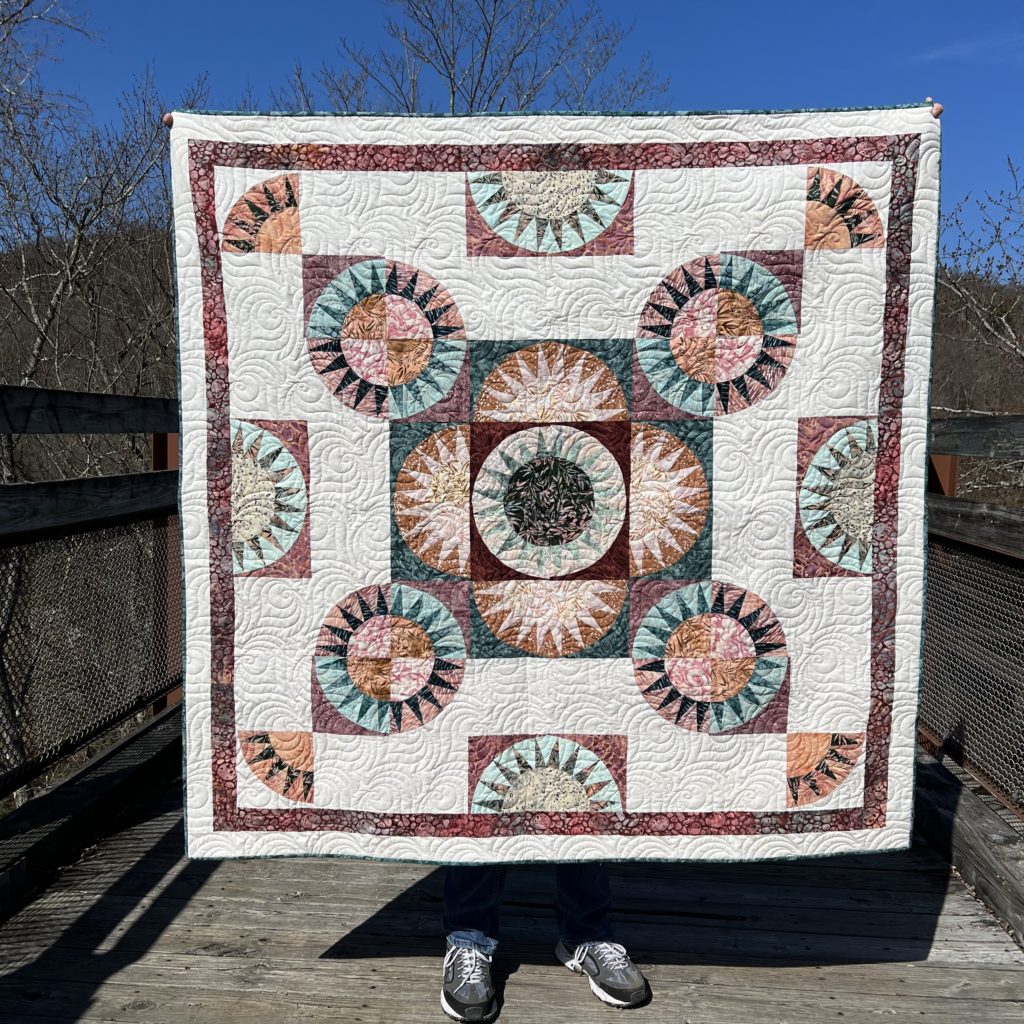
Video Tutorial (Plus Show & Tell of My Quilt)
Supplies Needed
- Baseball cap
- Various fabrics
- Fabric Glue (optional)
- General sewing & quilting supplies
I have curated a list of some of my favorite supplies over at Amazon.
You can find everything many of these items in my store here.
As an Amazon Associate I Earn From Qualifying Purchases
How to Make the Half Square Triangles
Each of the 3 mini quilt blocks will need 4 half square triangles. These instructions will show you how to make 2 of them.
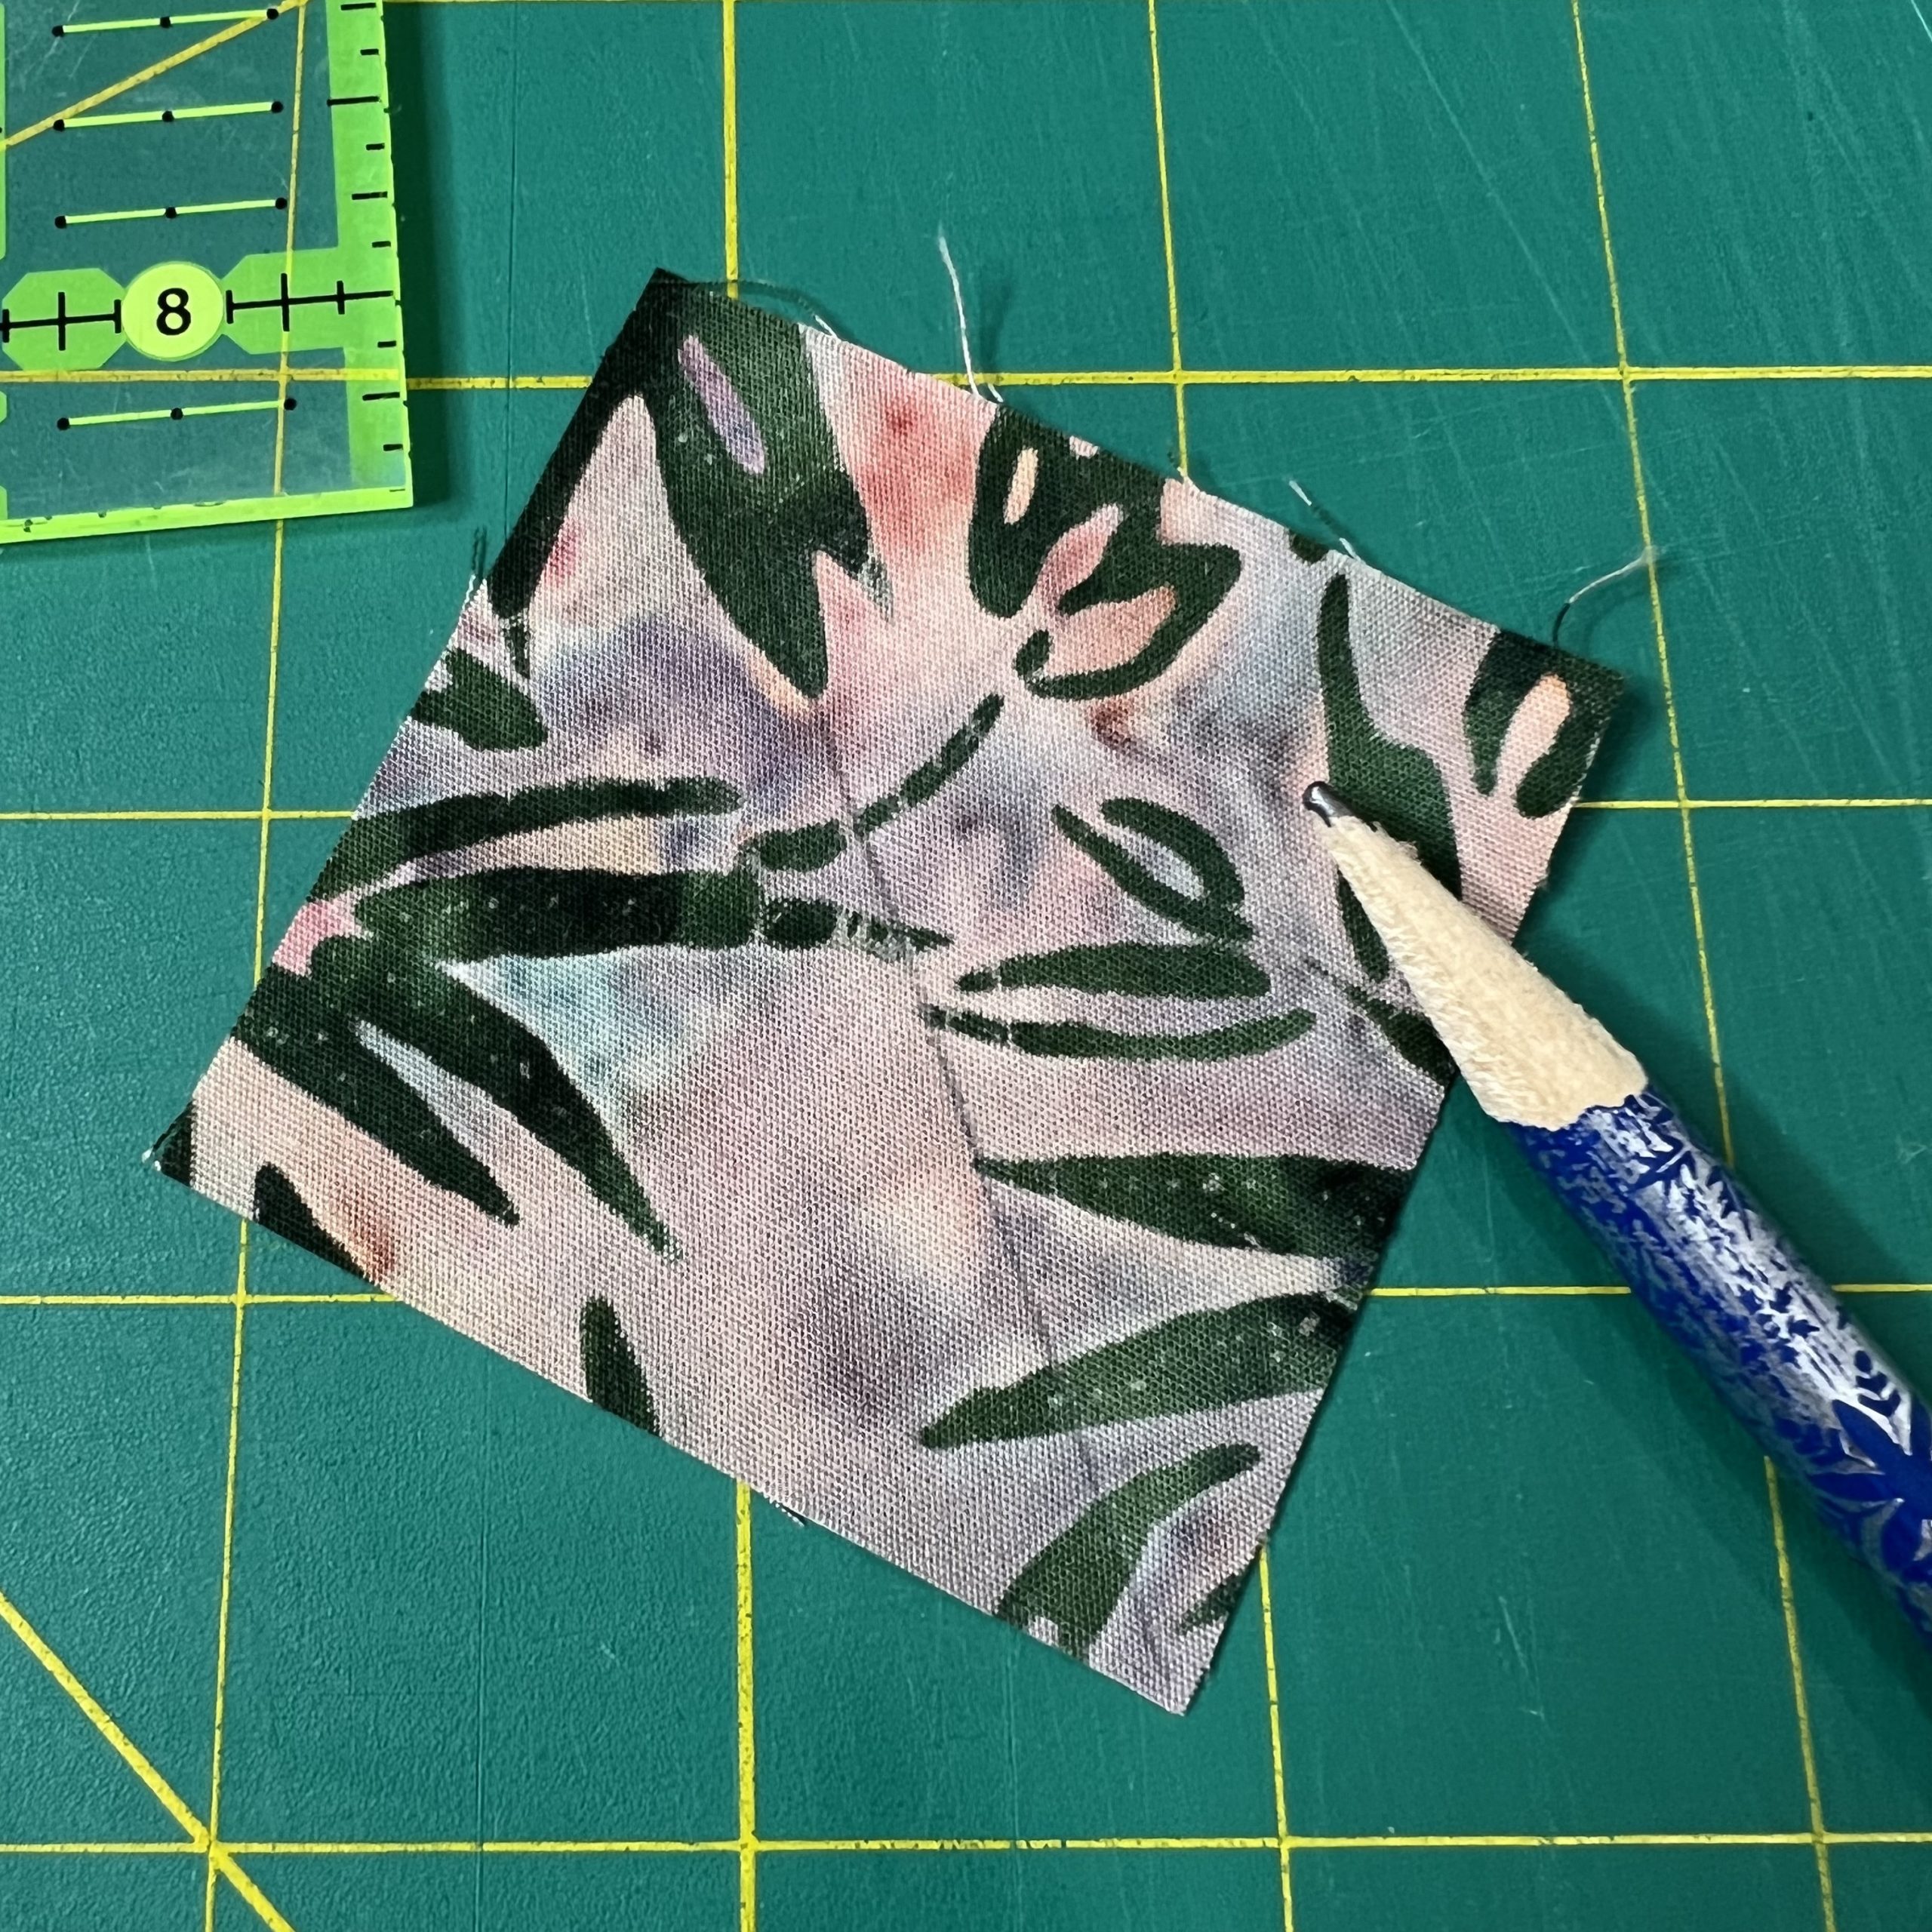
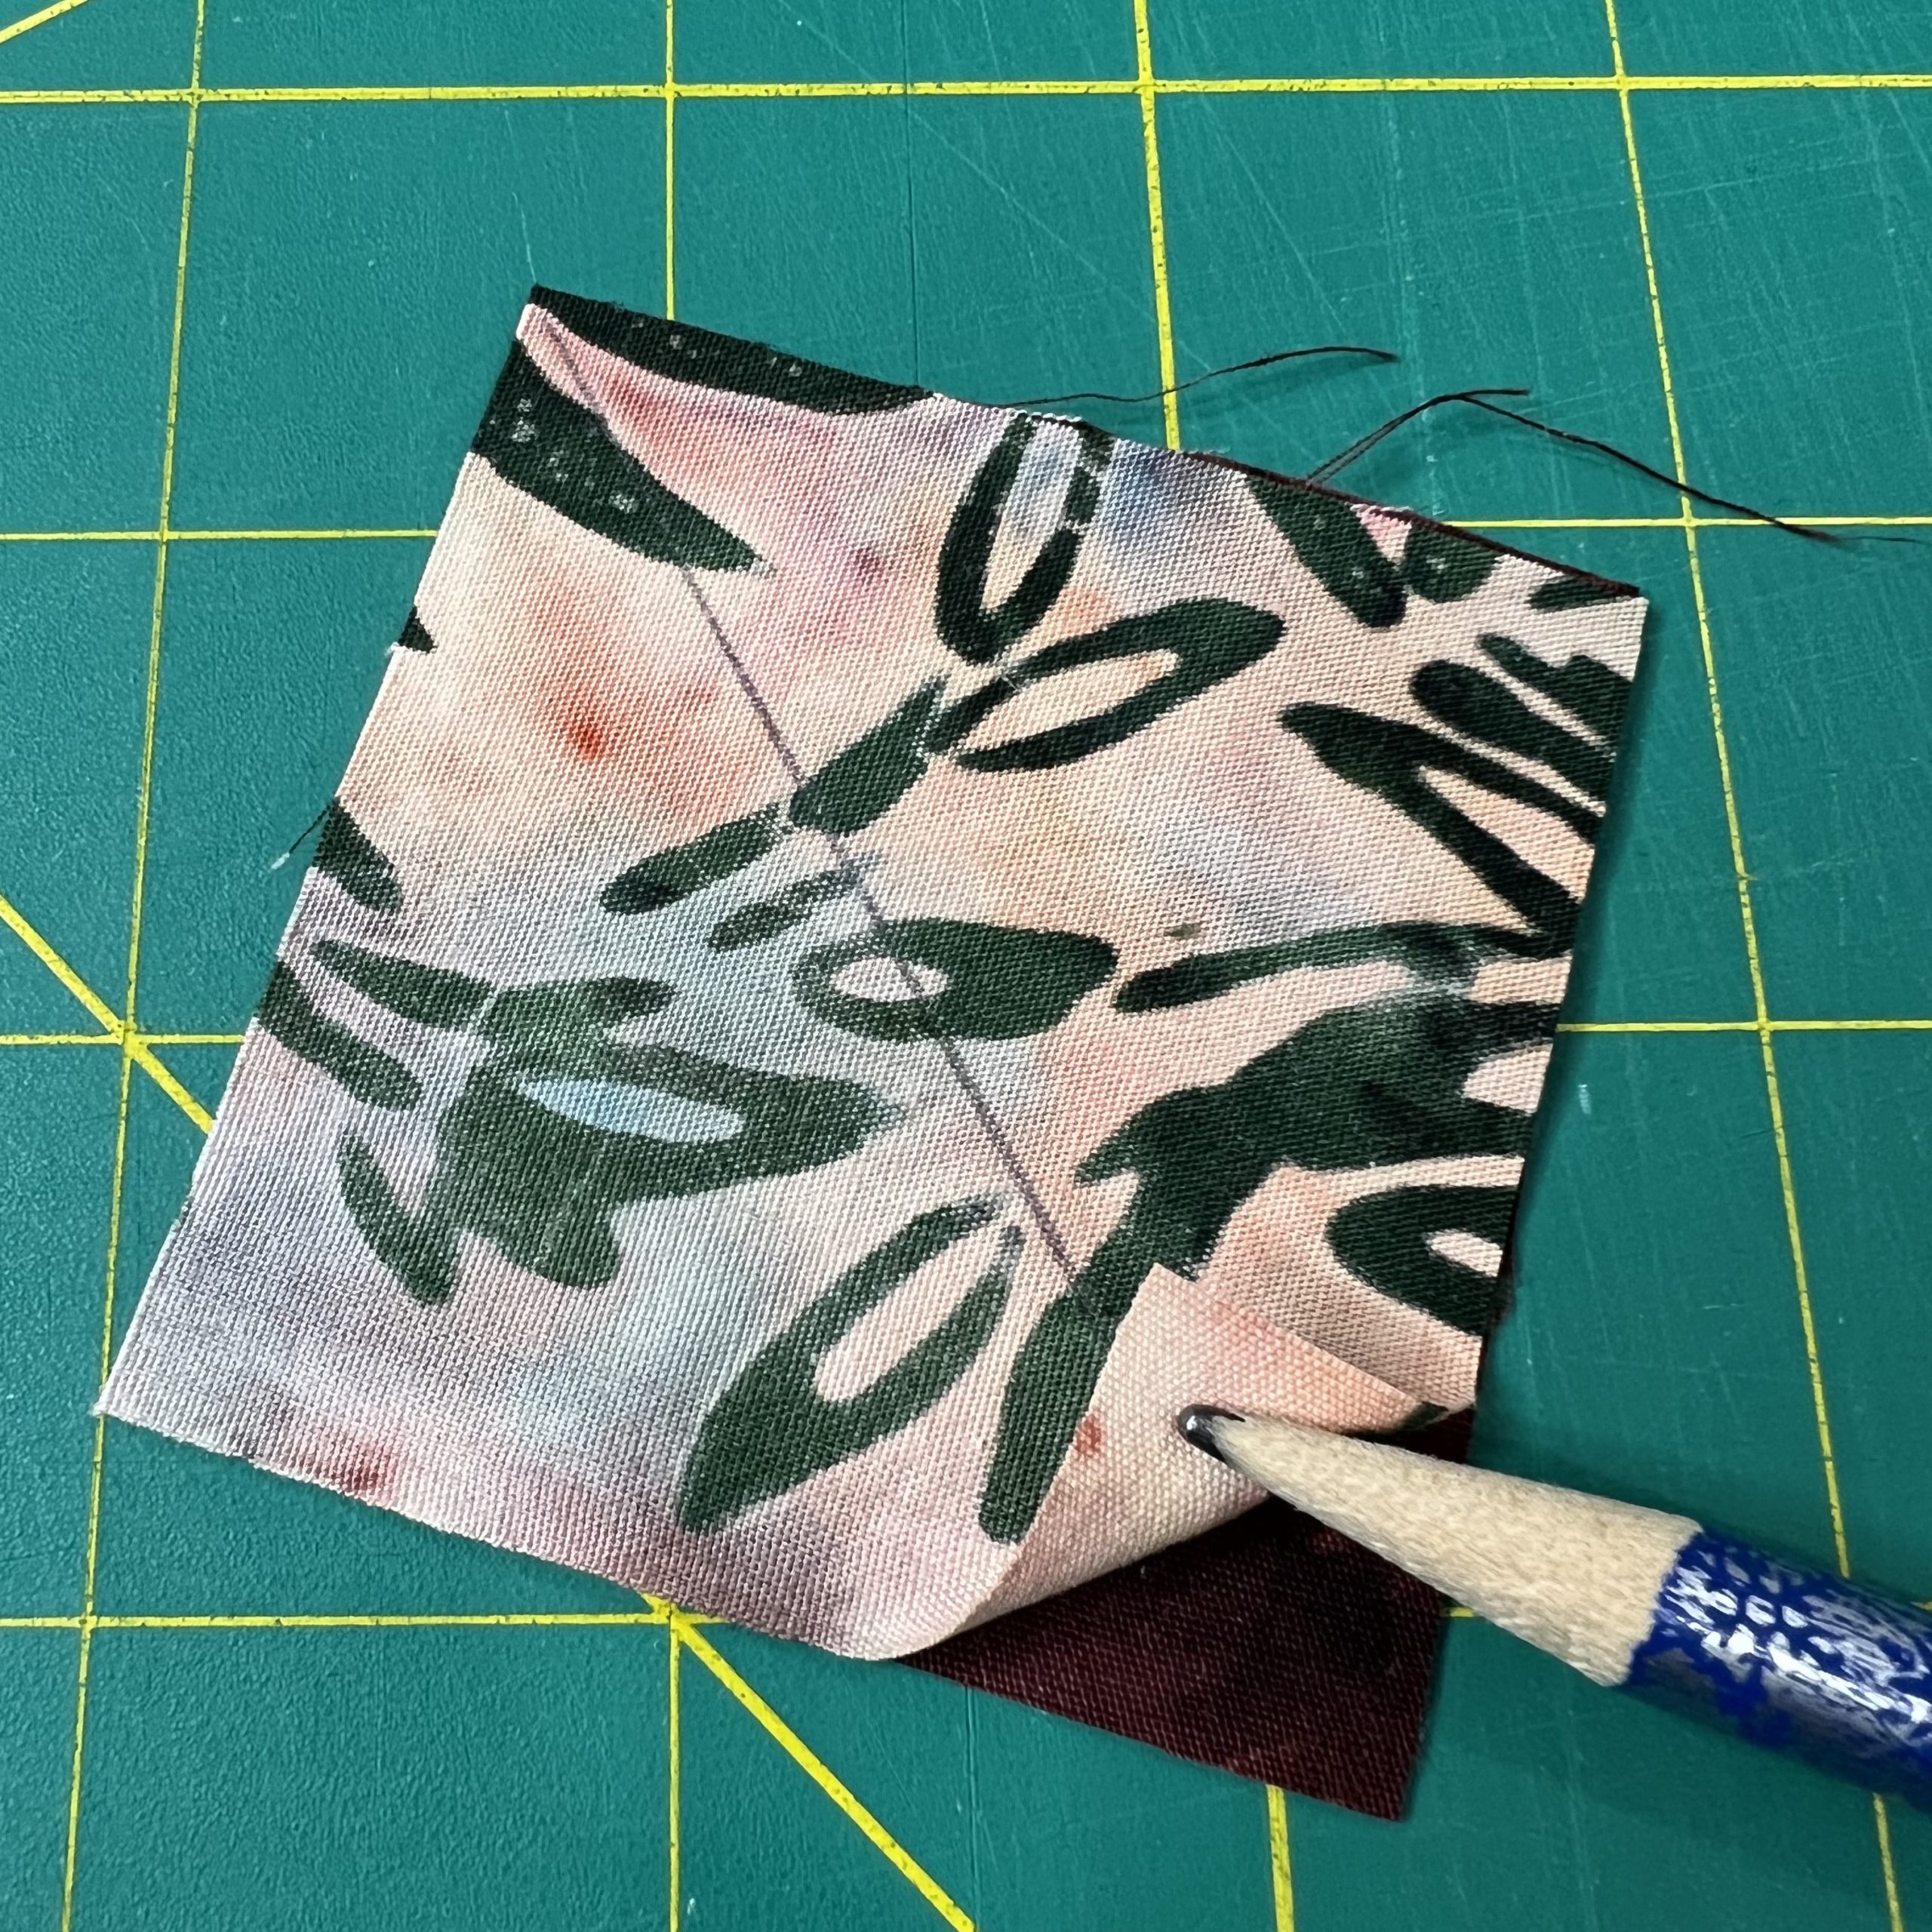
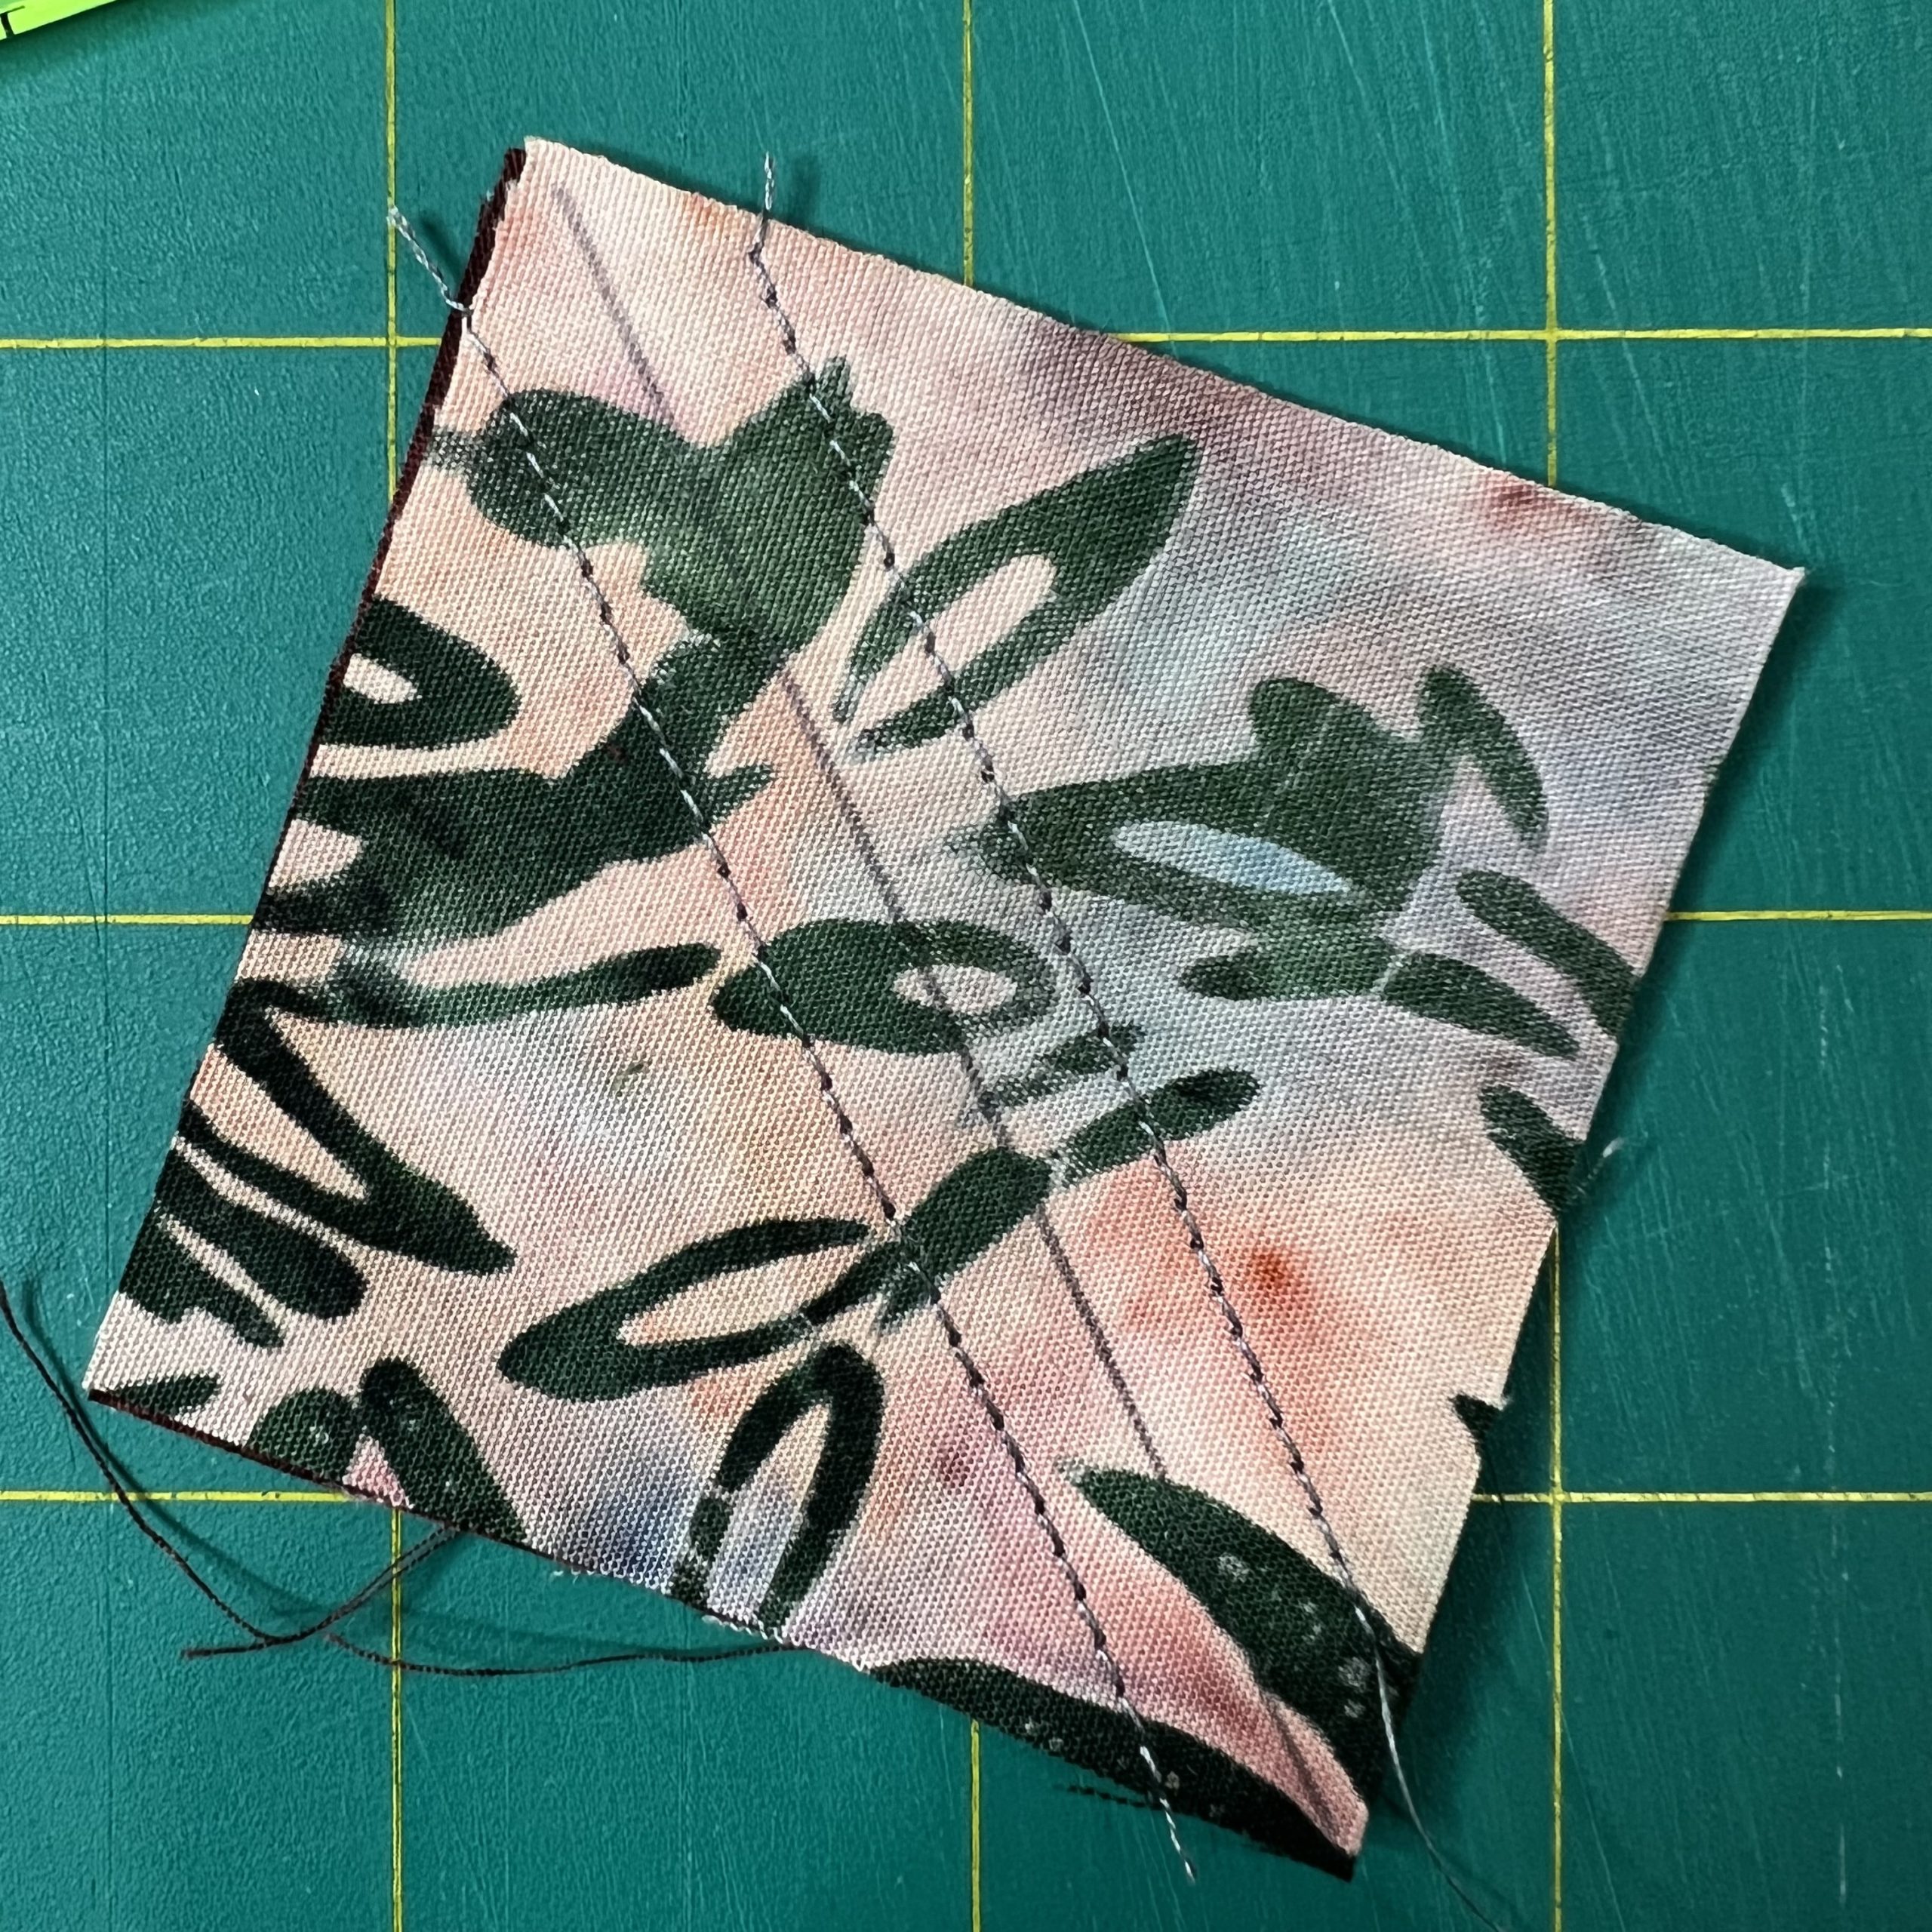
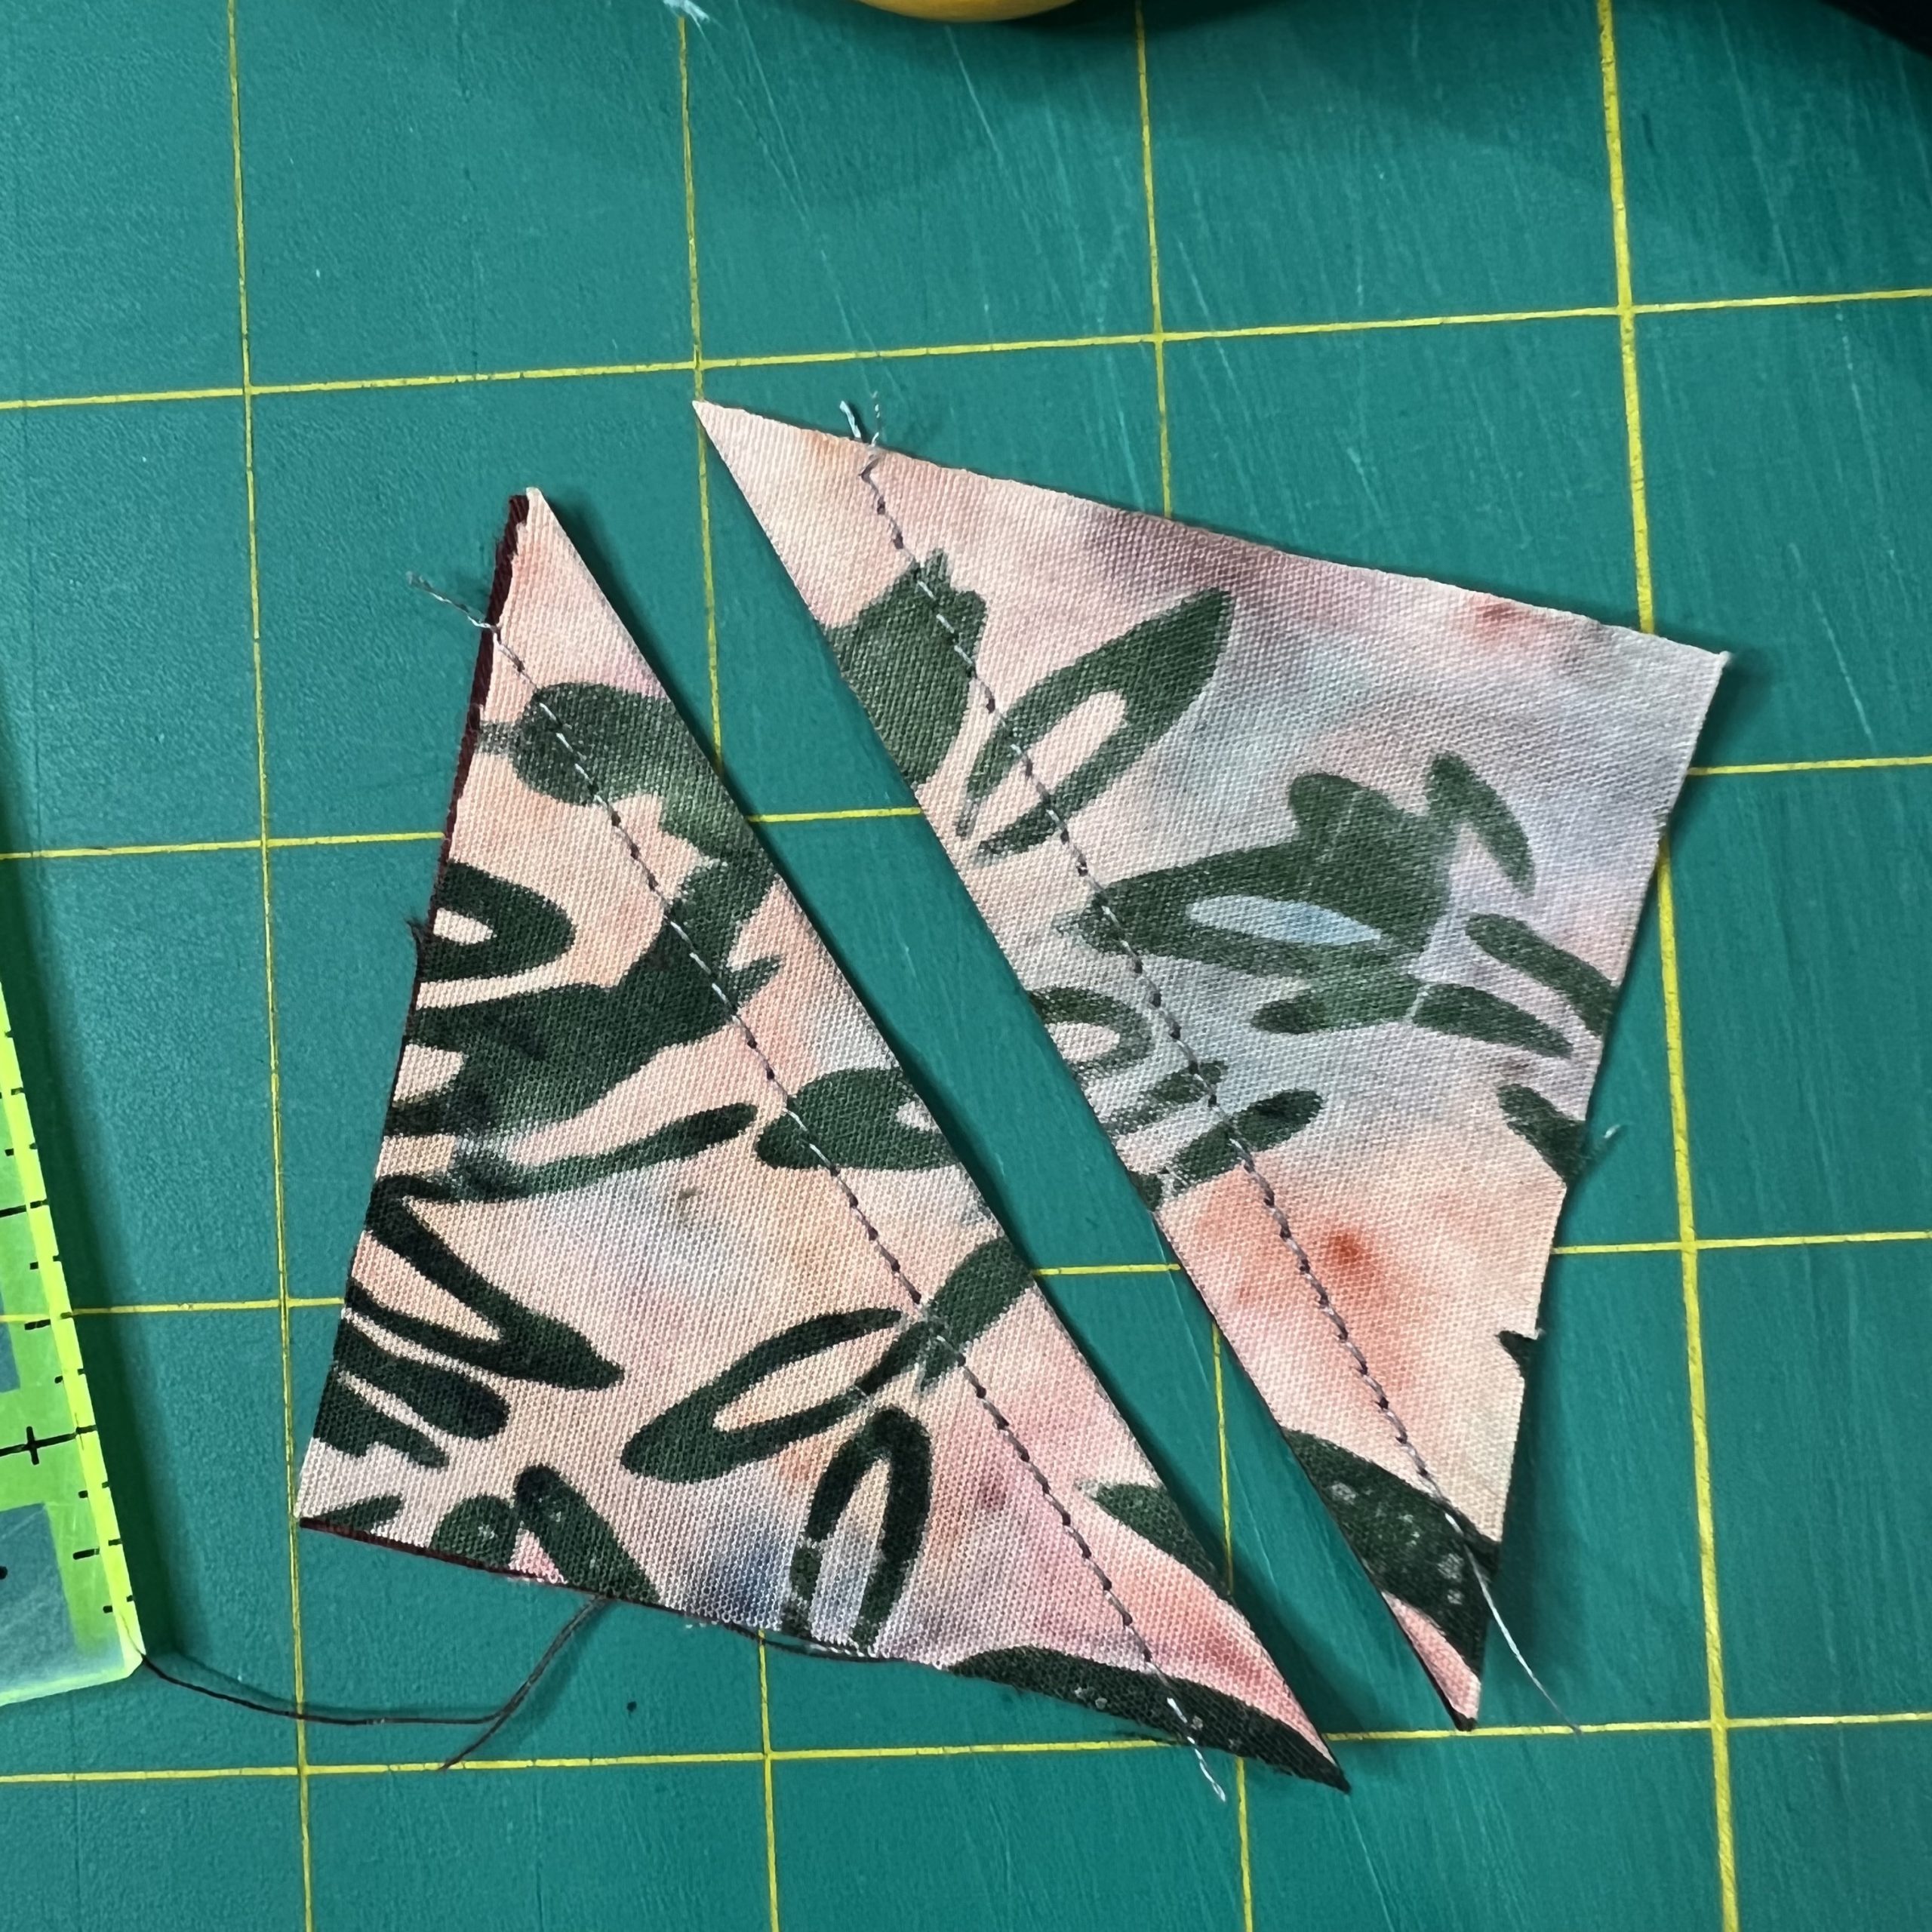
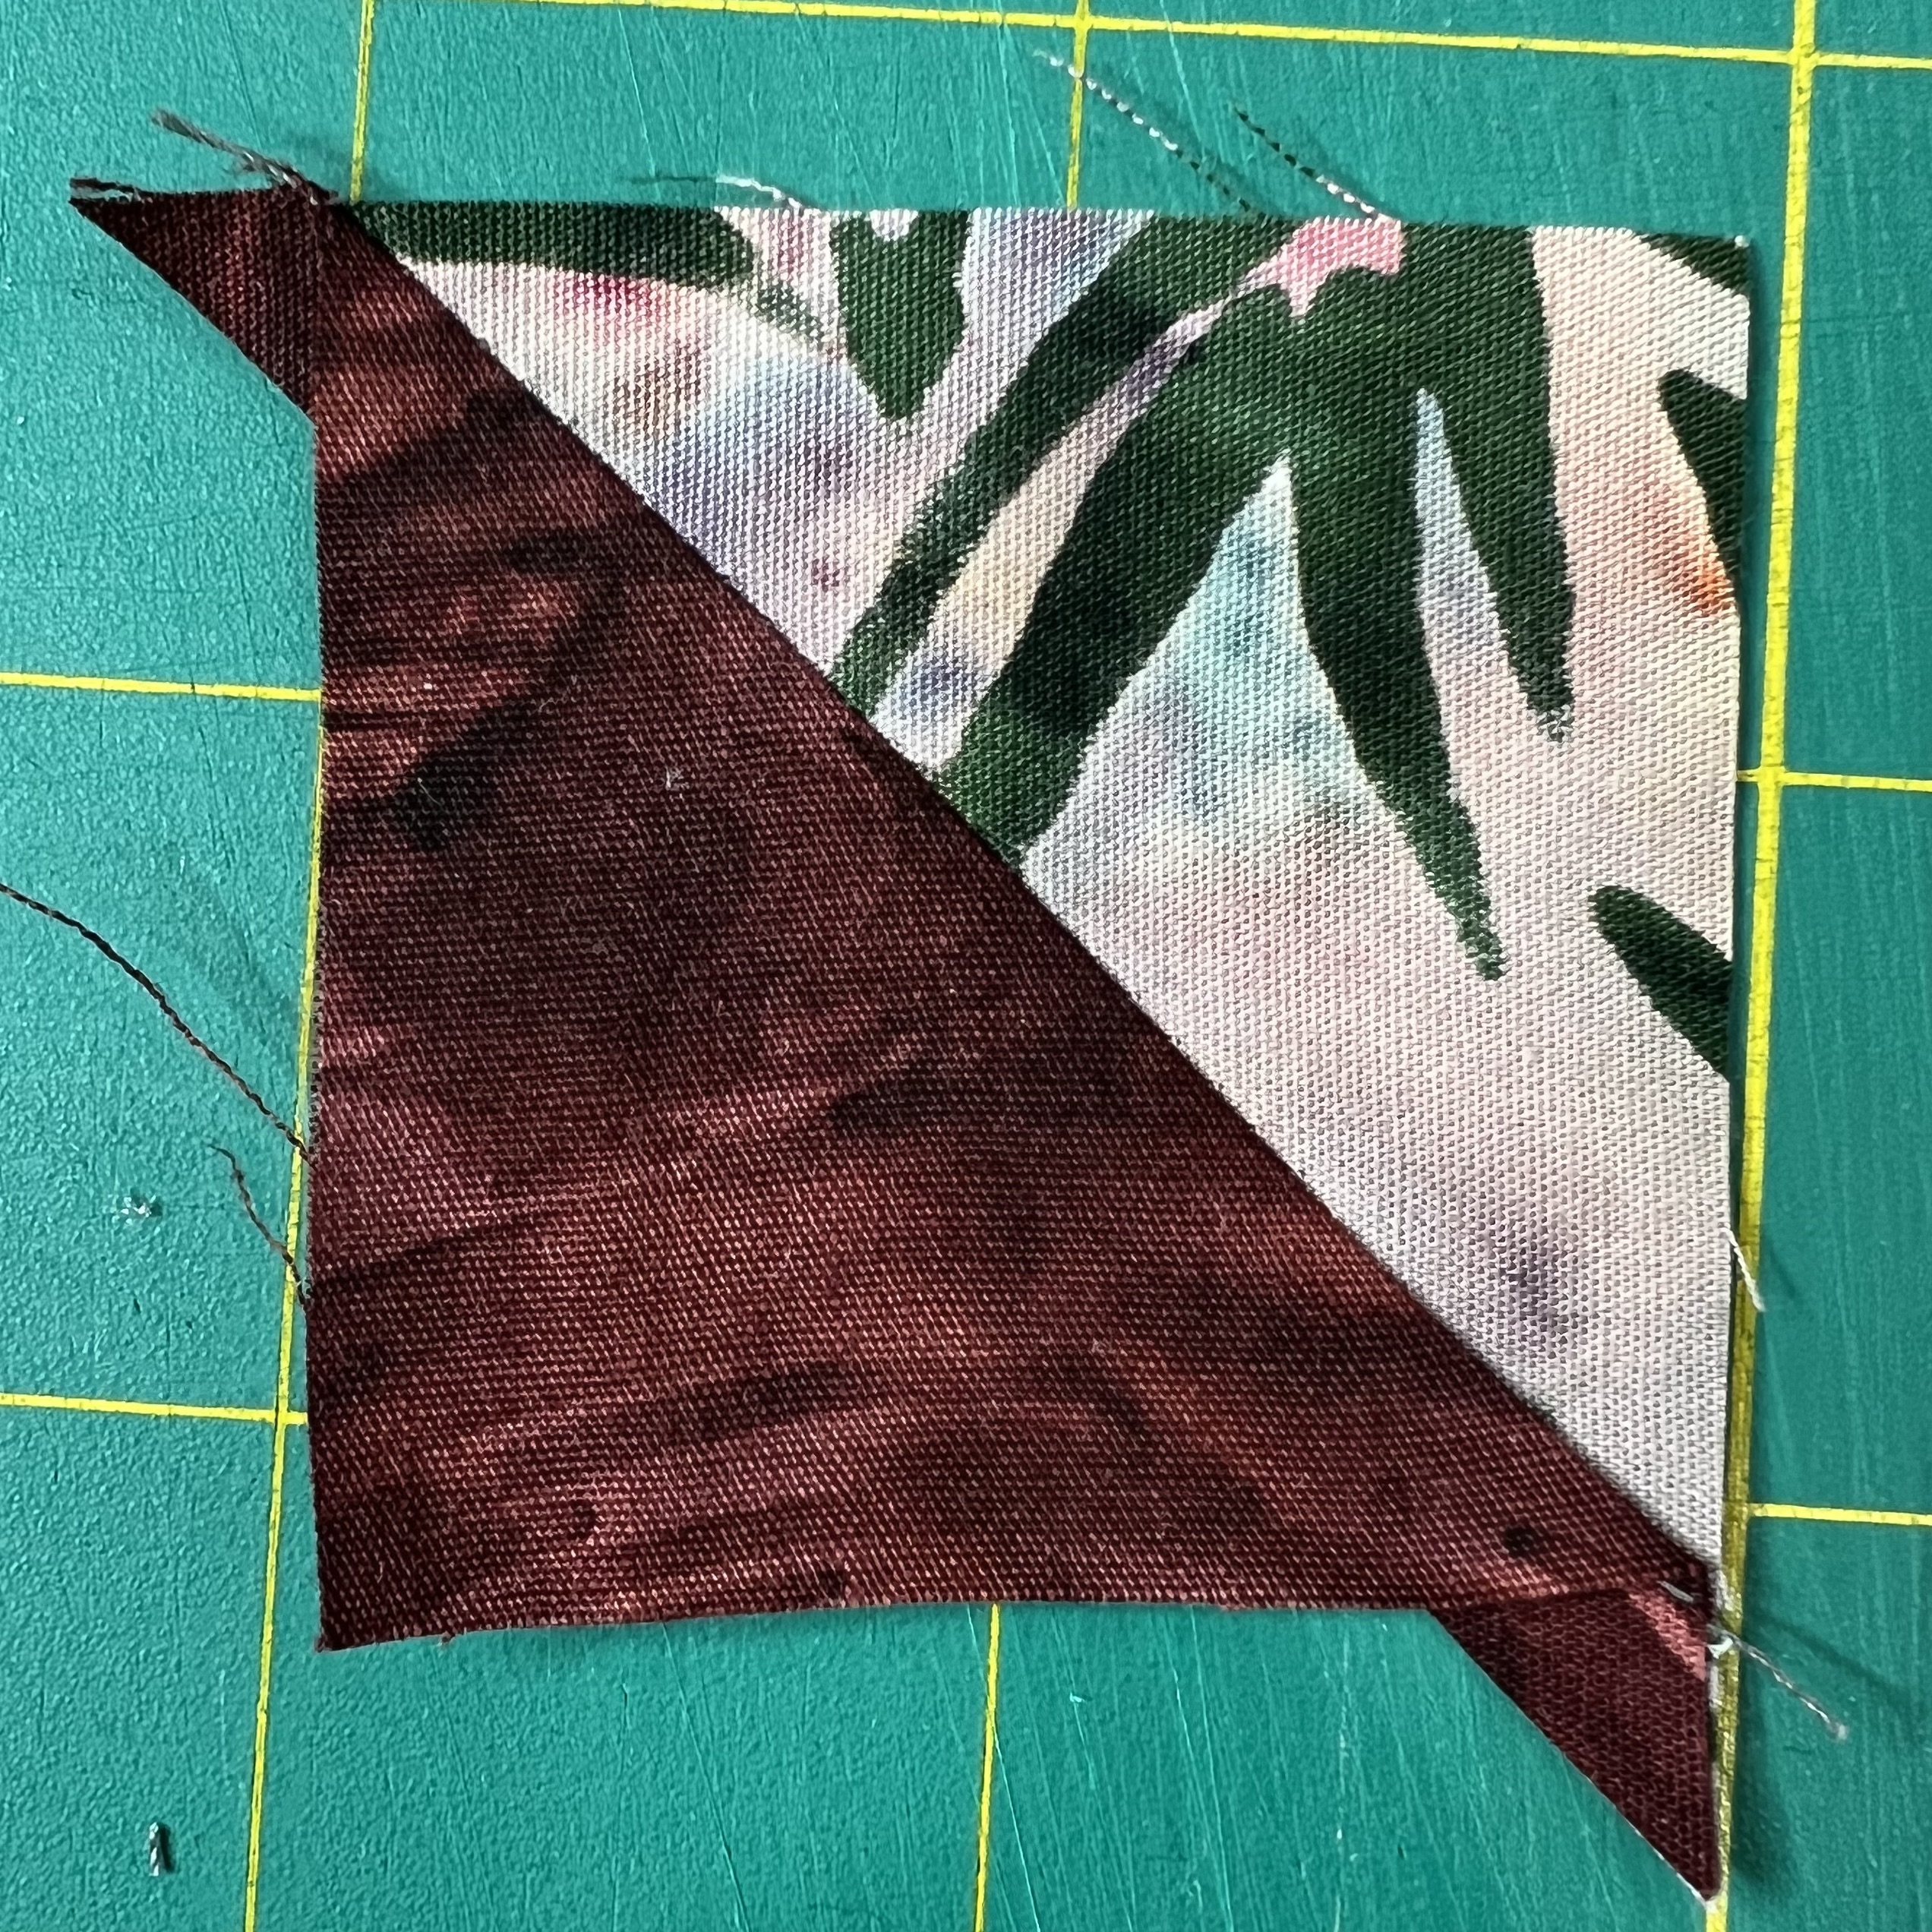
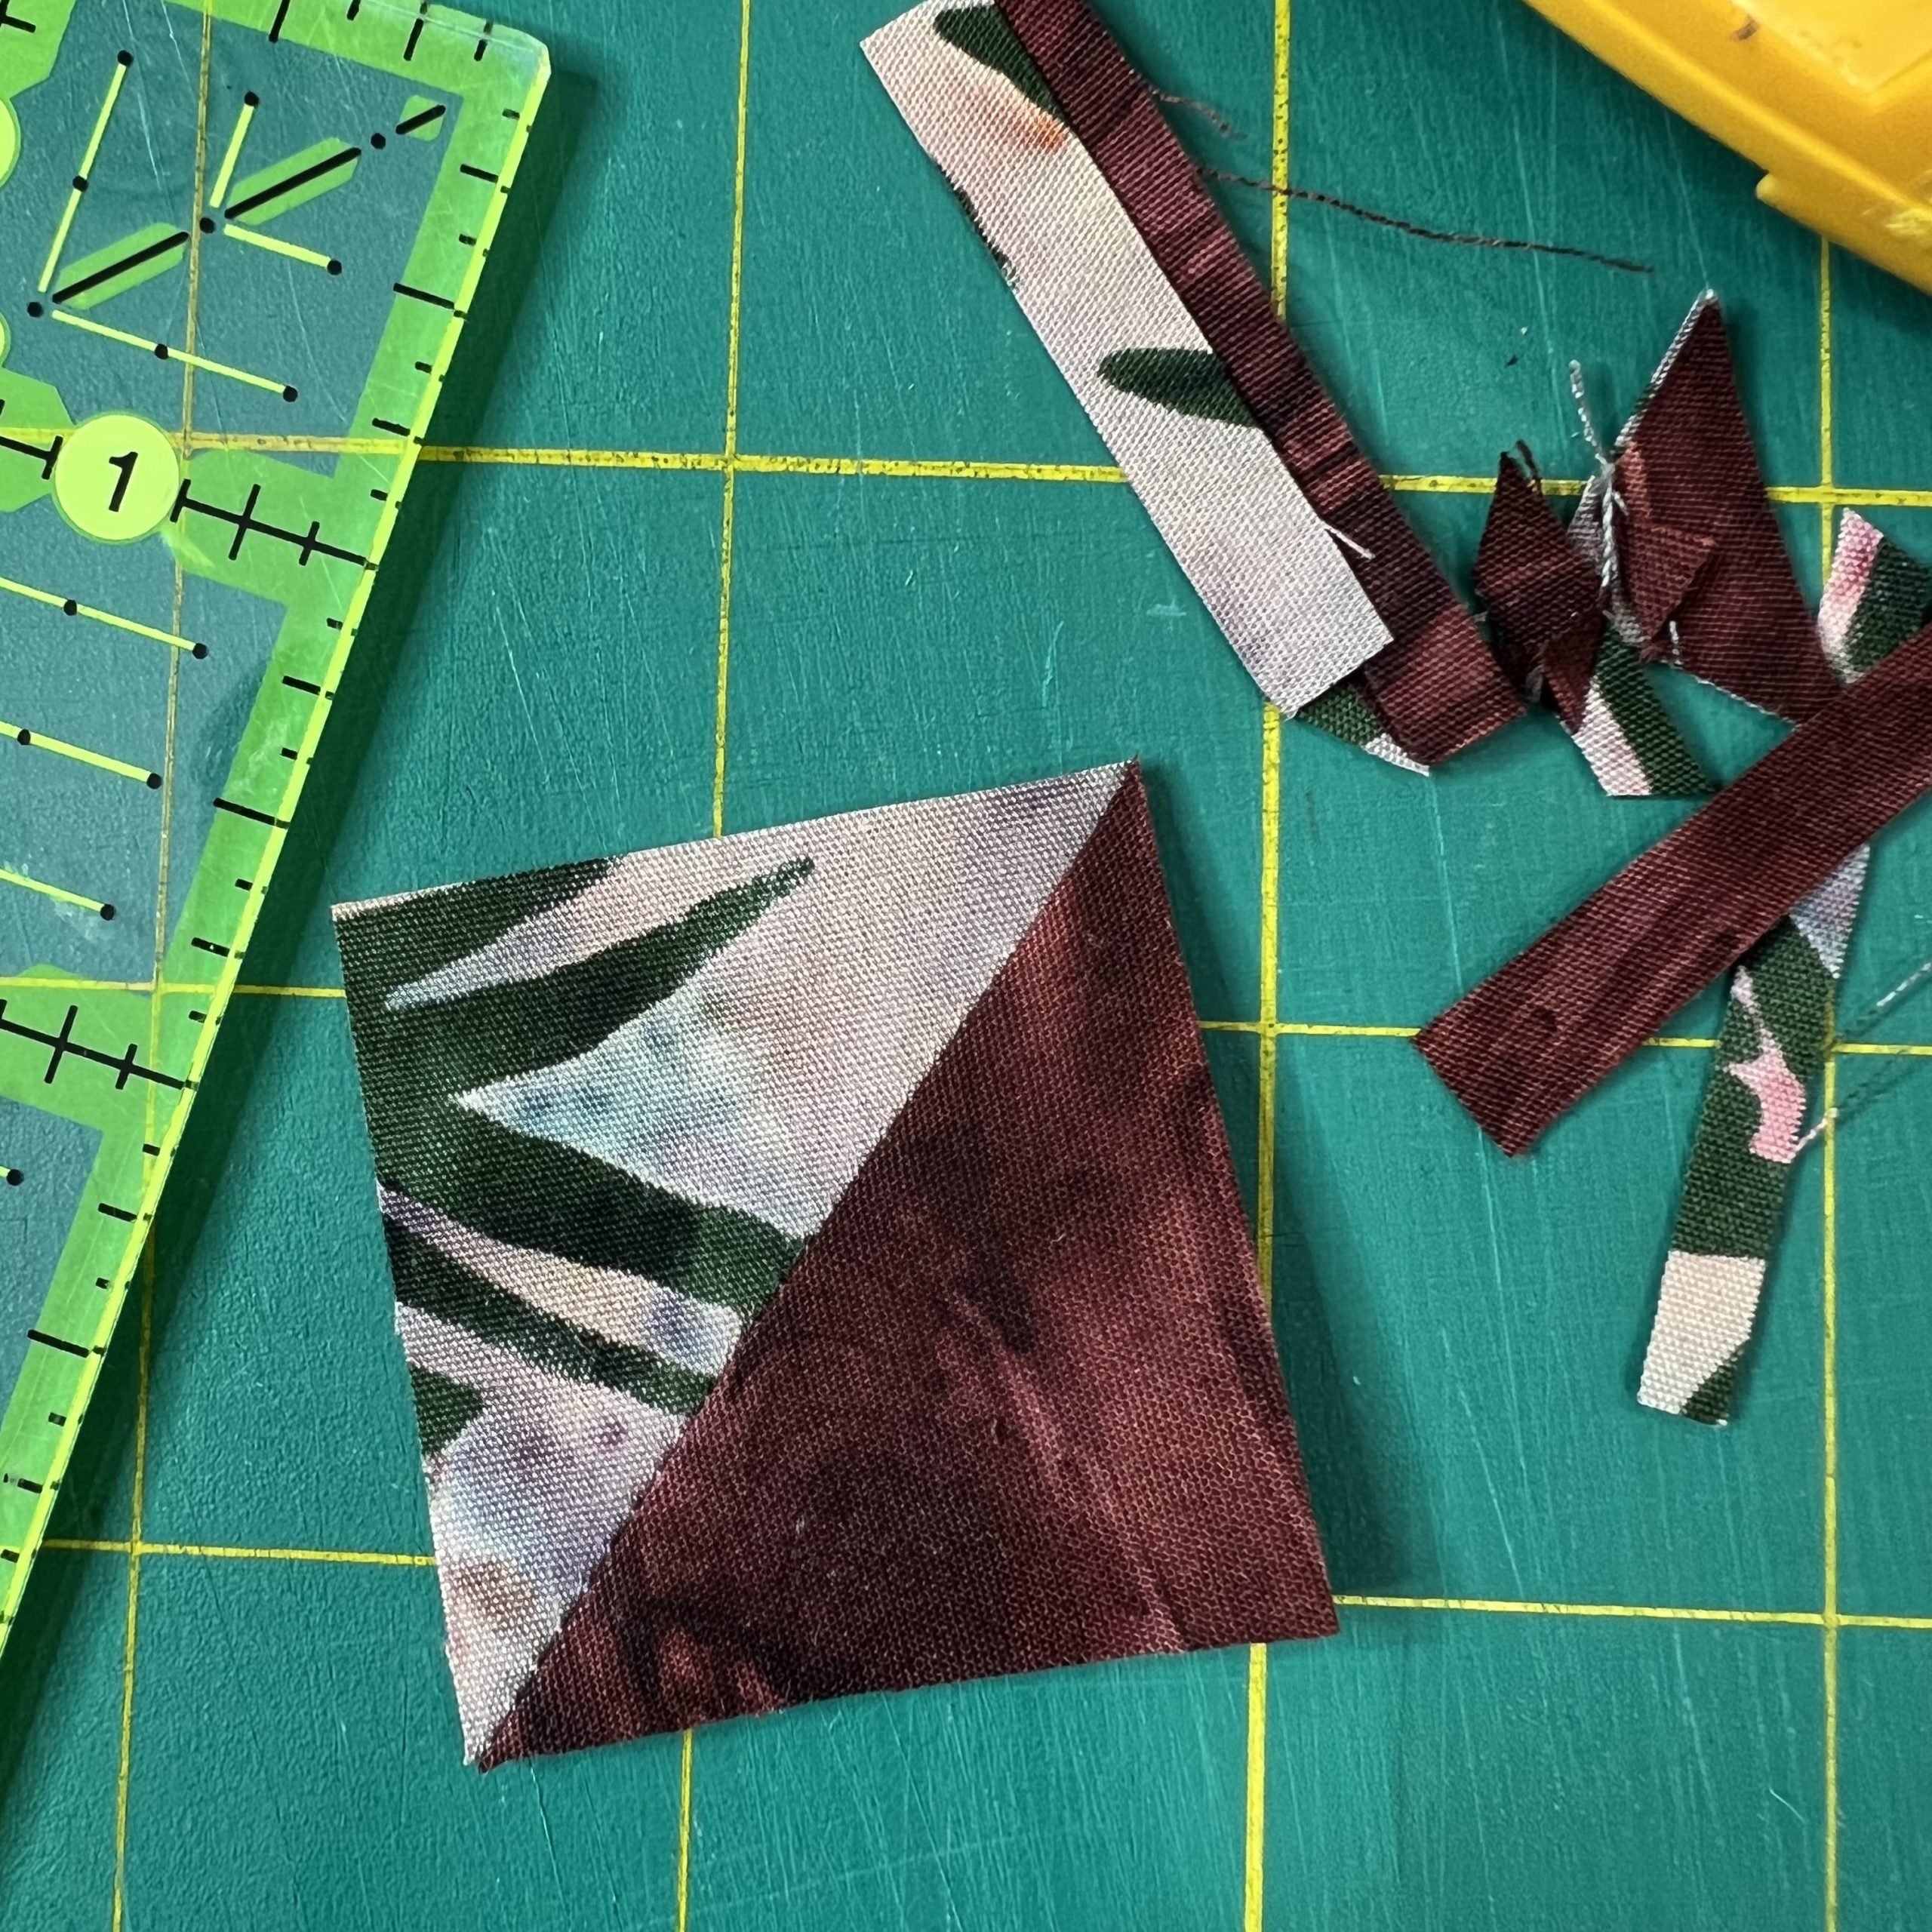
To make 2 half square triangles that will measure 1.5″ square you will need 2 squares of fabric (1 of fabric A and 1 of fabric B) cut 2.25″ square.
A – Draw a diagonal line on the back (wrong side) of the lighter colored square.
B – Line the two squares up on top of each other, right sides facing.
C – Sew a 1/4″ seam along each side of the drawn line.
D – Cut along the drawn line to split the block in half.
E – Press open.
F – Trim the half square triangle down to 1.5″ square.
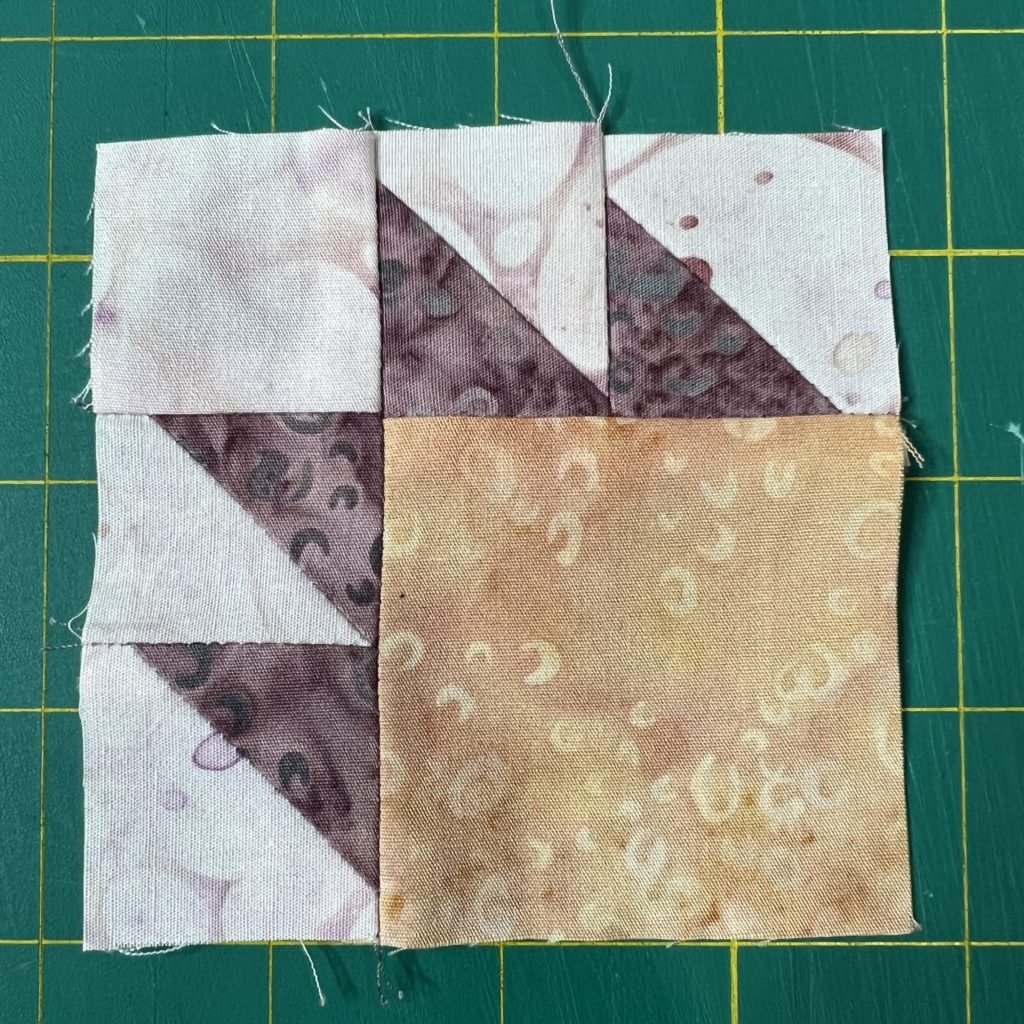
Make the Mini Bear’s Paw Quilt Block
For the mini Bear’s Paw quilt block you will need the following pieces:
- 4 – 1.5″ half square triangles made up of fabric A and fabric B
- 1 square of fabric C cut 2.25″
- 1 square of fabric B cut 1.5″
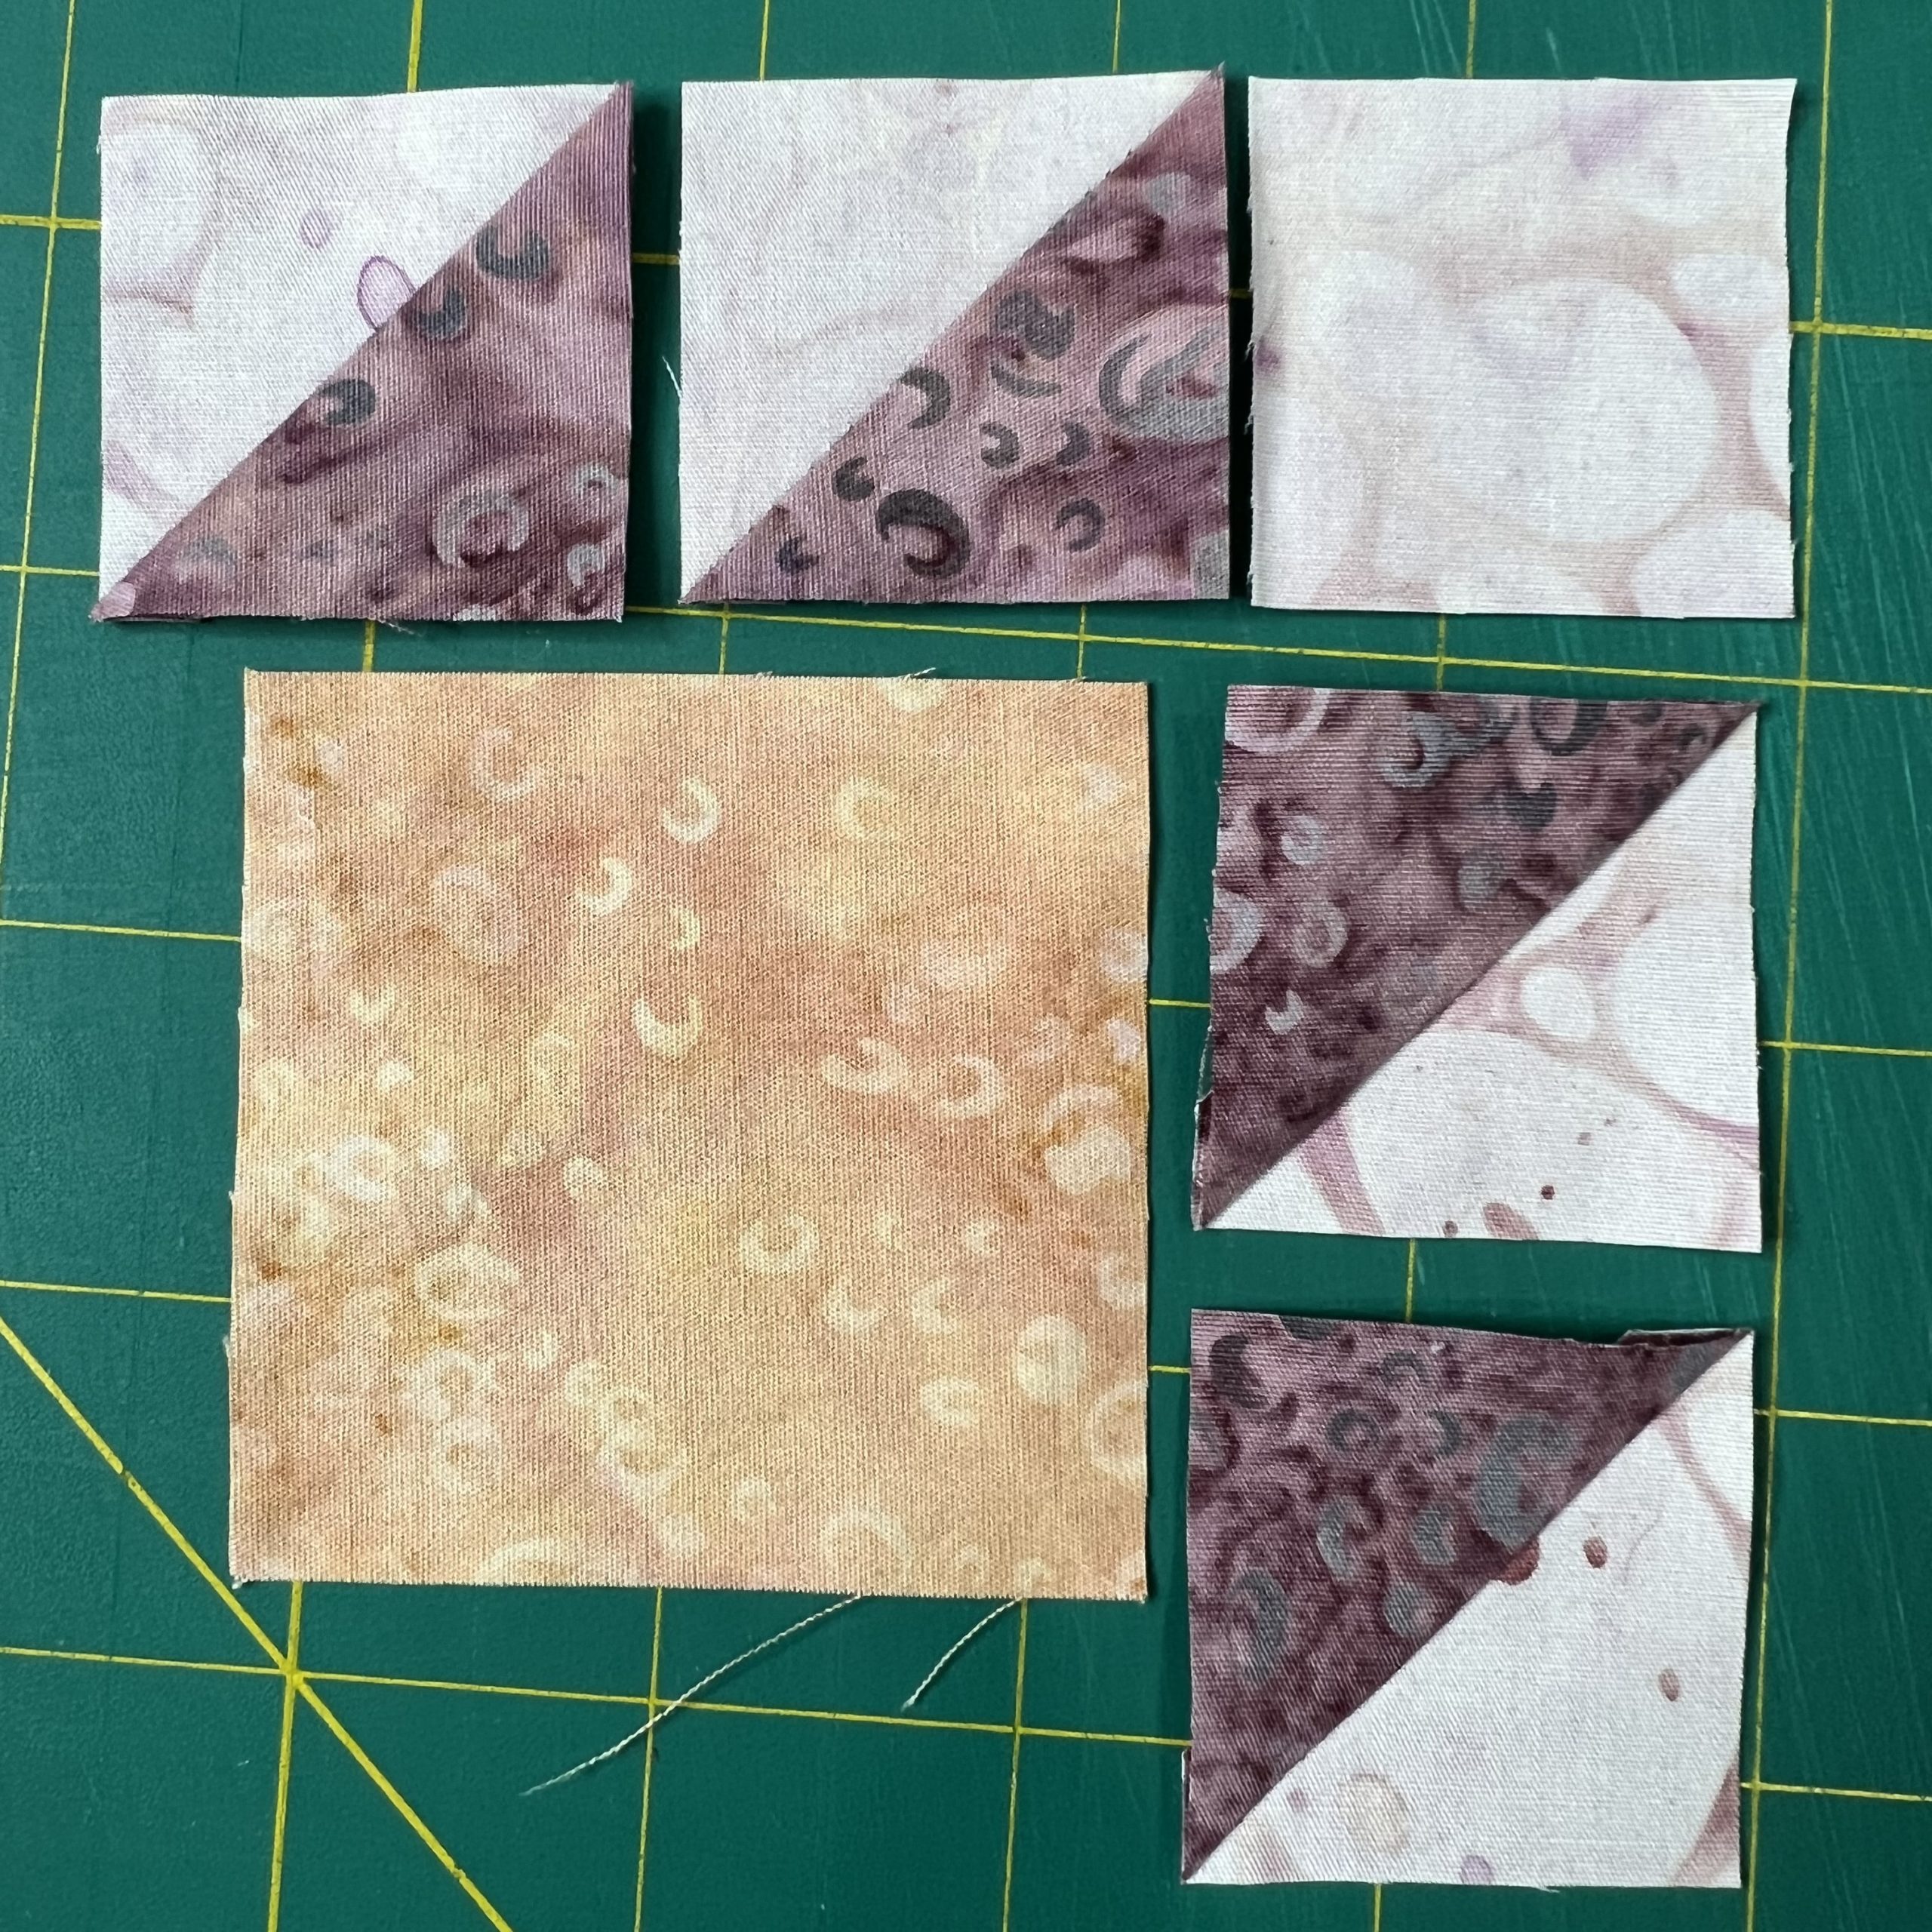
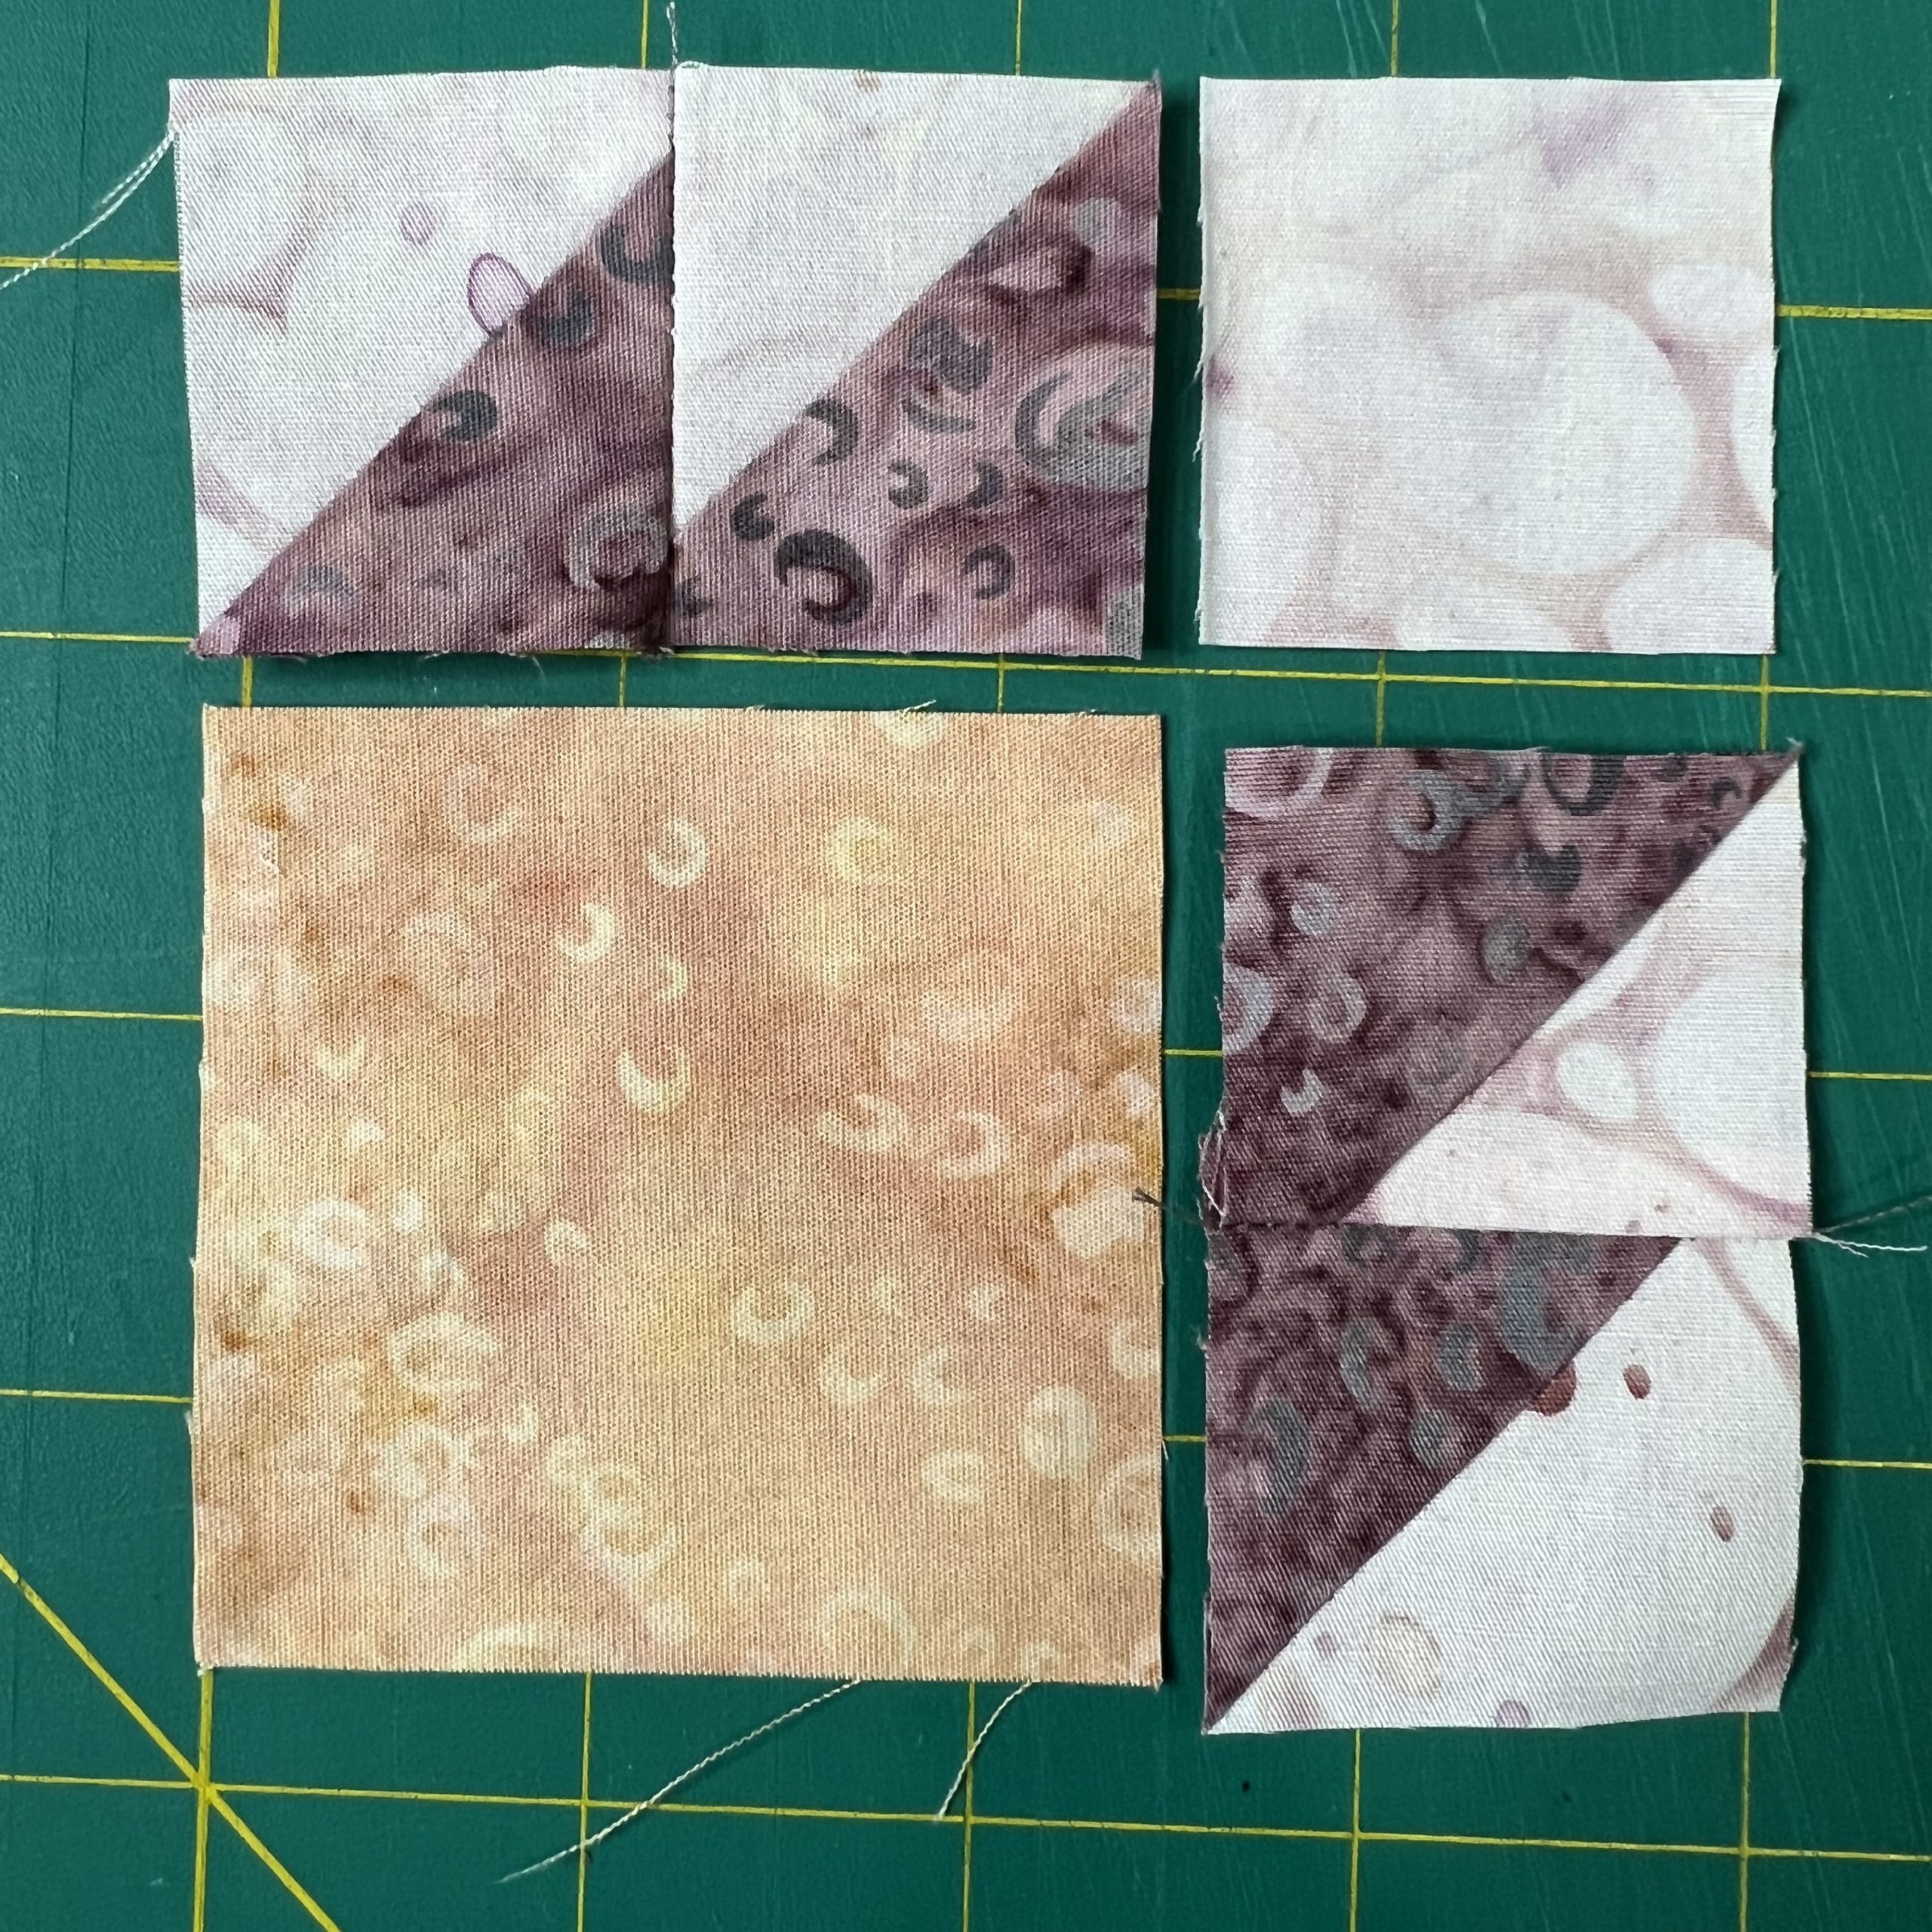
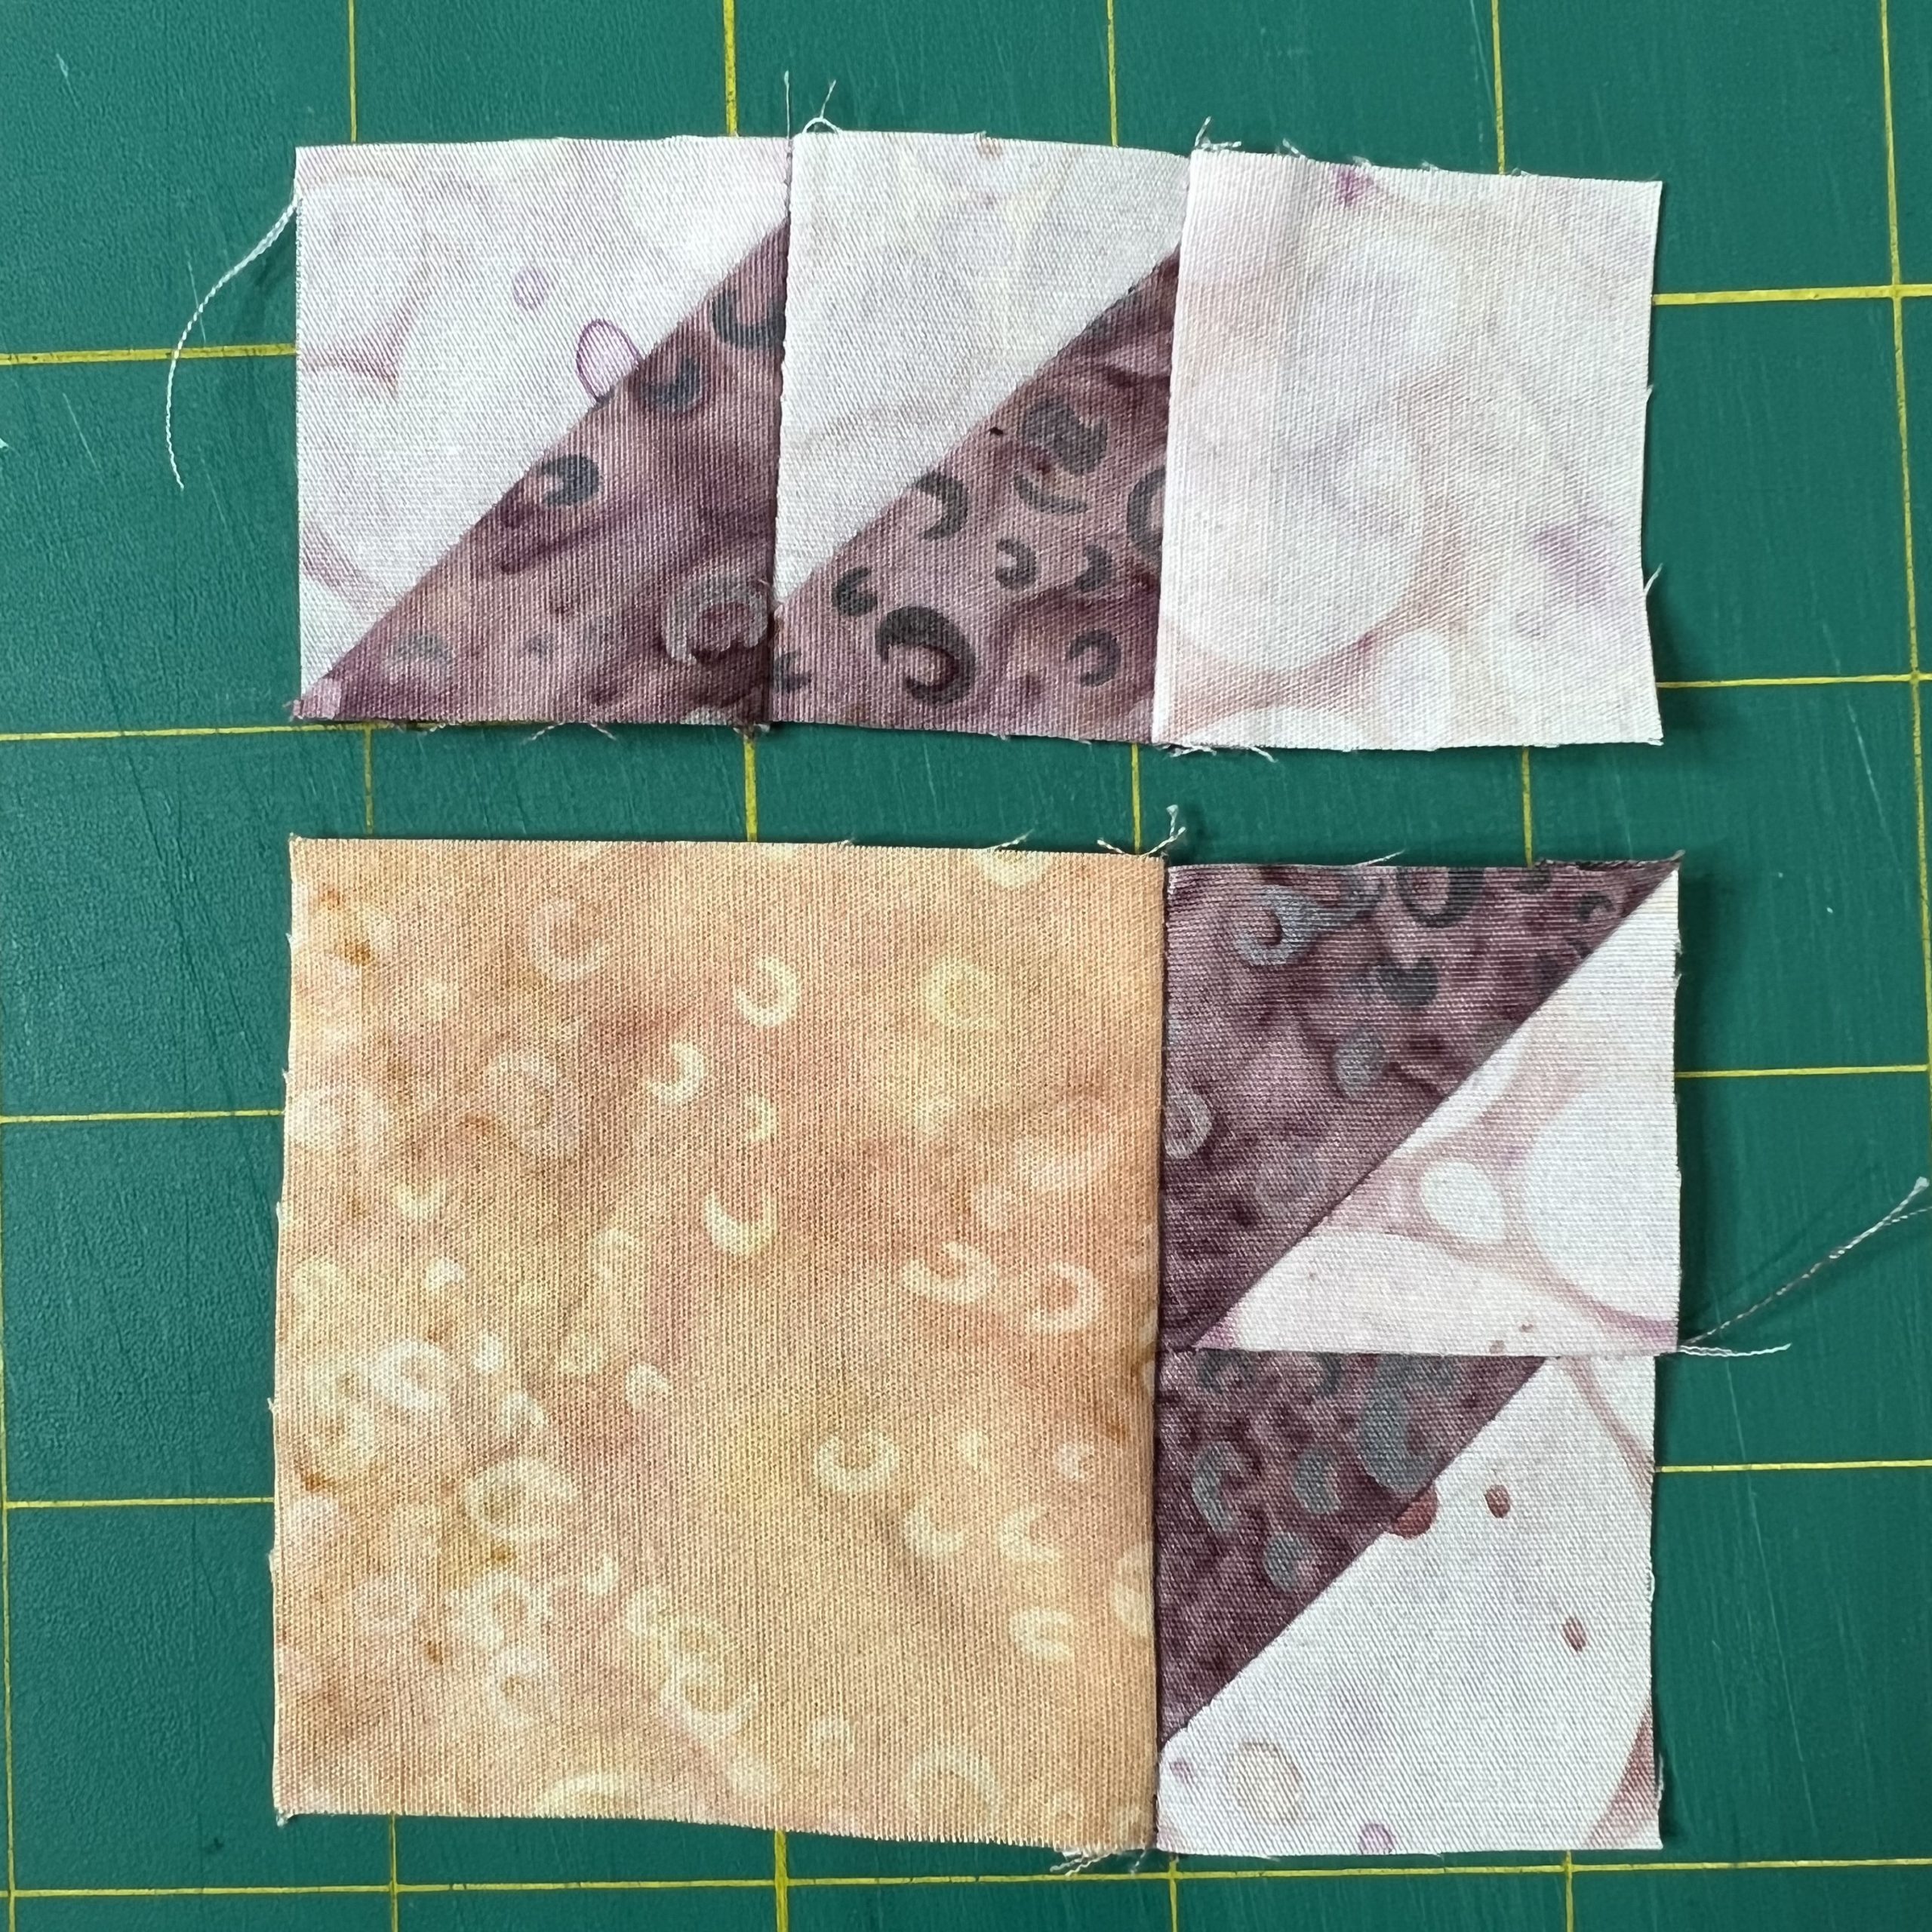
A – Lay out the pieces as shown.
B – Sew together the half square triangles on the top and the right side.
C – Sew together the small square on the right of the one pair of half square triangles and then sew the other strip of half square triangles to the right of the larger square. Press towards the squares.
D – Add the top row to the larger row. Press. Block should measure 3.5″ unfinished, 3″ finished.
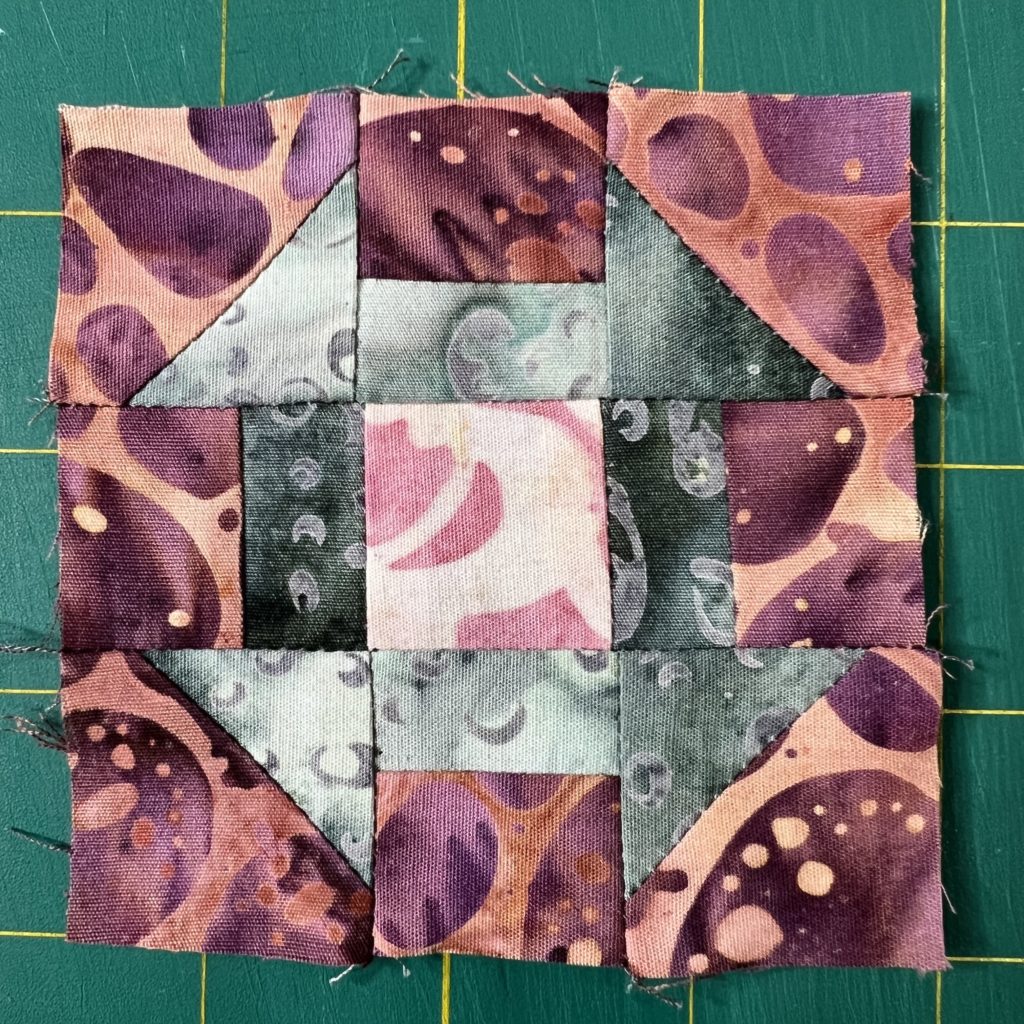
Make the Mini Churn Dash Quilt Block
For the mini Churn Dash quilt block you will need the following pieces:
- 4 – 1.5″ half square triangles made up of fabric A and fabric B
- 2 strips, one of fabric A and one of fabric B cut 1″ x 6.5″
- 1 square of fabric C cut 1.5″
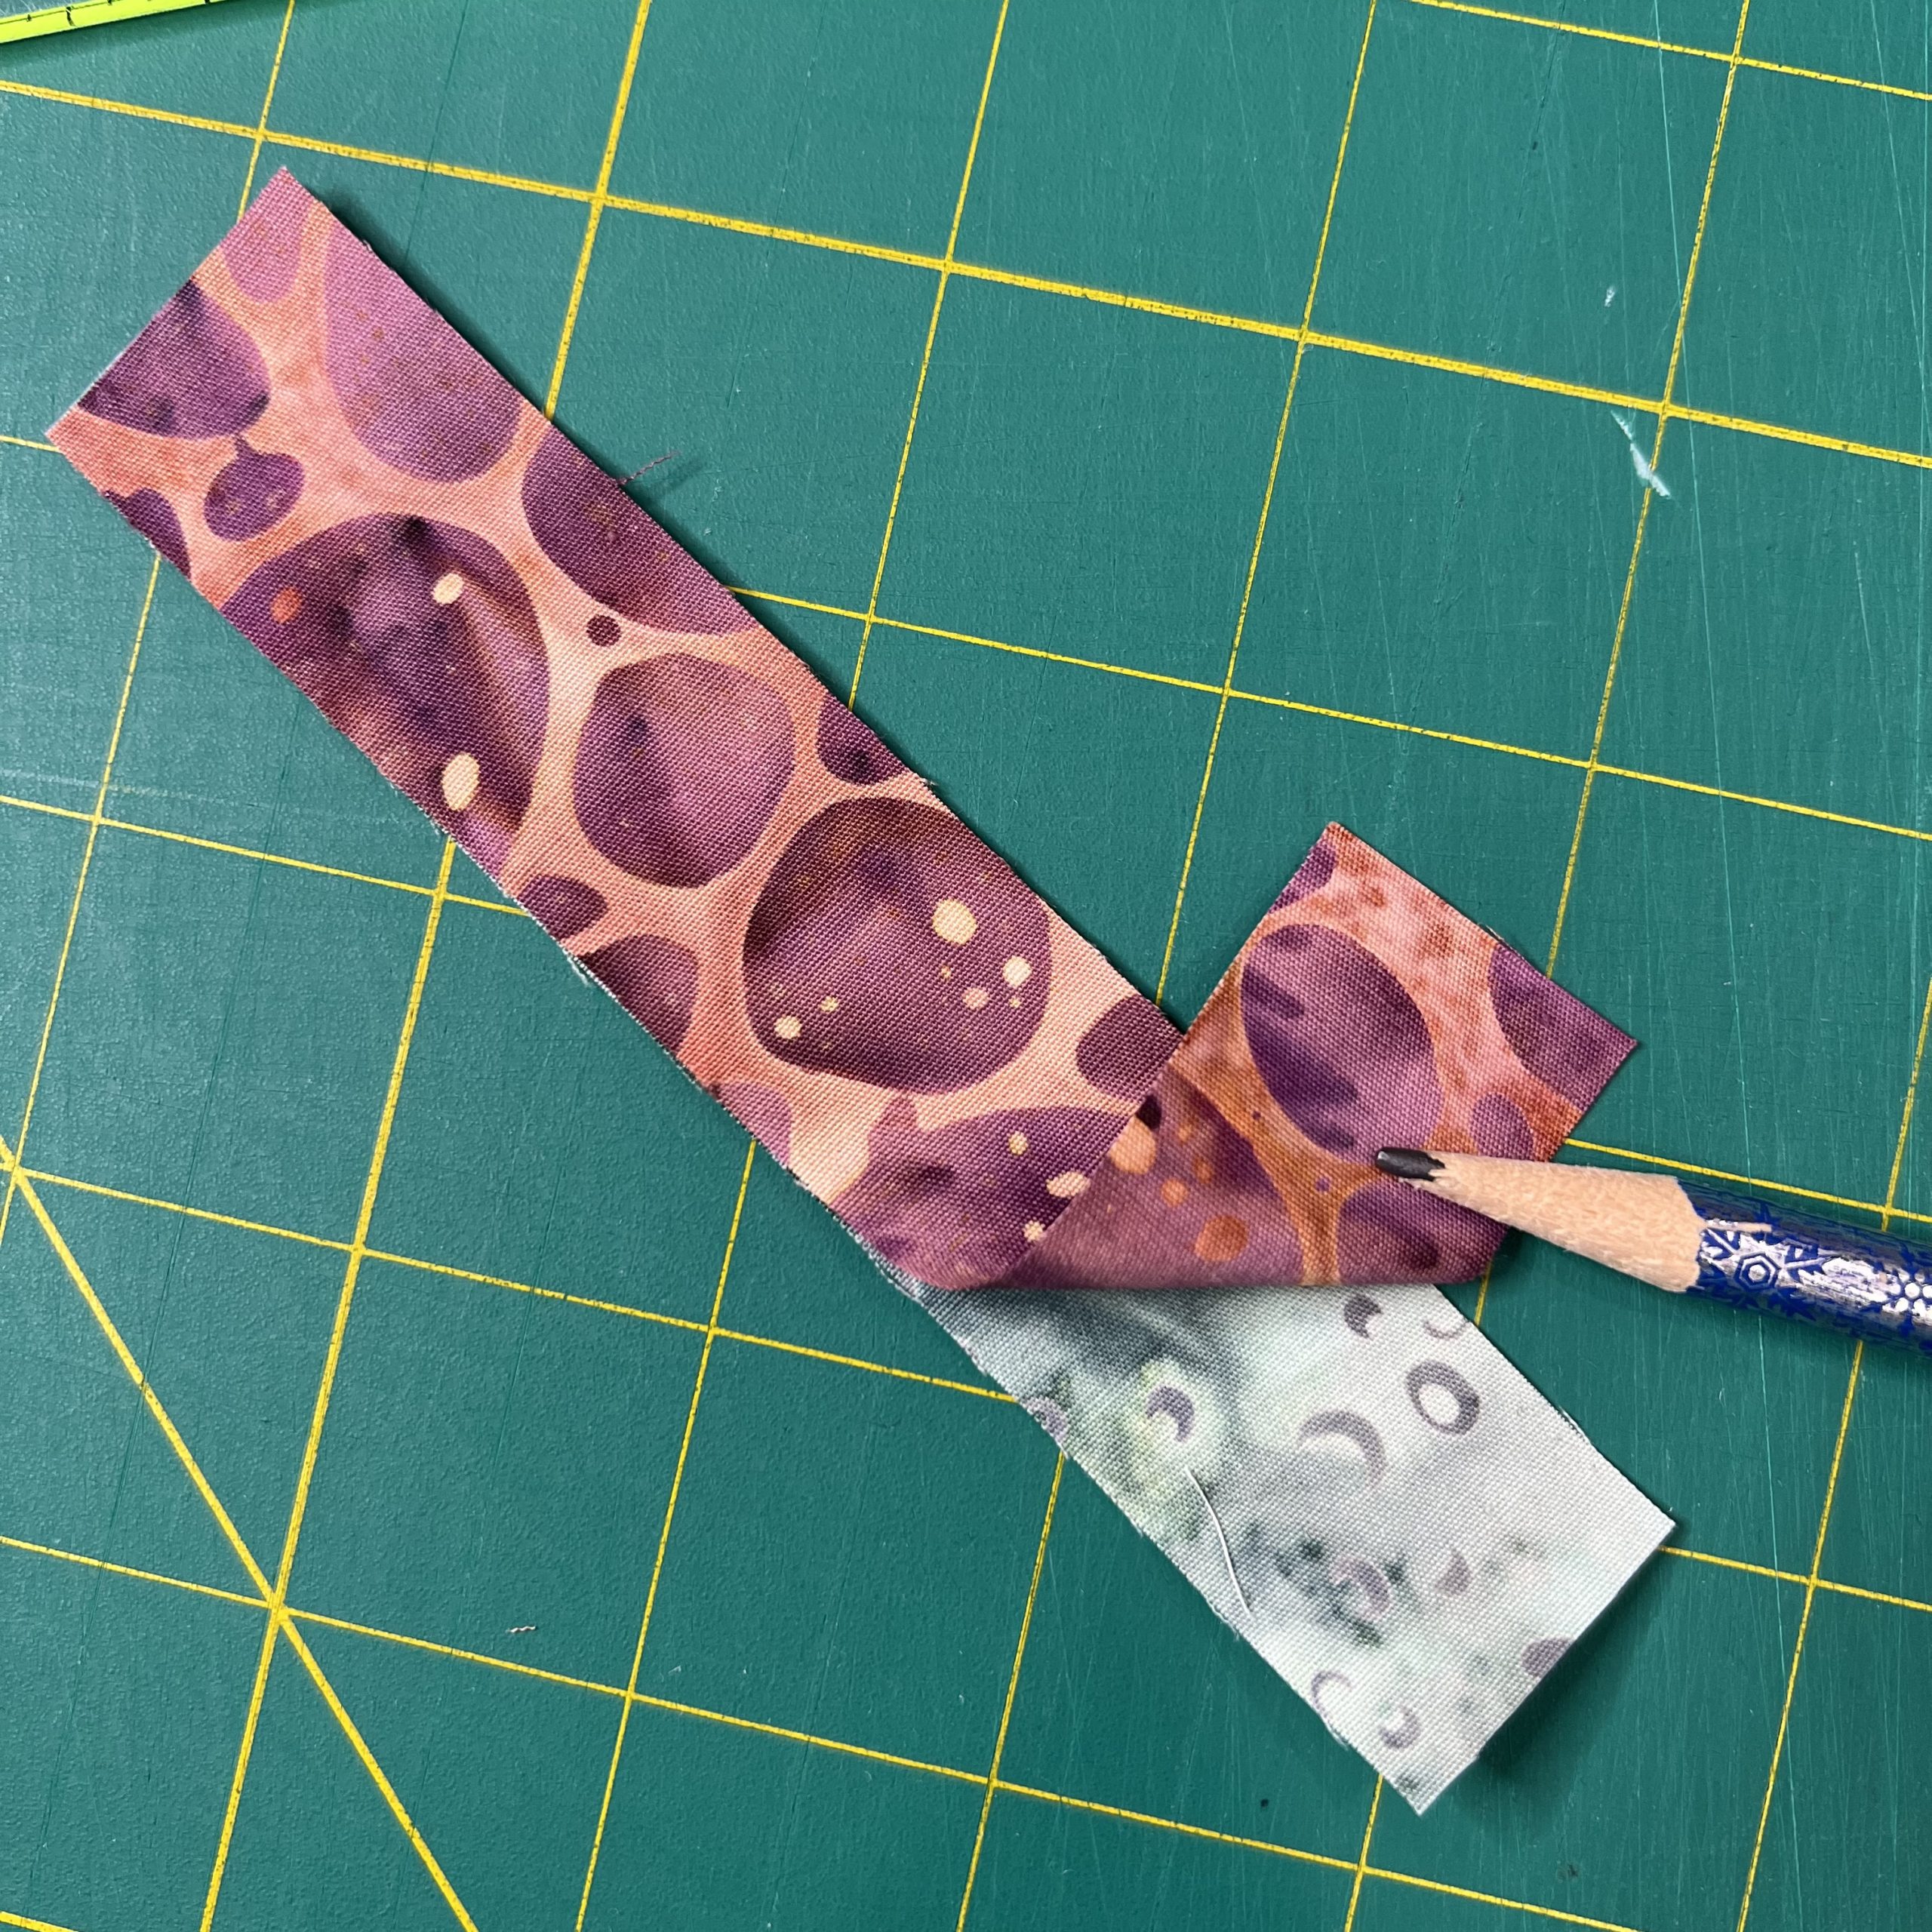
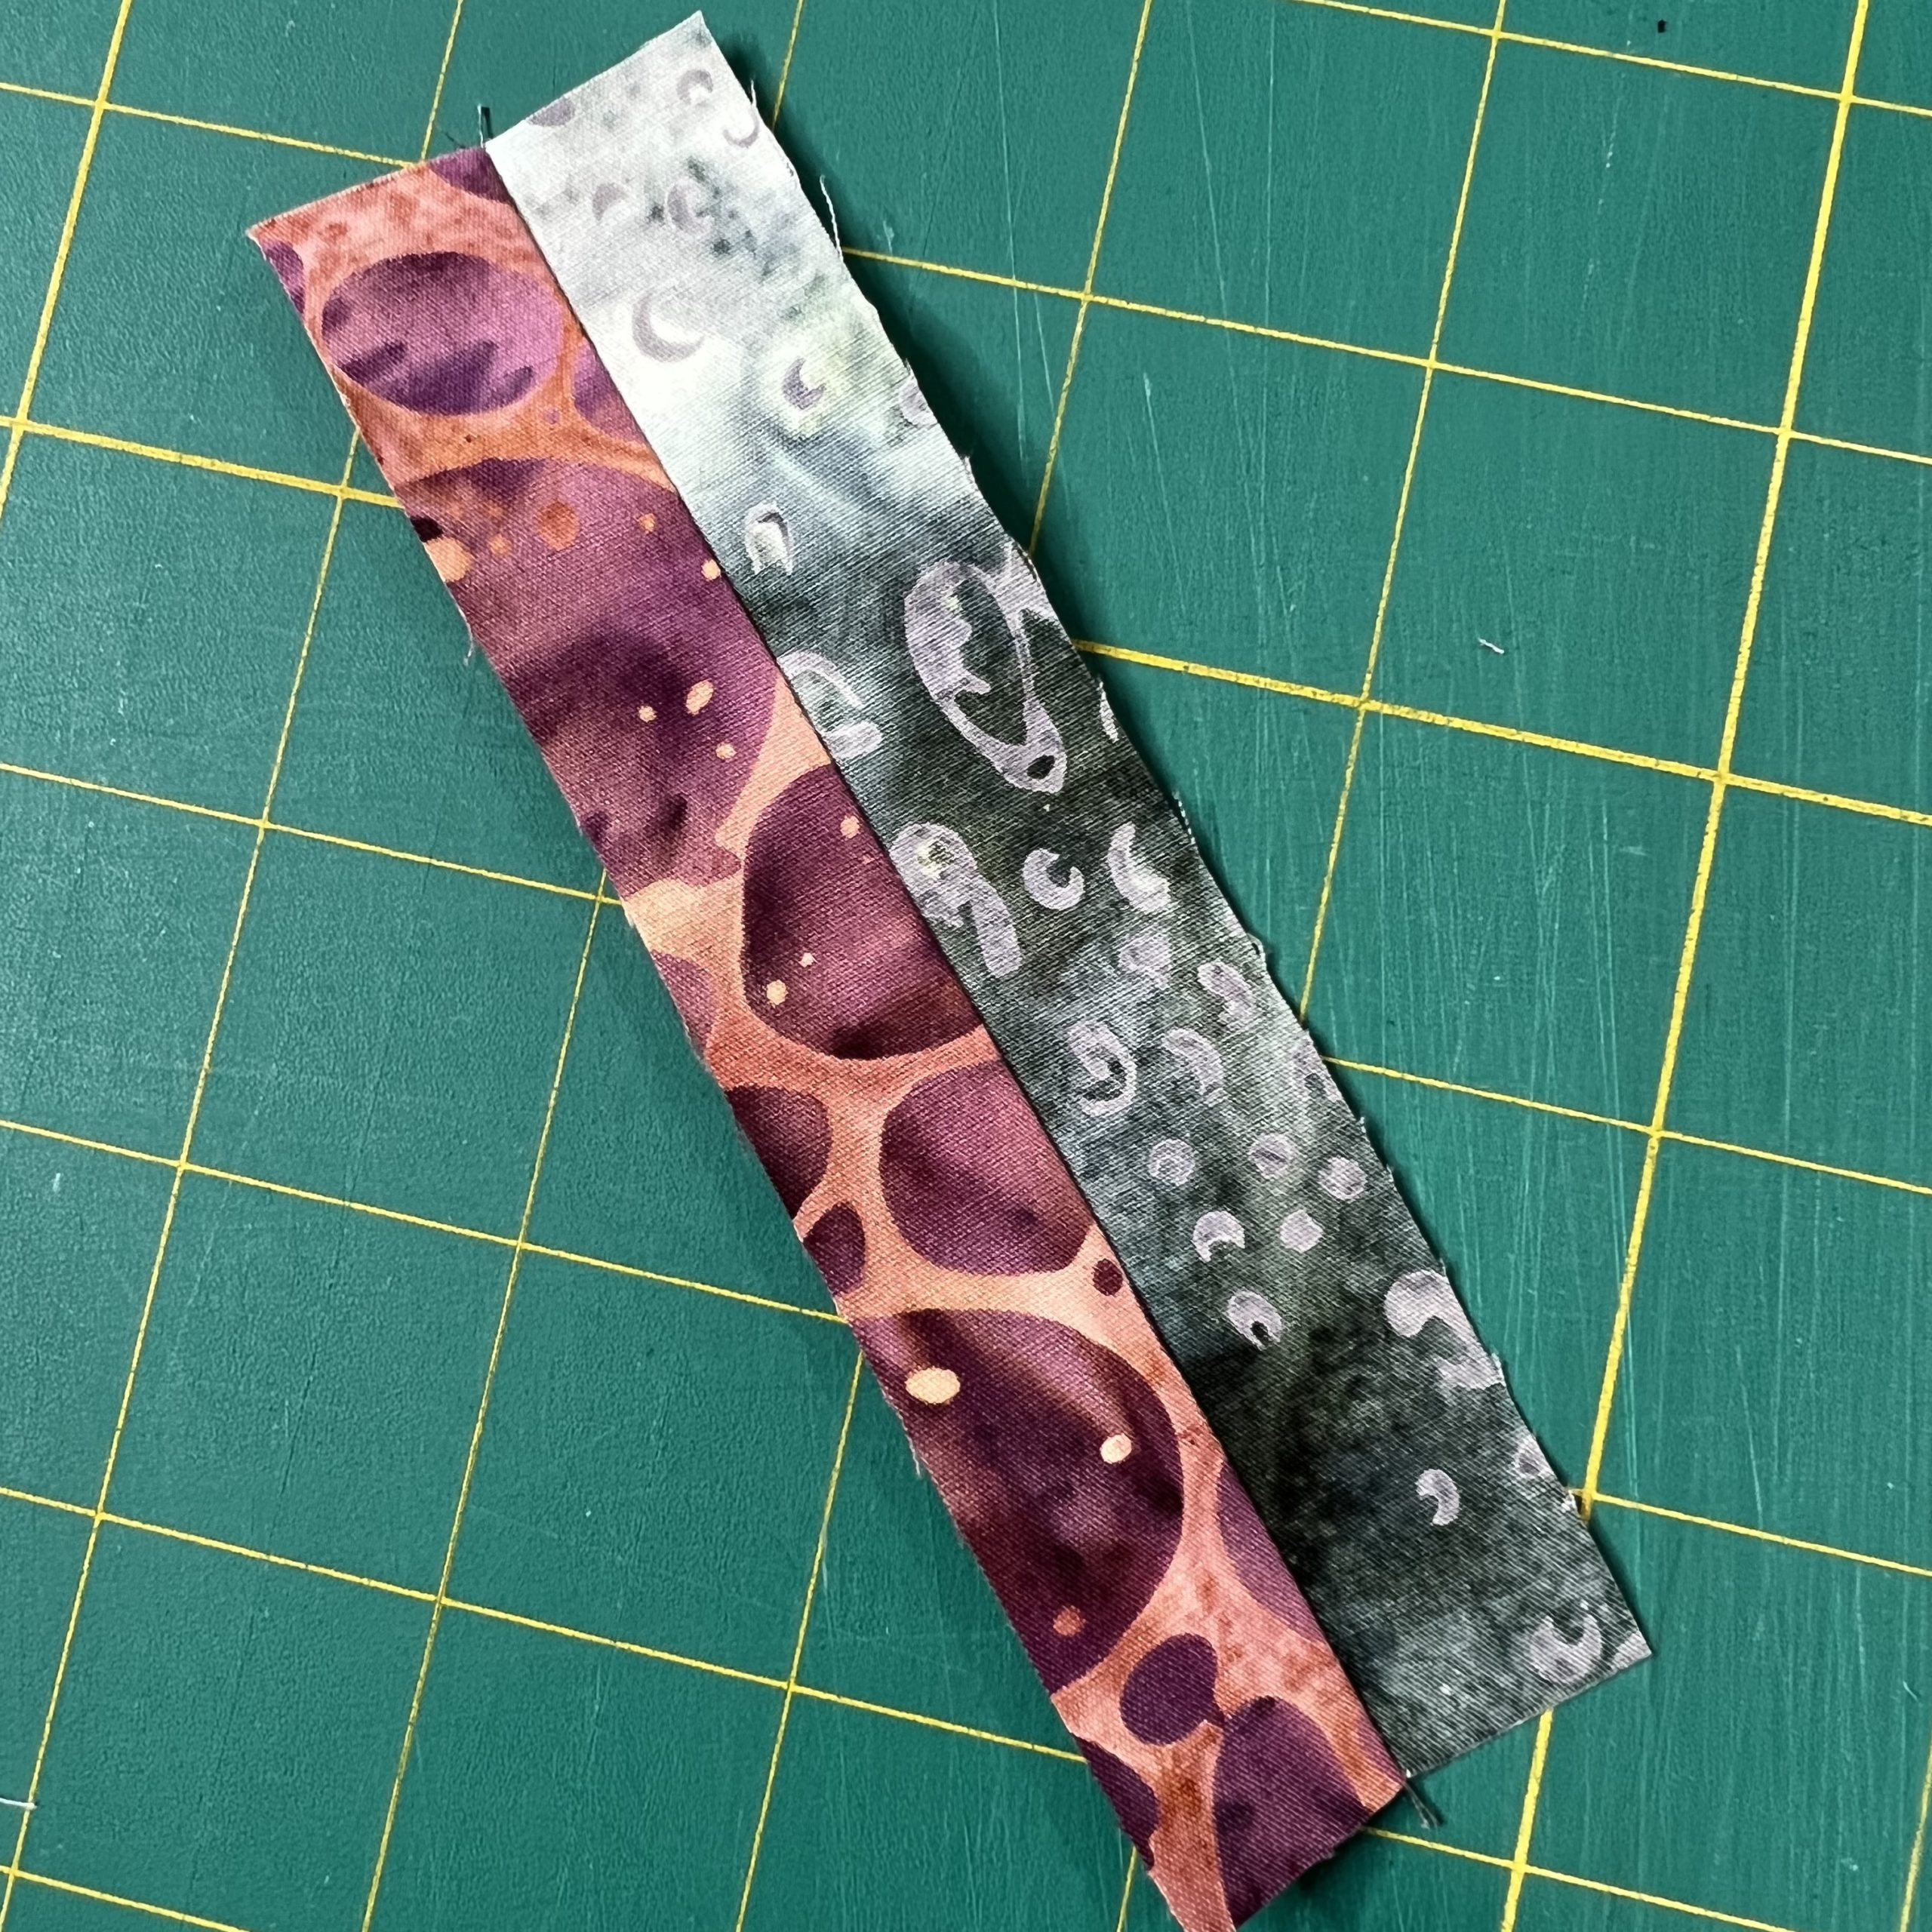
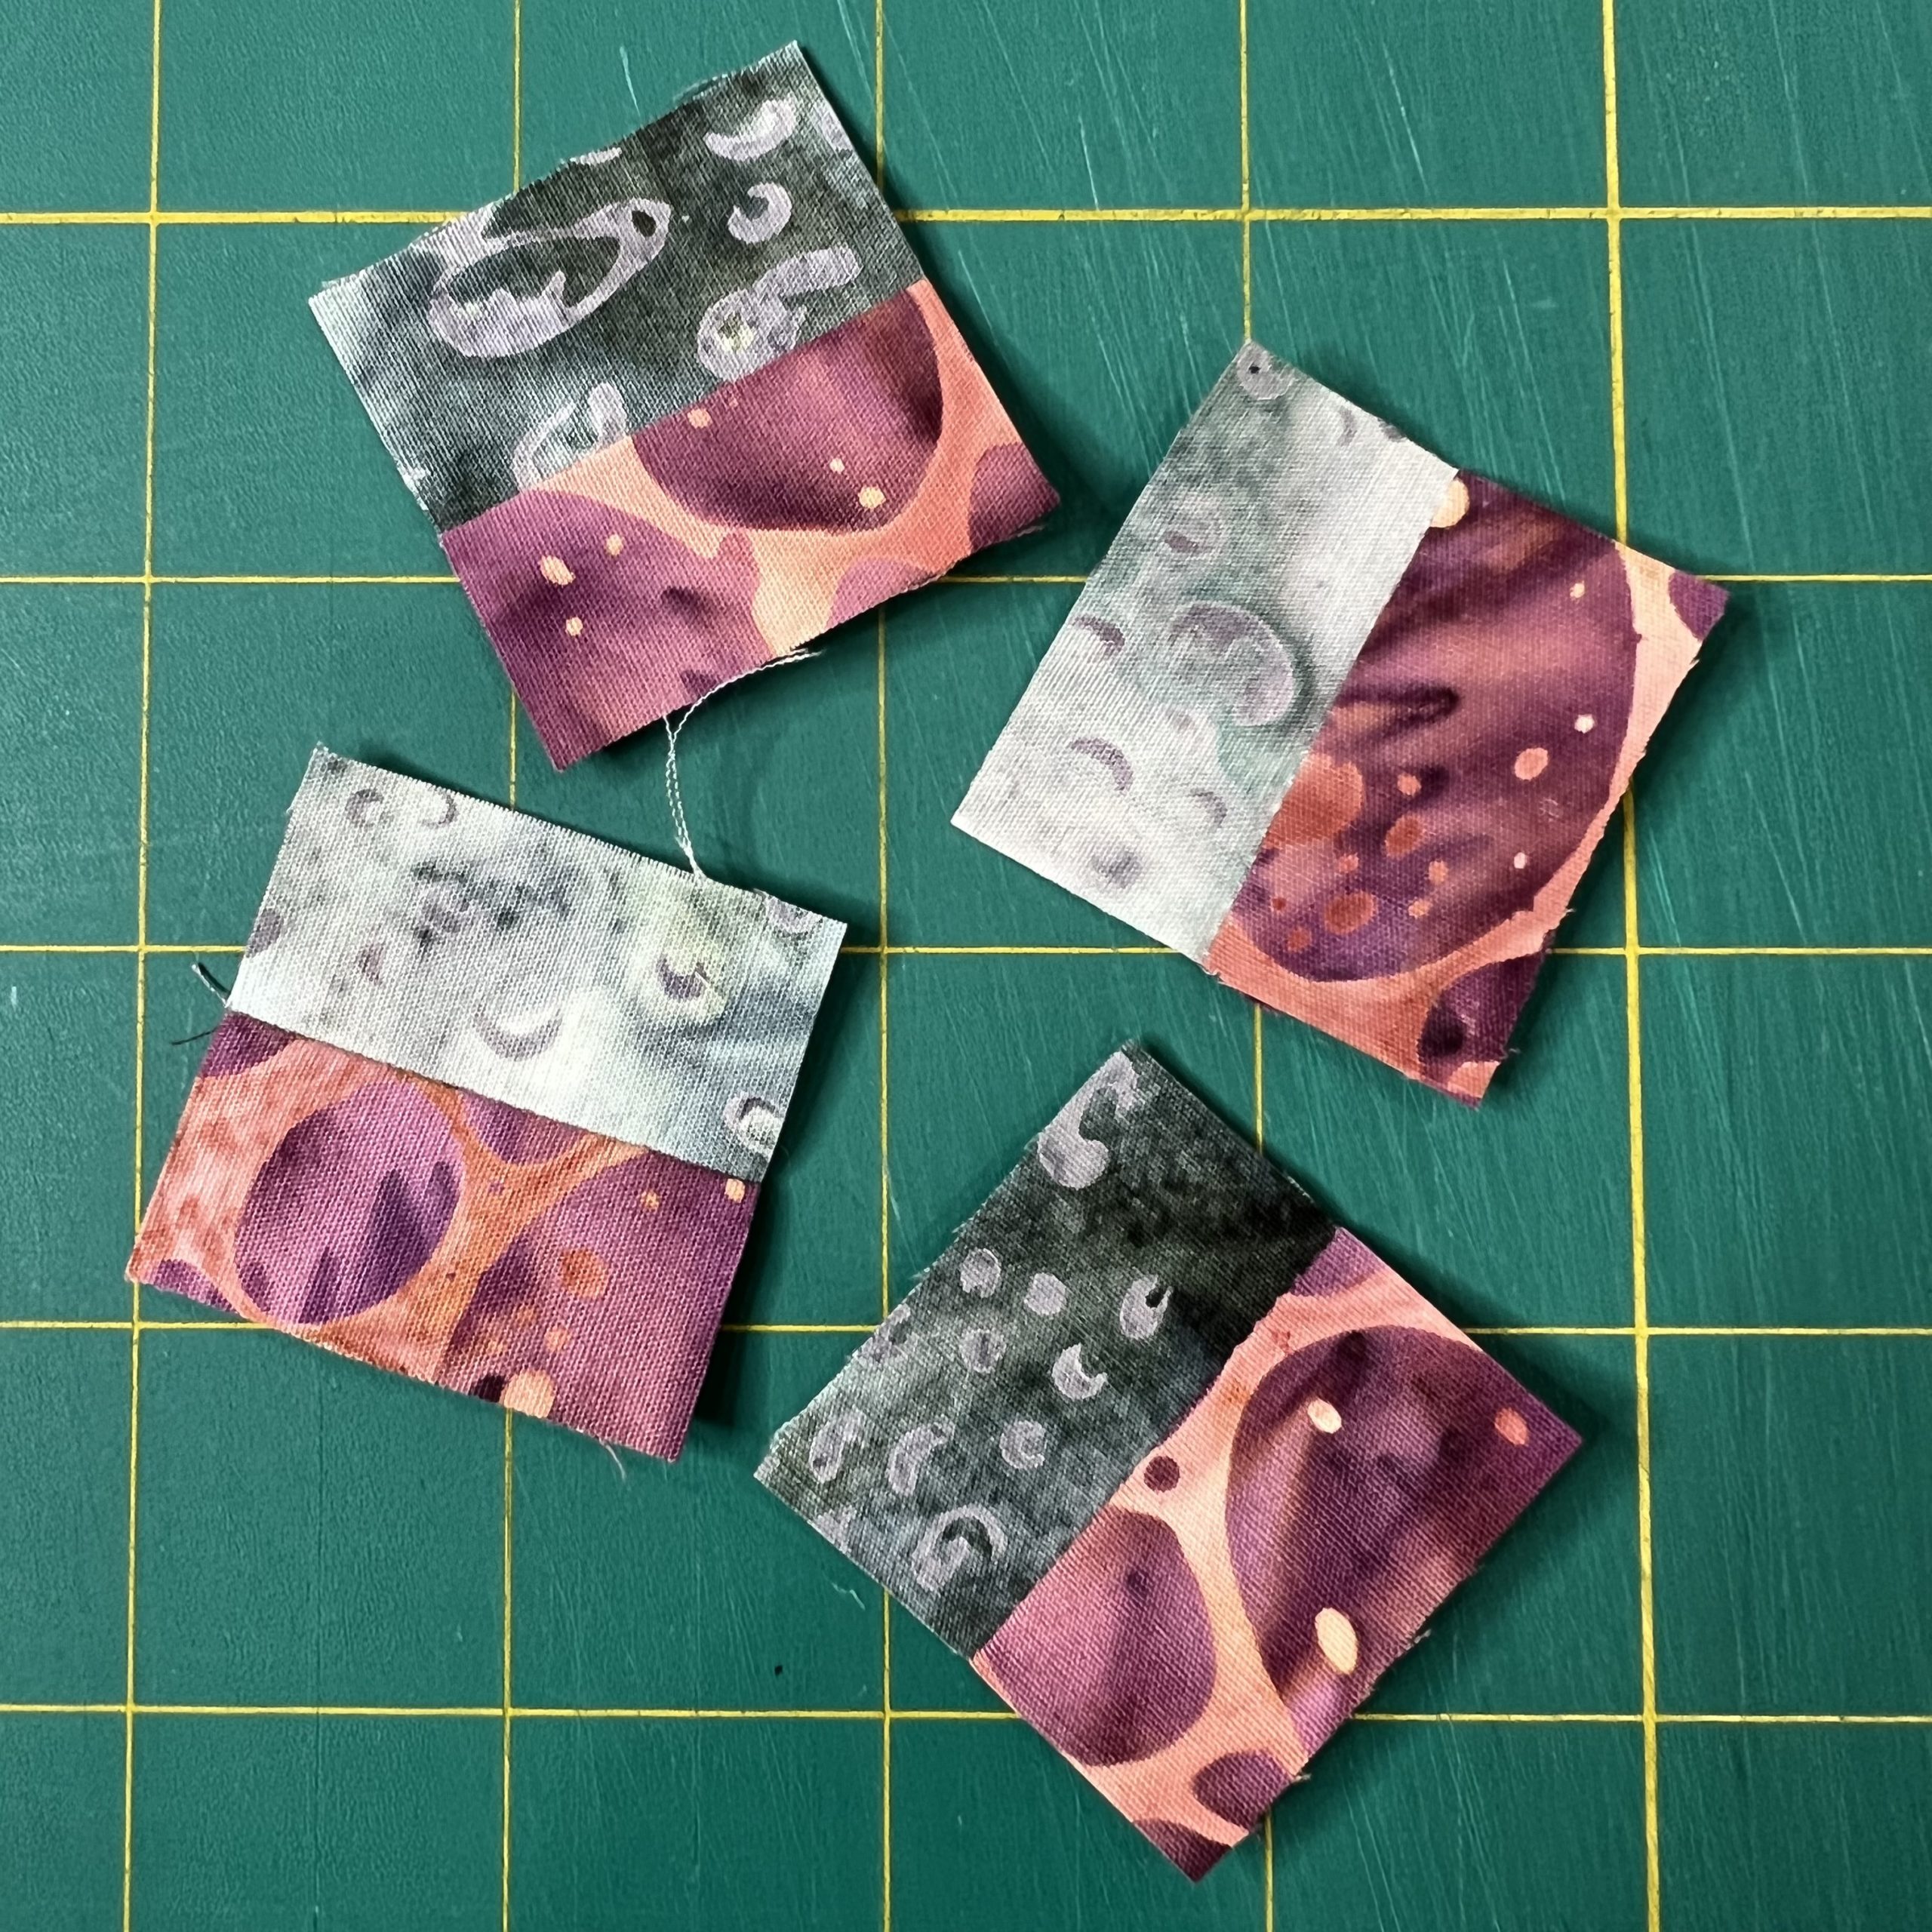
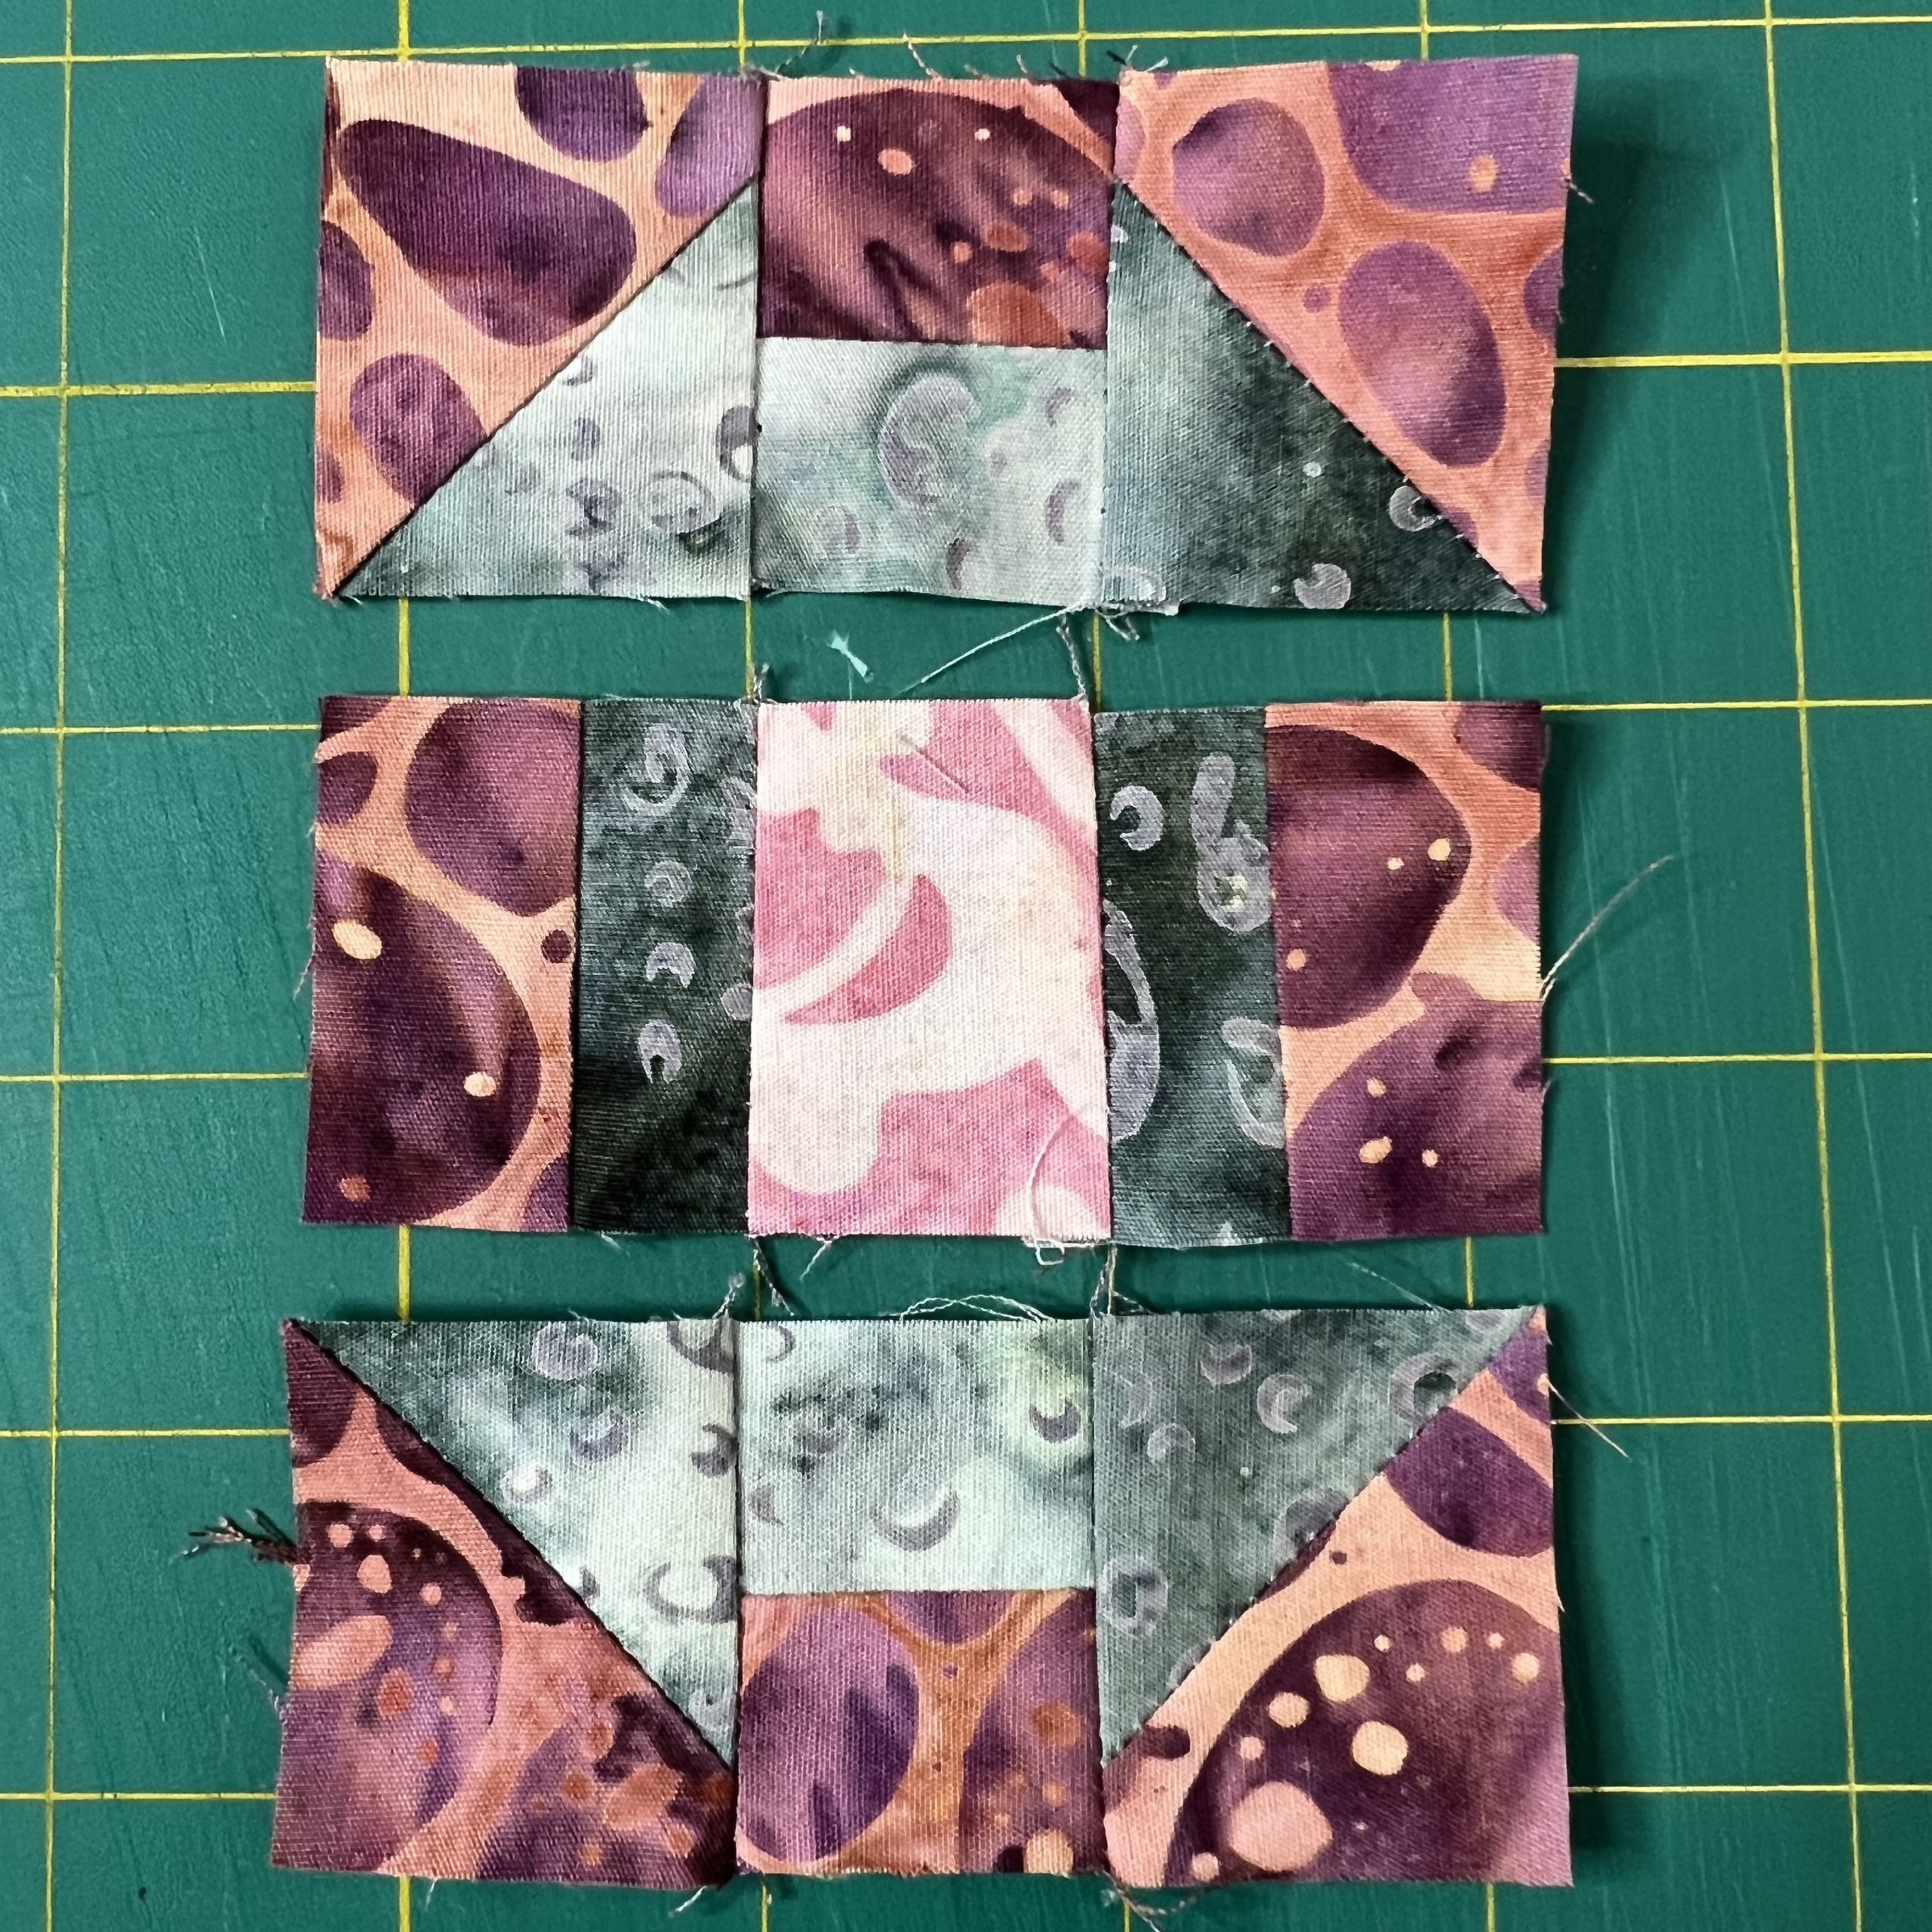
A – Line up the strips of fabric A and fabric B on top of each other, right sides facing.
B – Sew along one of the long sides, using a 1/4″ seam allowance.
C – Cut the strip into 1.5″ sections.
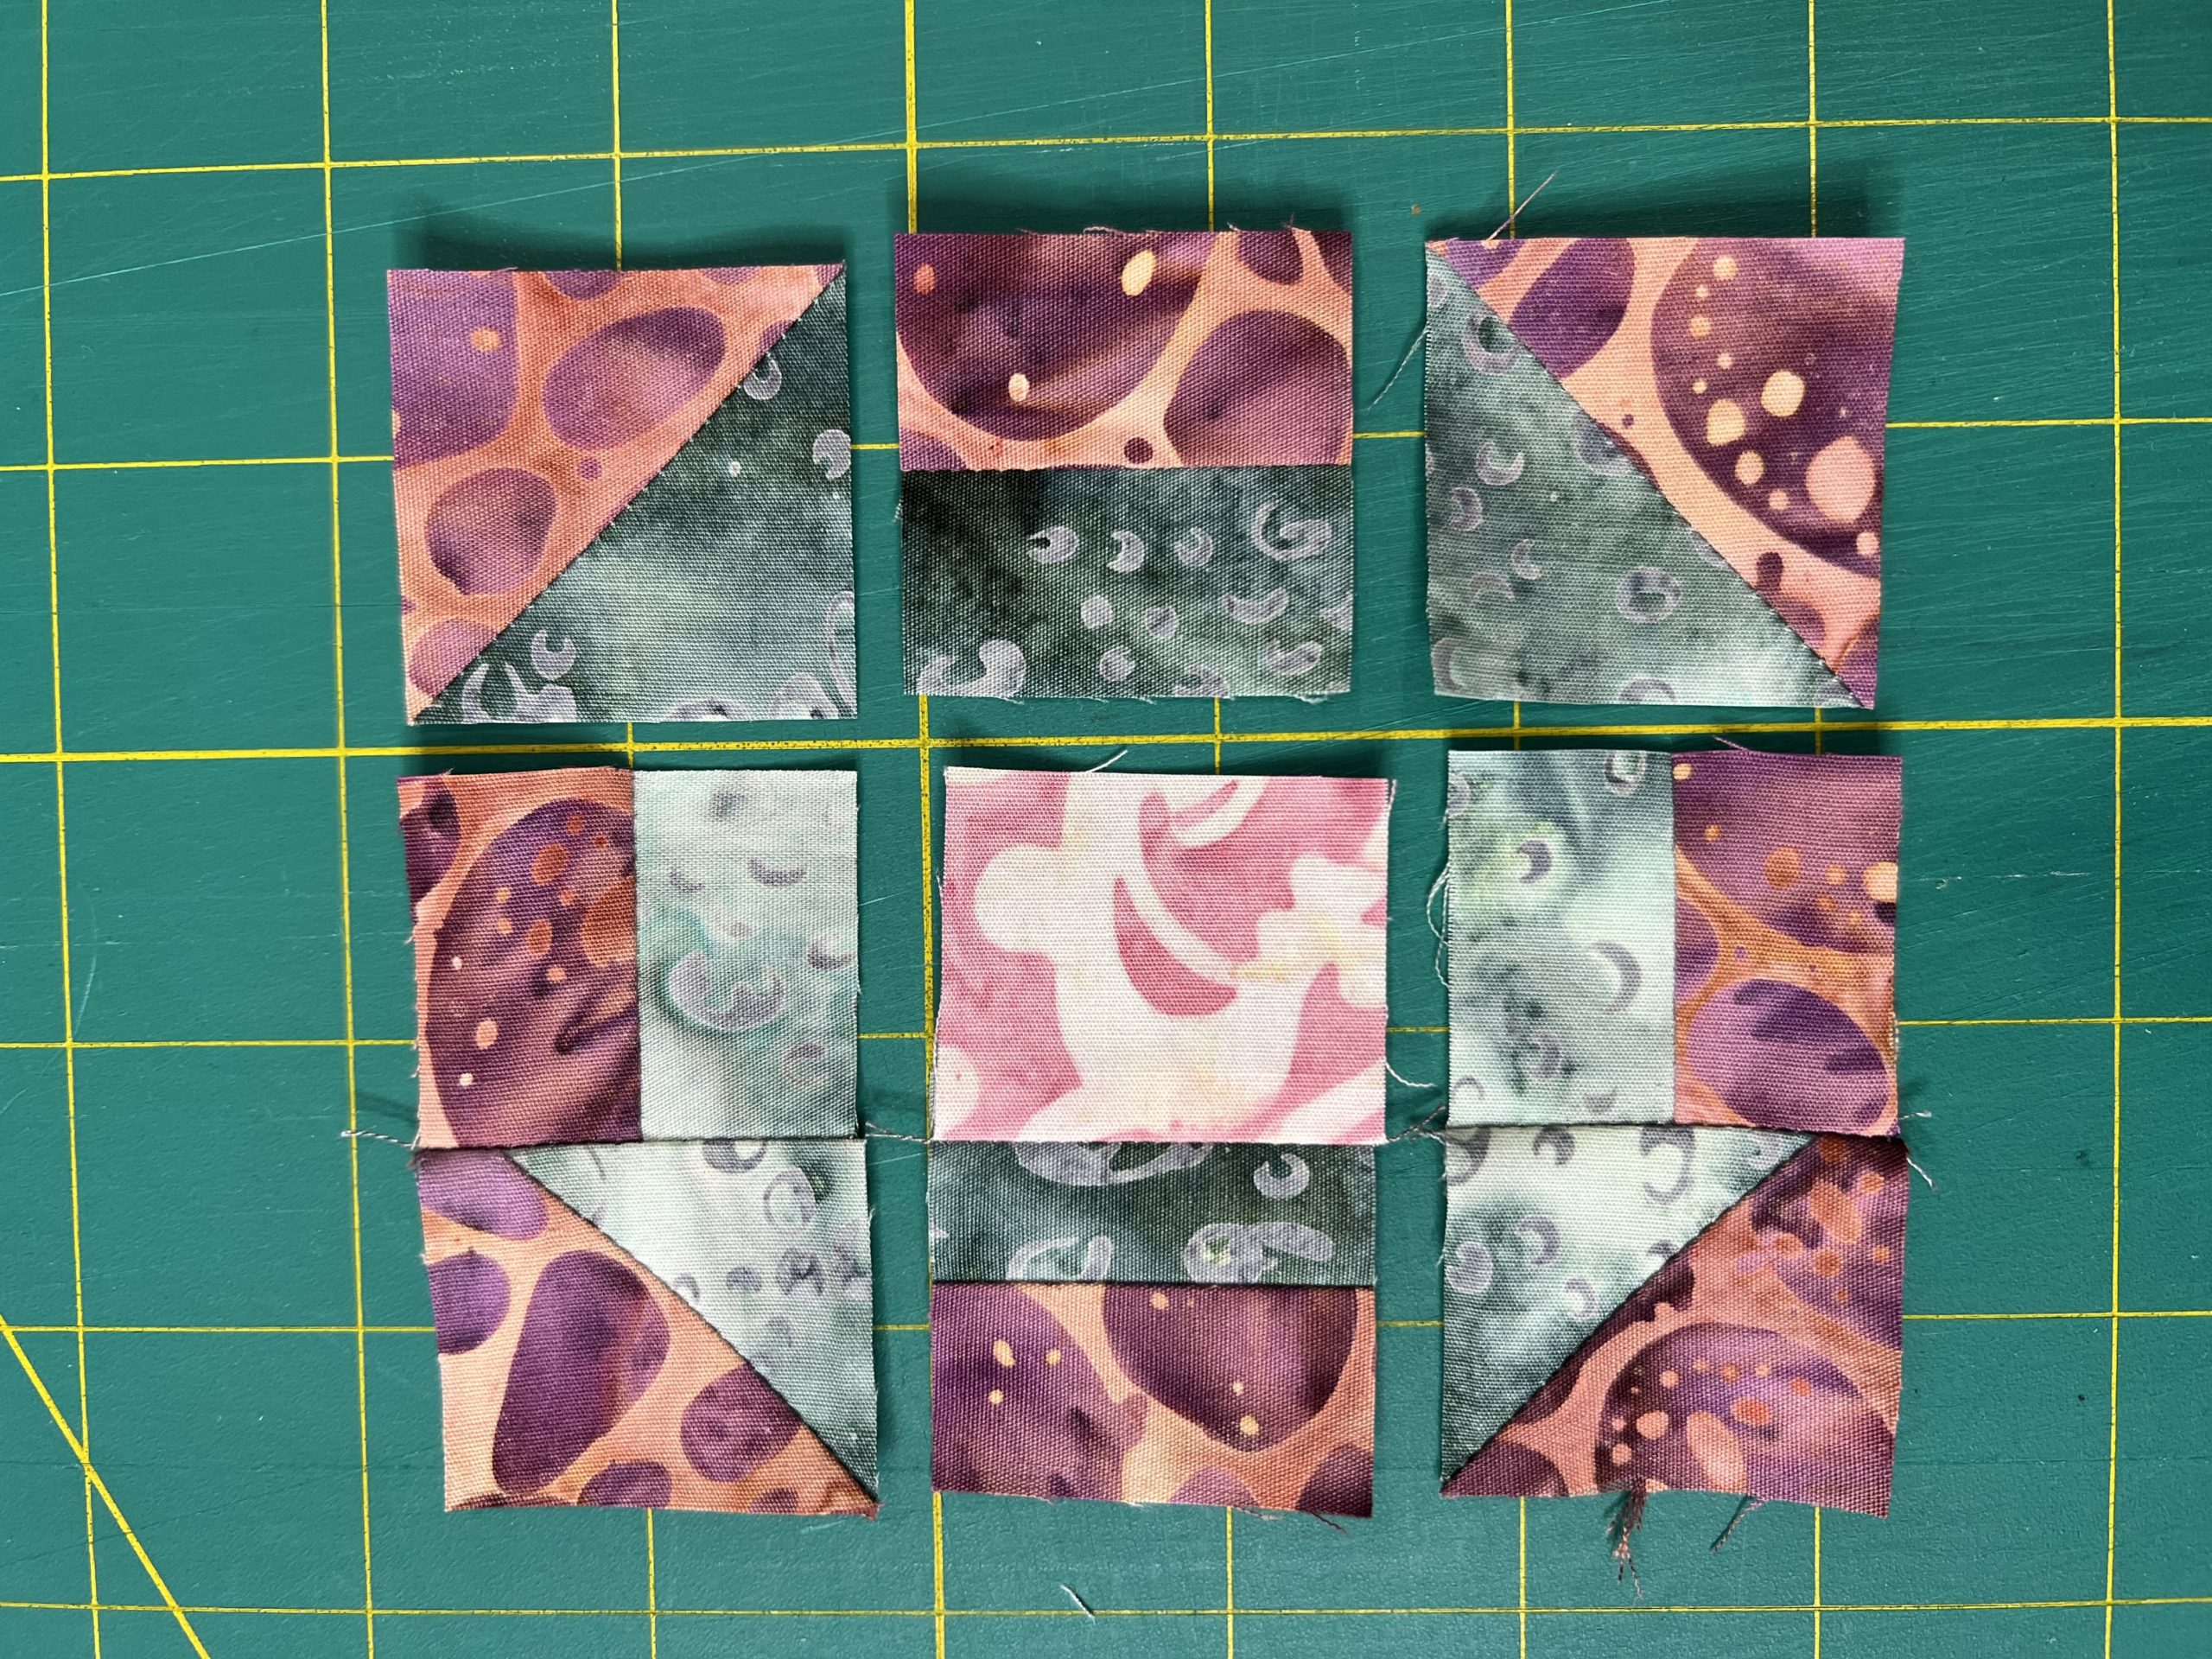
D – Lay out the units as shown.
E – Sew the individual rows together. Press the top and bottom rows to the outside and the middle row to the inside.
F – Sew the rows together and press. Block should measure 3.5″ unfinished, 3″ finished.
Make the Mini Friendship Star Quilt Block
For the mini Friendship Star quilt block you will need the following pieces:
- 4 – 1.5″ half square triangles made up of fabric A and fabric B
- 4 squares of Fabric A cut 1.5″ square.
- 1 square of fabric C cut 1.5″
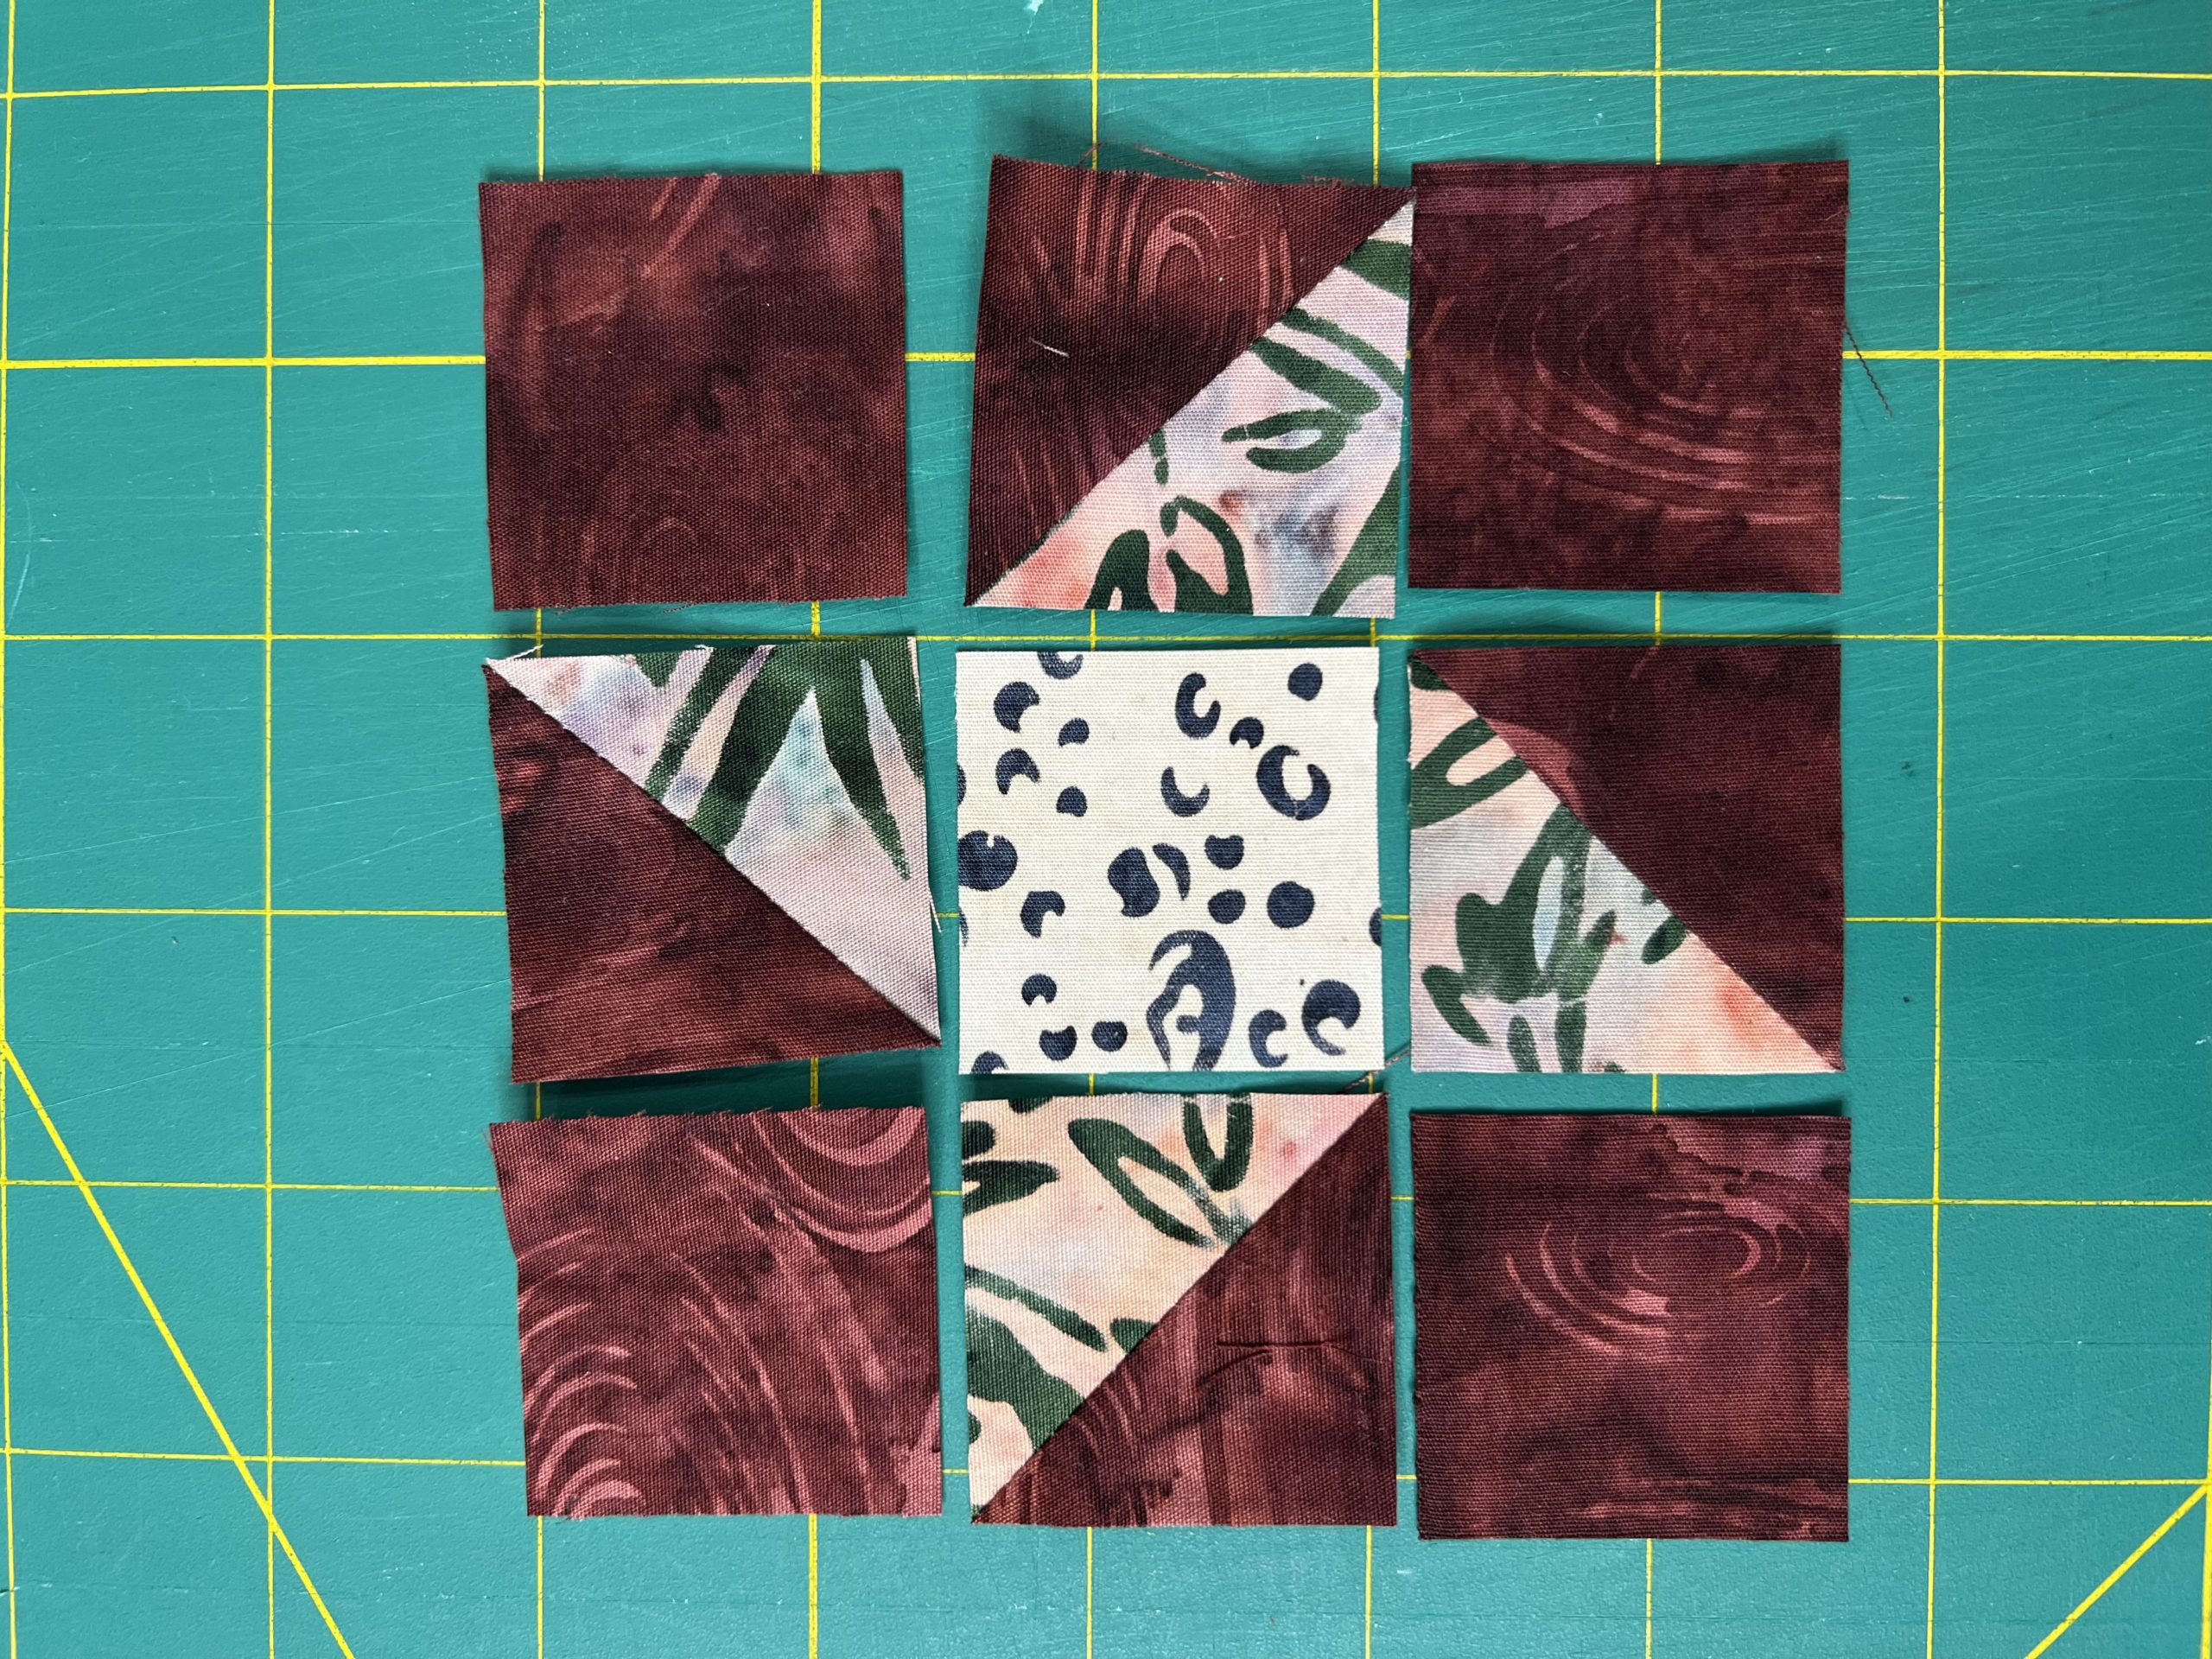
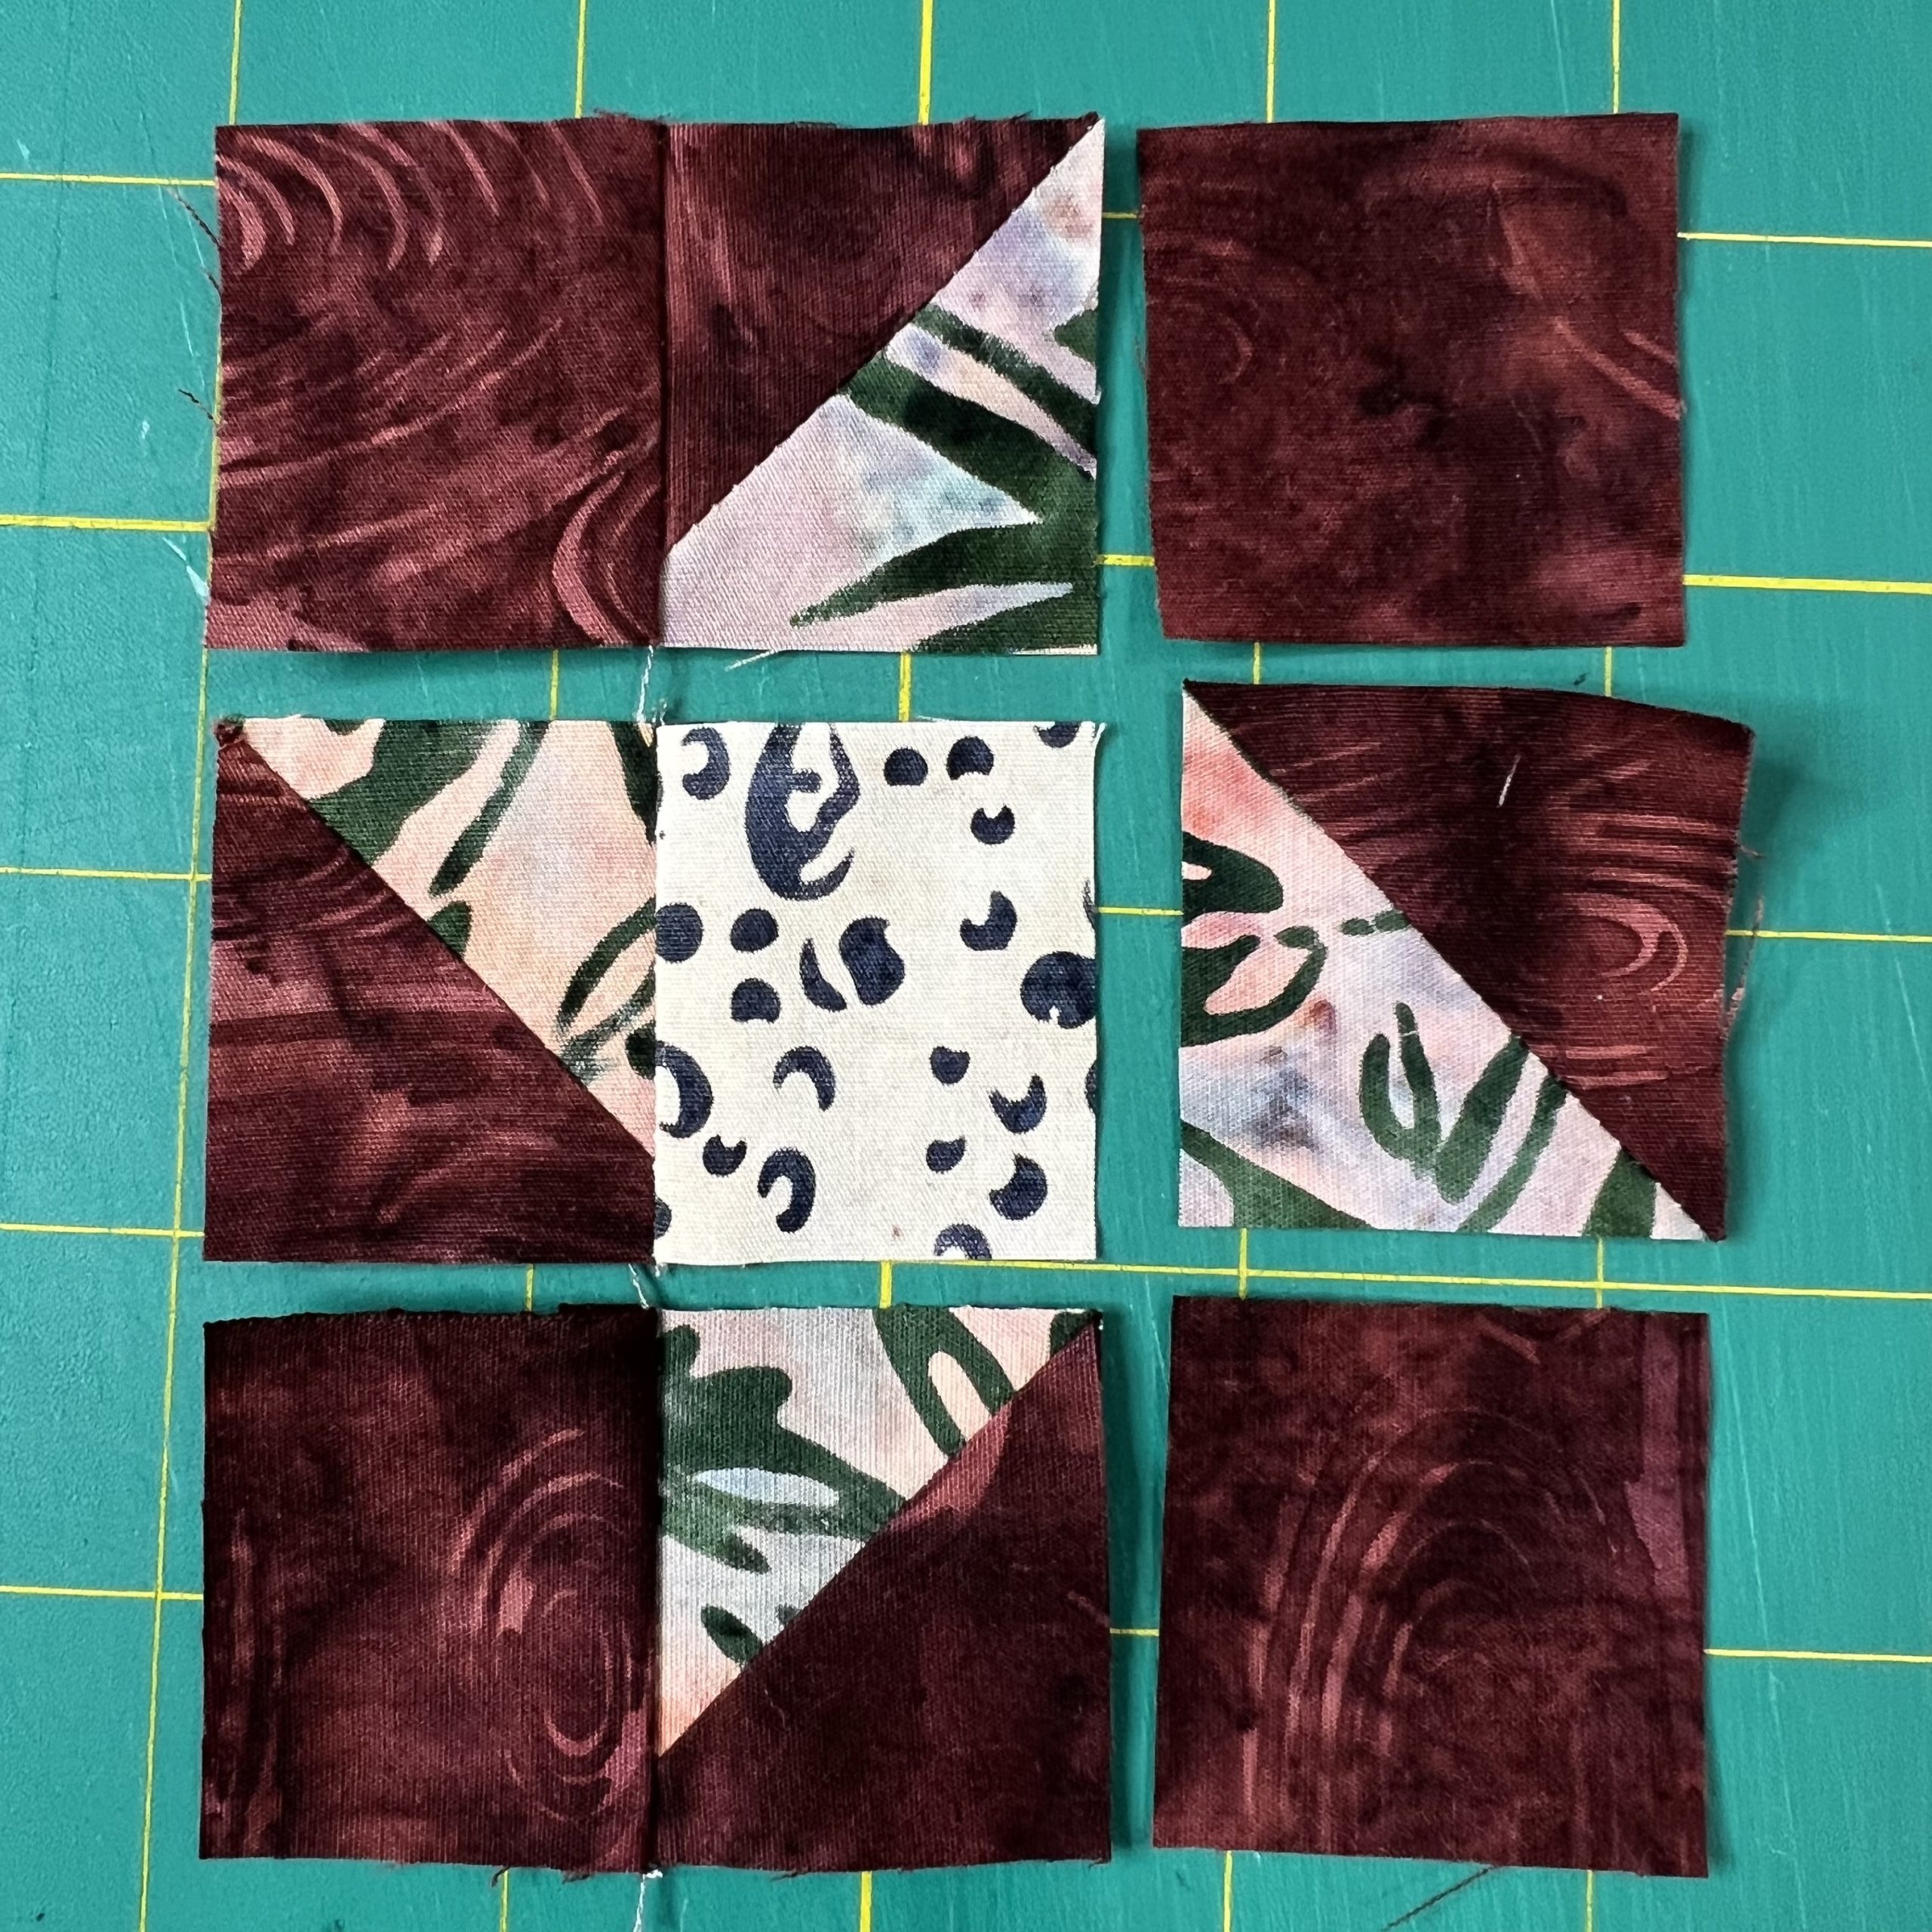
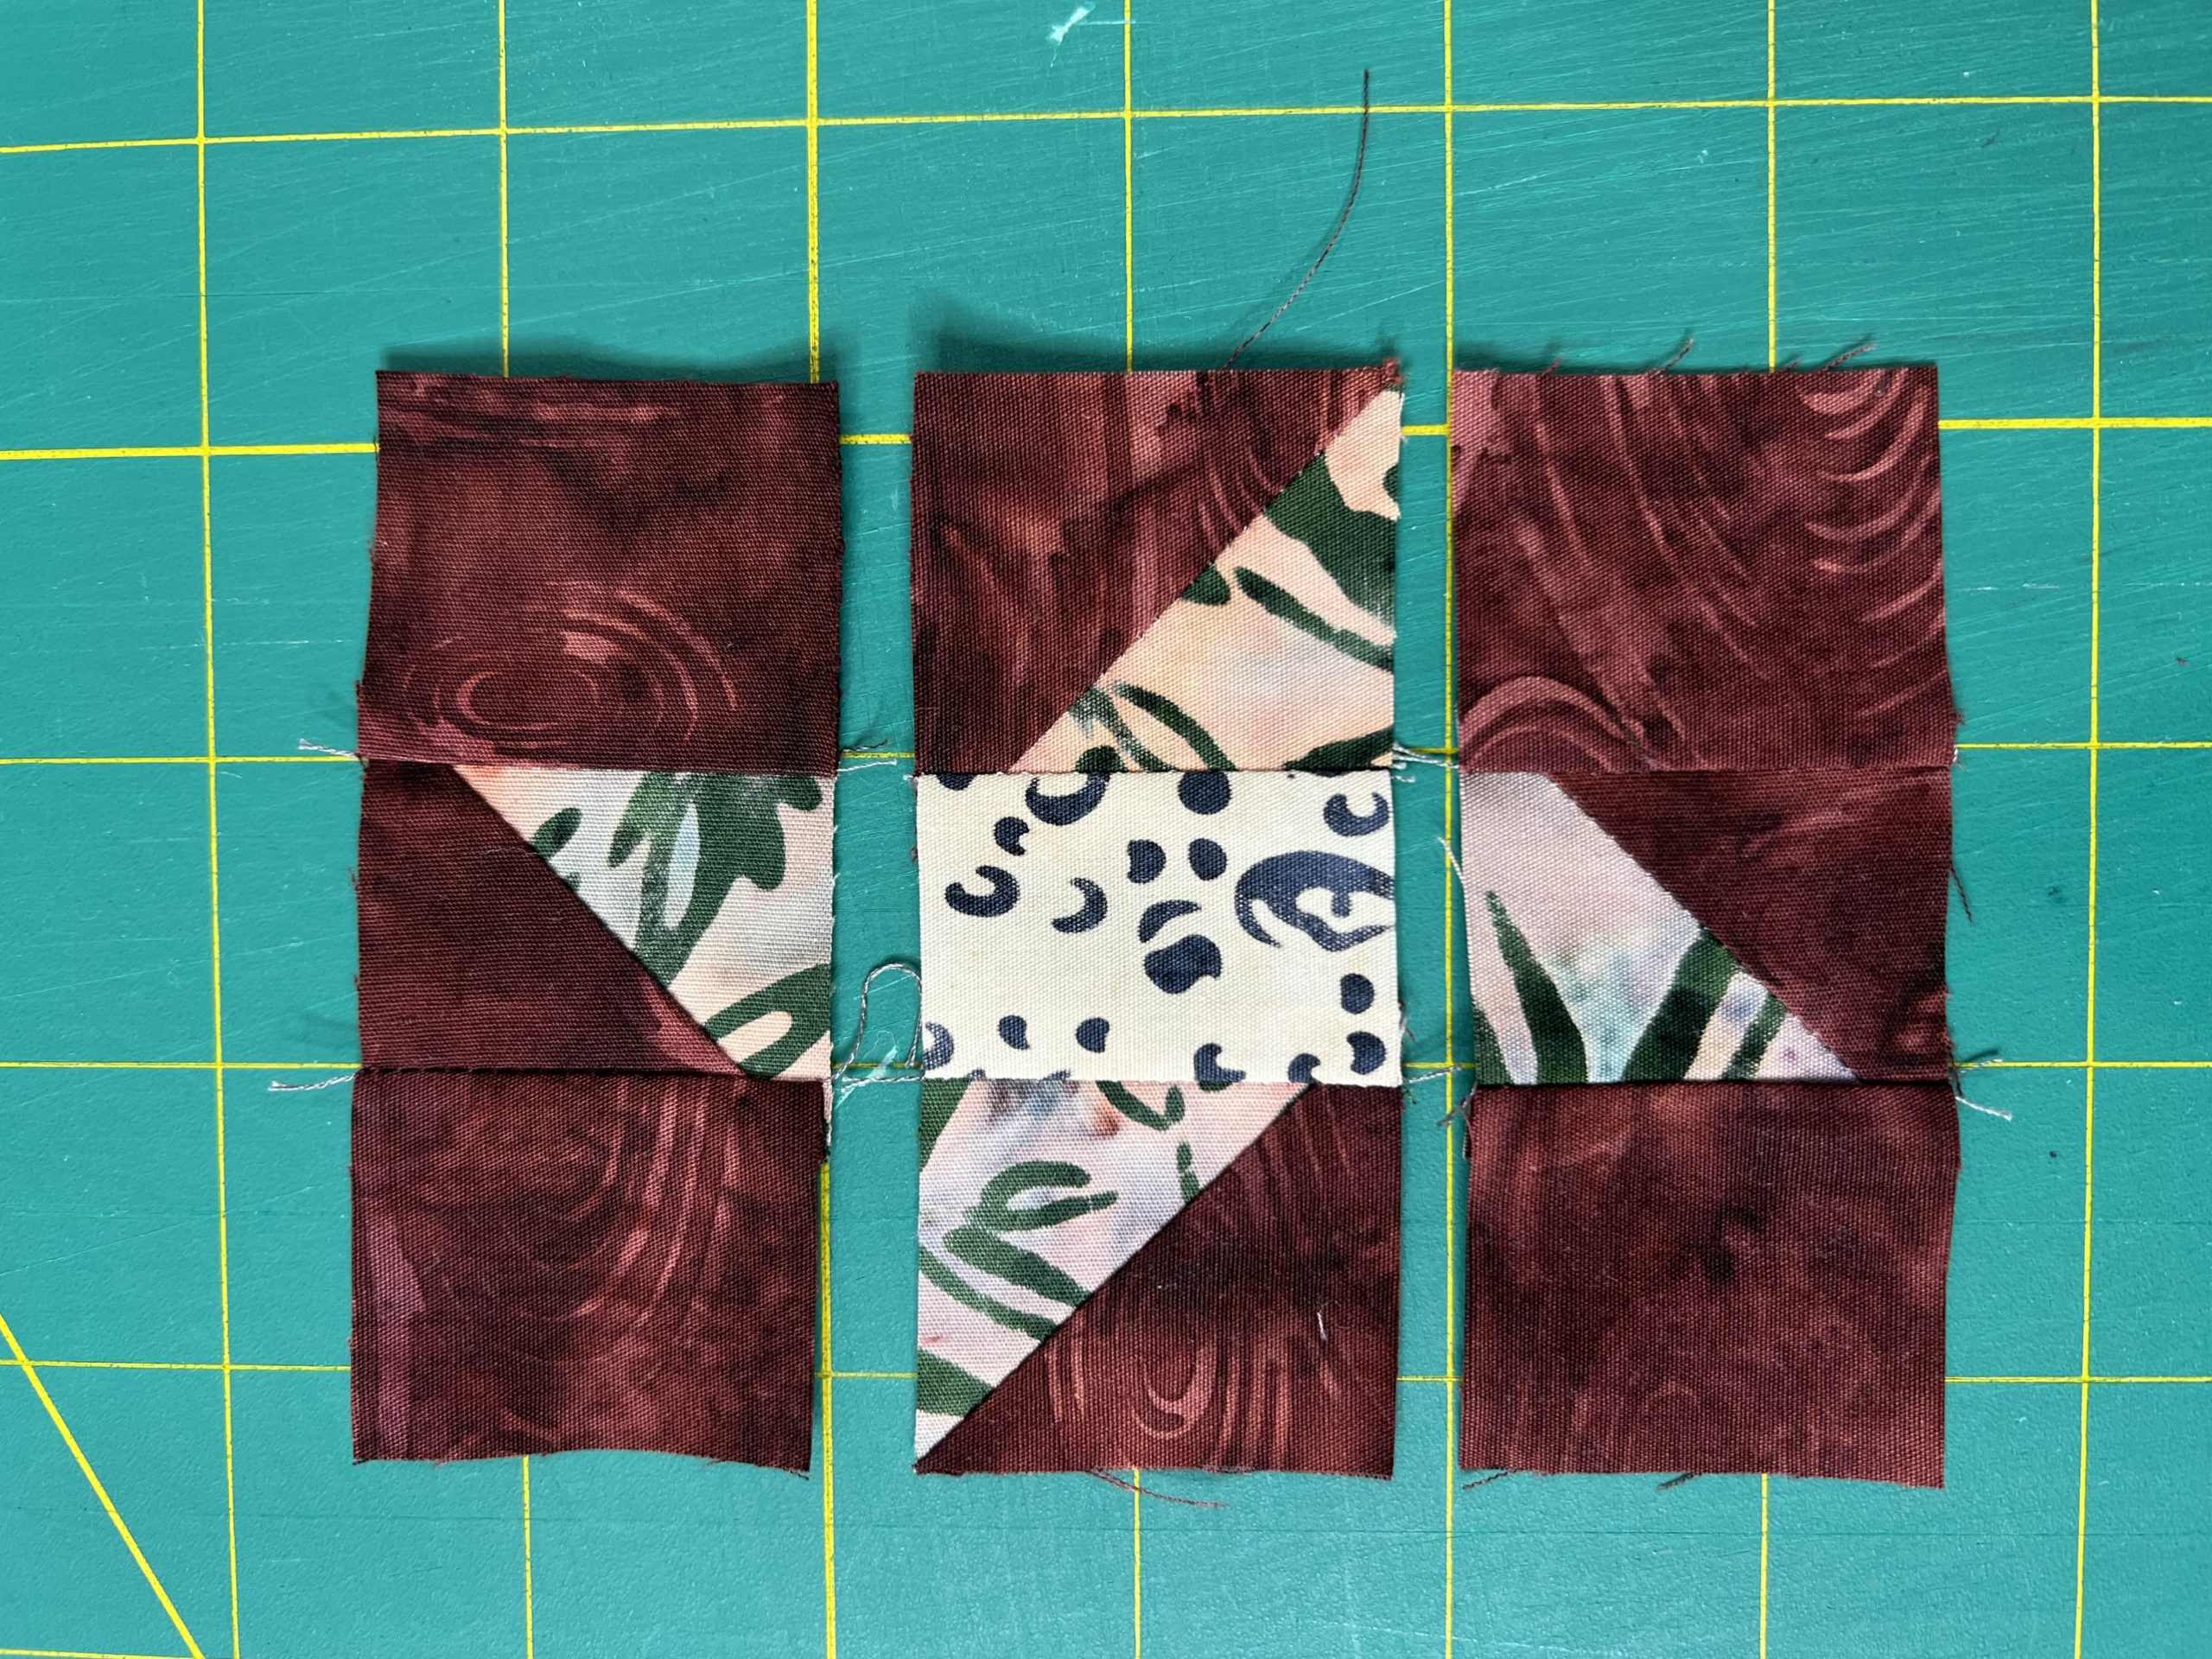
A – Lay out the pieces as shown.
B & C – Sew together the individual rows.
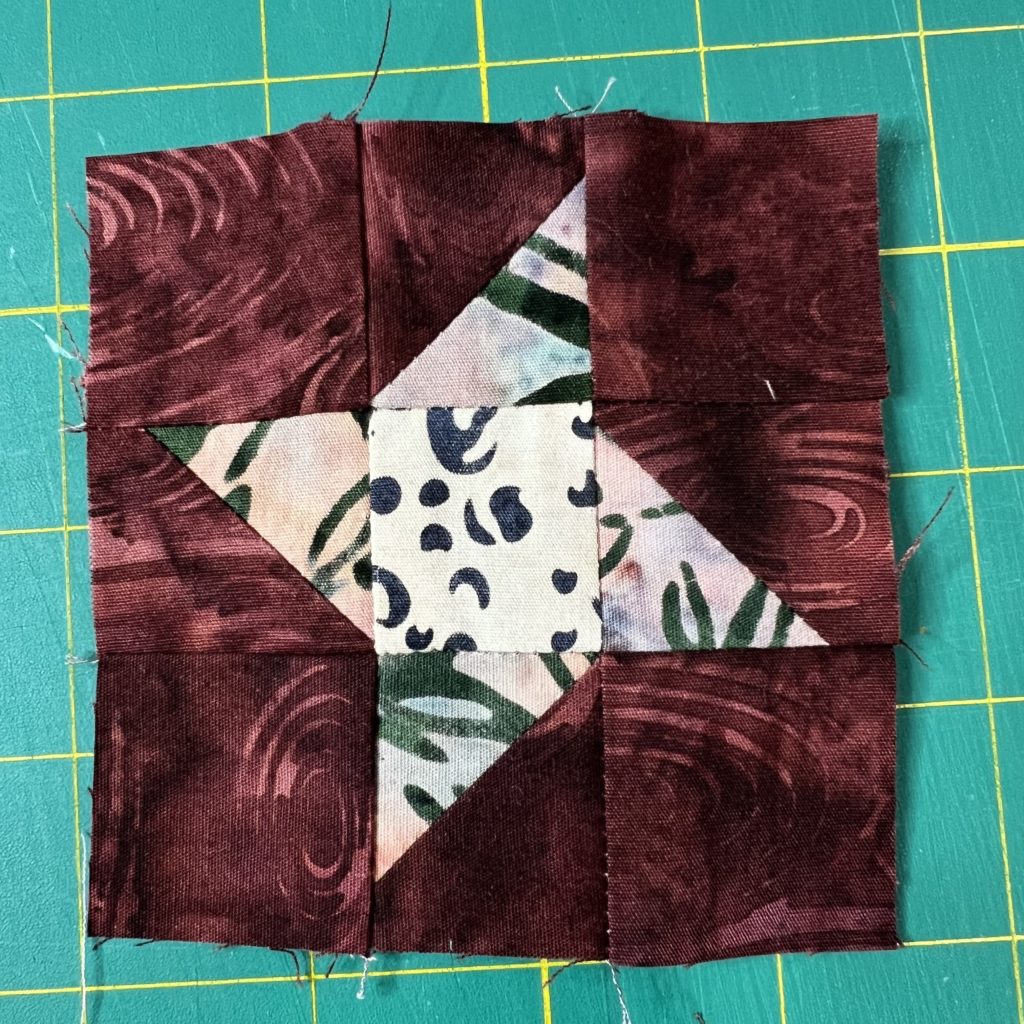
D – Sew the rows together. Press. Block should measure 3.5″ unfinished, 3″ finished.
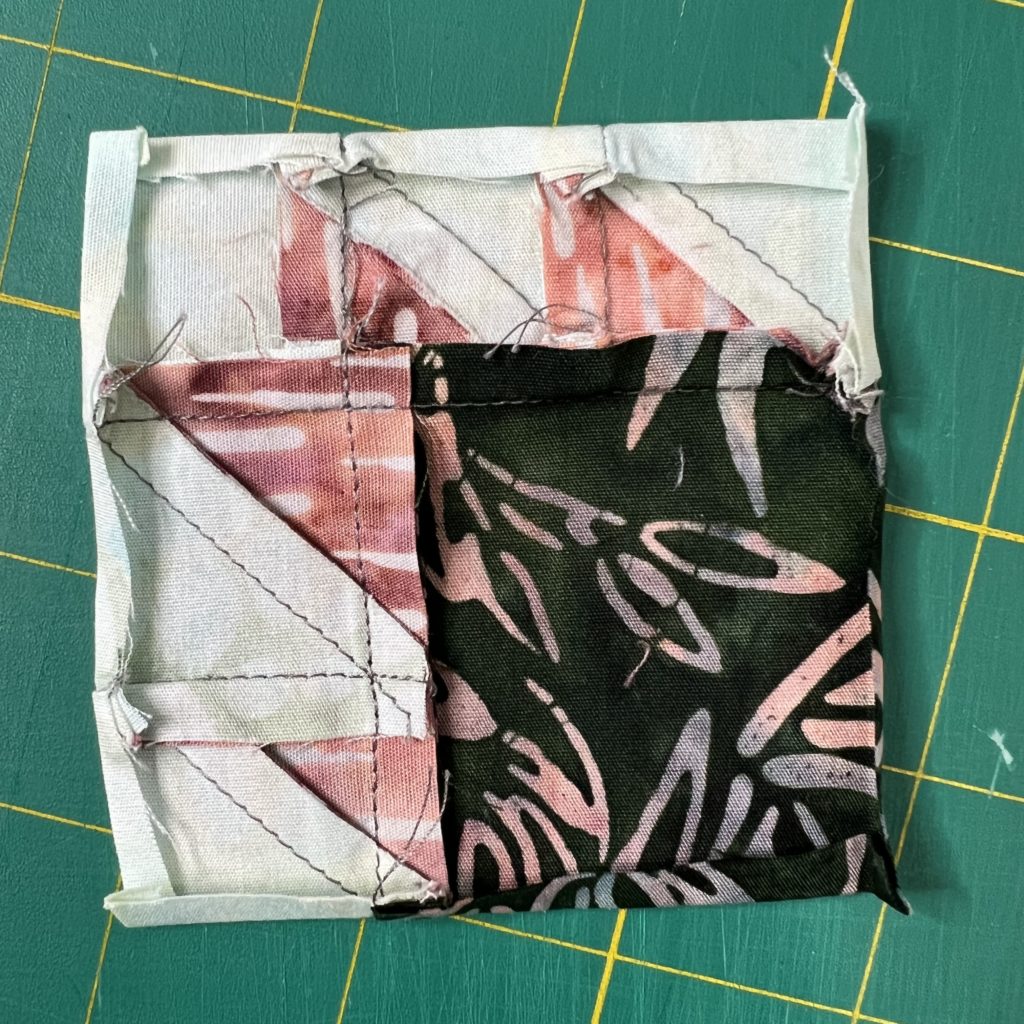
Preparing the Blocks for the Hat
Fold over the edges around all four of the sides of the block 1/4″ towards the back (wrong side) of the block. Press or use fabric glue to help keep edges down. This step is a bit tricky.
Caution: If you press, do not use steam and keep your fingers far away from the iron. The iron is hot and you will burn your fingers.
How to Decorate a Baseball Cap With the Mini Quilt Blocks.
Decide where you want to place the first block on your cap. Pin into place. Watch out because most caps have a rim around the inside and you don’t want to sew that down.
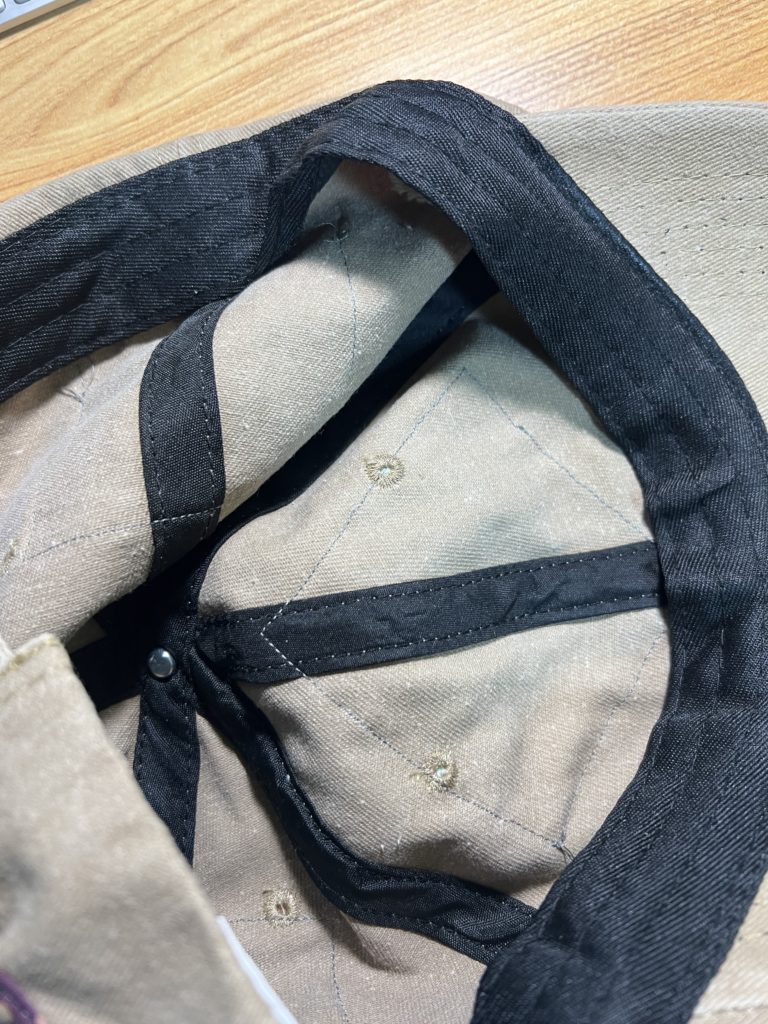
Using about an 1/8″ seam, stitch around the four sides of the block. There is a lot of manipulation needed so I recommend stitching slowly.
Add the second block where you want it to be. Mine went on the opposite side.
I wanted a block on the front and decided on the Bear’s Paw. I had enough room to put it on the diagonal and used the cap’s seam to help me line it up. The front is the hardest because of the hat’s bill. Sew slowly and carefully.
Enjoy Your New Baseball Cap
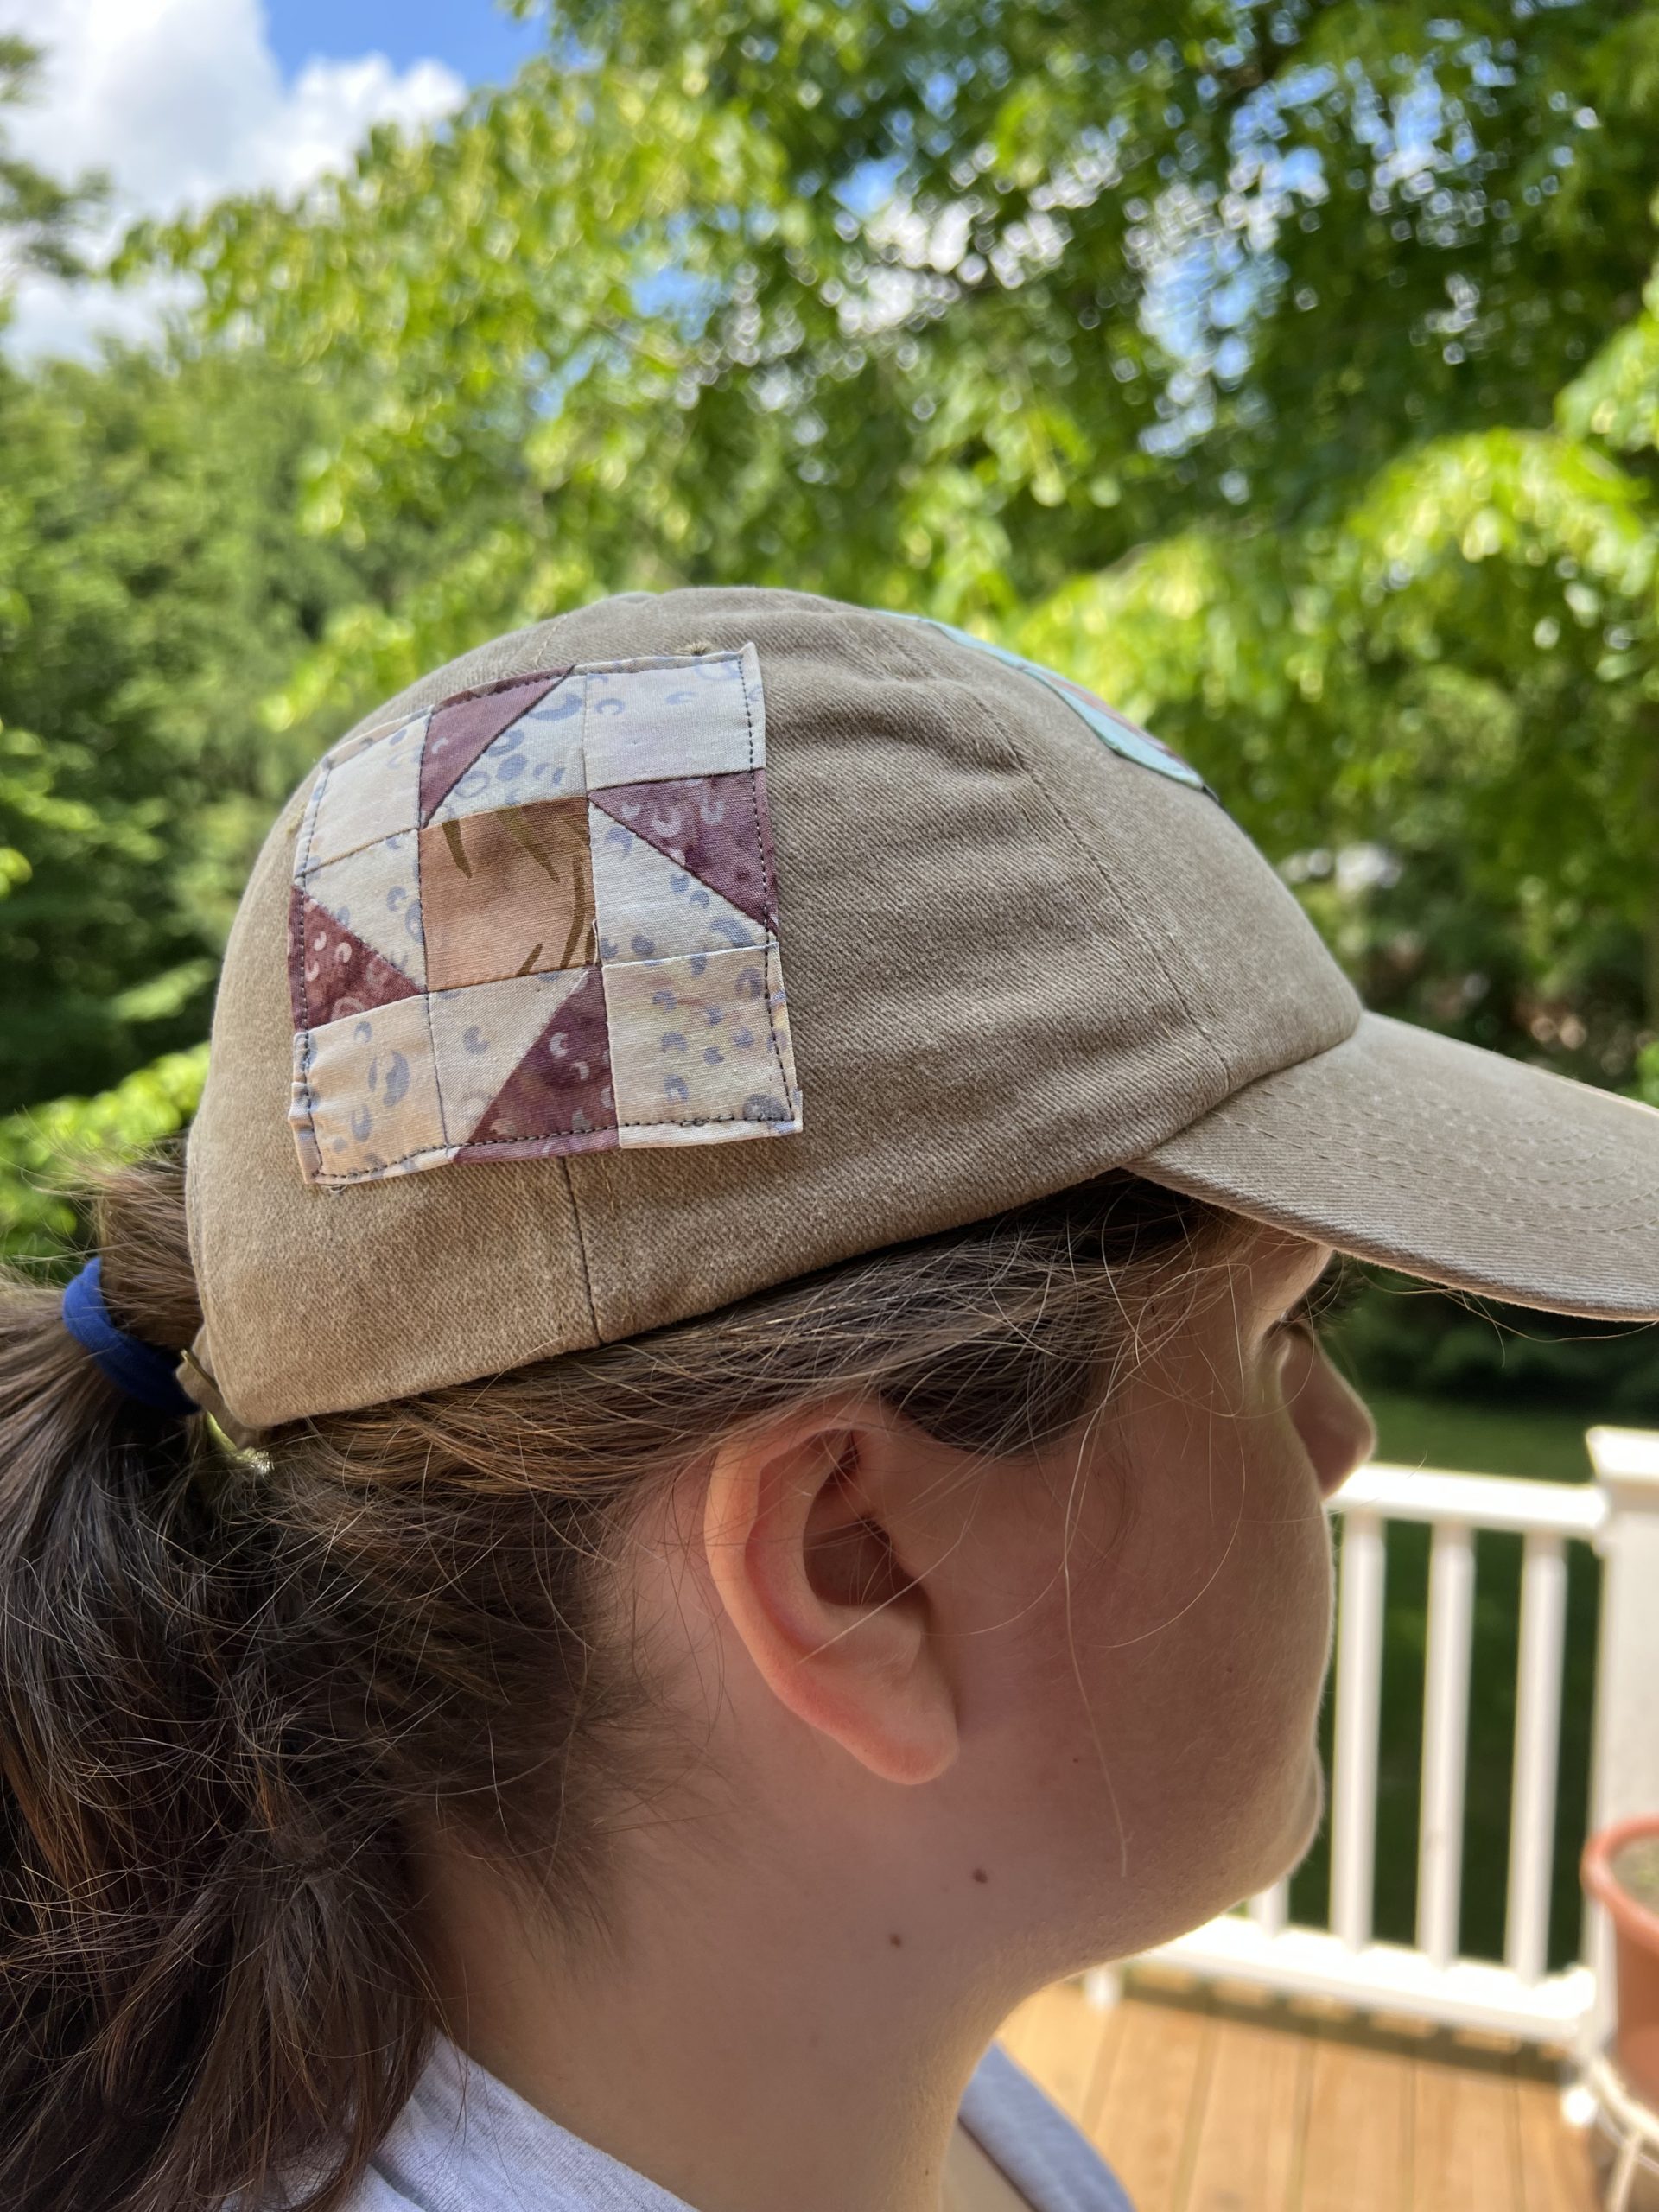
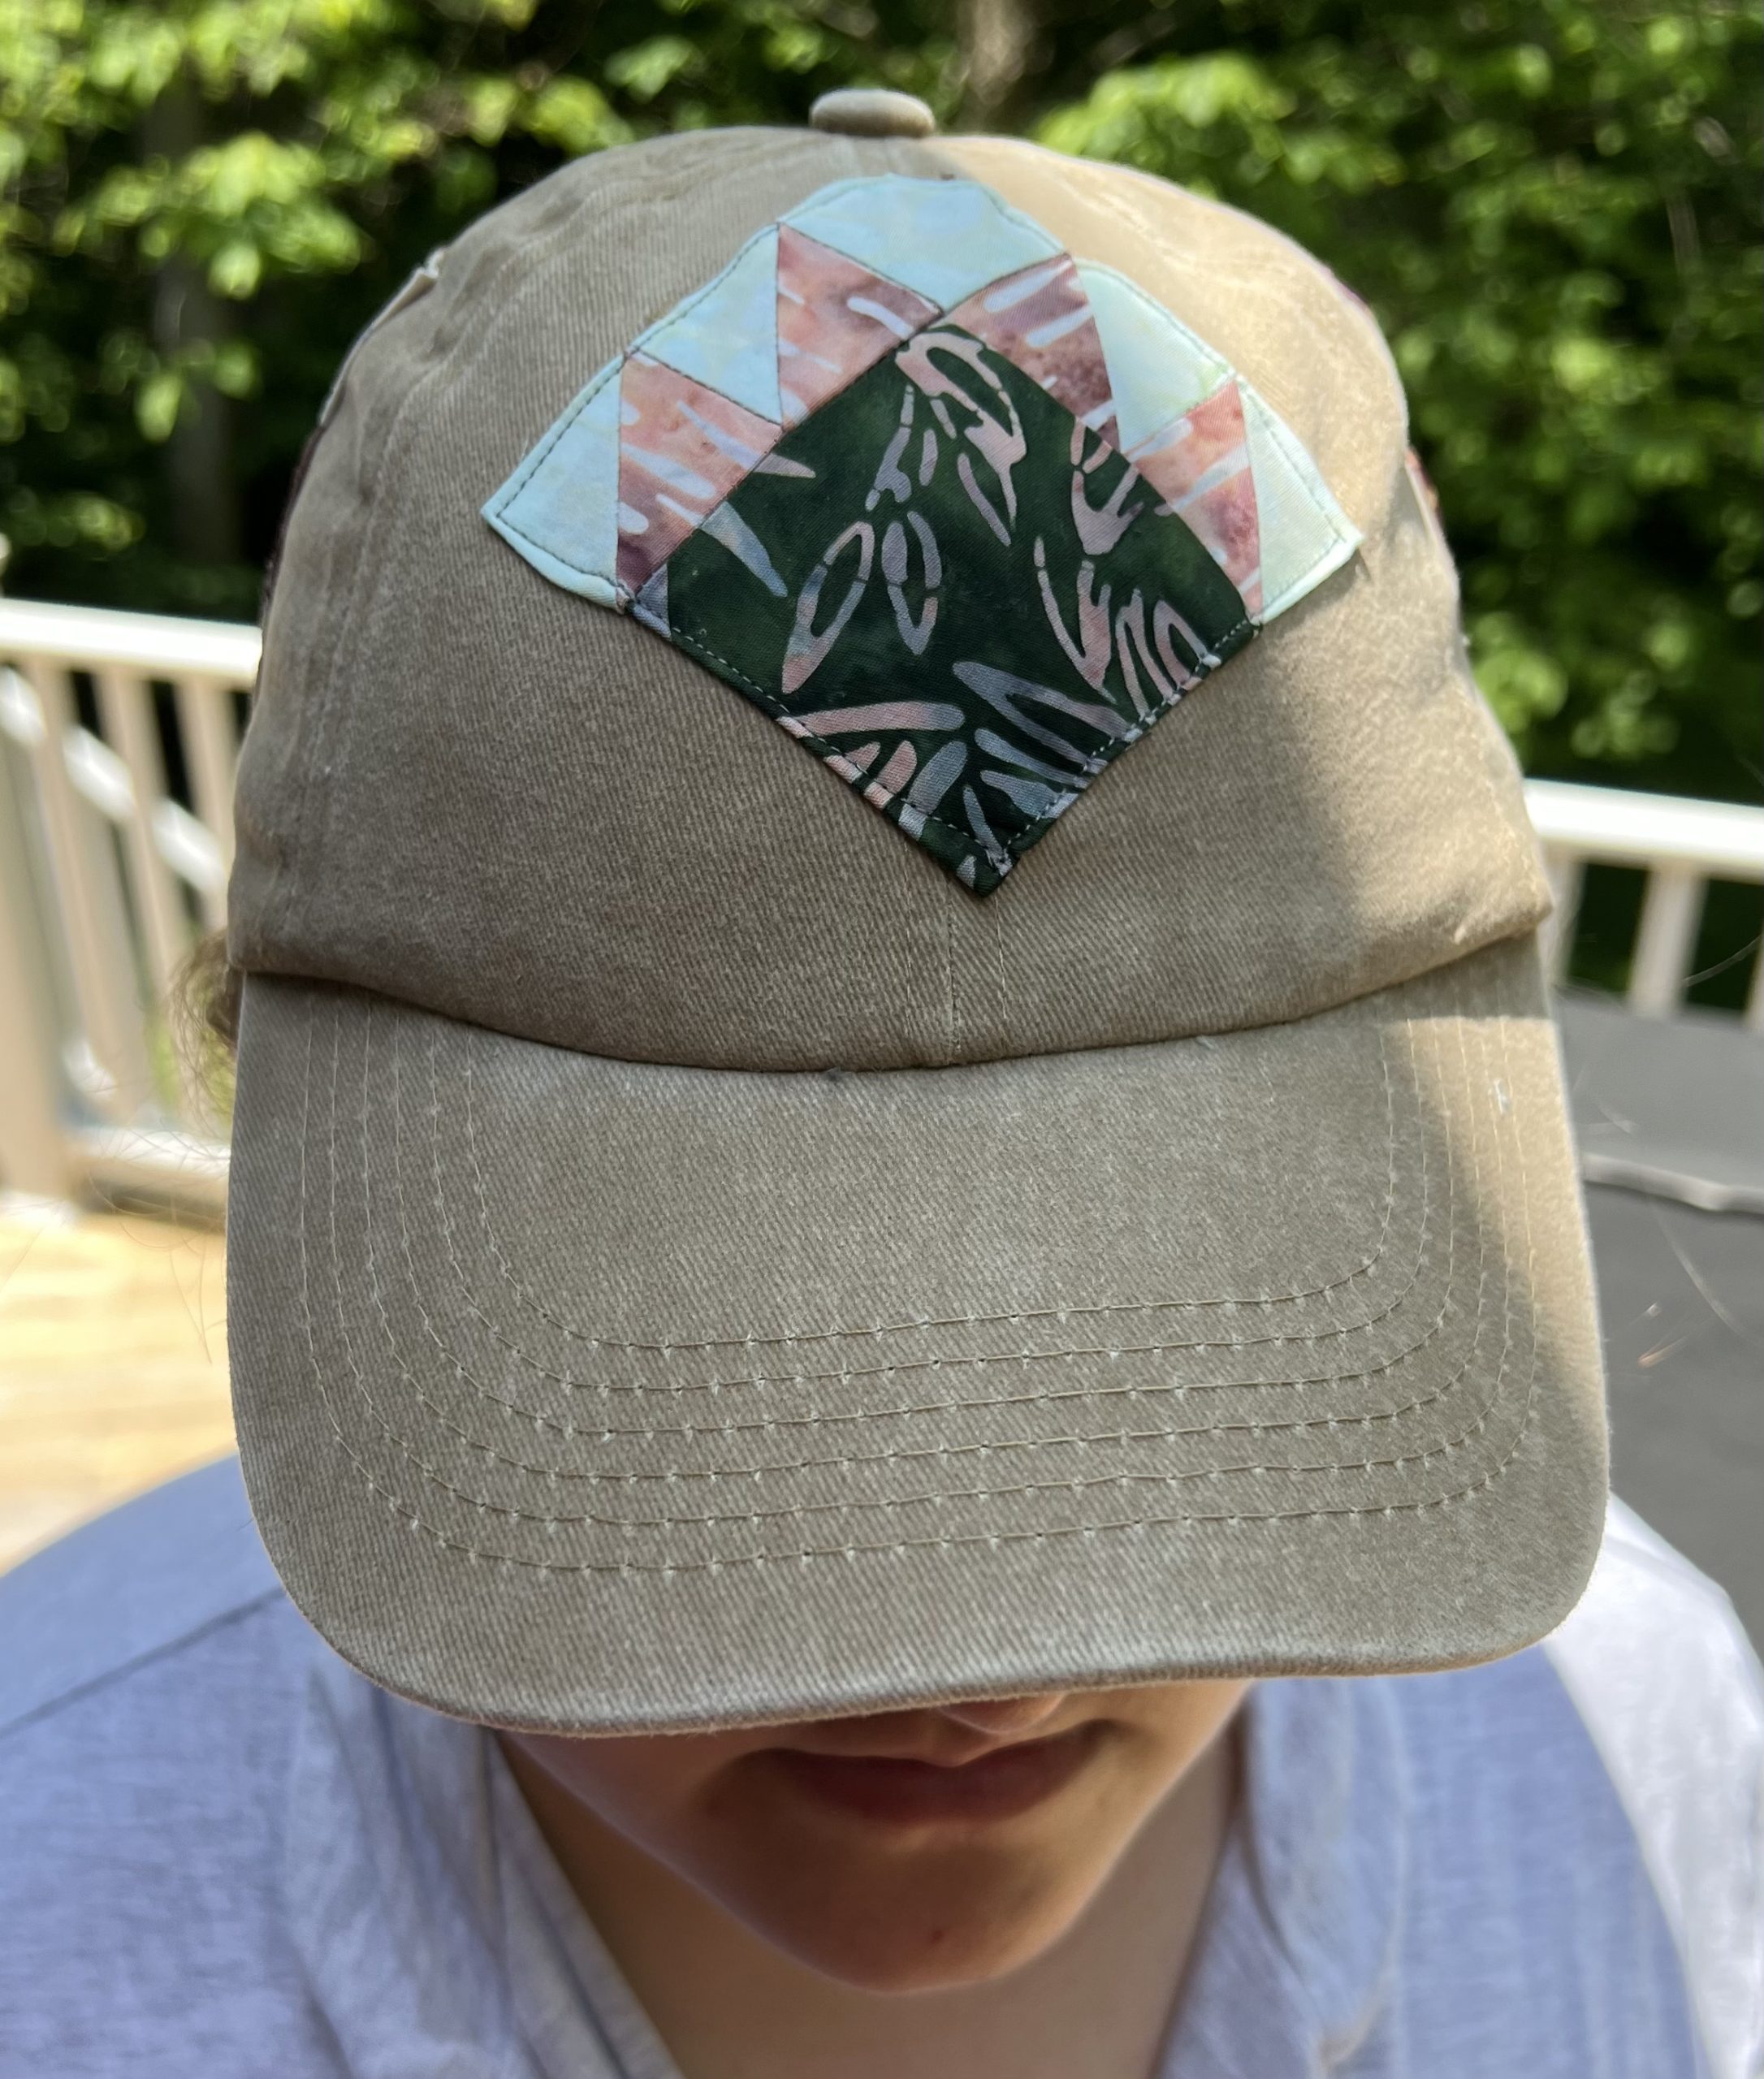
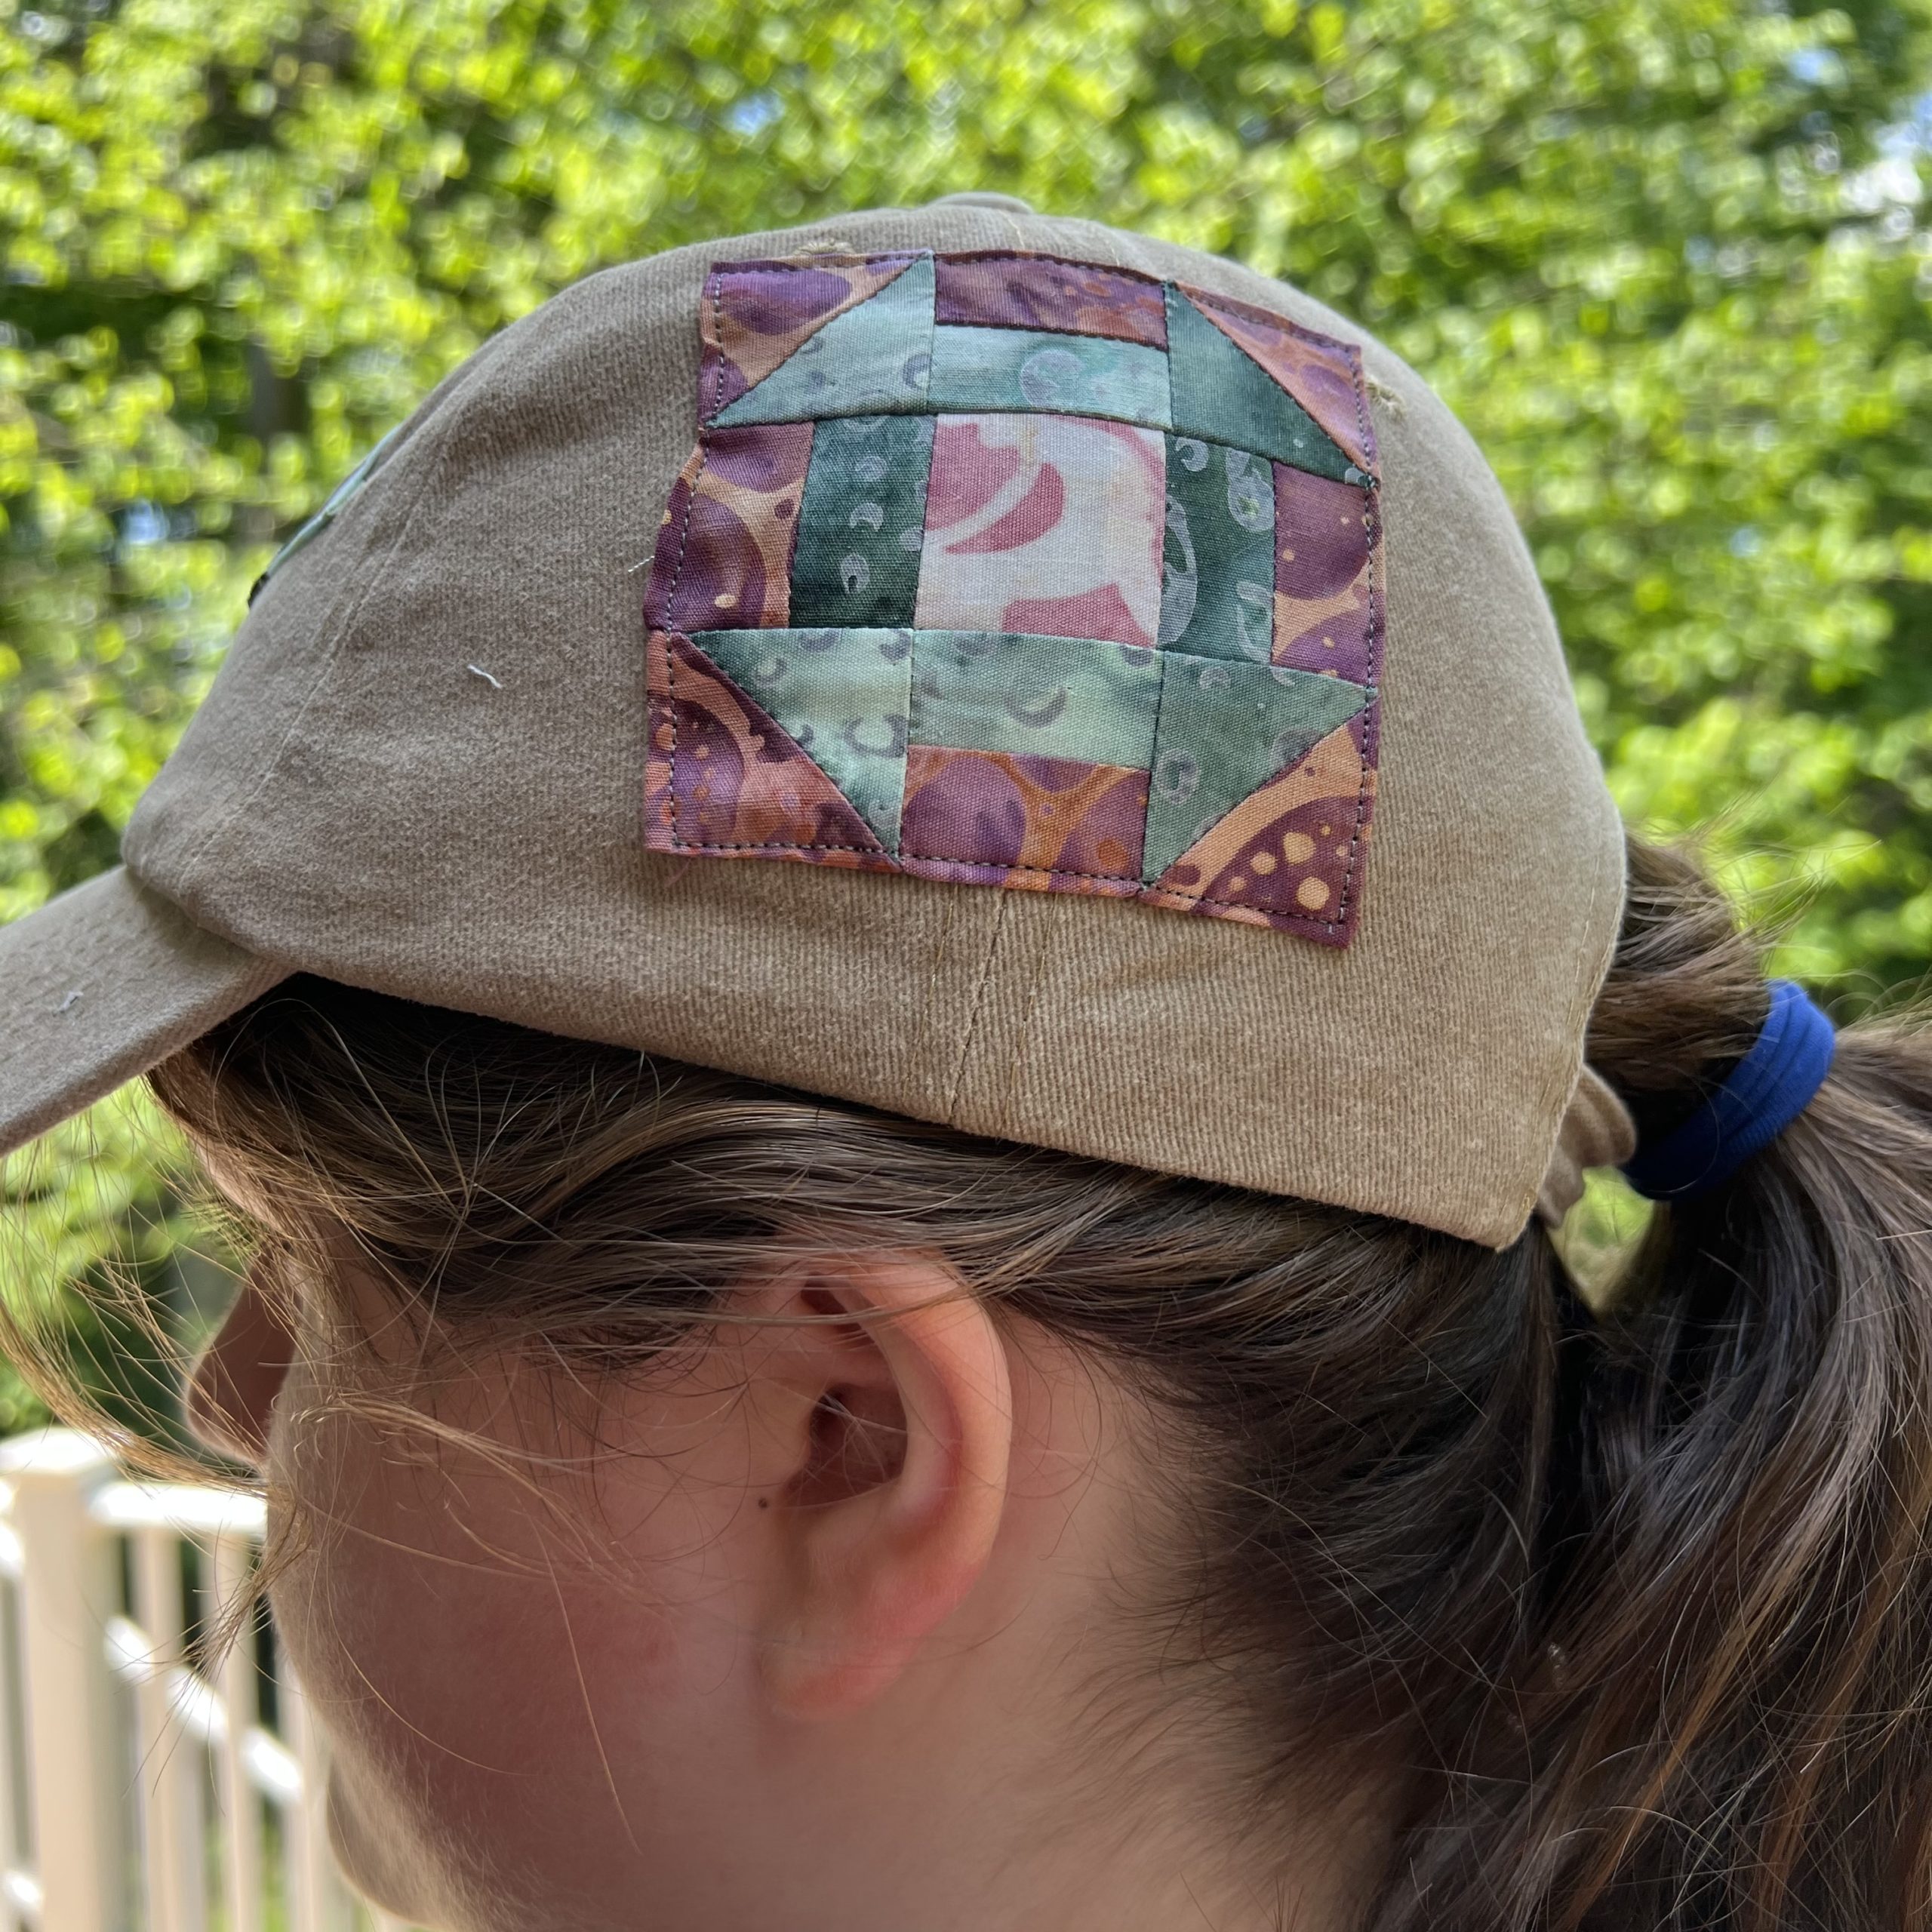
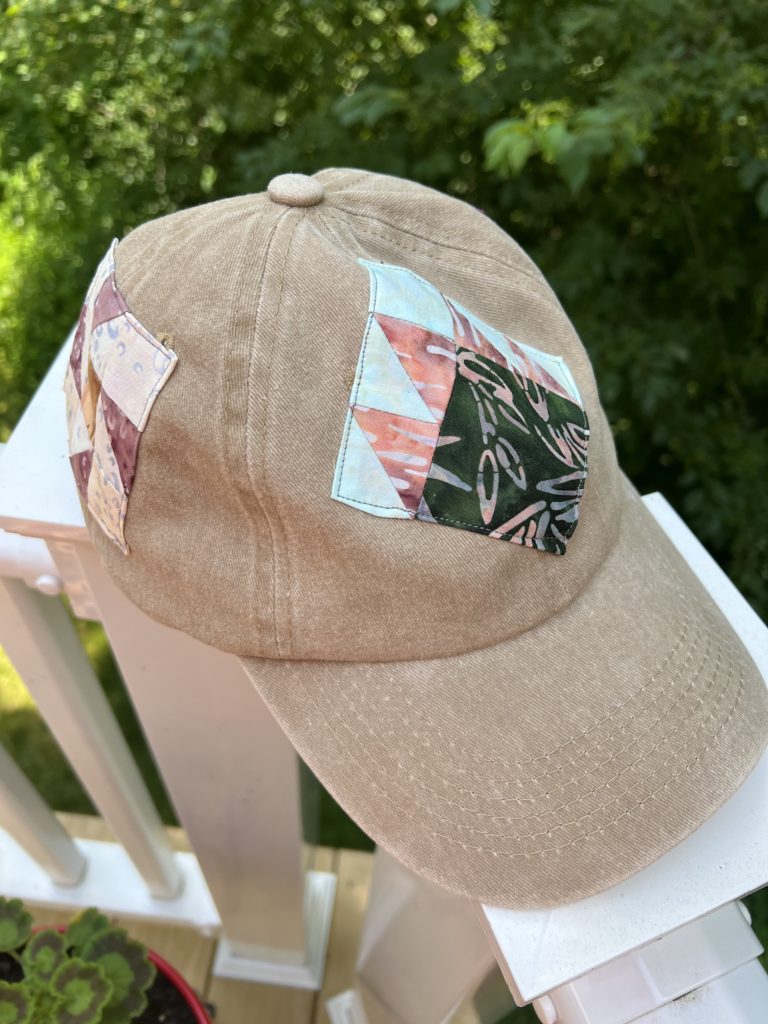
Show off your quilting pride with this fun and unique baseball cap! It’s so much fun and it’s easy to do. Better yet, you’ll be the only one wearing one and you’ll get lots of compliments! I know I’ll be wearing mine the next time I head to a quilt show.


2 Comments
Terry
June 22, 2022 at 9:19 AMThank you for the great idea Claudia I am designing my own designer ball cap
createwithclaudia_7j76hs
June 25, 2022 at 6:37 AMAwesome! Thanks for stopping by!