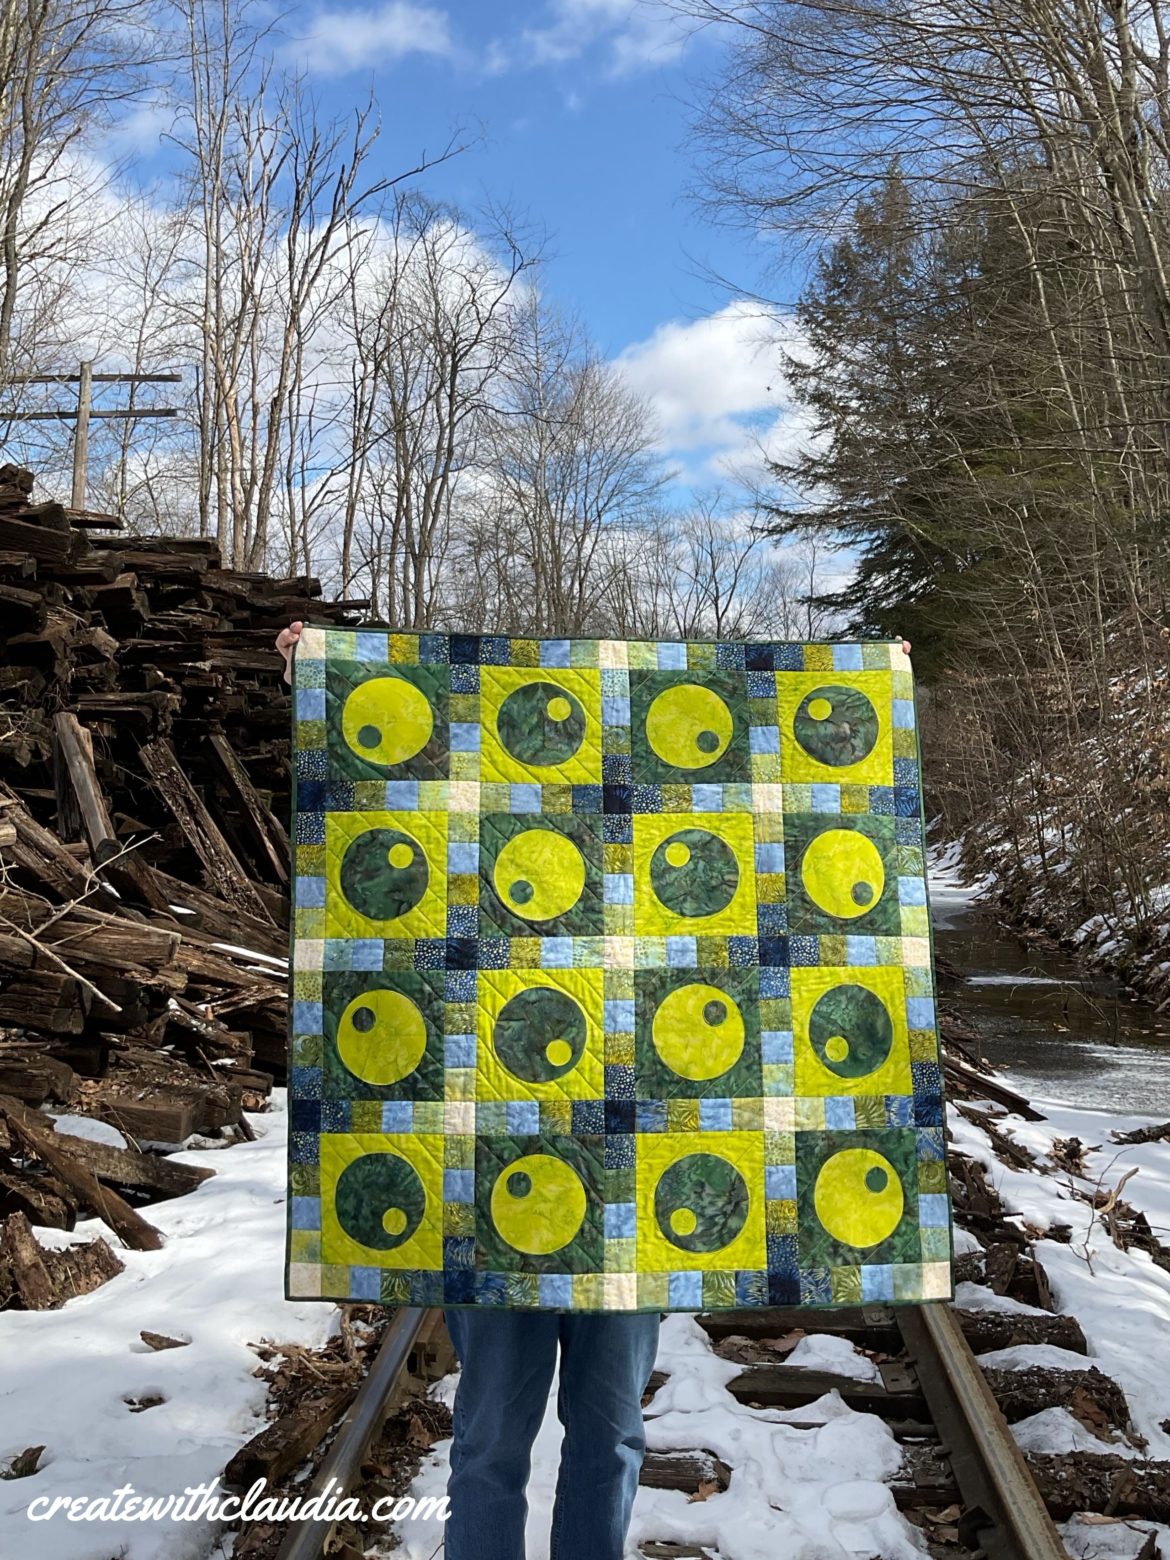
Island Batik April Challenge Quilt
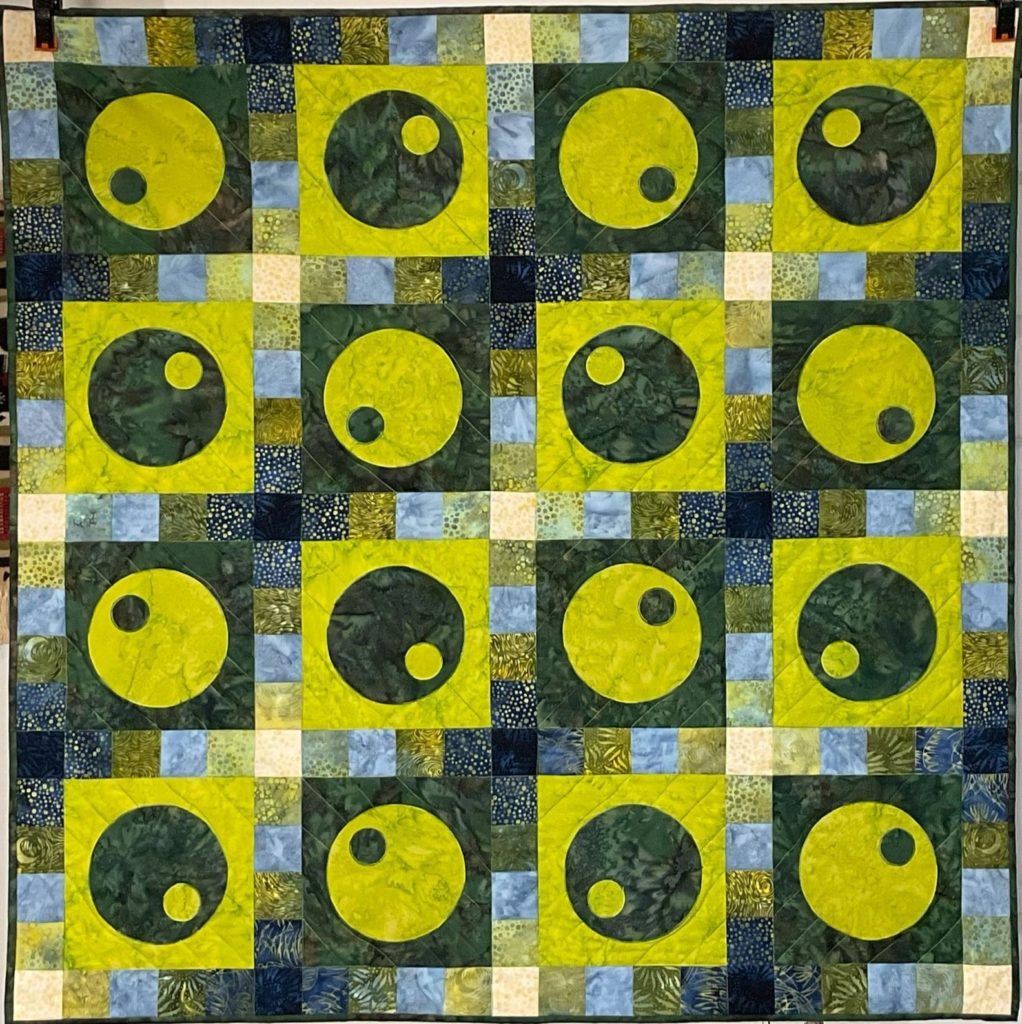
For the Island Batik Ambassadors, April 2021 was a free month where we could choose any type of project that we wanted to make. It was all up to us! What fun that was! I decided to let the fabric talk to me, and that is how I came up with my Island Batik April Challenge Quilt.
As soon as I opened my January 2021 ambassador box I knew exactly what fabrics I was going to use for this month’s project. I was lucky enough to get a beautiful 2 1/2″ strip set of “Citrus Sun” and two coordinating fabrics from their basics line (a lot more about them later). Because of the colors, the idea for “Bubble Tea” just popped into my head (yes, that is my weak attempt at a pun).
I was a bit hesitant at first because I do not do much appliqué at. However, in keeping with my goal of giving myself a personal challenge within the monthly ambassador challenges, I decided to go for it.
I liked my quilt so much that I came up with a little mini Bubble Tea quilt block pattern. As a result, you can brew up your own small cup of bubble tea (can you tell I was in the mood for puns when I wrote this article).
Disclosure: The products in this post were generously provided by Island Batik, Accuquilt, Aurifil, Schmetz Needles, and Hobbs Batting.
The Fabric
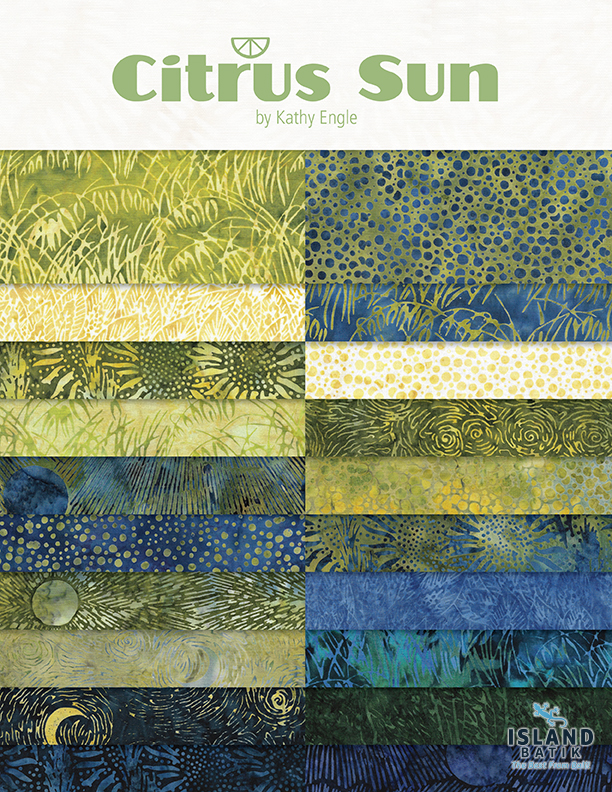
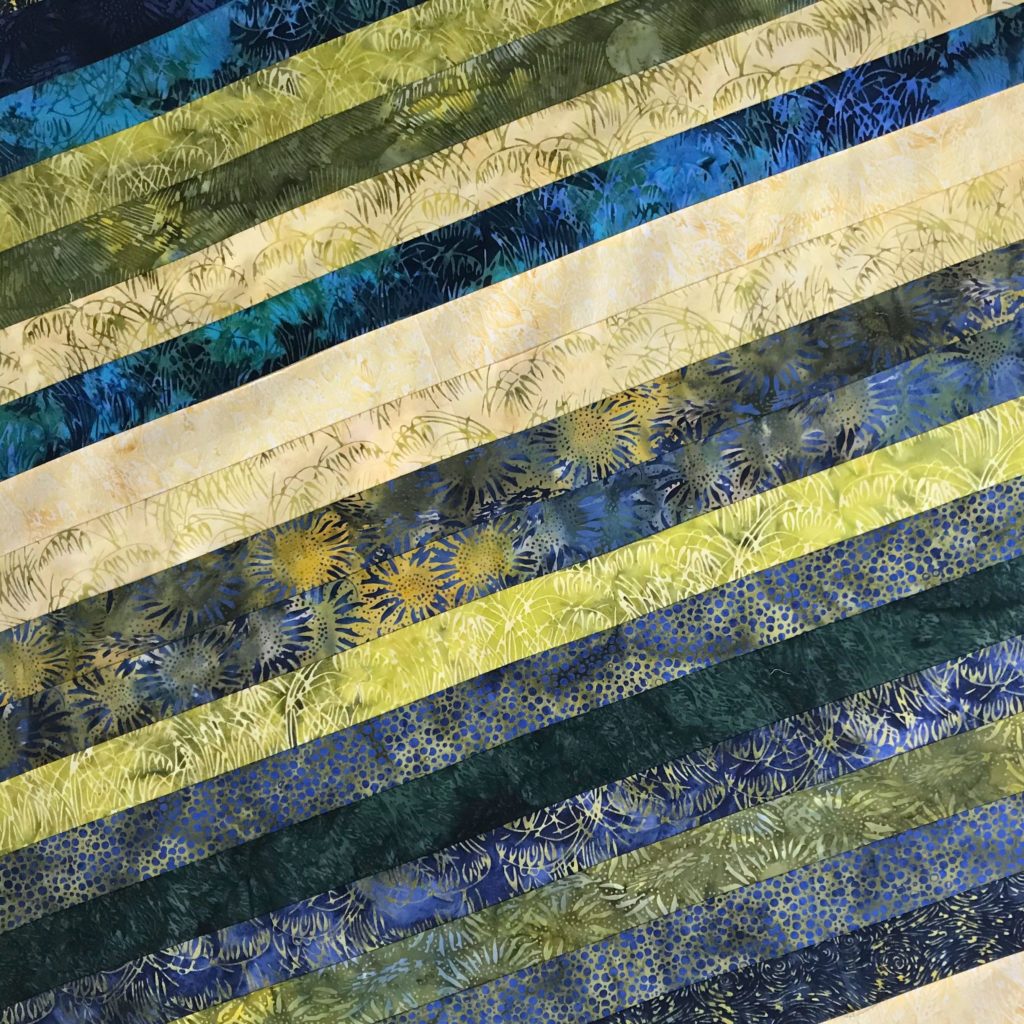
This quilt is made up of a strip set of the Island Batik line “Citrus Sun” that was designed by Kathy Engle. Along with the strip set, I received two coordinating fabrics from their basics line – Pinecone and Seedling.
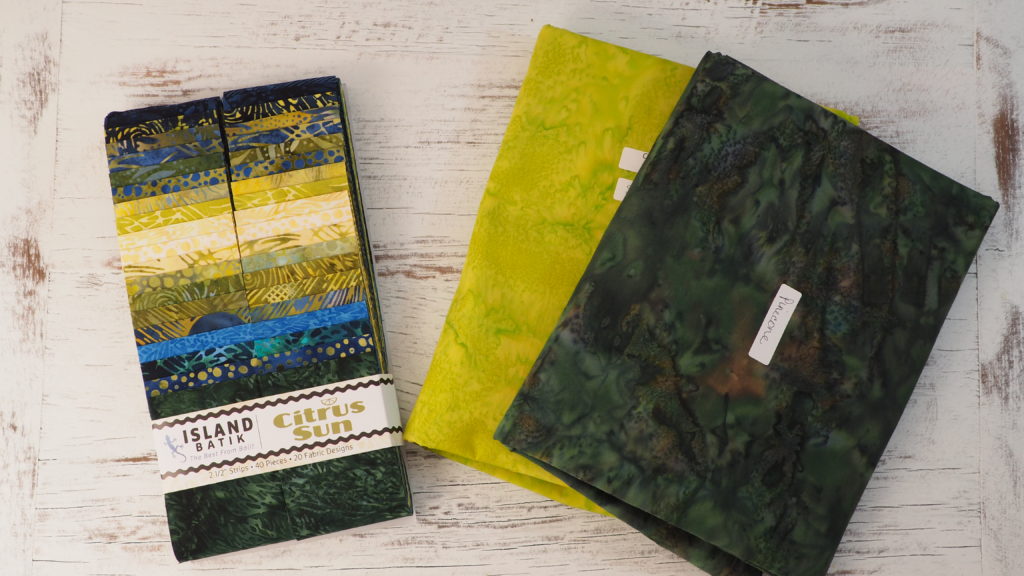
“Citrus Sun” is all about greens, blues and some yellows and is in stores as of February 2021. “Seedling” is a great pop of yellowish spring green and “Pinecone” brings it all together in a deep and rich forest green.
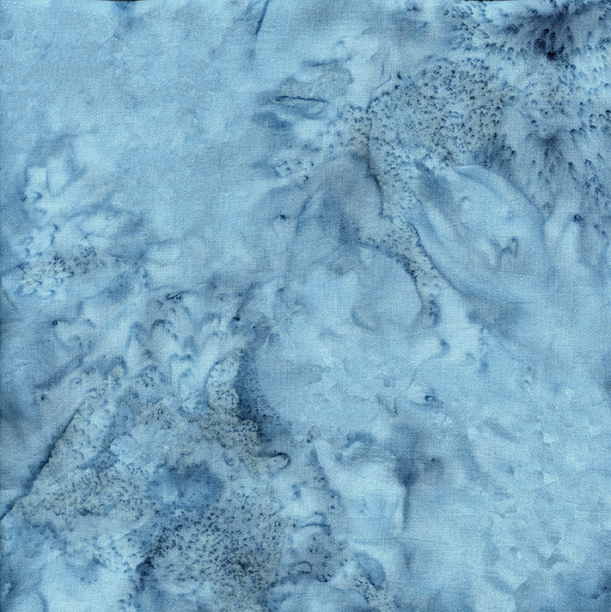
In addition to those fabrics, I threw in one other fabric called “Shark” that I received in my ambassador box. I thought it added just the right touch for my design.
Making the “Bubble Tea” Quilt
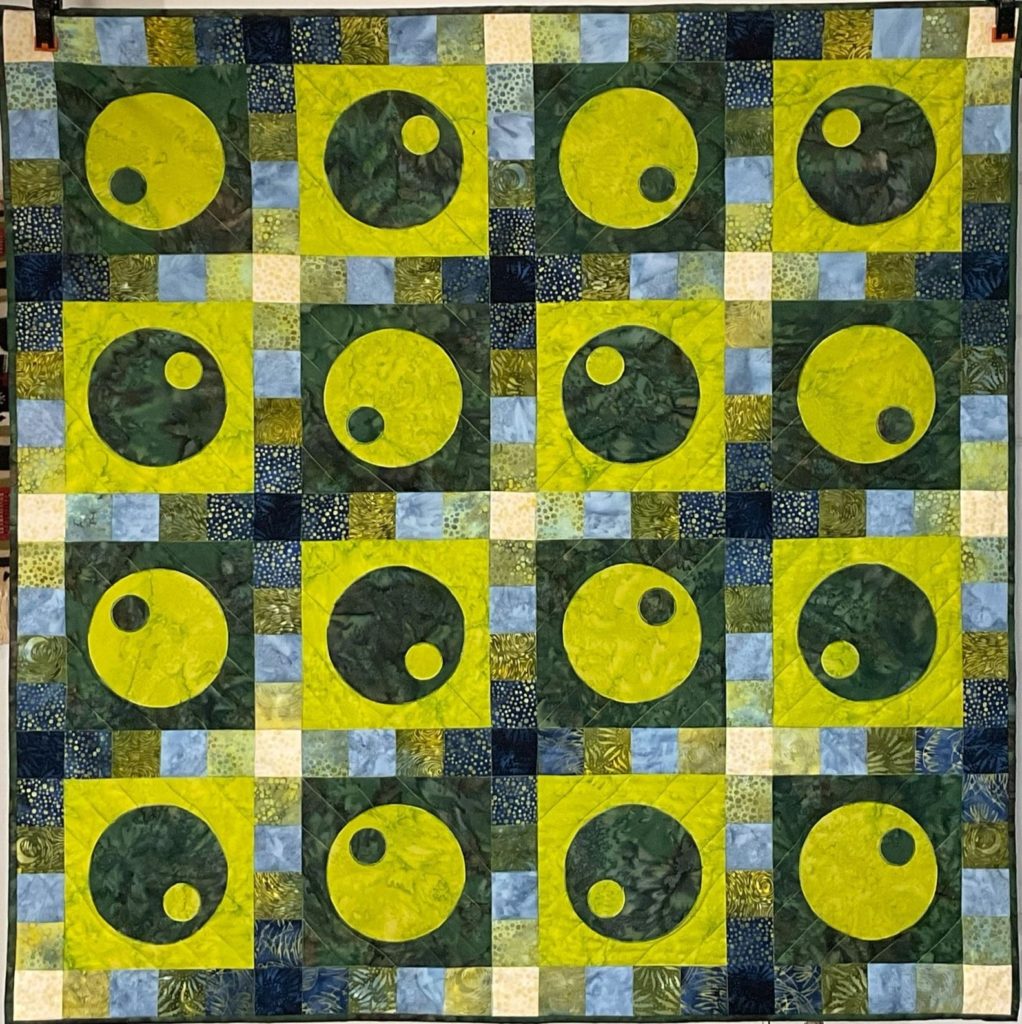
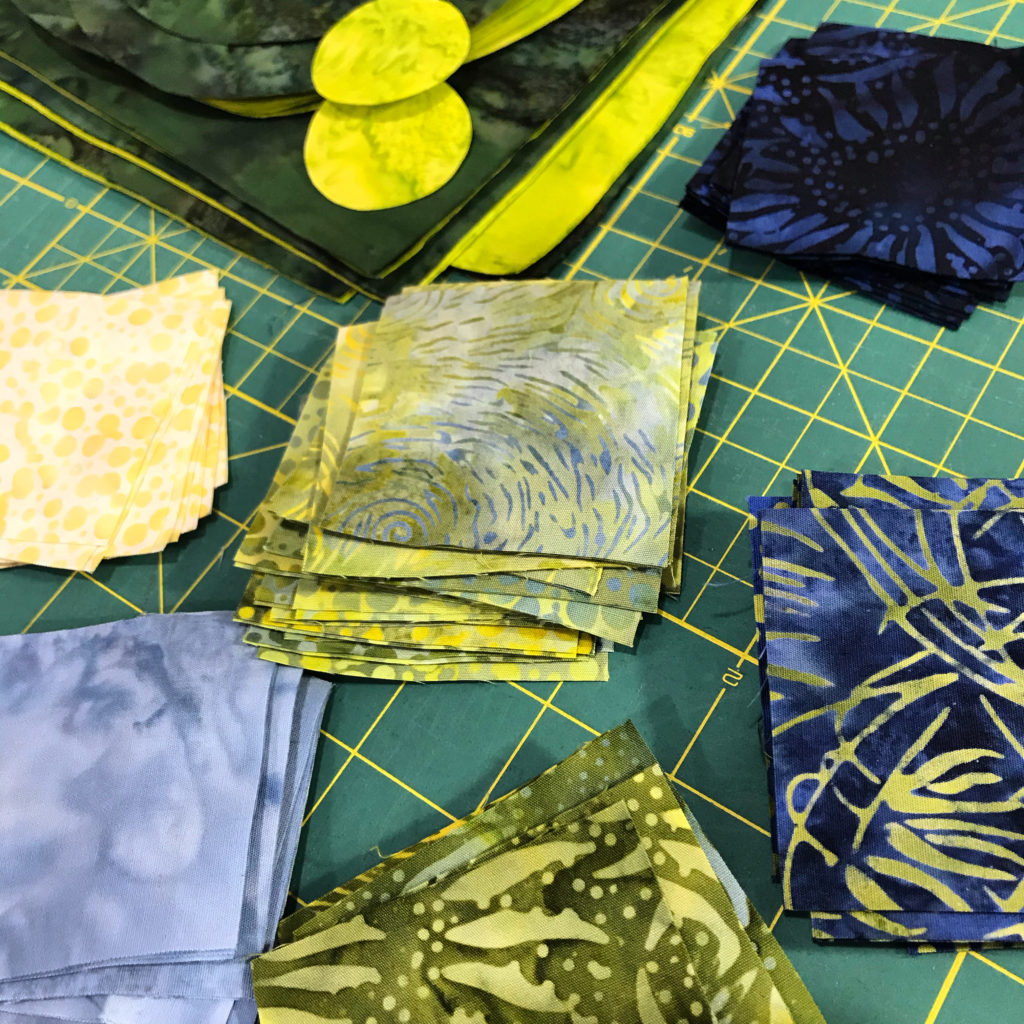
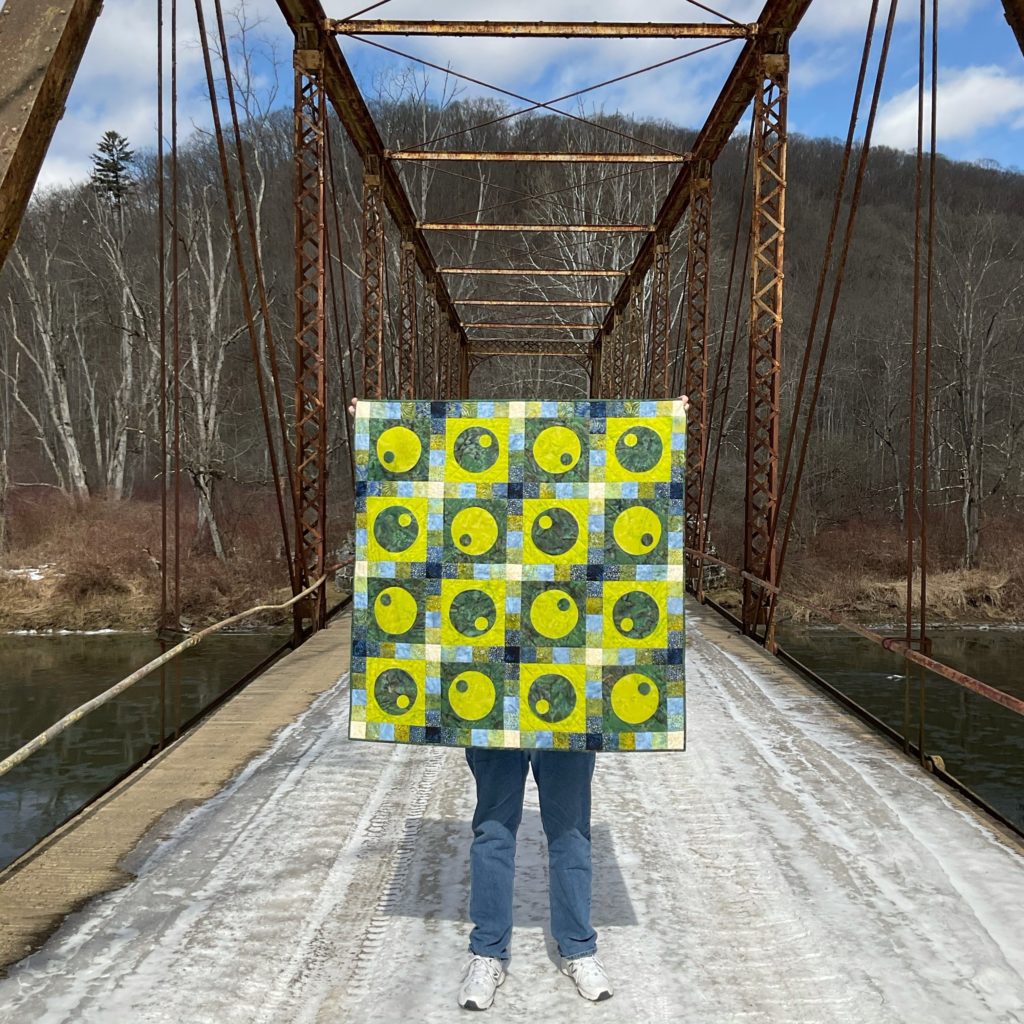
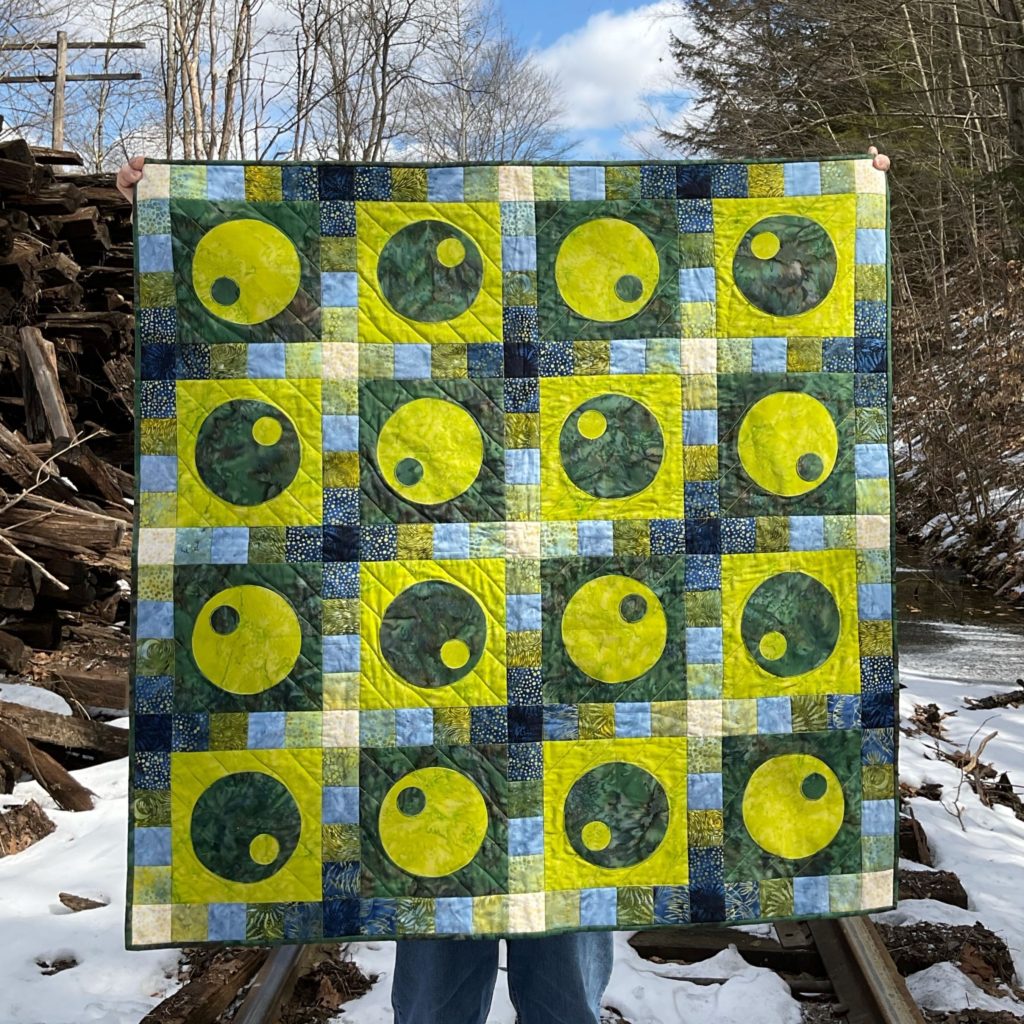
The finished quilt measures about 42″ x 42″ so it is an ideal wall quilt. For the sashing around the center blocks I used some of the strips in the set. I used the coordinating fabrics for the bubble centers, alternating the fabrics in every other block to give the quilt a bit more movement.
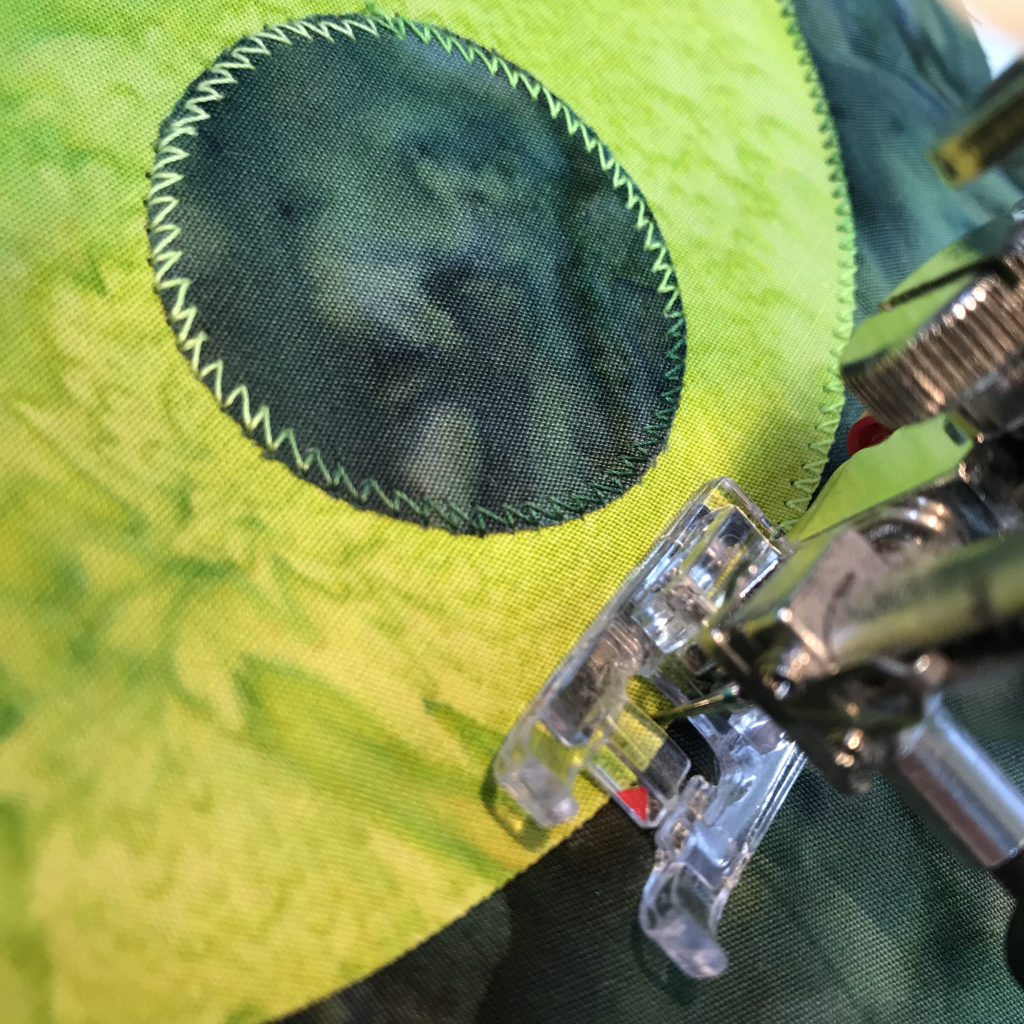
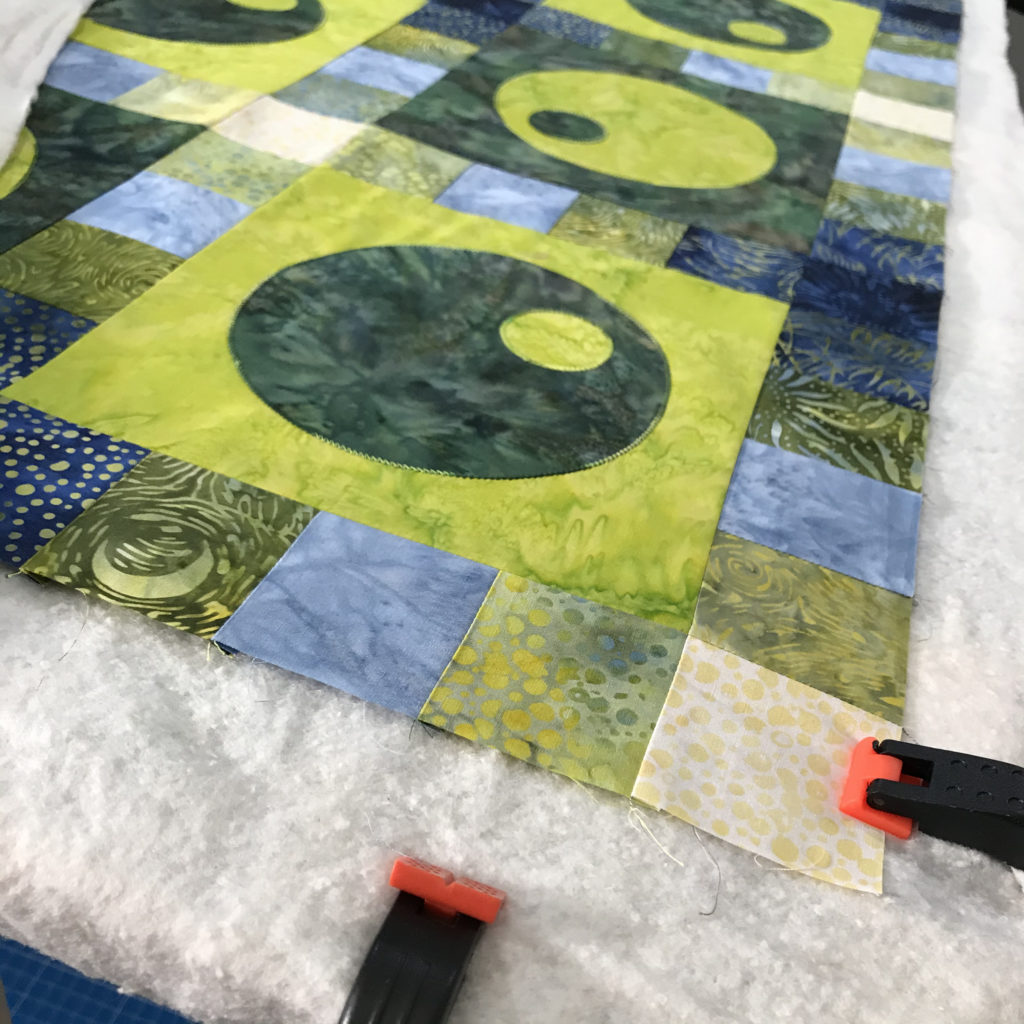
Like I mentioned earlier, I did some appliqué in this piece. I used fusible web to adhere the circles and then did some easy machine appliqué stitching around the edges of the shapes. It added a nice decorative touch and some added stability to the shapes.
It’s an easy quilt to make because the strips are the perfect size to cut into squares. I chose fabrics from the strip set that gave the sashing an ombré look.
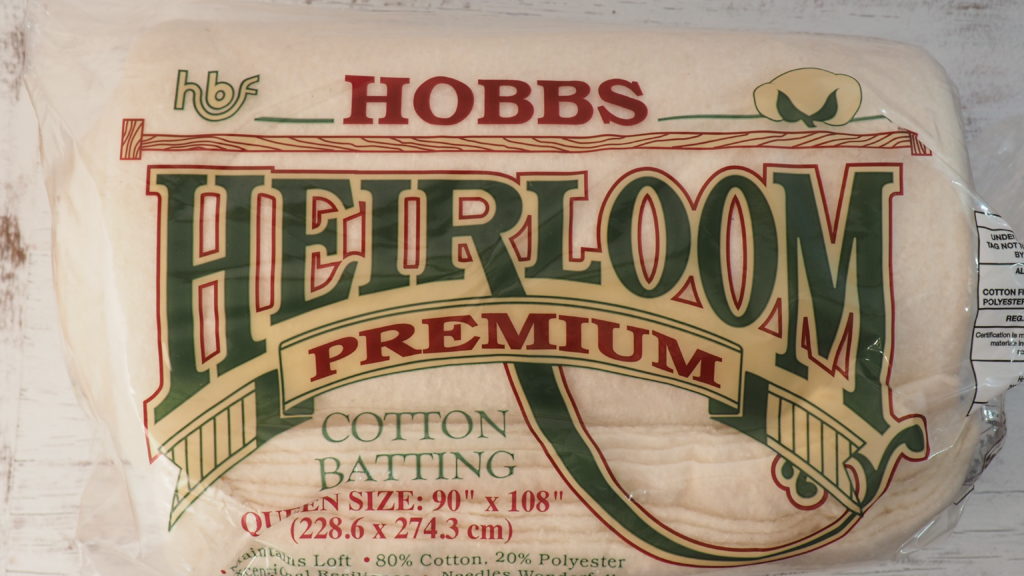
For the batting I used Hobbs Heirloom Premium which gives this quilt a nice weight and drape.I was lucky to have enough left over from my February challenge quilt “Pleiades”.
I used the AccuQuilt Go! system to cut out the strips for the binding and Schmetz needles in my machine.
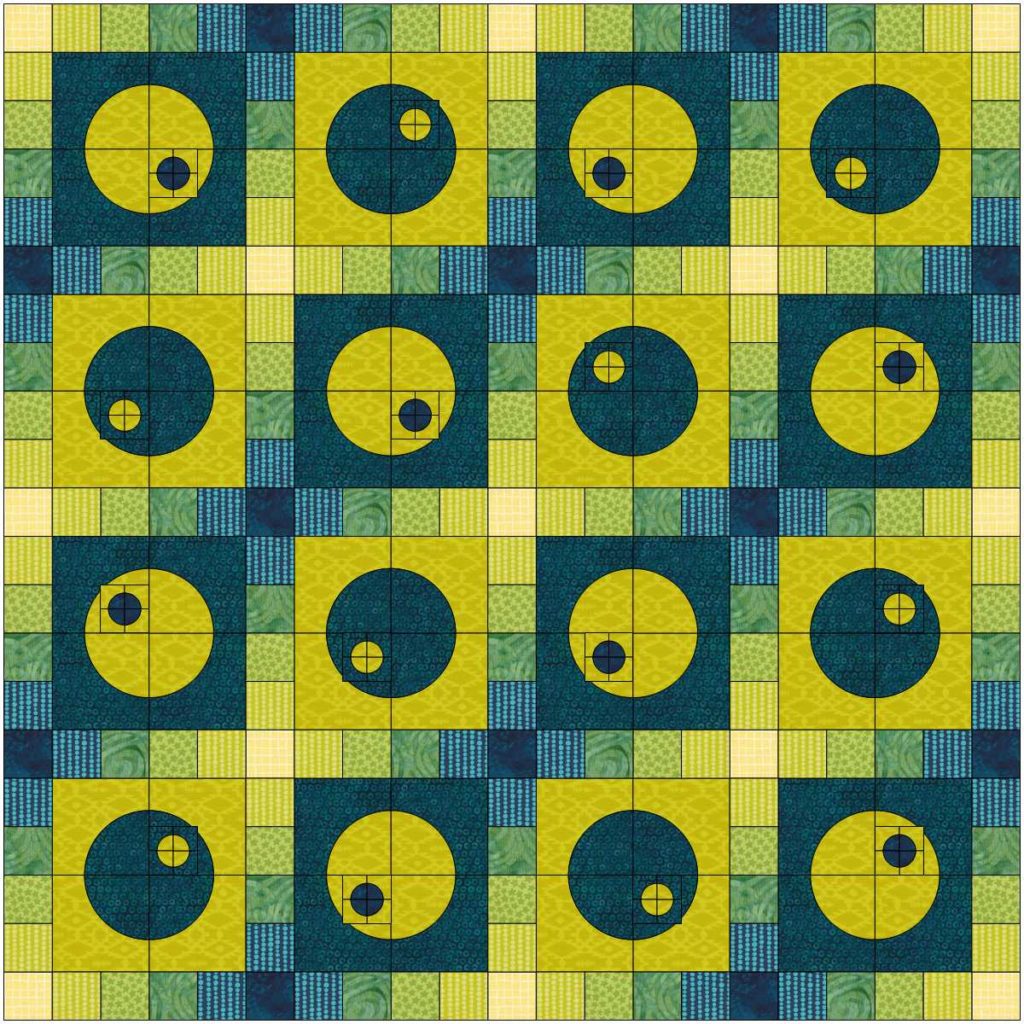
I designed this piece in EQ8 and you can see that I stayed pretty true to my original plan.
The Back of the Quilt
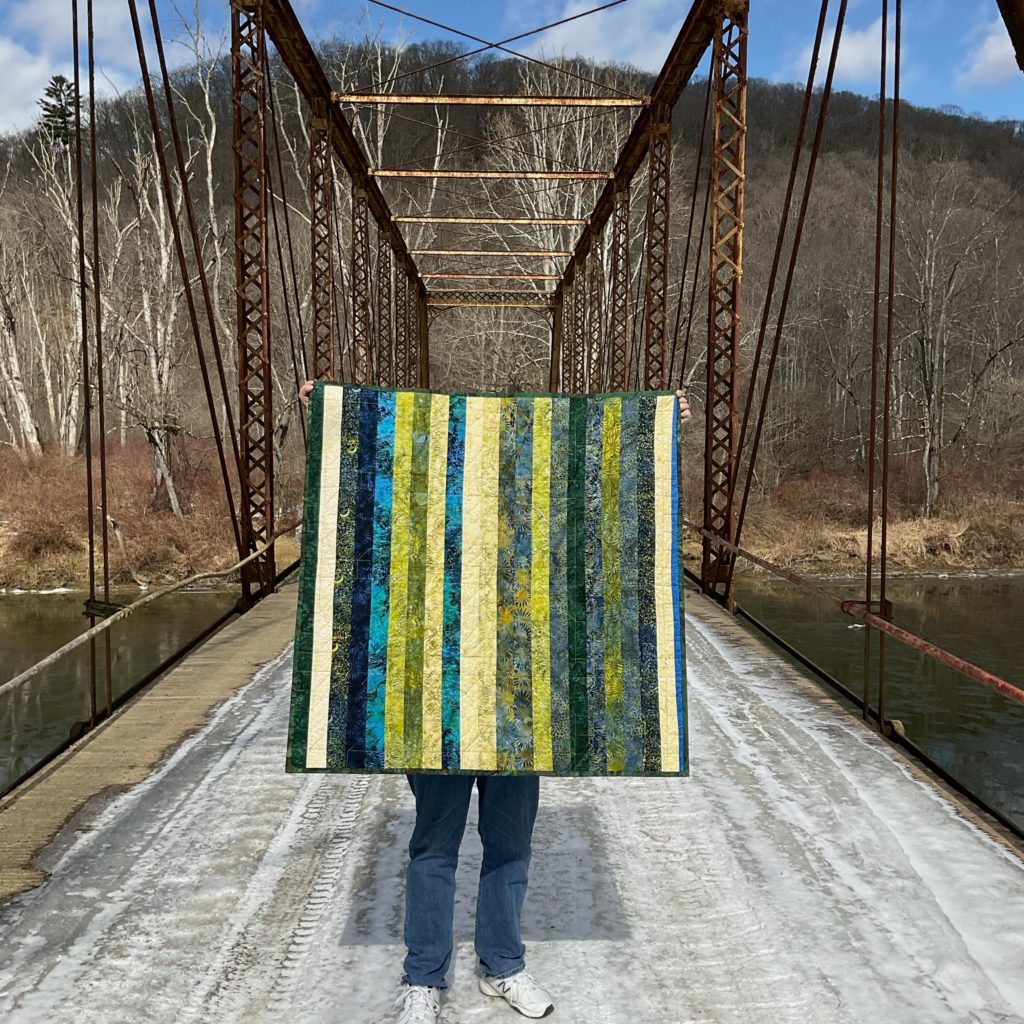
Now for the back fo the quilt. After assembling the top, I had plenty of strips left so I thought I’d have some fun and just randomly piece them together to make the back. The back really shows off the fabric line and adds a fun touch to the quilt.
About This Photo Shoot
Fun (well it wasn’t fun at the time) story about taking these pictures. We went up to a state park and decided to go down to this old trellis bridge. It had snowed quite a bit over the prior weeks, and yes, there was a sign that there was no winter maintenance on this road, but we had the Jeep and figured all would be well.
To set the scene, there was a steep dirt road down to the creek and another one on the other side to go back up. One side of the road is against the hill, the other is a wooded drop off. Going down to the bridge, the road was snow and ice covered, but we managed, albeit very slowly. Honestly, there was no way we could have turned around at that point so we had to keep going. We came upon a pickup truck that was stuck in a ditch on one side, and a 4 wheel drive SUV parked on the other side further down. That should have been a warning to us.
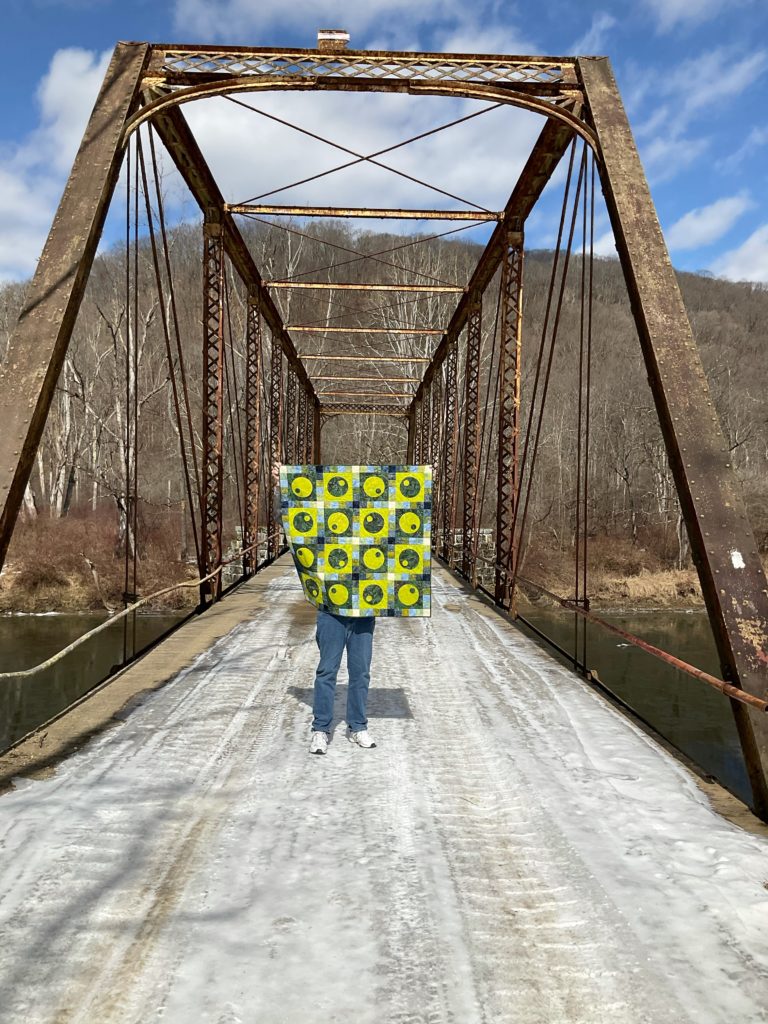
We got down to the bridge, took our pics (see the packed ice on it?) and headed up the other side. Not a problem where the sun was hitting, but as it got more shaded, the ice got thicker and more spread out across the road. Before we reached the top we hit a curve that was dark and shaded. Pure ice across the entire road and no shoulder to help with traction. As soon as we hit it, I knew it wasn’t good. Especially when my husband, who had been telling me not to worry during the entire ascent, loudly proclaimed “Now you can worry” as we slid backwards, spun around and ended up on the hill side (thankfully) of the dirt road, facing downhill.
The Solution
There was no way we were going to try that hill again, so we inched our back down to the bridge and up the road we had come in on. It was icy, but we were able to keep a tire on the far shoulder. Luckily it still had snow that had not been packed down and could give us some traction. As we came up to the stuck pickup truck we noticed a lady up ahead. Thinking someone was coming down, we stopped, keeping our fingers crossed that we would be able to get going again.
She disappeared around the corner and I got out and walked up to see what was going on. No one was there and we cautiously inched our way back up to flat ground. At the top of the hill we saw the lady in a tow truck that had snow chains on. Not even they had attempted that icy hill.
After exhaling a sigh of relief that we made it, we headed straight home. Thanks to my husband’s good driving, and our trusty Jeep, we got out of there, but we learned out lesson, and next time we’ll wait until the ice is gone.
On a positive note, we now have an adventure to tell people, and the pictures turned out great!
Want to Make Your Own “Bubble Tea” Quilt?
I don’t have a pattern for the quilt yet, but I did design this fun little mini “Bubble Tea” quilt (or quilt block). It is super easy to put together and measures about 12 1/2″ when finished.
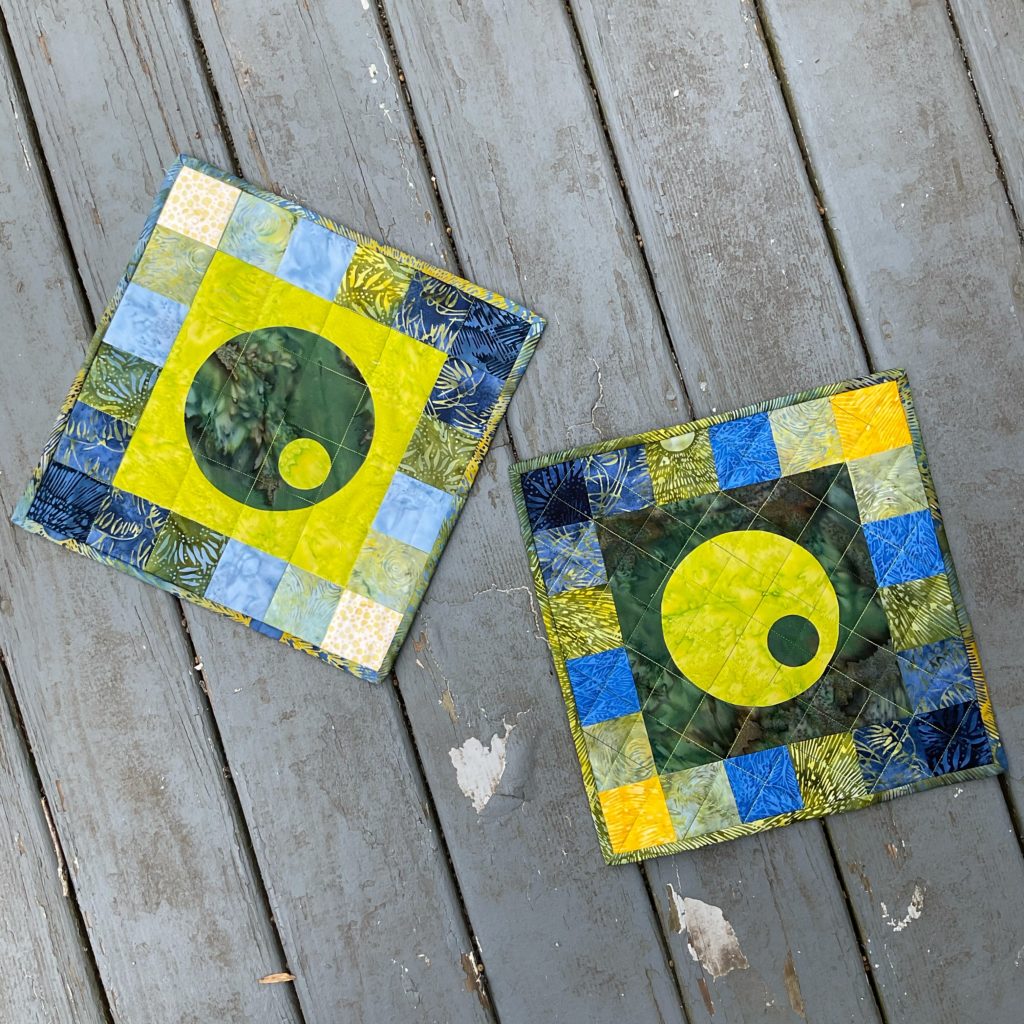
As you can see, I did it in two different colorways, the one on the left is with the same fabrics I used in the large quilt and the one on the right has a couple of different ones because I ran out of strips.
You can find my pattern and tutorial for this fun little mini here.
One More Look at “Bubble Tea”


10 Comments
Preeti Harris
April 9, 2021 at 1:03 PMYou say Bubble Tea but looks like an Olive Martini to me. In any case, it is a bright and tangy finish!!! Love your choice of fabrics.
createwithclaudia_7j76hs
April 10, 2021 at 6:53 AMFunny Preeti! When I was thinking of a name, Martini Olives was one of them!!! Thanks for stopping by!
Gail Sheppard
April 9, 2021 at 1:53 PMLove your ‘punny’ post! Your quilt is great! Thanks for the mini quilt pattern and tutorial!
Can’t wait to hear about your next adventure for the next photo shoot! 🙂
Happy Quilting! 🙂
createwithclaudia_7j76hs
April 10, 2021 at 6:54 AMThanks so much Gail! Let’s hope my next photo shoot isn’t quite so exciting. Maybe I’ll stick to my back yard for now.
Maryellen McAuliffe
April 9, 2021 at 7:24 PMLovely quilt and good story. Glad you made it back home.
createwithclaudia_7j76hs
April 10, 2021 at 6:01 AMThanks so much! We were too.
Jennifer Thomas
April 11, 2021 at 2:50 PMI love your quilt! What a fun project. I’m glad you made it home from the photo shoot. The bridge pic is awesome. I’m using Citrus Sun on my April project, too. I’ve still got to bind it before I can do photos. It’s so fun to see what everyone makes. Have a great day!
createwithclaudia_7j76hs
April 12, 2021 at 6:40 AMI can’t wait to see yours Jennifer! I agree, I love seeing what designs people come up with using the same fabrics. I like everything else too!
Robin
April 15, 2021 at 12:03 PMLove this quilt! Glad you made it out safe! 😊❤️
createwithclaudia_7j76hs
April 16, 2021 at 4:41 AMThanks so much! We were too!