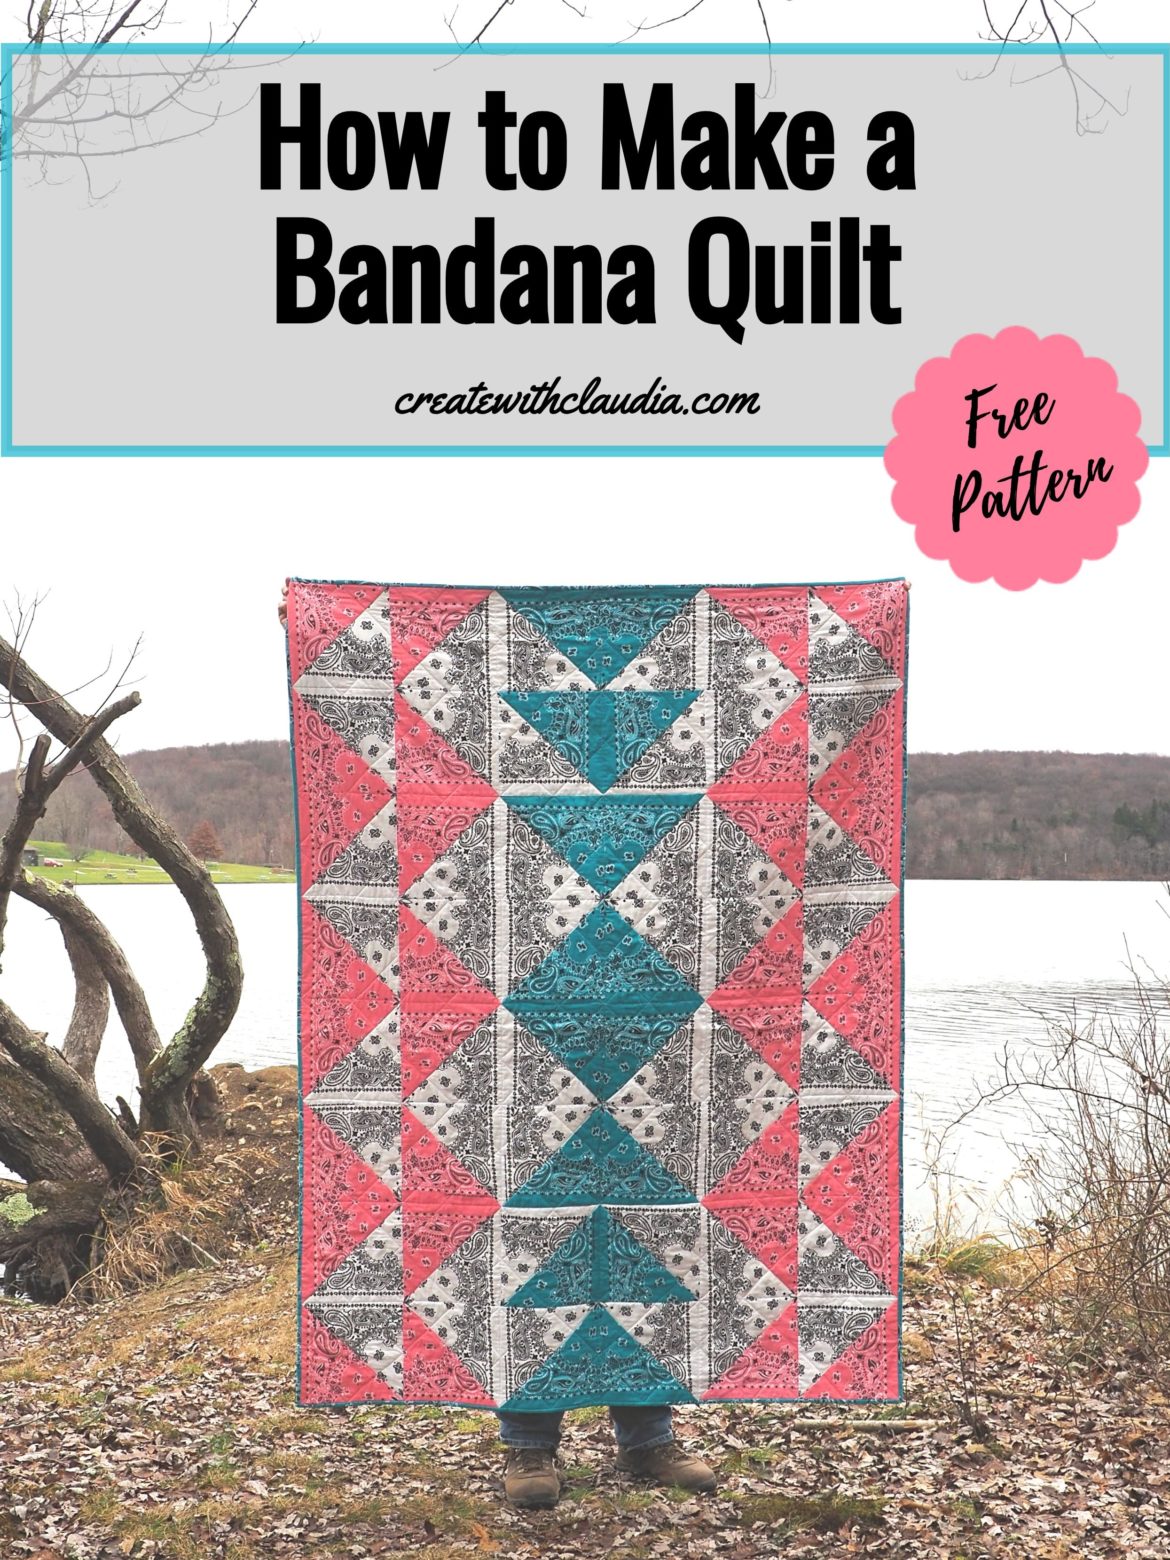
How to Make a Bandana Quilt
Have you ever wondered how to make a bandana quilt? It’s easier than you may think, and with all of the beautifully colored bandanas available, you can make one in almost any color combination you can think of!
I have always wanted to make a quilt like this. There is something familiar about bandanas. I don’t know about you, but I always have a couple on hand. They are kind of like that old pair of jeans that you never want to get rid of.
If you really look at them, they are quite pretty. Most are made up of all kinds of paisley and floral designs.
Inspired by a Southwest sunset, you know, the kind that almost look like the sky is made of cotton candy, the pattern uses 3 different colors to achieve a striking geometrical look.
This post is sponsored. Burlapfabric.com provided me with the bandanas. All opinions expressed are mine.
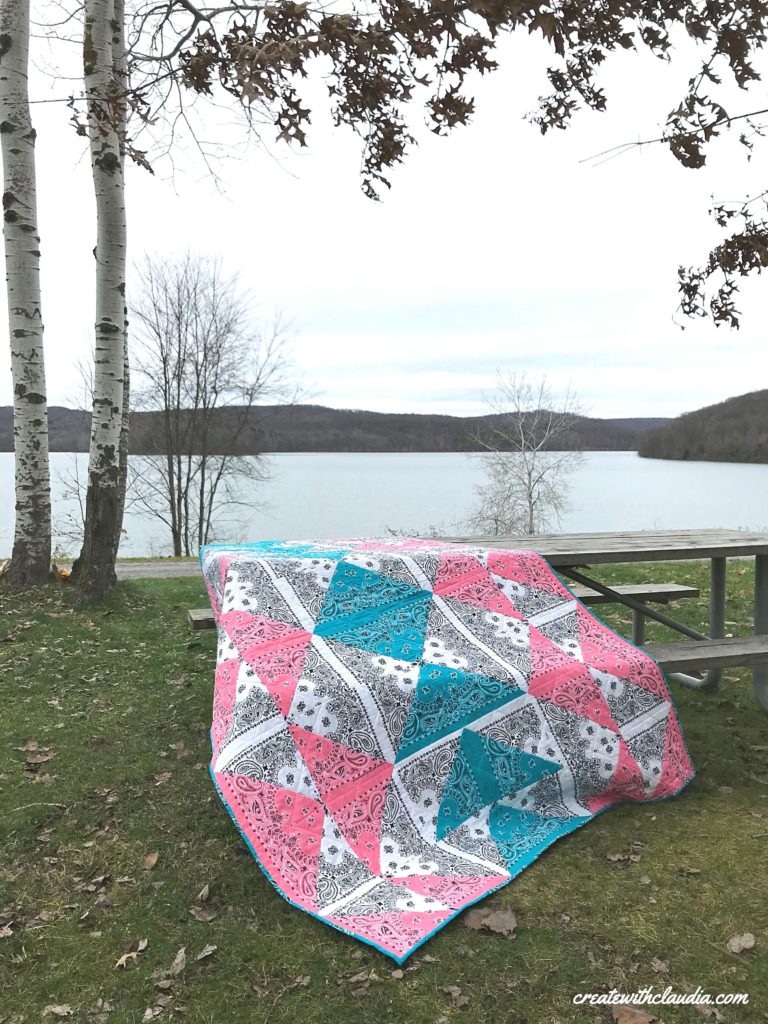
*Download the Free Bandana Quilt Pattern Here*
Pattern Information
- Read all instructions carefully before beginning
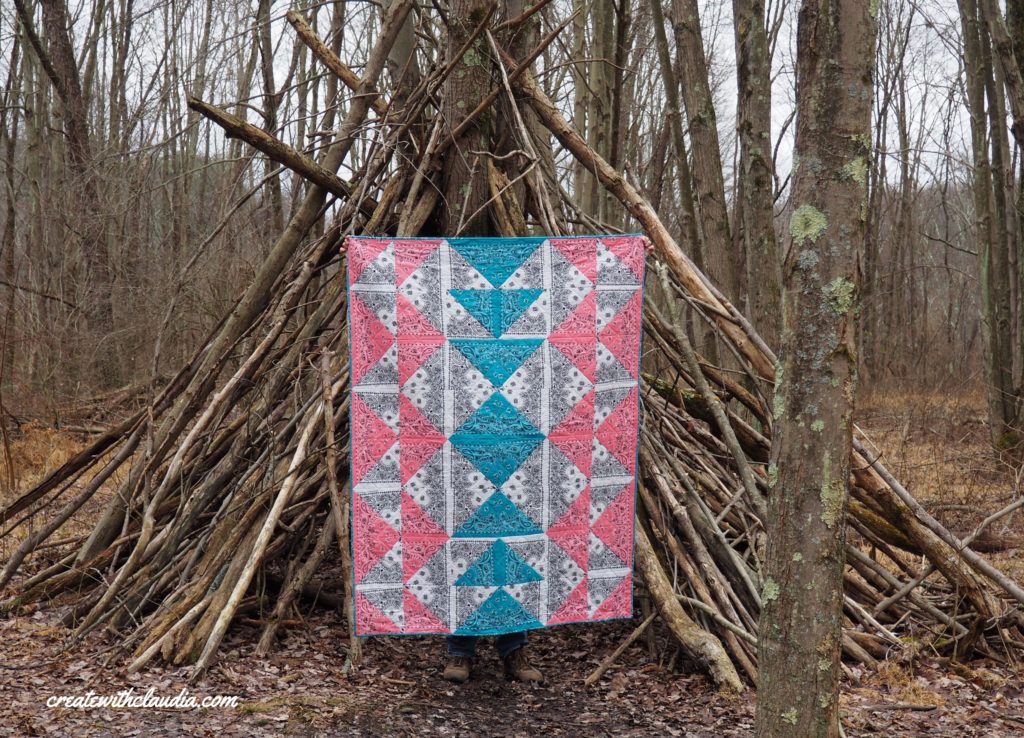
- Finished Size approximately 54” x 72”
- ¼ inch seam allowance used
Fabric and Supplies Needed
- Six – 22” square white 100% cotton bandanas*
- Two – 22” square turquoise 100% cotton bandanas*
- Four – 22” square pink 100% cotton bandanas*
- 4 yards backing fabric
- Batting and binding (I used bandanas for my binding*)
- Cutting Mat
- 24″ long quilter’s ruler
- 10″ square quilter’s ruler
- Rotary cutter
*Thank you to burlapfabric.com for providing me with the bandanas for this project. They are available in various colors and (as of posting this quilt pattern) they are available in packs of 6. I received 1 pack of 6 bandanas in each color and they were more than adequate for the quilt top and binding (using 2.5” strips).
Get the Look!
For this project I used the following colors of bandanas: White Paisley, Turquoise Paisley, and Strawberry Paisley.
My How to Make a Bandana Quilt Video
Preparing the Bandanas
Before cutting the bandanas, they need to be washed and dried.
- Wash and dry the bandanas as per the manufacturers instructions. You may want to add a color catcher in case they bleed.
- Press the bandanas.
- Carefully trim away the raised (serged) edges, making sure to leave as much of the bandana as possible.
Note: Depending on the weight/weave of your bandanas you may want to add fusible stabilizer to the backs of them.
Cutting (You should be able to get 4 squares from each bandana)
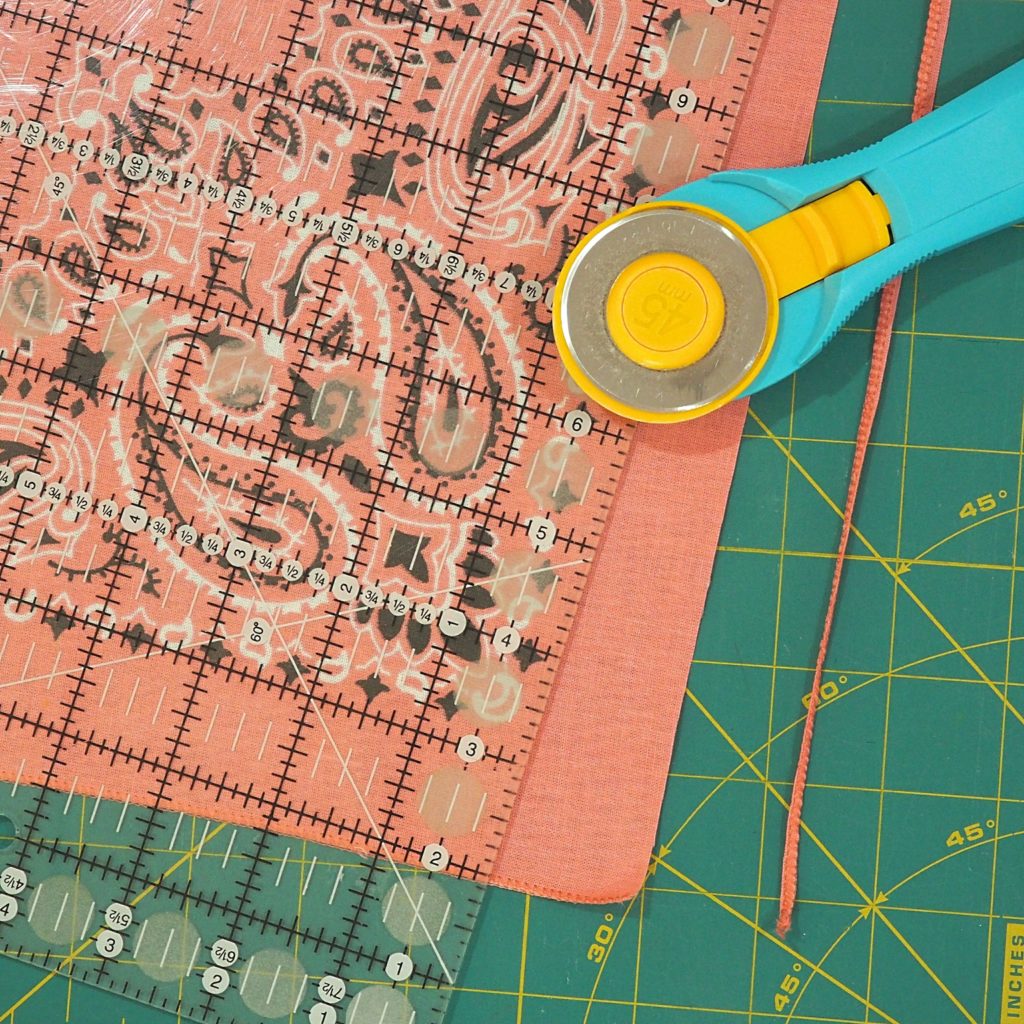
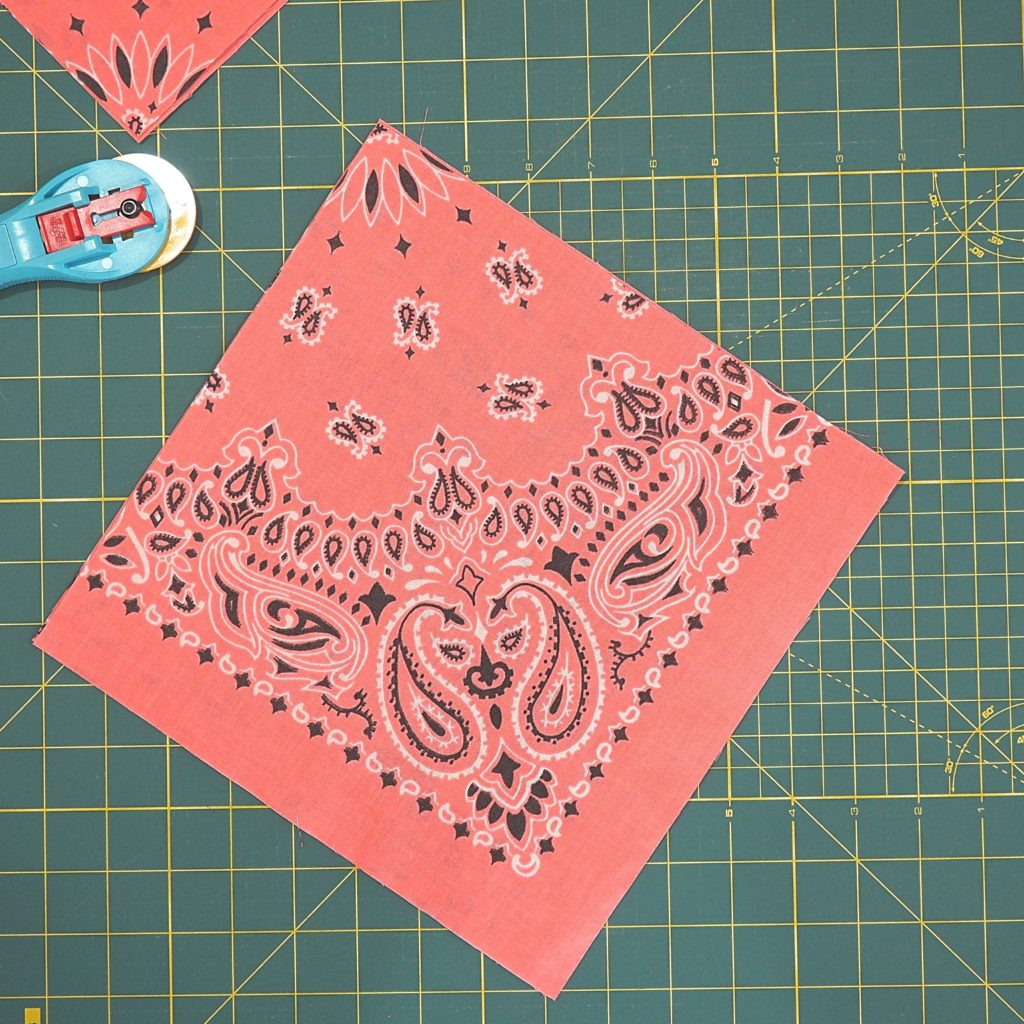
To cut the bandanas the first thing that needs to get done is to remover the serged edges. Leave as much fabric as possible so you can get large enough squares.
Once edges are removed, cut each bandana into 10 1/8 inch squares. You should be able to get four squares from each bandana.
Once done, you should have the following number of squares.
- White Bandanas: 24 – 10 1/8 inch squares
- Turquoise Bandanas: 8 – 10 1/8 inch squares
- Pink Bandanas: 16 – 10 1/8 inch squares
Block Assembly
This quilt is made up of 48 half square triangles: 32 pink/white ones and 16 turquoise/white ones.
First, pair up the 10 1/8 inch squares as follows:
- 16 white with 16 pink
- 8 white with 8 blue
Next, make the half square triangles. For more detailed instructions, you may want to see my tutorial on how to make a half square triangle.
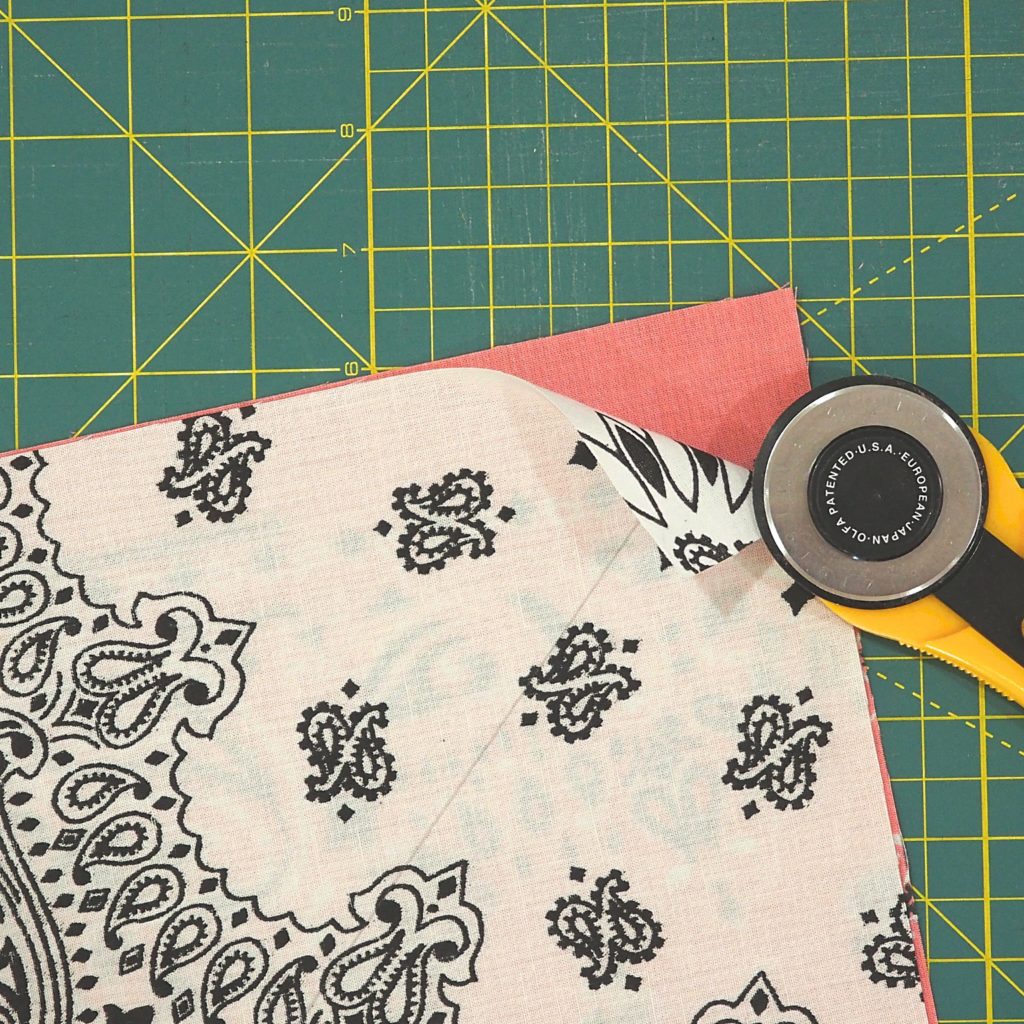
On each of the pairs, draw a diagonal line on the back (wrong) side of the lighter fabric. This will be your sewing guide.
Line up each pair of squares with front (right) sides facing each other.
Using a ¼ inch seam allowance, sew along both sides of the drawn diagonal line.
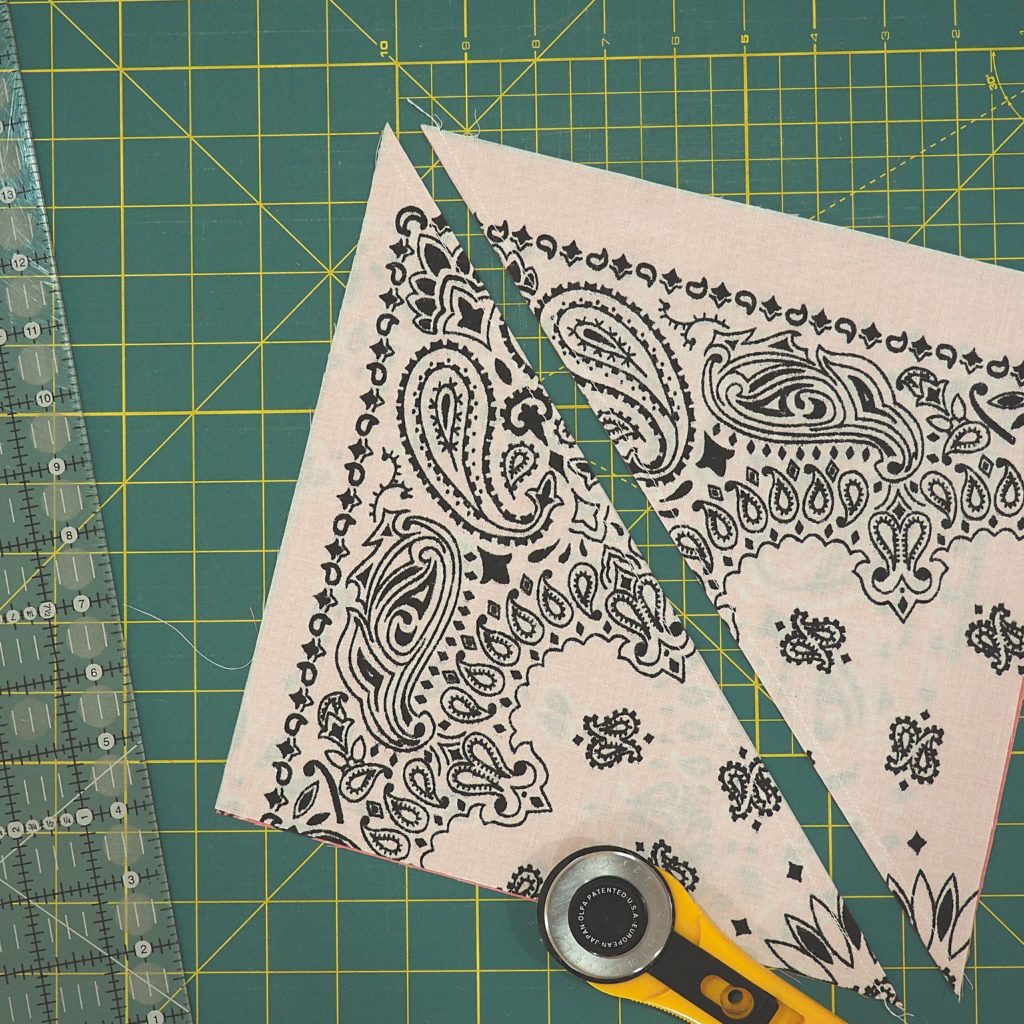
Cut down the center, along the drawn line. You will end up with two blocks that need to be pressed open.
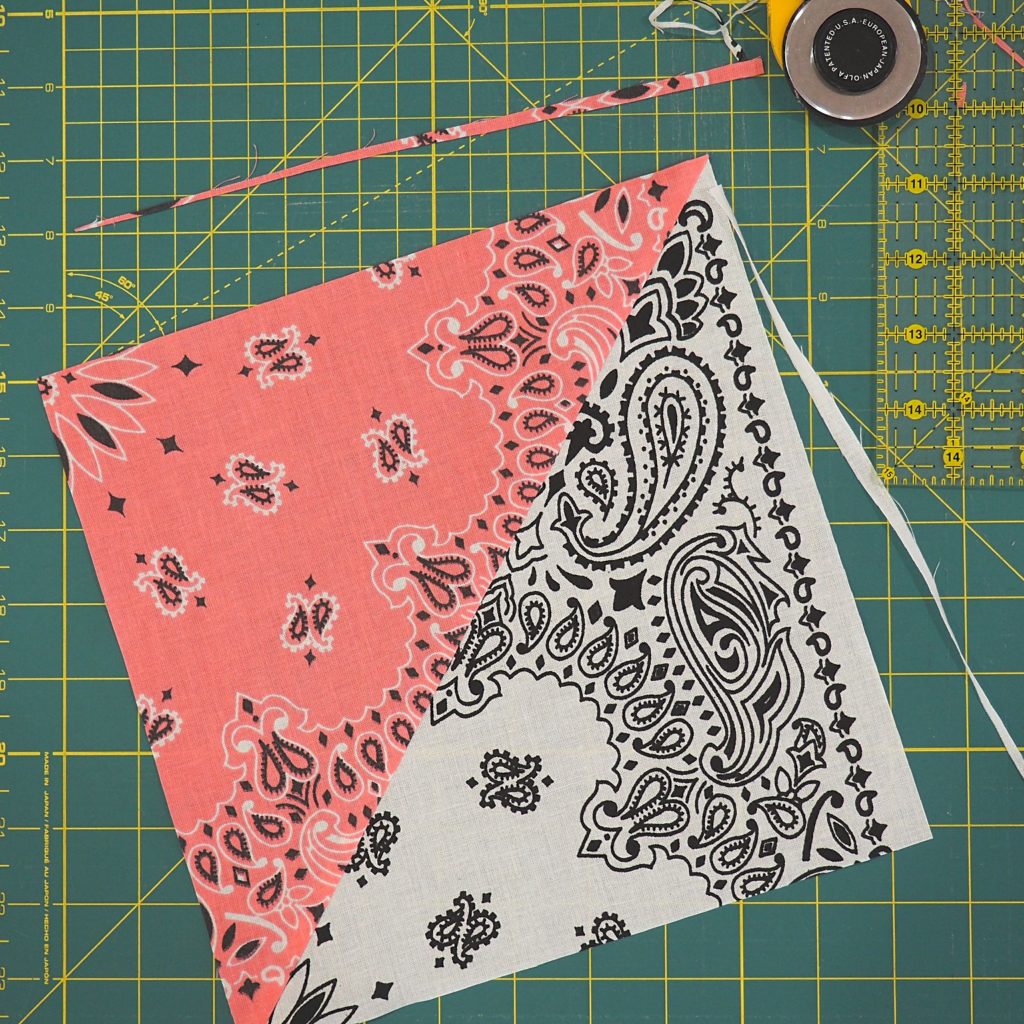
Trim them down to 9 ½ inches square. Repeat with the other pairs. You will end up with 48 half square triangles.
Tip: In the photos of the completed quilt you can see a secondary pattern. In the corners of the points where the white and the colors meet, there is a scalloped design. I got this by making sure that when I made the half square triangle the squares were facing the same direction before I sewed them together. Depending on the bandanas you use, you may be able to achieve this same look.
Quilt Top Assembly
Southwest Sunset Bandana Quilt Pattern Layout
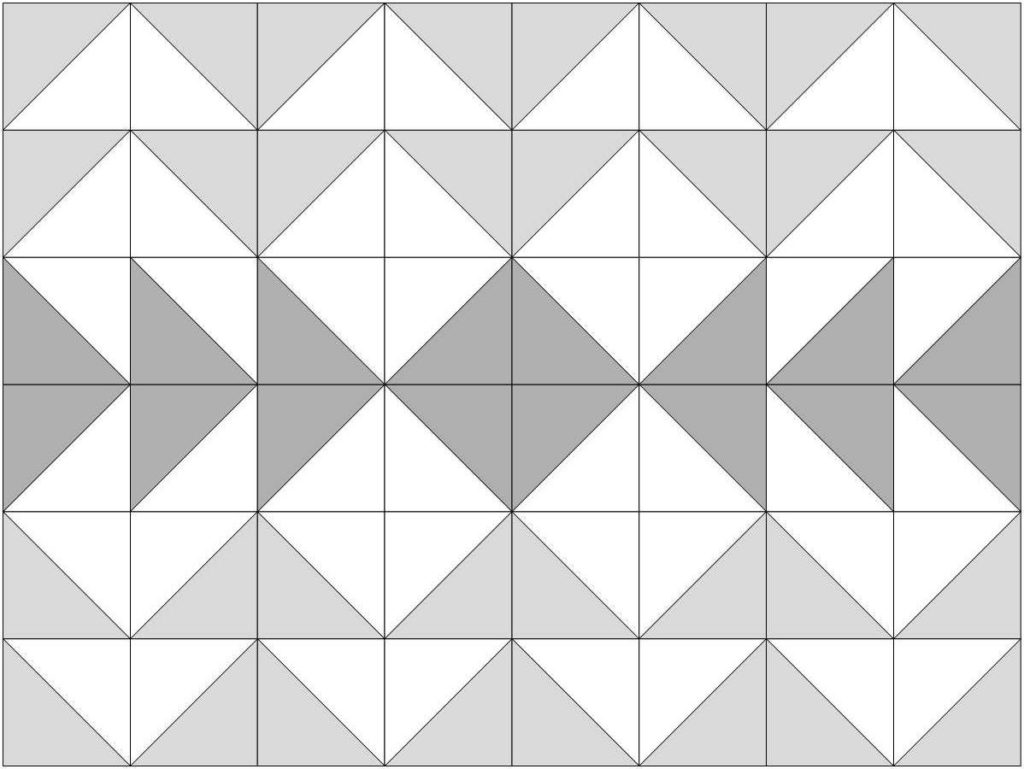
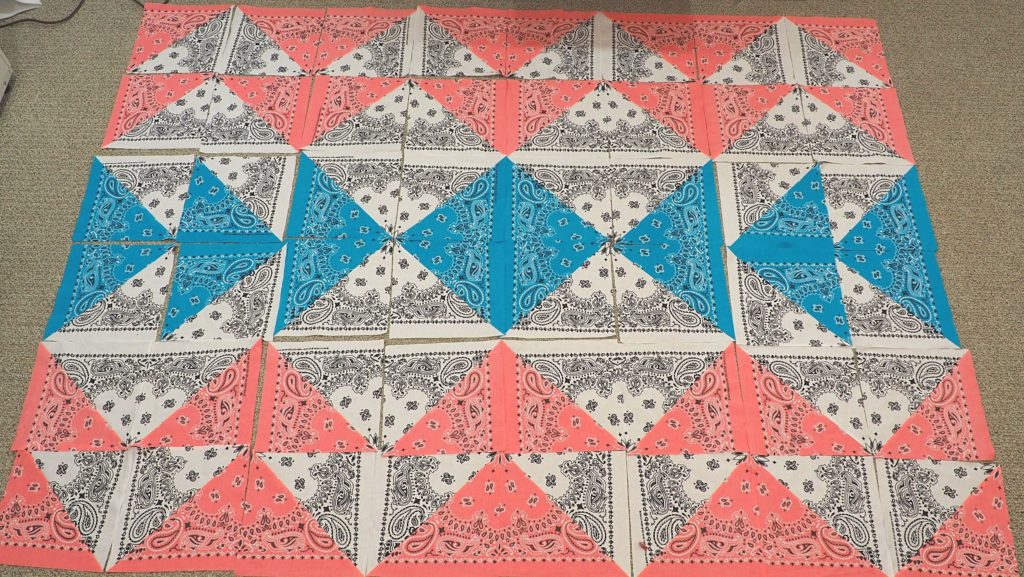
Lay out the half square triangles as shown.
Sew the individual rows together first. Then sew the completed rows together.
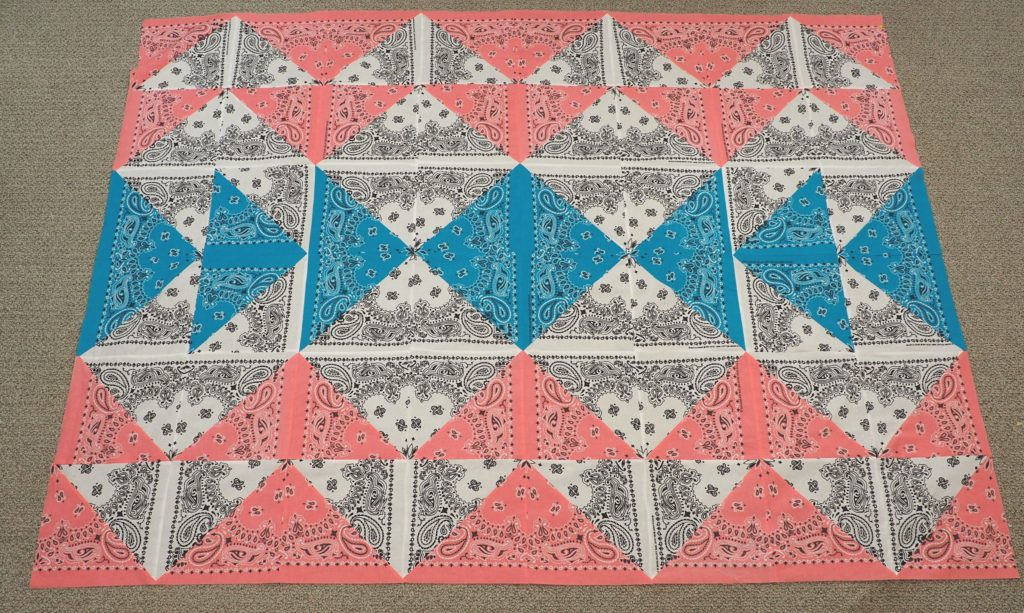
Tip: It’s easy to rotate one of the half square triangles when sewing. Stay organized by labeling your rows and making sure that you double check often while sewing the blocks together.
Finishing the Quilt
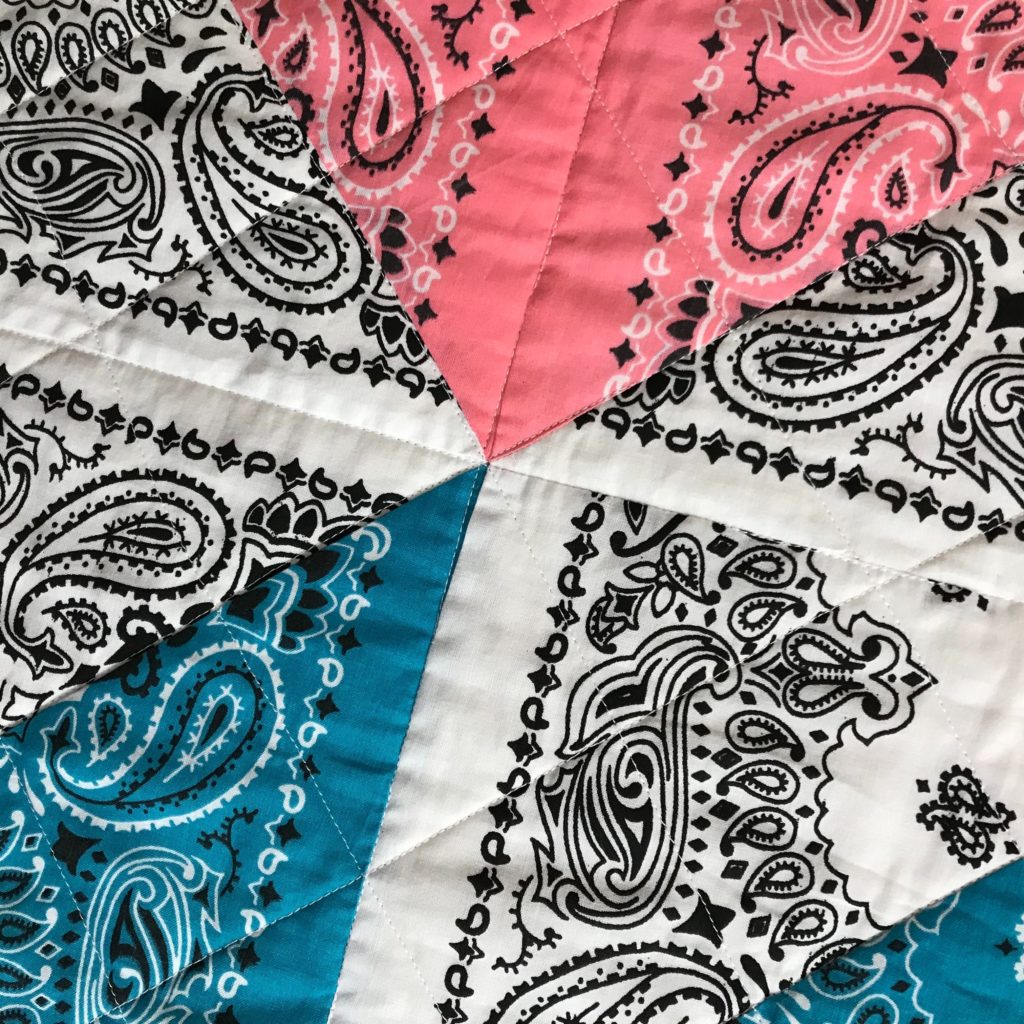
- Lay your backing fabric on a long surface, with wrong side facing up.
- Next, lay your batting on top of the backing.
- Lastly, lay your table runner on top with the right side facing up.
- Baste the layers together using your preferred basting method.
- Quilt as desired.
- Bind using your preferred method. I use 2.5” strips when I bind, and I had enough bandanas left to make my binding.
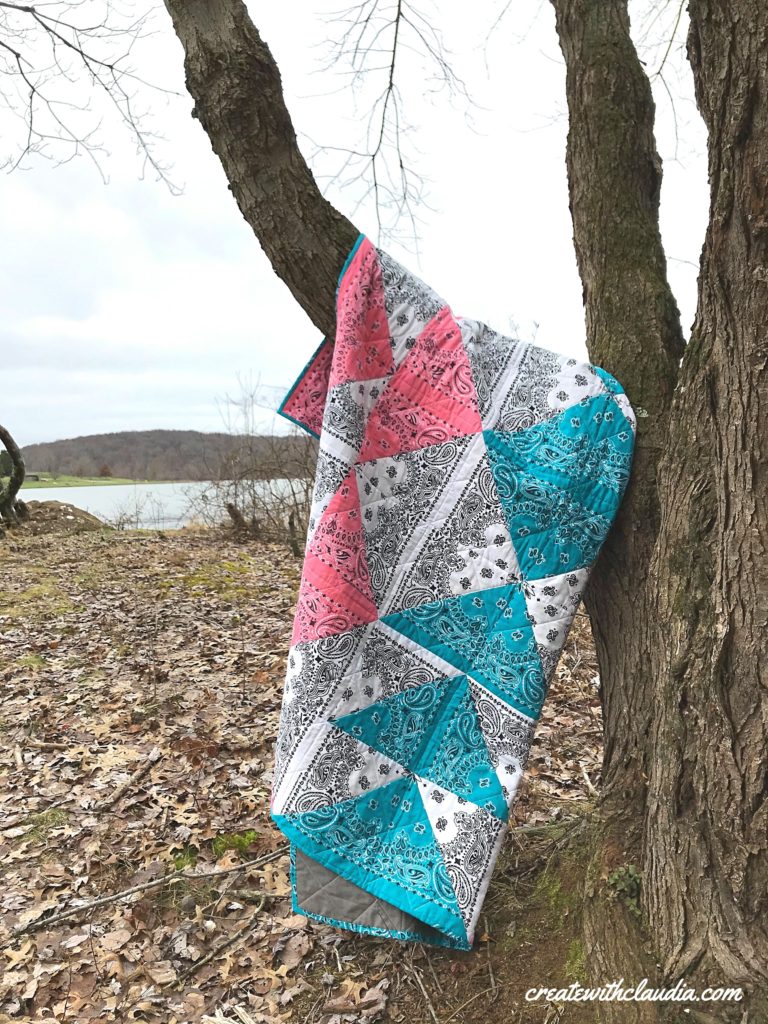
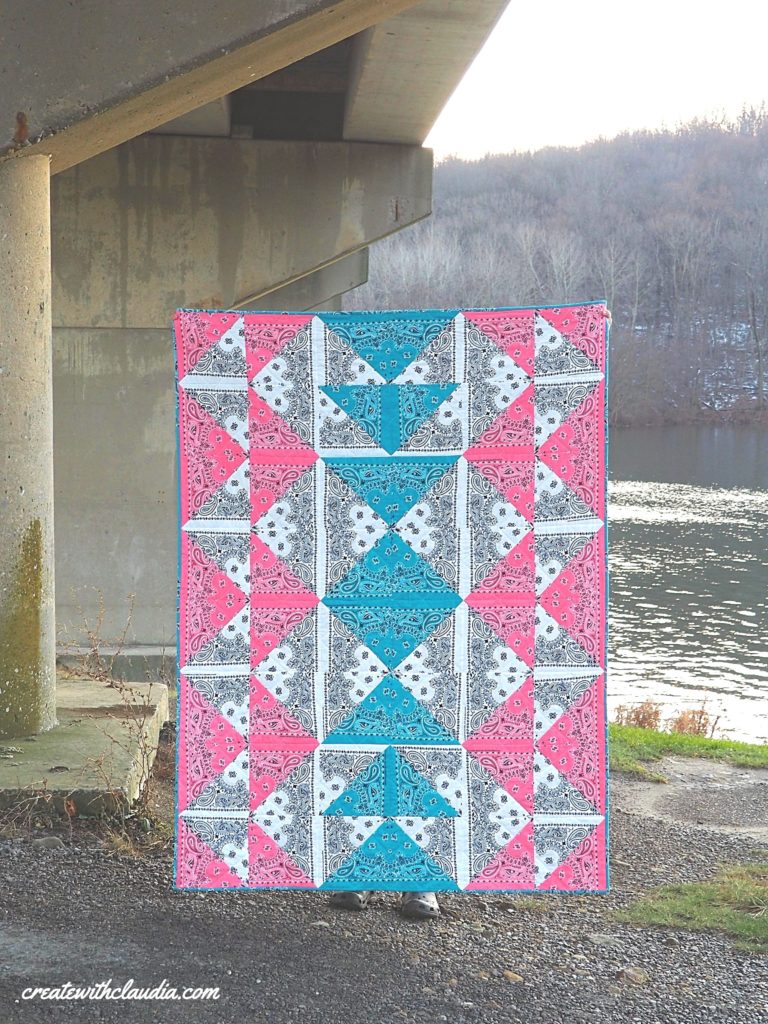
There it is…how to make a bandana quilt. They are super fun, easy, and they look great! I hope you try one and don’t forget…if you do make one and post it to social media, be sure to use the hashtag #createwithclaudia so I can see it.
Happy Quilting!


8 Comments
Karla Beavers Gabriel
December 9, 2020 at 2:46 PMI love this pattern. Beautiful. Thank you so much!
createwithclaudia_7j76hs
December 9, 2020 at 7:40 PMI’m so glad. I hope you give it a try! Thanks.
Patricia
December 15, 2020 at 12:42 PMThank you for the pattern. I have Bandana and need a good pattern to us.
createwithclaudia_7j76hs
December 16, 2020 at 5:32 AMGreat. I’m glad you like it.
GeneAnn Hall
February 4, 2021 at 10:20 AMI have been trying to post a picture of my baton version of your bandana quilt…without success! How do I post it? Thank you!
createwithclaudia_7j76hs
February 4, 2021 at 8:47 PMNot sure what is not working. If you are Instagram you can post it there and tag me (createwithclaudia). I’d love to see it!
GeneAnn Hall
February 4, 2021 at 10:21 AMBatik not baton…autocorrect again!
Megan
January 10, 2024 at 11:00 AMOh my goodness! This is an awesome pattern! Thank you so much fro sharing your work, pattern, information, and video! I just started learning how to quilt, and i have fallen in LOVE with it! Imma shoot my shot with this pattern with bandanas!