How to Make Bias Tape Without a Bias Tape Maker
If you have ever sewn a garment or a quilt, then chances are pretty high that you’ve needed to use bias tape. Bias tape is that folded strip of fabric that finishes the raw edges in projects. Years ago I got a tool that makes quick work of the process. Unfortunately, not everyone has one. If you don’t, and need to make some, here are four ways to make bias tape using items you can find around the house.
For those of you who do have a bias tape maker, there is a quick refresher at the end of this article.
It isn’t very hard to make bias tape, it just takes a bit of time and patience. When I have a lot to make for quilt binding, I get my ironing board, and everything else, set up and ready to go. Then I turn on my favorite playlist and get to work.
For all of you quilters who bind with scraps, one tip I’ve learned is that I make a lot of extra length when I’m making binding for a quilt. Eventually I build up a large enough stash and I have enough binding for another quilt.
So get those fabric strips ready and let’s make some bias tape.
Video Demonstration
For convenience, I made this video demonstrating the techniques shown in this article.
Items You Can Use To Make Bias Tape
You can find many of the items that I used to make this project in my Amazon Store.
As an Amazon Associate I earn from qualifying purchases.
Cutting Bias Strips
Before making the bias tape, you have to cut the strips.
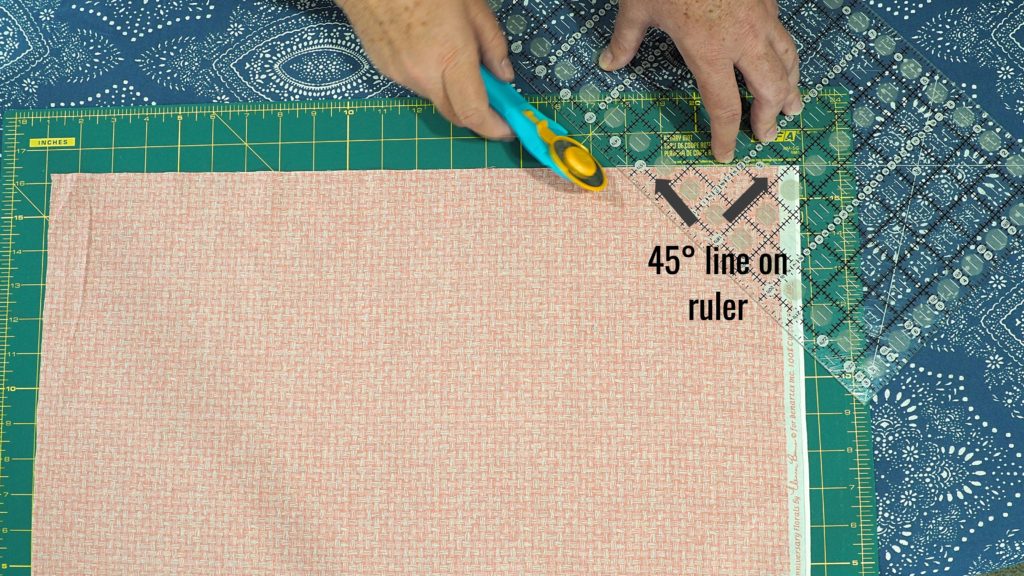
First, square up your fabric on a cutting mat or other surface suitable for cutting.
Then line up the 45 degree line that is on your quilter’s ruler along the bottom straight edge of the fabric.
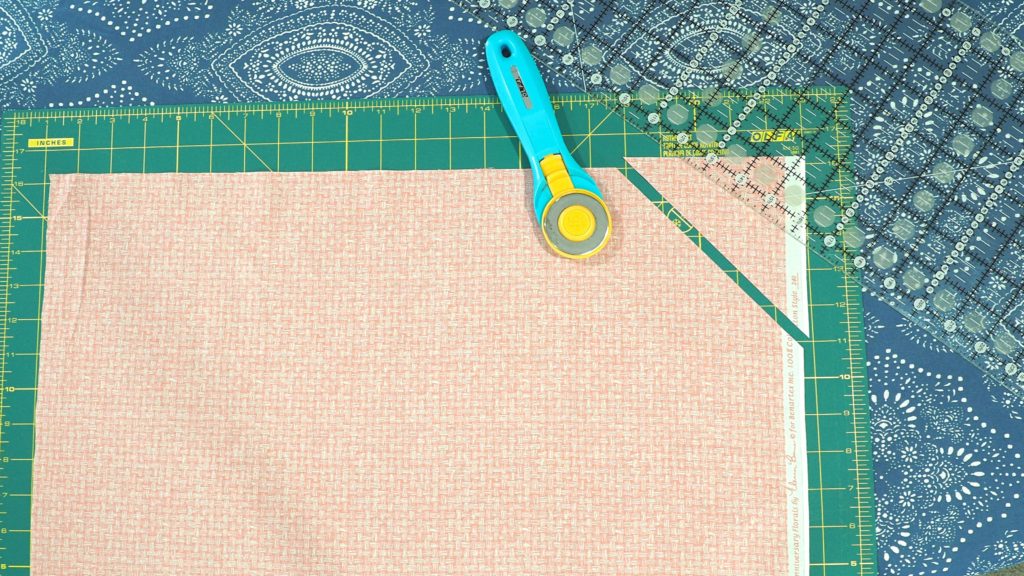
Make your first cut as shown above.
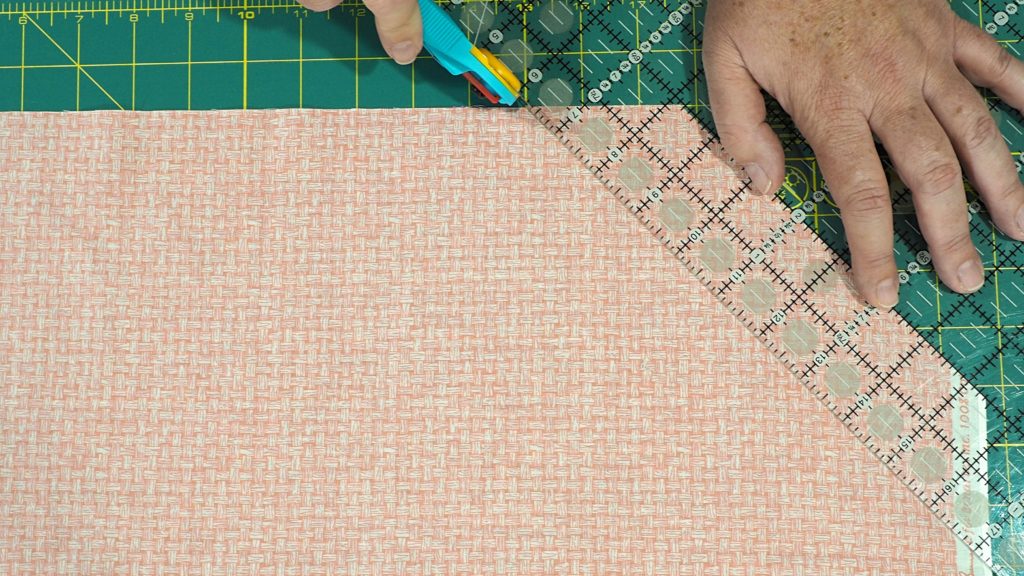
Then, using the width of the strips desired, use the cut line as your starting point and cut a strip.
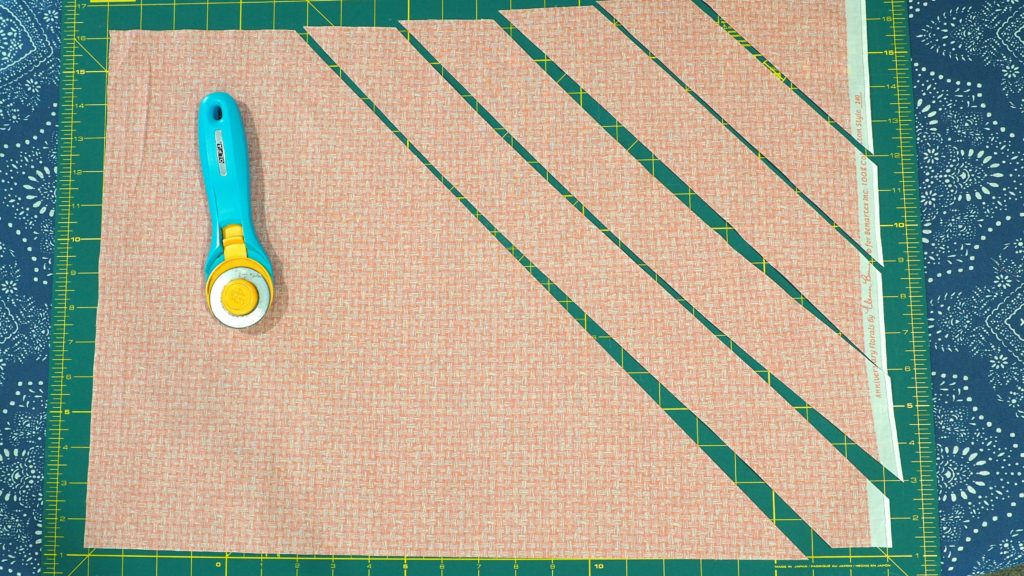
Continue cutting until you have the number of strips desired.
Depending on how long you want the bias tape to be, you will sew these strips to make one continuous strip.
Now you are ready to make the bias tape.
You can use all of these methods with strips of fabric cut along the grain as well.
Reminder Before You Start
Please note that in all of these methods, the iron is extremely hot. Use caution when doing these and keep your fingers as far away from the iron as possible. Also remember that the fabric gets hot so let it cool before handling.
Method 1 – Using an Iron
Of all the methods, this is the one that doesn’t require a special tool.
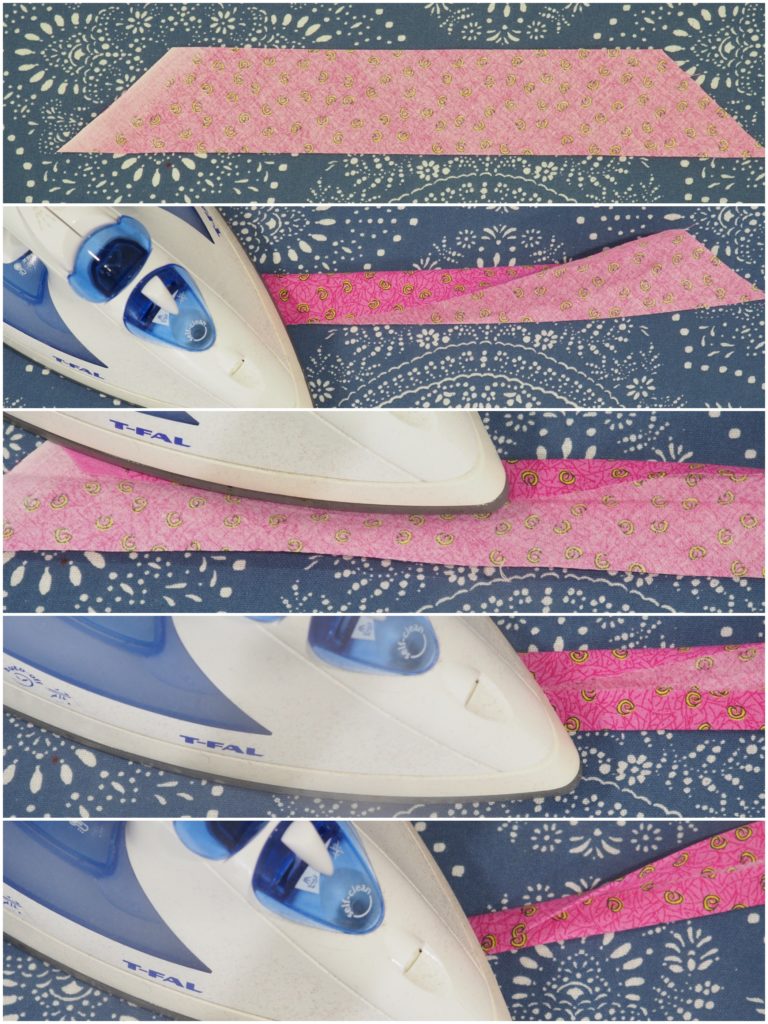
First, lay out your strip, wrong side facing up. Then press your fabric strip in half, wrong sides facing each other.
Next, open the strip up and fold in one side of the strip to the center fold line and press.
Then go back and fold the other edge in to that center line and press.
Finally, fold the strip in half again, press and then the bias tape is ready.
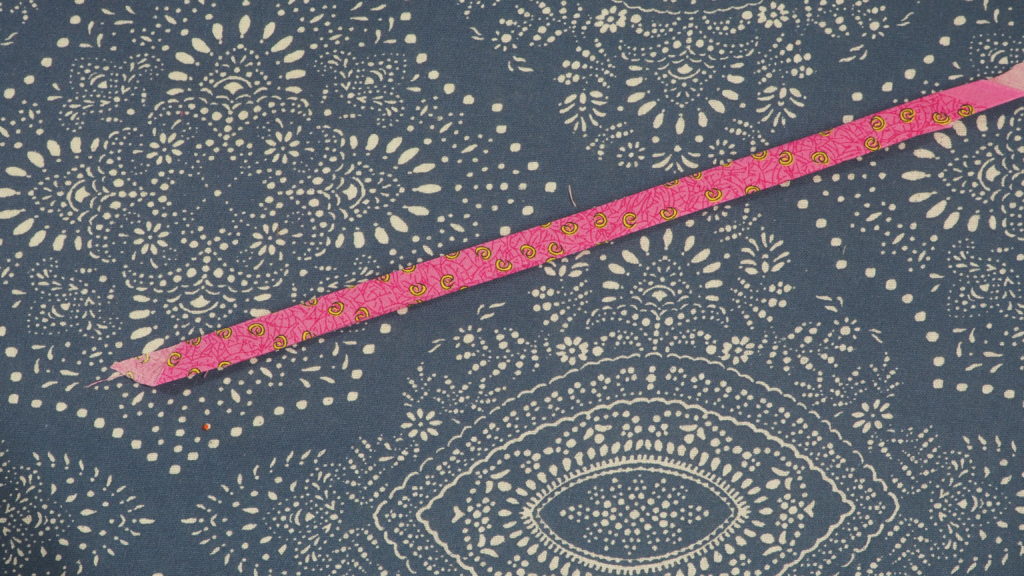
Method 2 – Using a Pin
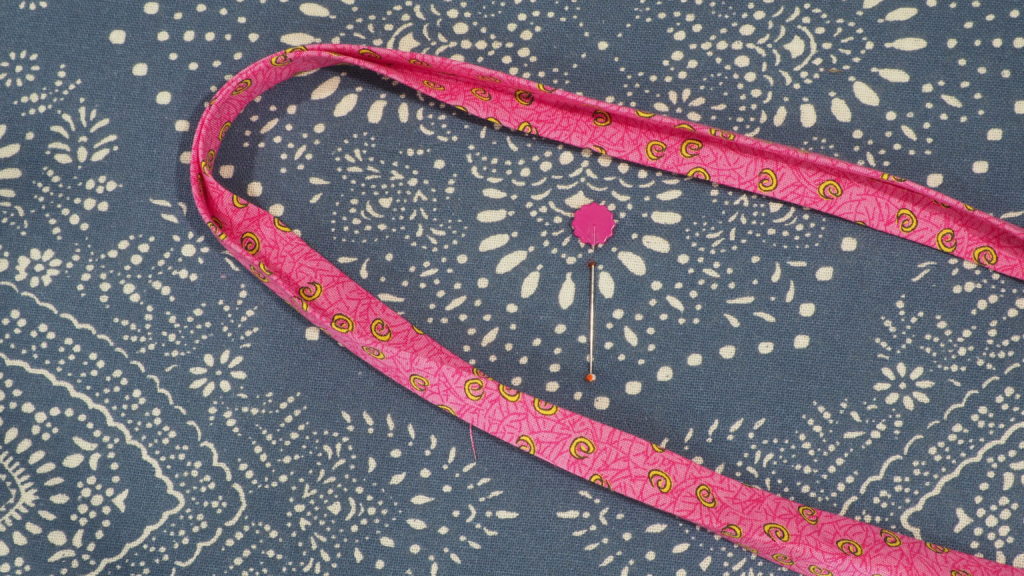
For this method you’ll need a long pin.
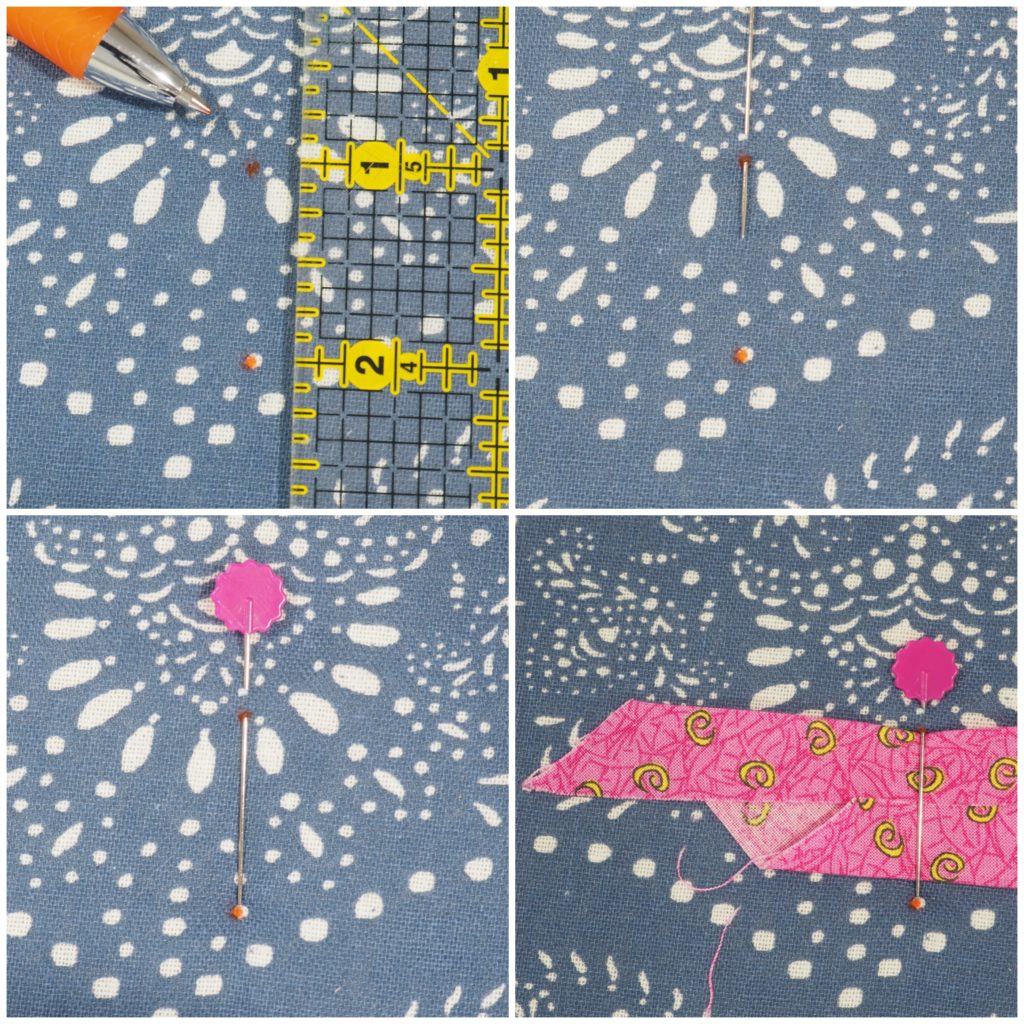
The width of the dots depends on the full width of the strip of fabric you have. In this example, my fabric strip is 2″ wide, so the width that I place the dots for the pin will be half of that, or 1″.
On your ironing surface, mark 2 dots, using the width you need.
Then insert your pin up through the first dot and down through the second one. You will form a little bridge.
Get your fabric strip ready by folding over both long edges (wrong sides together) at the one end of the strip and press about an inch or so to get started.
Insert the pressed end under the pin and slowly pull through, making sure that the folds stay even. Press while you are pulling.
Once done, fold the pressed strip in half again and press together to get the bias tape.
Method 3 – Using Cardstock
For this method you’ll need a piece of cardstock and some pins.
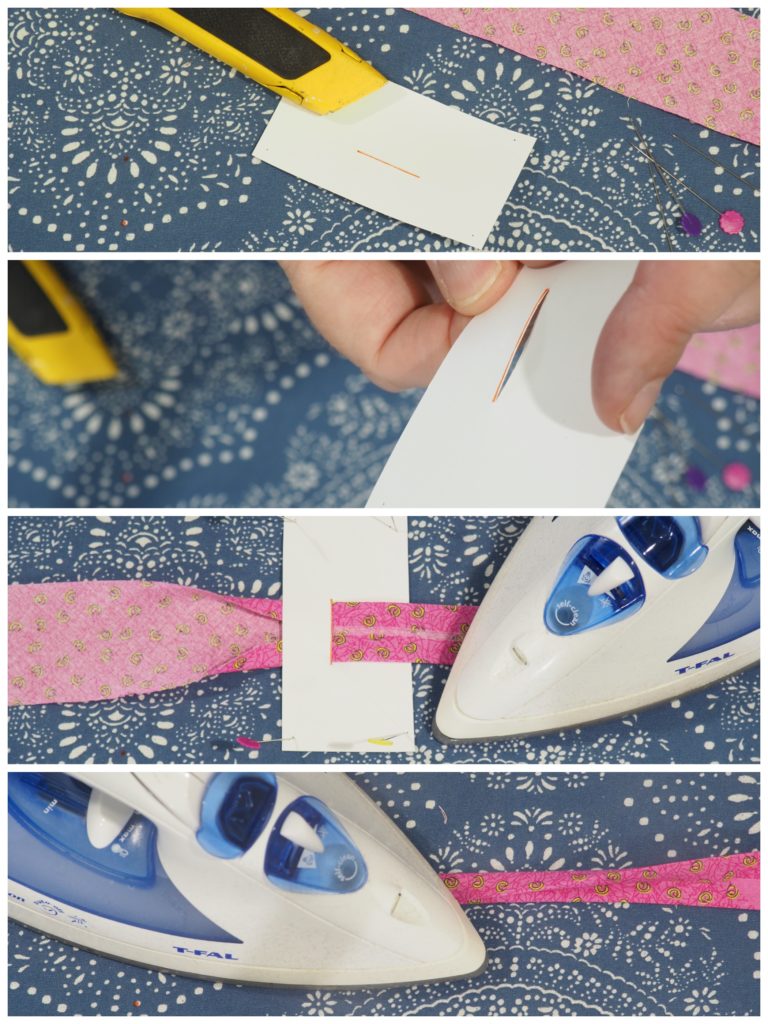
The width of the line you draw will depend on the width of the strip of fabric you have. In this example, my fabric strip is 2″ wide, so the length that I draw the line will be half of that, or 1″.
Take your knife and cut a slit along the line you just drew.
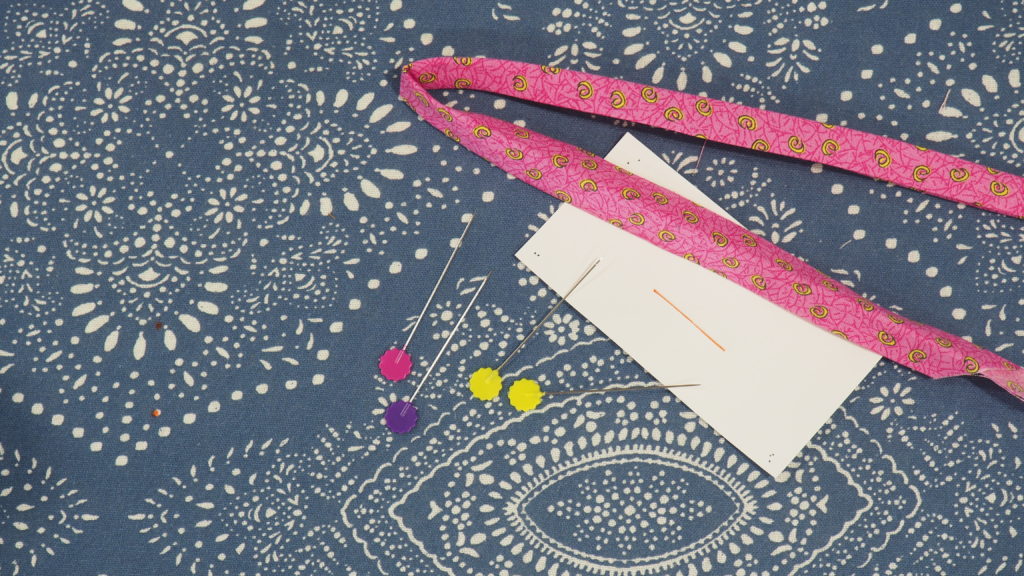
Like the other methods, prepare the front edge of the strip by folding in the two long edges so they meet in the center. Press about and inch or two.
Take the prepared edge and stick it through the slit in the cardstock, through the back side.
Pin the cardstock to the ironing surface.
Then slowly pull the fabric through the cardstock, making sure that the folds stay in place. Use care not to get the paper too hot so it doesn’t burn.
Once done and out of the cardstock, fold the strip in half and press again so you get the bias tape.
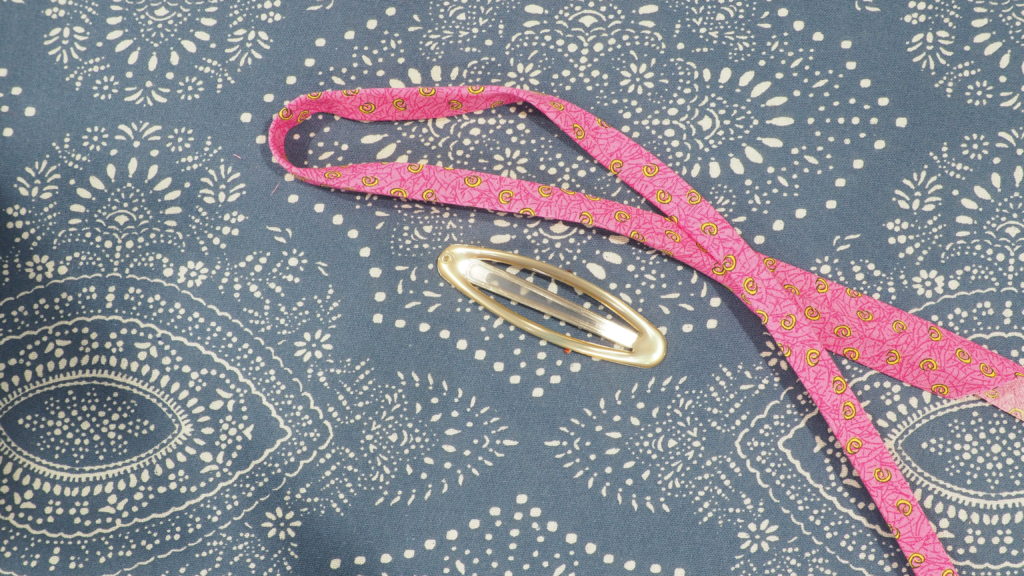
Method 4 – Using Hairclips
You will need a hairclip for this method.
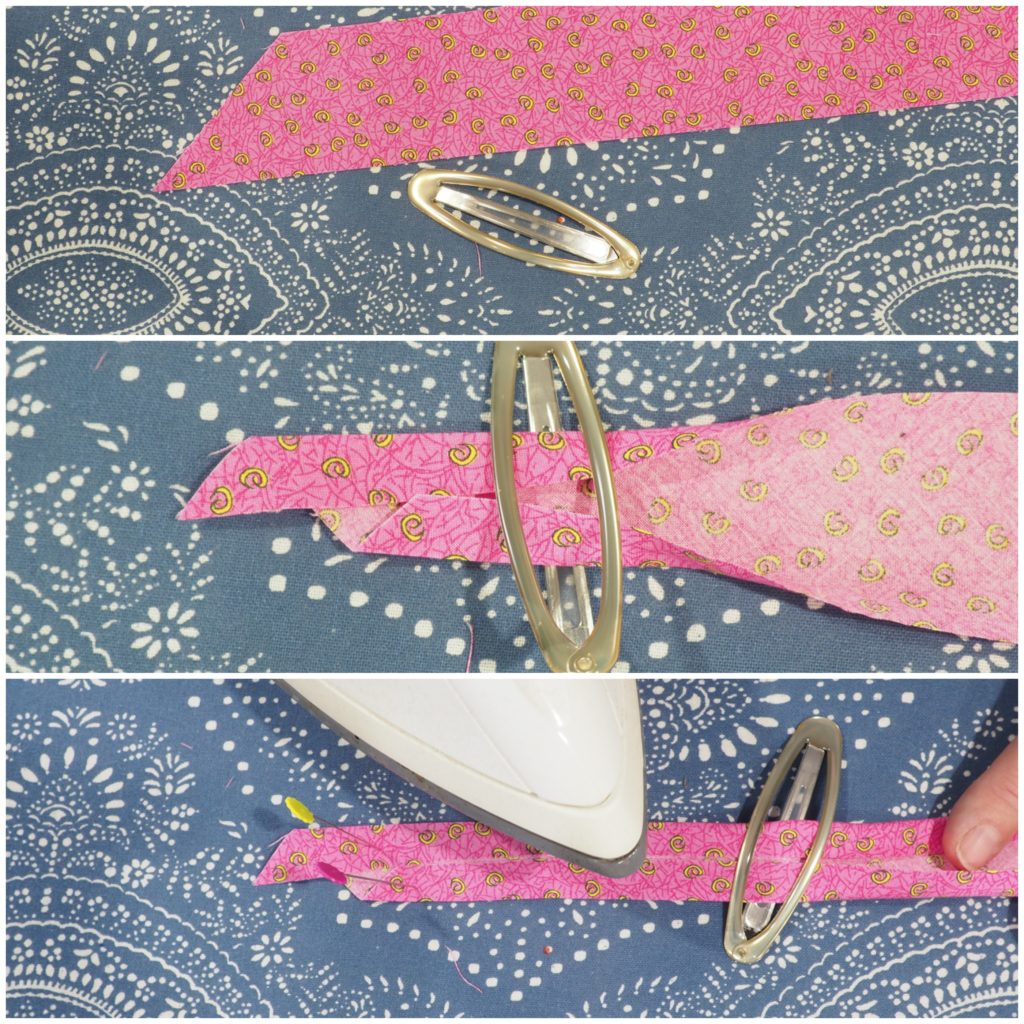
As with the other methods, prepare the strip of fabric by folding in both sides to the center and press about 1 to 2 inches (see the second photo in the series).
Feed the folded edge through the hairclip and pin the pressed edge to the ironing surface. Then, using the hairclip as a guide, pull it along the fabric and press.
Watch your fingers as it gets hot. Also, watch the hairclip so that it doesn’t get too hot and melt.
Finally, as with the other methods, fold the pressed strip in half and you have your bias tape.
Method 5 – Using a Bias Tape Maker
Please note that this is the method I use with my bias tape maker. For best results, follow the manufacturer’s instructions for your maker.
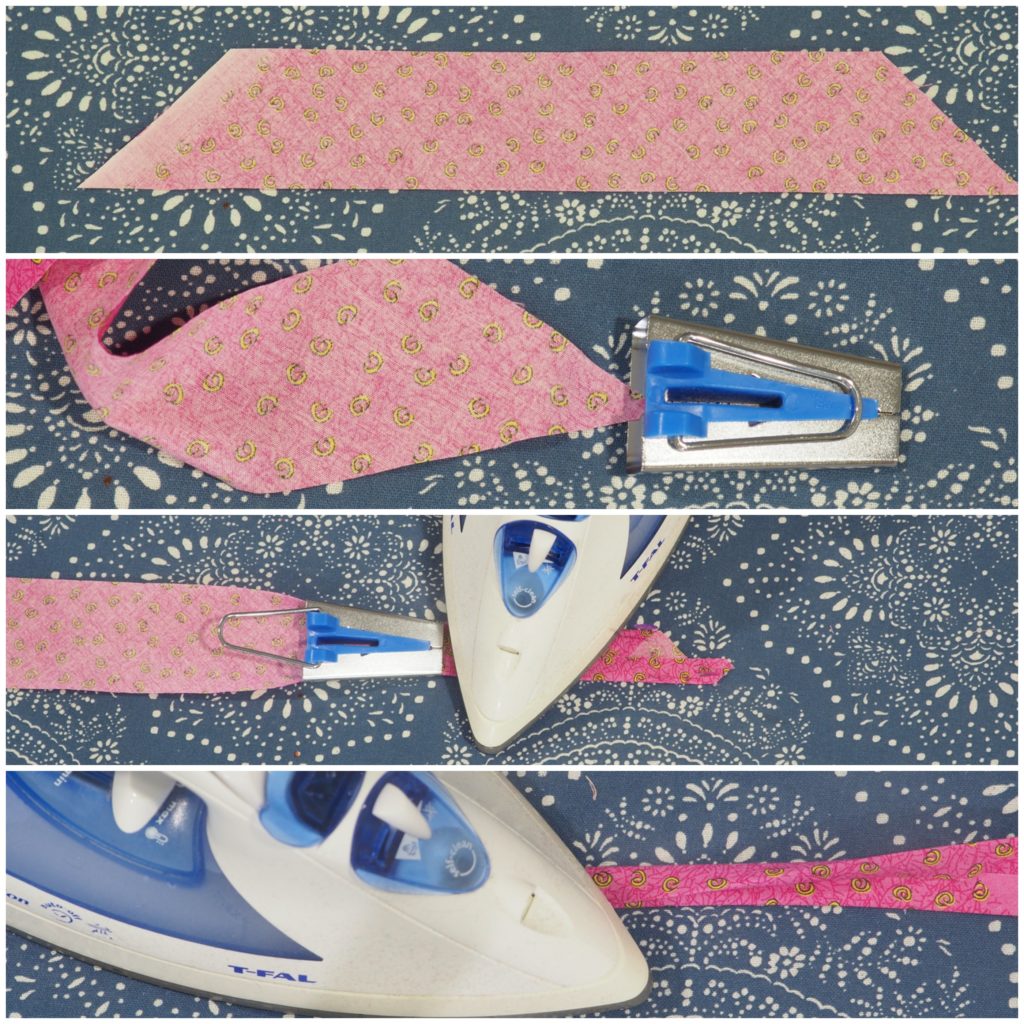
You will need a bias tape maker for this step. The size you use will depend on what size bias tape you need.
To begin, feed your strip of fabric, wrong side facing up, through the large end of the bias tape maker. You may need to use a stiletto or pin to get it through.
Once through the other end, pull it through about 2 inches and press.
Pin the pressed edge to the ironing surface.
Then, using the handle, slowly pull the bias tape maker and press the folded strip being formed out of the other end.
Once done, set aside the maker, and fold the pressed strip together and press again.
That’s How to Make Bias Tape
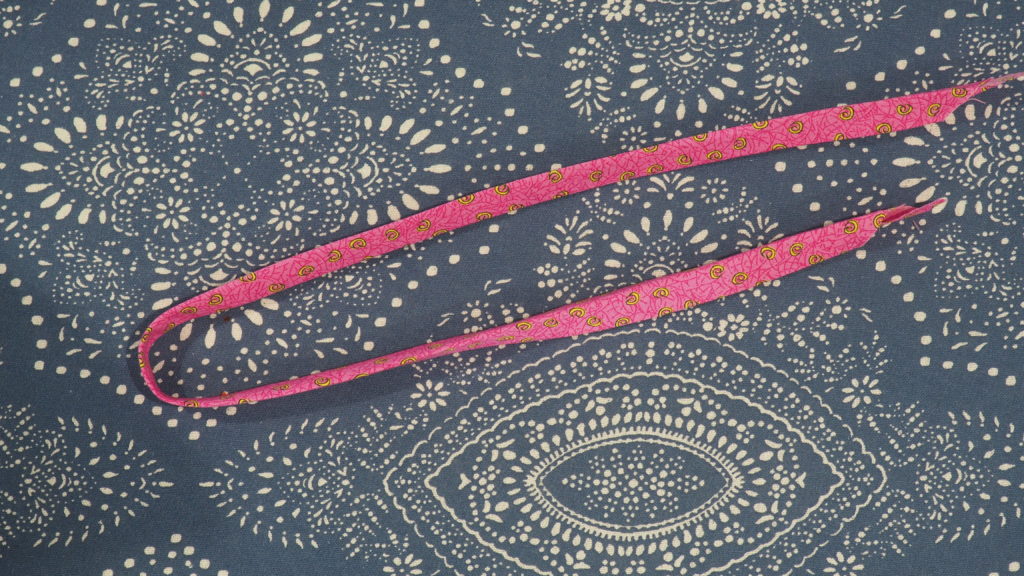
See, you don’t need the fancy tool to make bias tape, but I will say that it’s definitely the easiest way to make it.
However, if you are in a pinch, or don’t want to spend the money, these methods are a good alternative.
Happy Sewing!


4 Comments
Maria
April 17, 2020 at 6:40 AMGenius!Thank you!
createwithclaudia_7j76hs
April 17, 2020 at 7:09 AMThanks!
Laurie
April 27, 2020 at 3:11 AMTo connect your strips to make longer lengths of tape, do you sew the ends together BEFORE you fold them into bias tape?
createwithclaudia_7j76hs
April 27, 2020 at 11:19 AMYes, you join the strips before you can make the tape. Make the strip as long as you’d like and then make the tape. It can get super long if you are making binding for a quilt.