
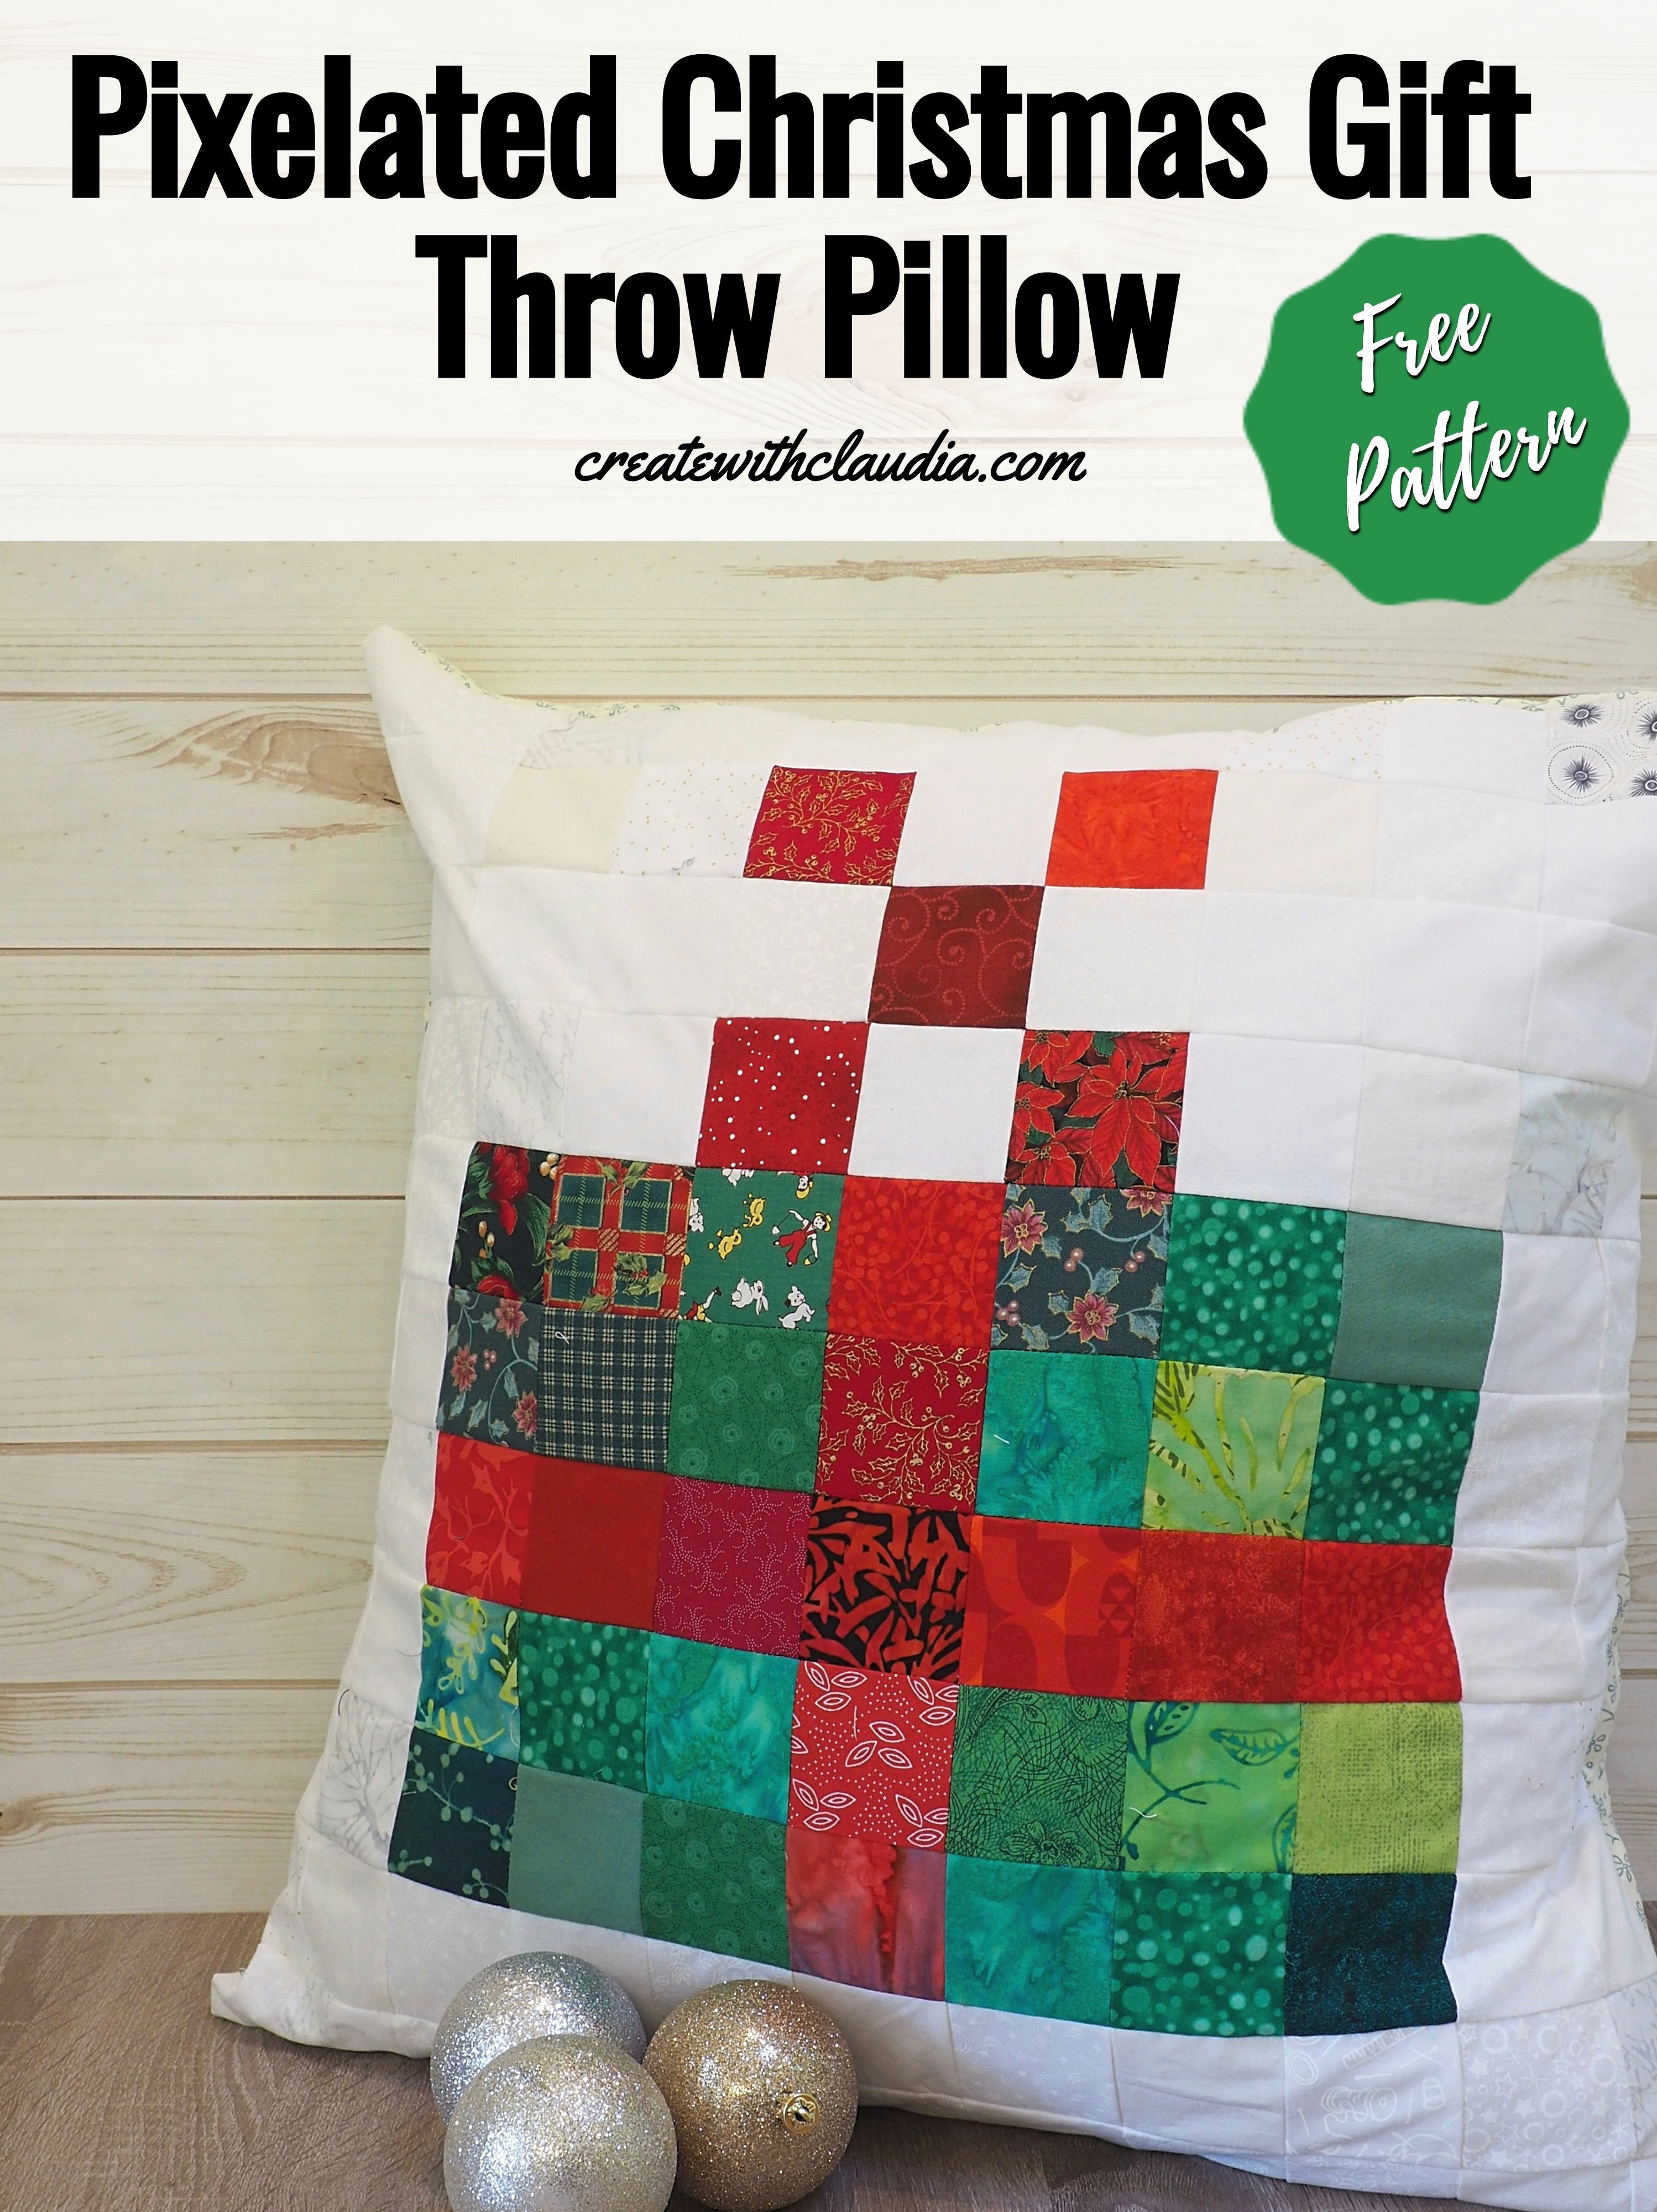
Pixelated Christmas Gift Pillow Pattern
I am so excited to bring you my pixelated Christmas gift pillow pattern. It’s a festive way to decorate for the holidays and it is easy to make.
With all of the various Christmas decorative themes to choose from, I thought that a bright and cheerful package would be a little bit different. Additionally, because of the shape, the design works well with pixelation. It can also be easily be adjusted to any color scheme that fits your holiday décor.
For this pillow, you will need red, green and white fabrics, and the more the merrier. The variation of the different fabric patterns adds a lot of character to the design.
So go raid your fabric stash, pick out your favorites, and let the fun begin!
Pattern specs:
- Finished pillow case measures 22” square and will fit a 24” pillow insert (this fits better with a pillow form that is not too thick)
- A scant 1/4” seam allowance is used
Supplies you will need:
Front design of pillow case – Scrap fabrics cut into 2 1/2” squares (121 in all)
- Reds – 16 squares
- Greens – 24 squares
- Various shades of white and off-white – 81 squares
- For the back – 2 pieces of fabric, both cut 22 1/2” X 16”
- 24” pillow form – A flatter pillow form should be used
- General sewing supplies
Items You Can Use To Make This Project
You can find many of the items that I used to make this project in my Amazon Store.
As an Amazon Associate I earn from qualifying purchases.
Step 1 – Laying Out the Design
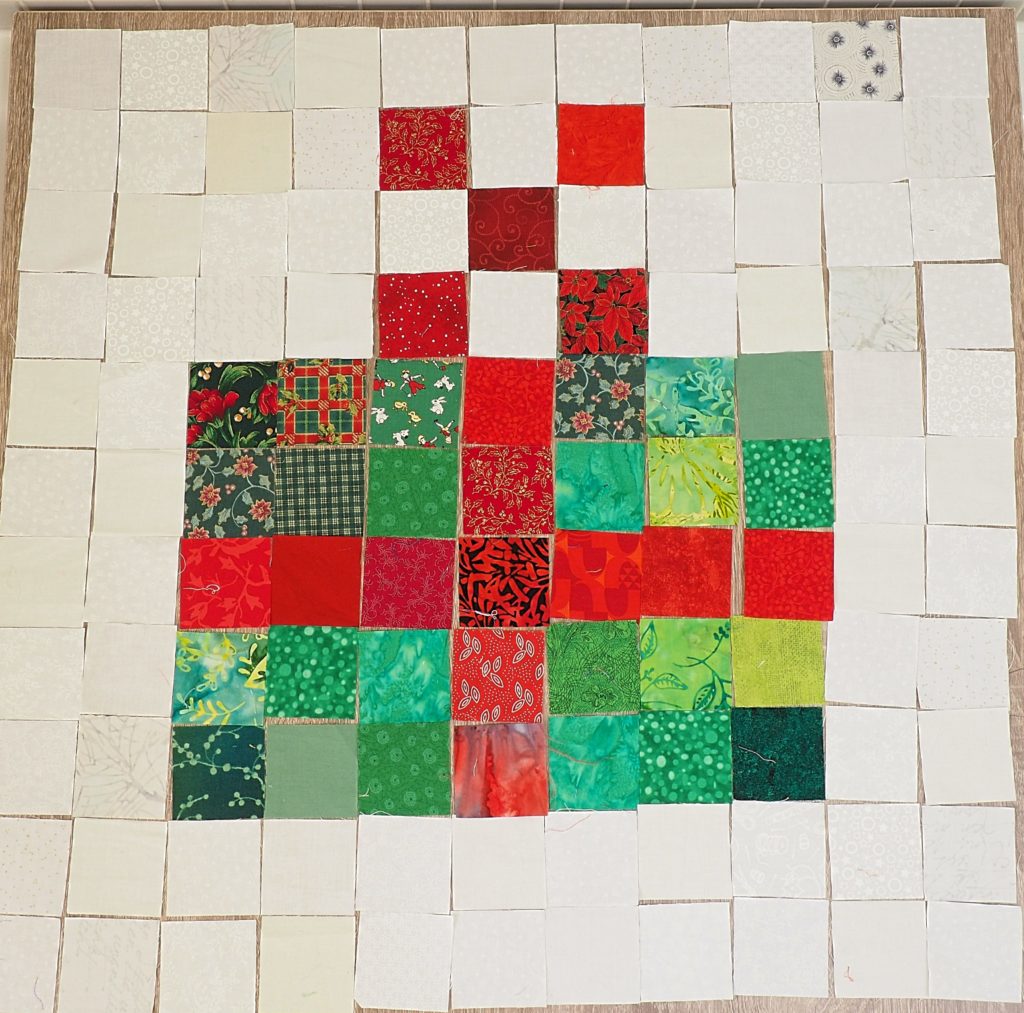
On a large, flat surface, lay out your squares, following the pattern grid.
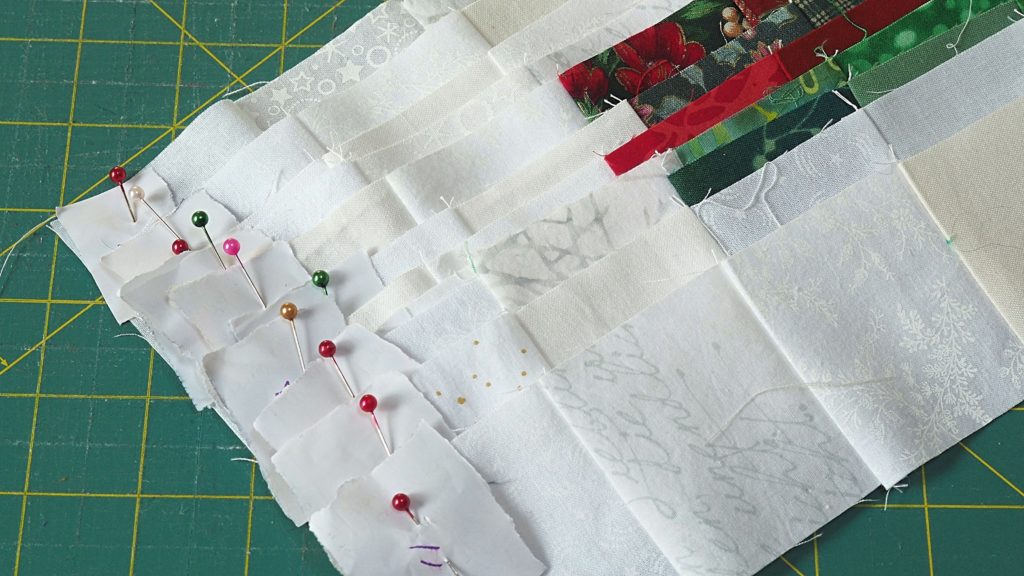
Step 2 – Preparing To Sew

- Organize the fabric rows carefully, so the squares stay in order.
- First, cut 11 small pieces of scrap paper, number them, and set them aside.
- Next, start with the top row (row 1), pick up the squares in order, and form a stack of squares for that row. Make sure the left piece of the row is on top.
- Finally, take the scrap of paper with the number 1 on it and pin it through the stack for that row. Pin it in the top left of the square so you remember where the top corner is.
- Repeat with the rest of the rows.
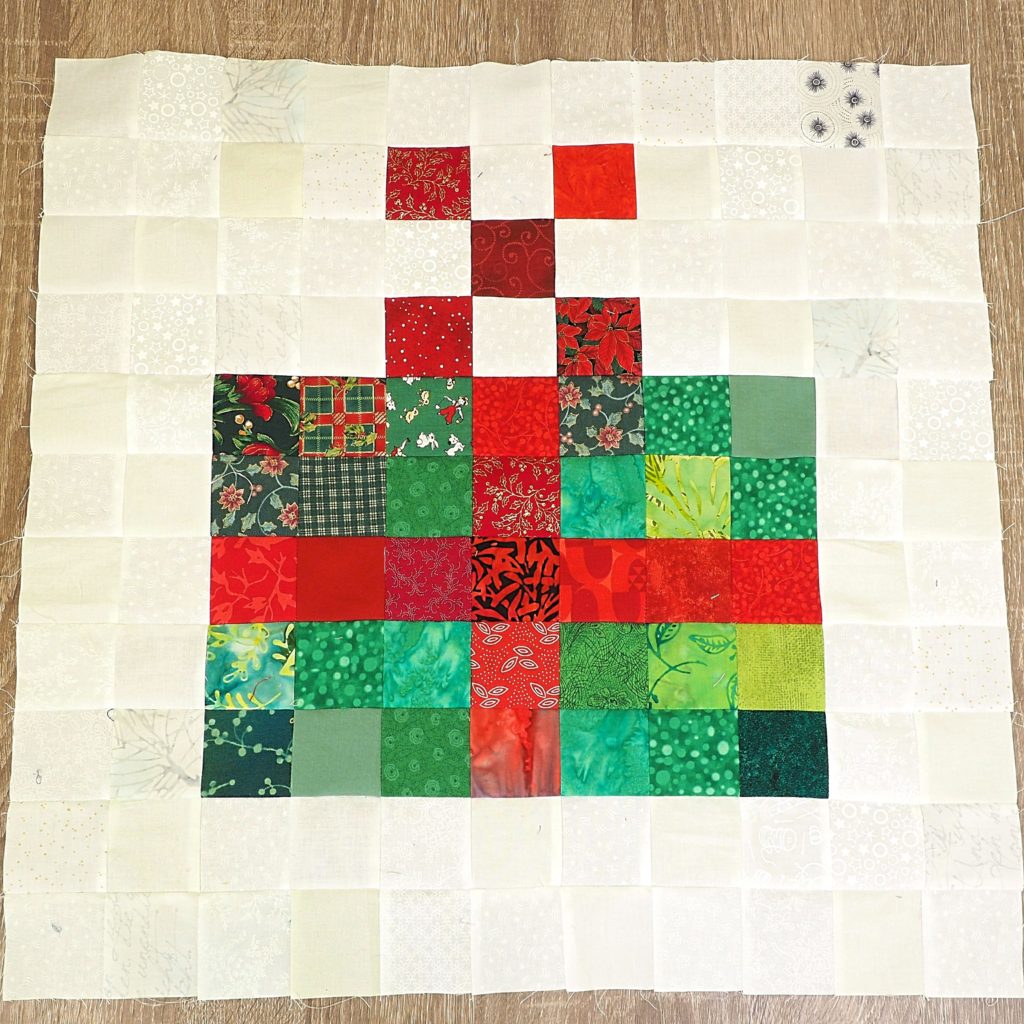
Step 3 – Sewing The Front
- Sew the individual squares together, row by row. Use care to keep the rows in the correct order. Leave the paper marker with the row number on it, pinned to the top left corner of the row so you can keep the rows organized. Hint: When sewing the individual squares together I sew pairs together and put a pin in the left square so I know which way it gets joined to the other pair.
- After all of the individual rows are done, start sewing them together. Be careful not to sew over the paper row number ( something I have done a couple of times).
- Press the completed top. If you used the 1/4” seam allowance, your top should measure approximately 22 1/2” X 22 1/2”.
Pressing tip: When piecing the individual rows, make sure to press each seam in the same direction and alternate that direction with each row. For example: Press row 1 seams to the left, row 2 seams to the right, row 3 seams to the left and so on. This will make it much easier to sew the finished rows together because you will be able to nest the seams.
Step 3 – Preparing The Back
- Take one of the large pieces of back fabric and lay it, wrong side facing up.
- Fold over one of the long edges about 1/2” and press.
- Sew down the long edge.
- Repeat with the other piece.
Step 4 – Assembling The Pillow Case
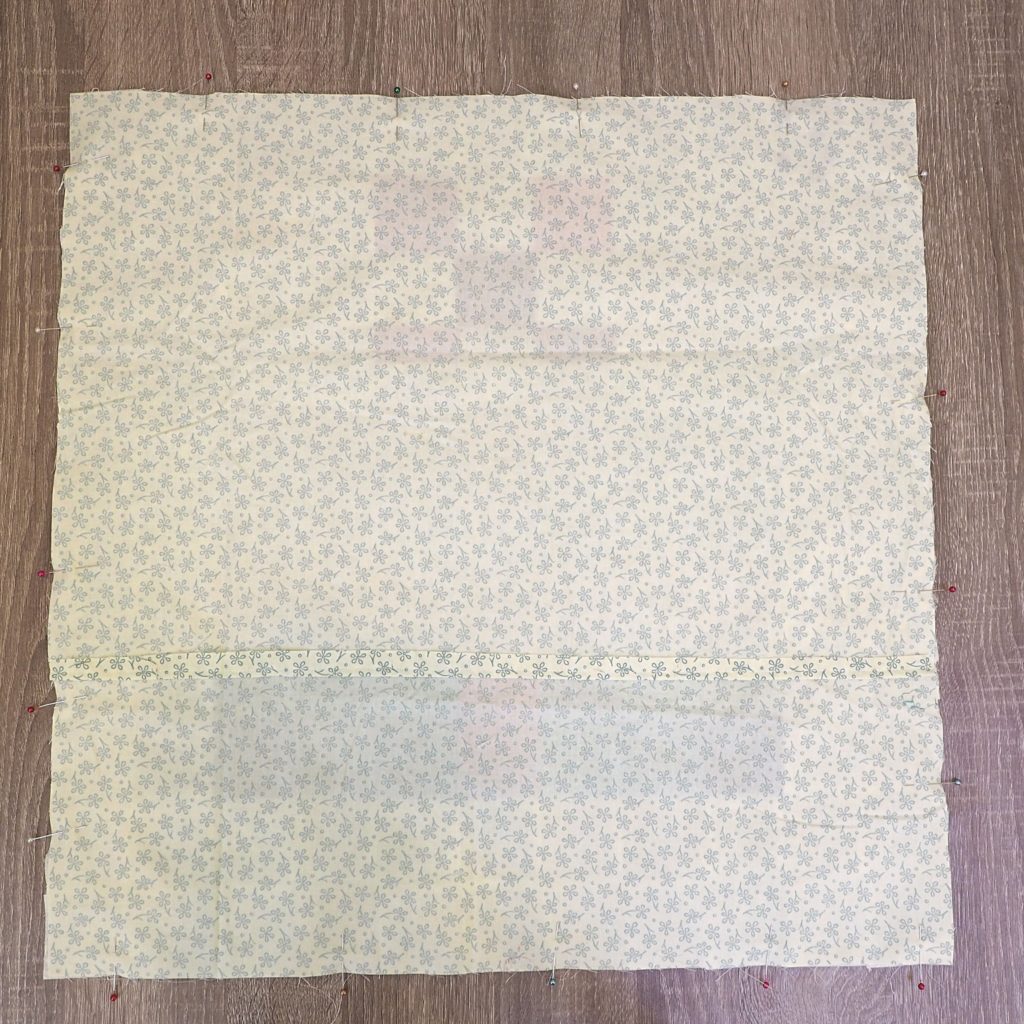
- First, lay the completed front of the case on a flat surface, right side facing up.
- Then lay one of the back pieces, right side facing down, on top of the front piece, lining up the unfinished edges on the top and sides. The finished long edge will be in the middle of the pillow.
- Next, lay the second back piece, right side facing down, with the unfinished edges lined up on the bottom and sides. The finished long edge will be overlapping the other piece of the backing.
- Pin along all four sides together, around the outside of the entire case.
- Sew around the outside, using a 1/4” seam allowance. For extra stability, backstitch along the edges of the opening of the case.
- Finally, trim off the corners, taking care not to snip any seams.
Step 5 – Finishing the Pillow
- Turn the case right sides out. Make sure to carefully push out the corners.
- Insert the pillow form.
Let it snow!
At the holidays, I enjoy giving handmade gifts, and this pillow is a lovely idea for someone, especially for someone who is hard to shop for. Let’s face it, most people like to decorate around the holidays, and adding a personal touch would make it that much more special.
No matter what the weather, you will be snug and cozy when you make this pixelated Christmas gift pillow.
Holiday Pixelated Throw Pillow Series
I have designed a number of these pixelated pillow patterns for various holidays. If you are interested, you can find them here.
Happy Crafting!


 Made with scr