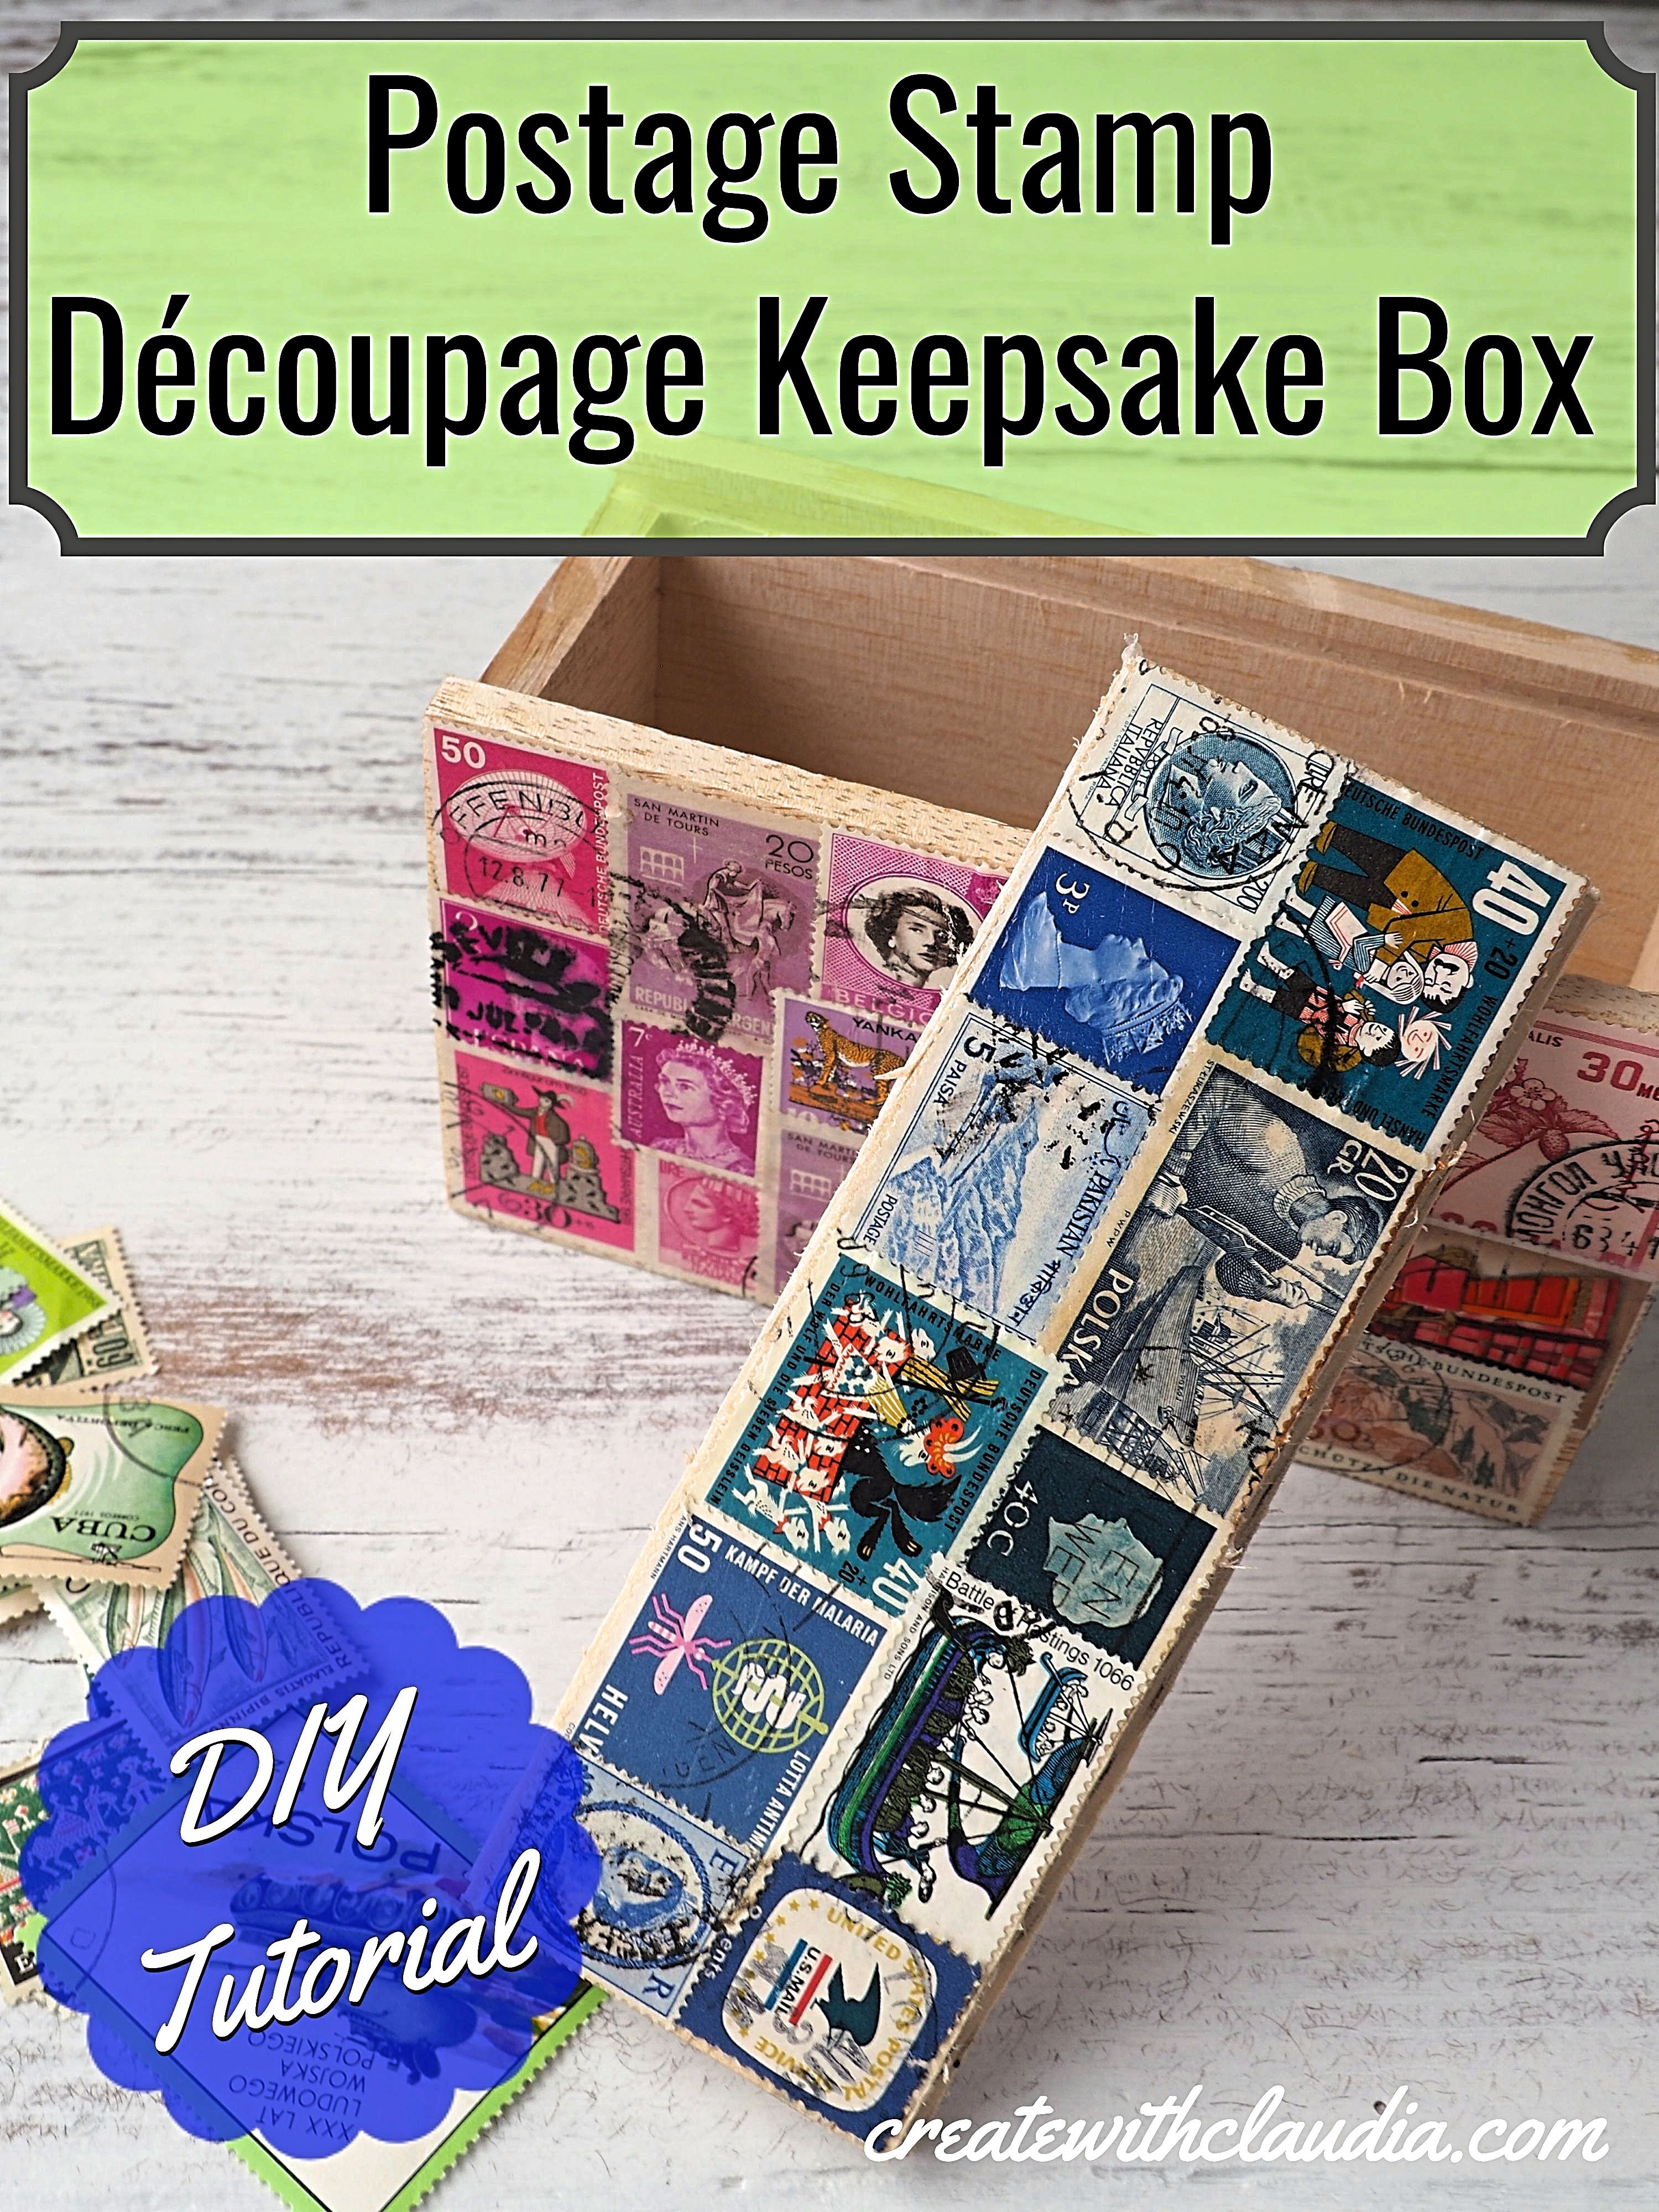
Postage Stamp Découpage Keepsake Box
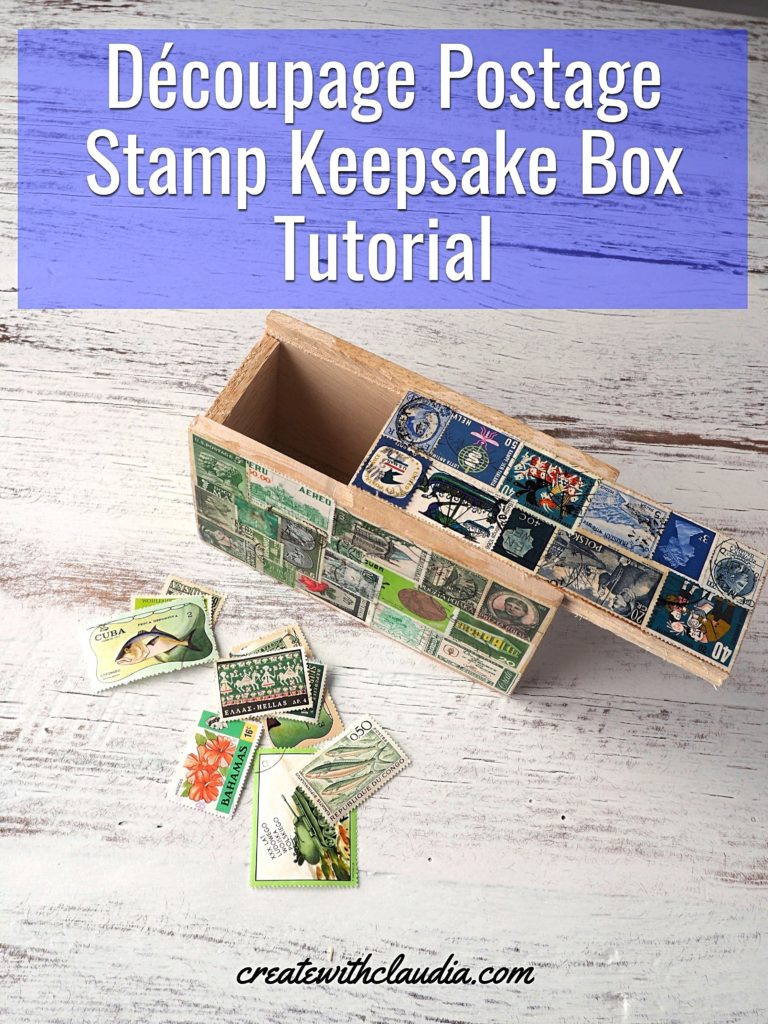
A while ago I made greeting cards using old postage stamps. I don’t usually use stamps in my crafts, but I enjoyed that project so much, that it inspired me to do some other things with them. One of those projects was this box. It is a balsa wood box that was originally filled with tea. With it’s fun sliding top and useful design, I kept it. I’m glad I did, because it was perfect for this postage stamp découpage box tutorial.
Stamps are ideal for crafting. They come in every color and design imaginable, and their small size makes them excellent for projects that have limited space. Their shape was the perfect match for this rectangular box.
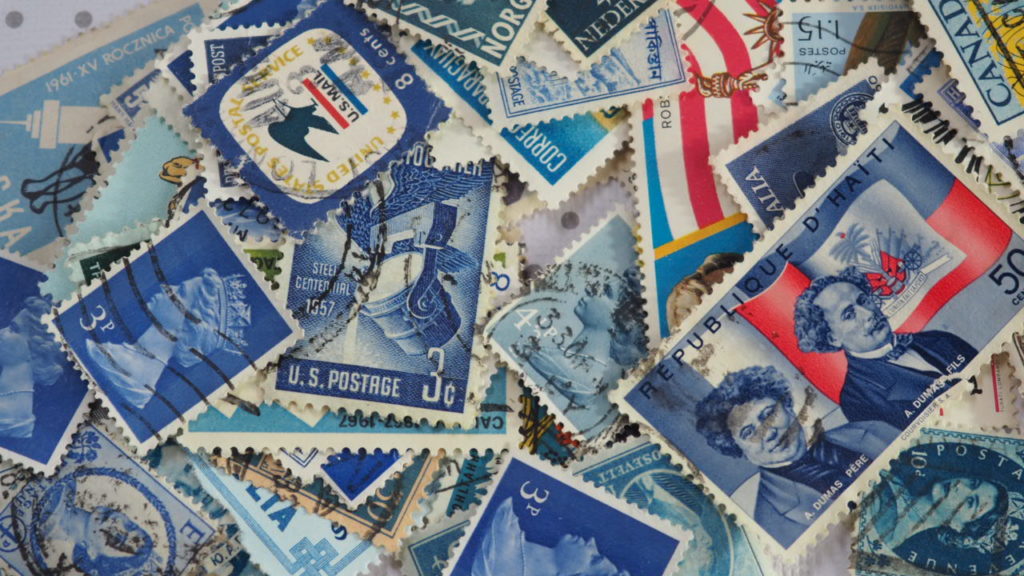
To make a découpage box, you only need a few supplies and a bit of time to allow the project to dry.
Let’s get started.
Supplies You Will Need
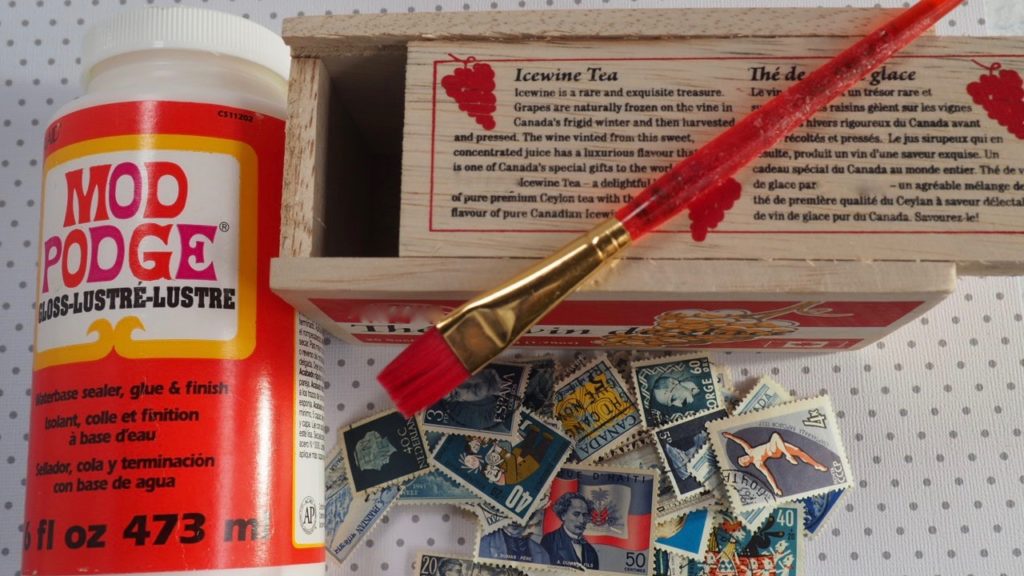
- Postage Stamps – Tip: Before you use those stamps you inherited from grandma, or any other stamps, do a little research. It’s better to buy a bag of cheap stamps so that you don’t run the risk of using one that could be worth some money.
- Mod Podge – Glossy or Matte
- Craft Paint or Sponge Brush
- Wooden Box
- Paper Towels
* This project can get messy so I would suggest having a damp rag close by to clean the glue off of your fingers.
Items You Can Use To Make This Project
You can find many of the items that I used to make this project in my Amazon Store.
As an Amazon Associate I earn from qualifying purchases.
Instructions
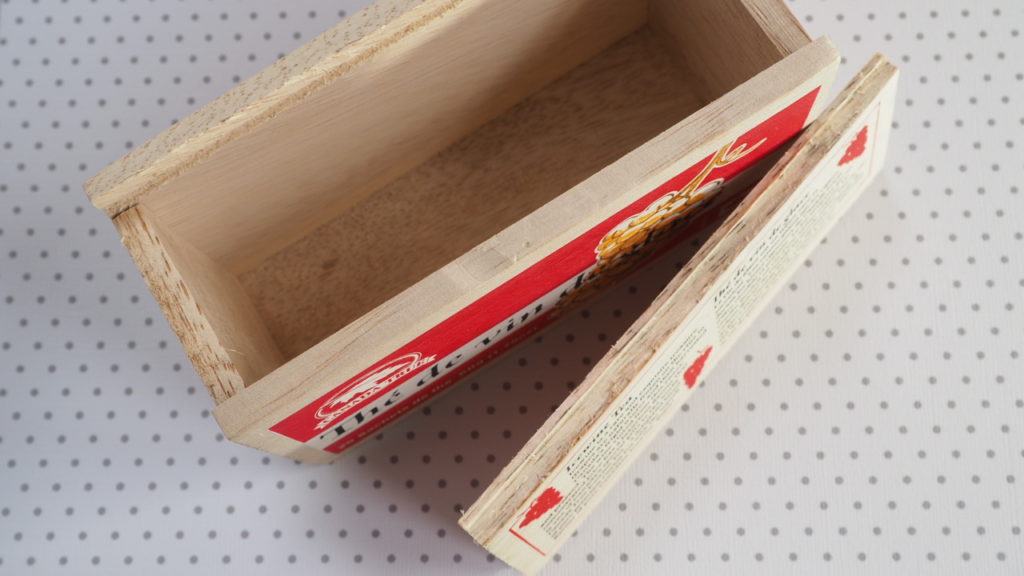
Cover your work surface with wax paper or aluminum foil. I like to use wax paper because the craft doesn’t get stuck as easily. Note: If you use newspaper, the print can transfer onto the wet glue.
Make sure the outside of the box is clean. If your box comes in different pieces, like the top of mine, separate them.
Choose the stamps you want to use and set them aside.
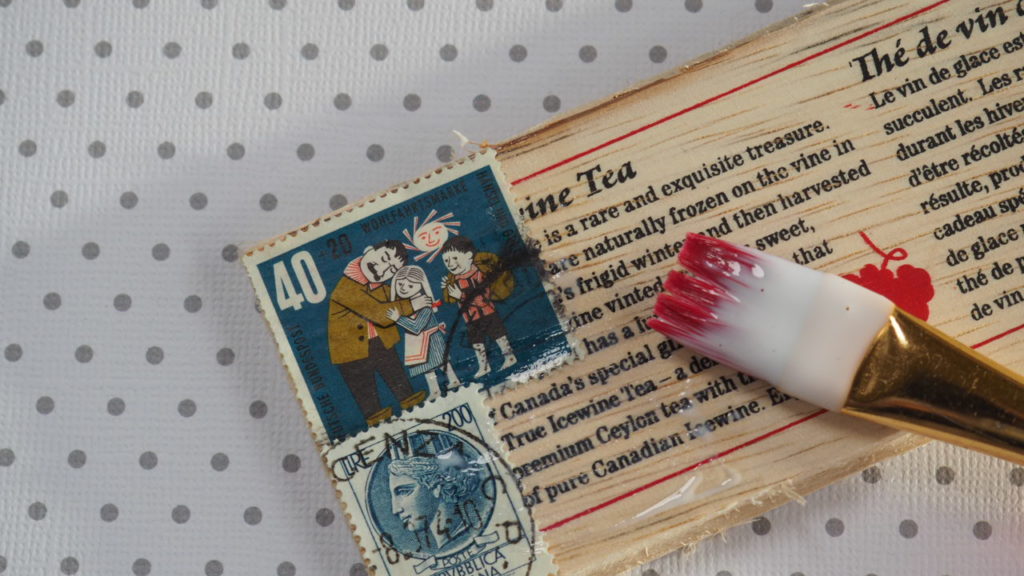
To begin the découpage, use your brush and apply a thin layer of Mod Podge to the area where you will be applying the first stamp. Since the glue dries fairly quickly, you only want to apply it to small areas at a time.
Next, position the stamp where you want it and, using the brush, gently try to get out any air bubbles or folds that may have formed.
Continue Adding Stamps…
Decide where the next stamp will be going, and apply Mod Podge to that area. Overlap the edges of the stamps a bit so that any original design that may be on your box gets covered up. Tip: Use care not to apply stamps to any joints on the box that will get wear and tear. For example, on the box I used, the top slides into joints on the box. If I put stamps there, they would get torn off.
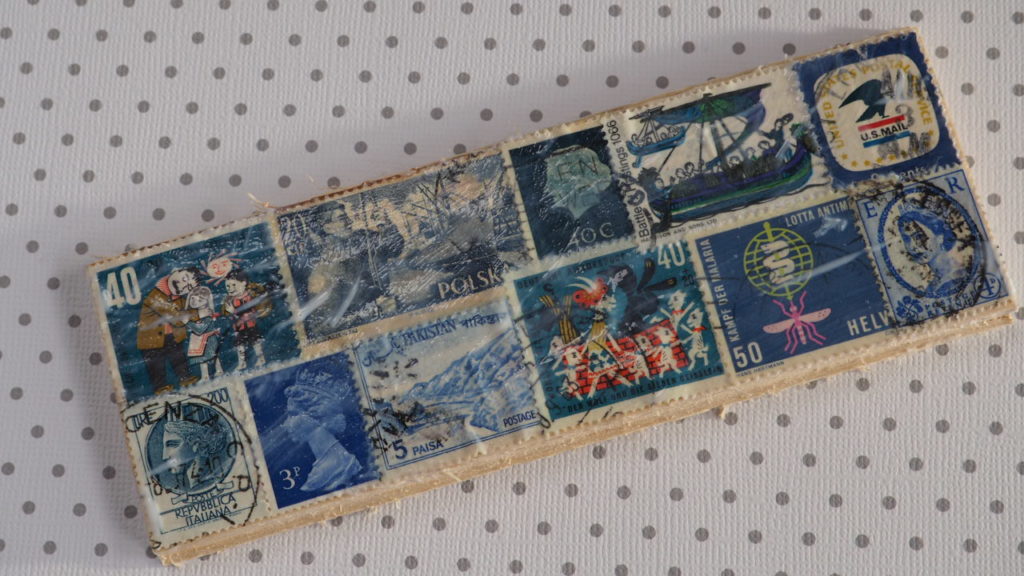
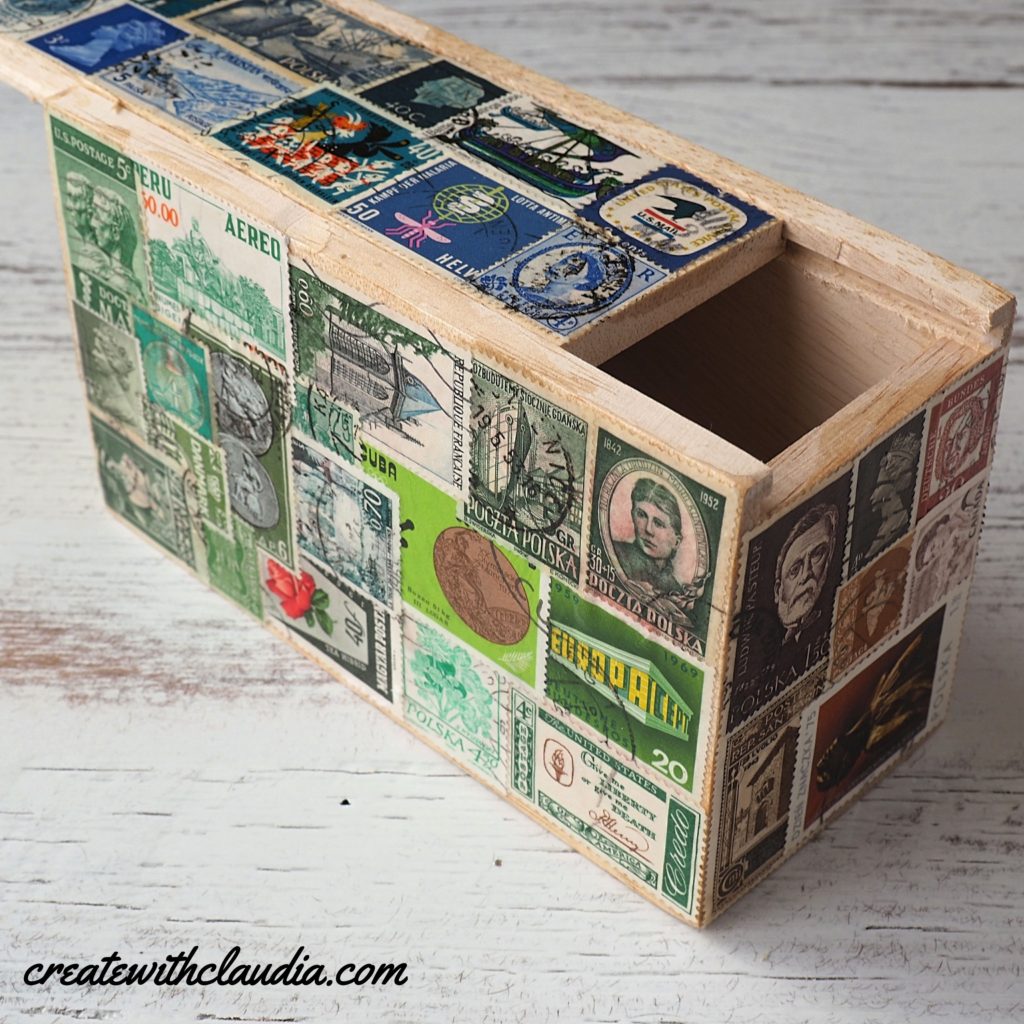
Continue adding stamps on the top and sides of the box in any pattern you desire. I thought that it would look nice if each side was a different color, so that is how I made my box.
Once finished, apply a thin layer of Mod Podge over the stamps.
Lastly, set the box aside to dry on a clean piece of wax paper. For the first hour or so, check on your box every 20 minutes and lift it off of the wax paper to ensure it doesn’t get stuck. Allow it to dry overnight before using it.
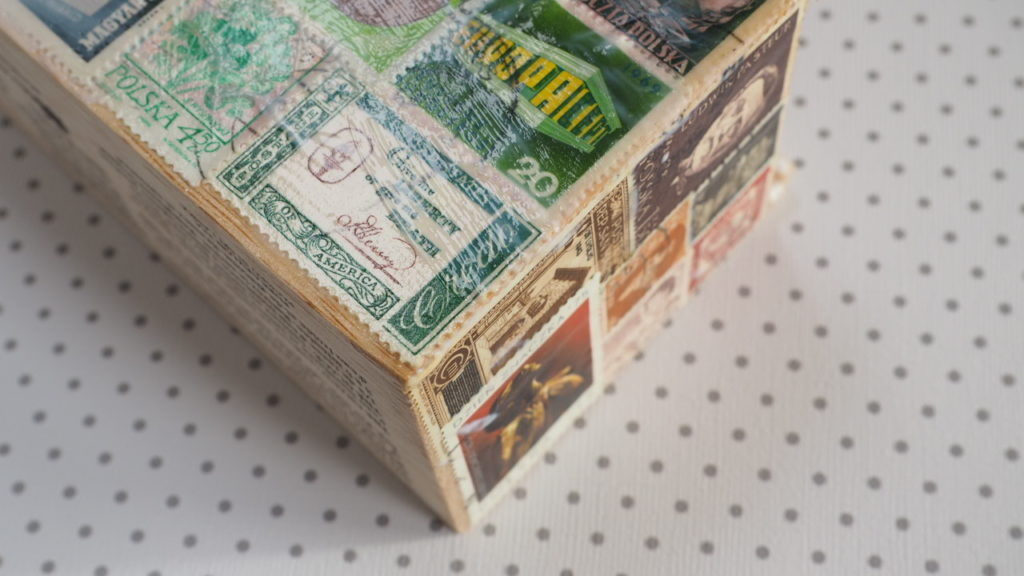
That is all there is to it. Now you have unique box for your desk or shelf. You can put things like jewelry, coins, or other fun trinkets in it. I like to keep paper clips in mine.
I hope you get a chance to try this project.
More Stamp Projects
Because I enjoyed this postage stamp découpage box tutorial so much, and have so many stamps left, I’m looking forward to coming up with more projects like it.
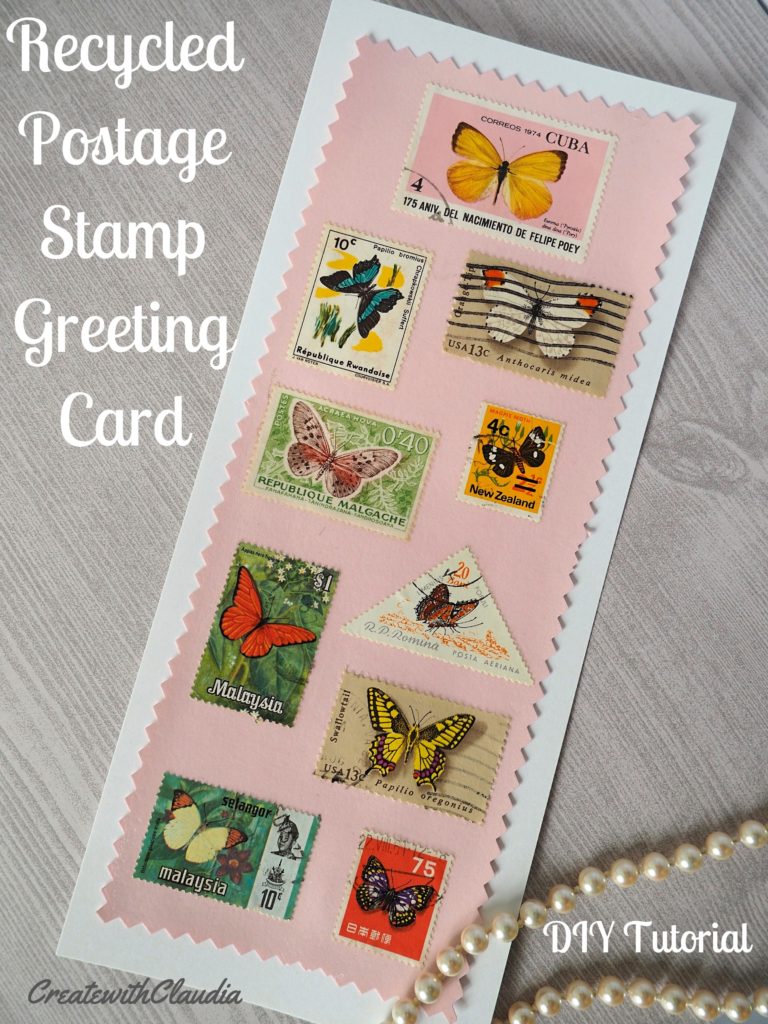
If you have stamps left over and want to make this unique greeting card, check out my easy-to-follow tutorial.


2 Comments
Geosvany
February 13, 2022 at 5:37 PMHi,nice decoupage stamp,are you collector stamp?.
createwithclaudia_7j76hs
February 16, 2022 at 5:56 AMI do not collect them. These were just from a big back of cheap stamps that I bought for craft projexts.