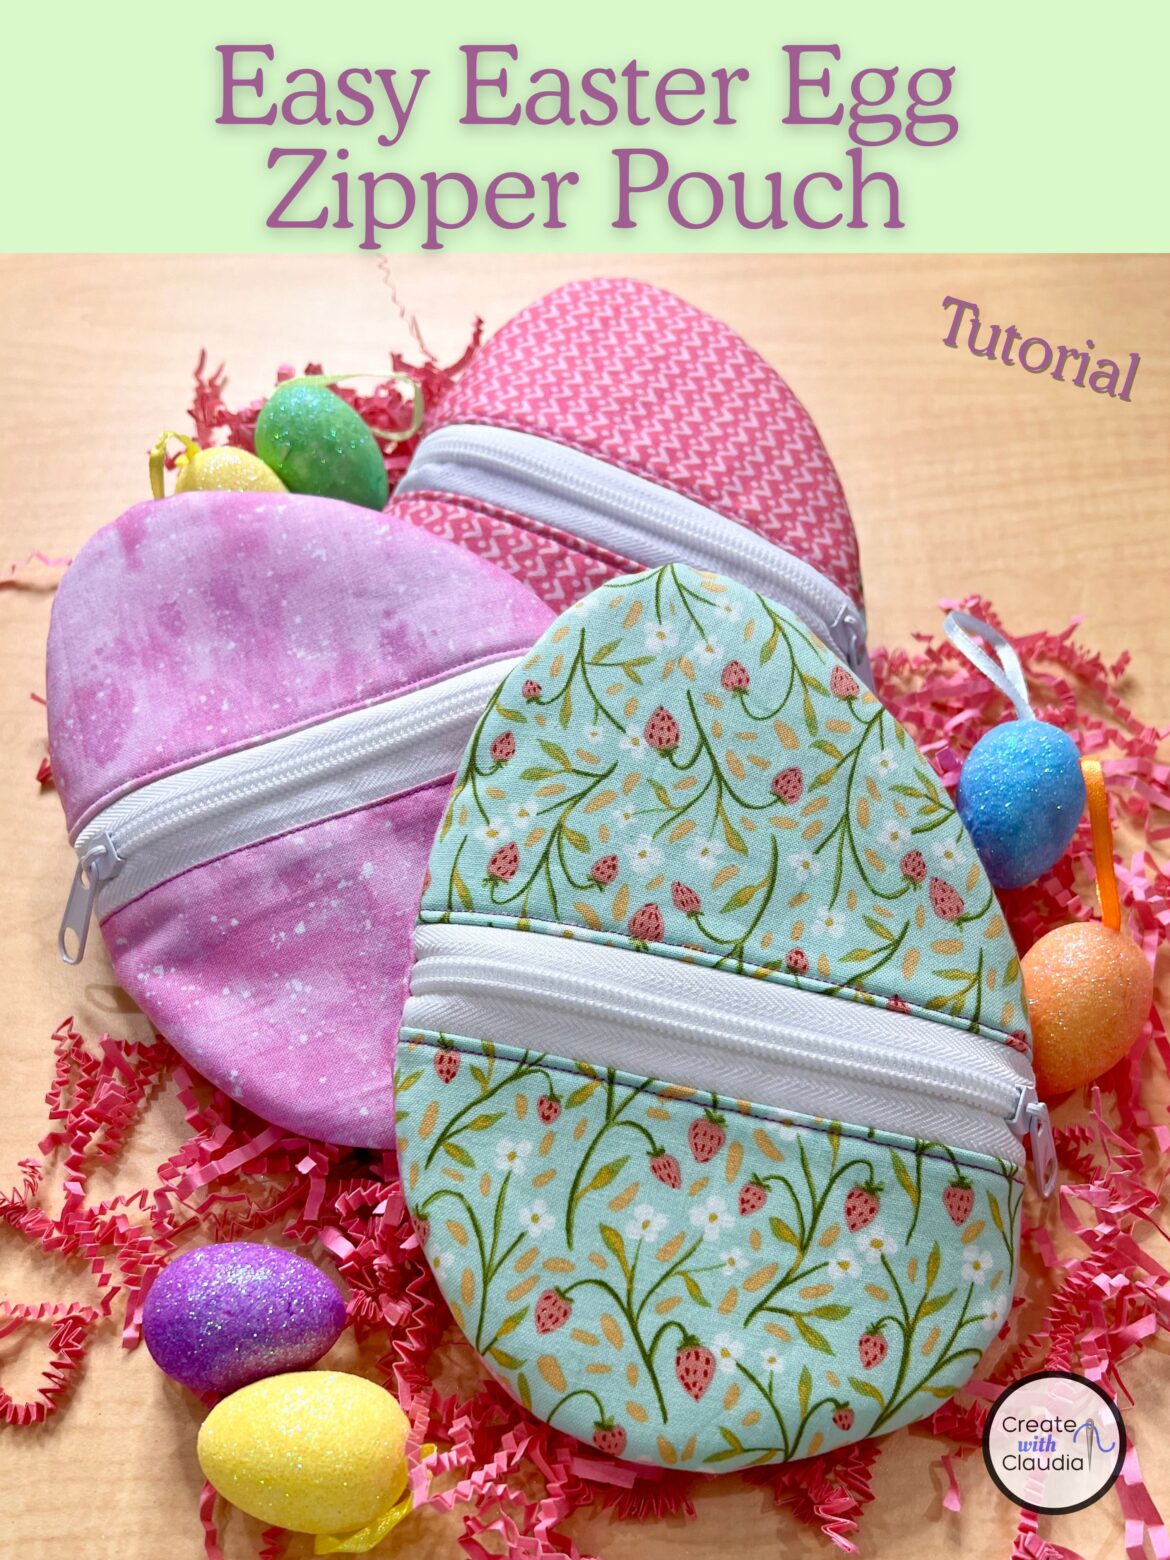
Easy Easter Egg Zipper Pouch Tutorial
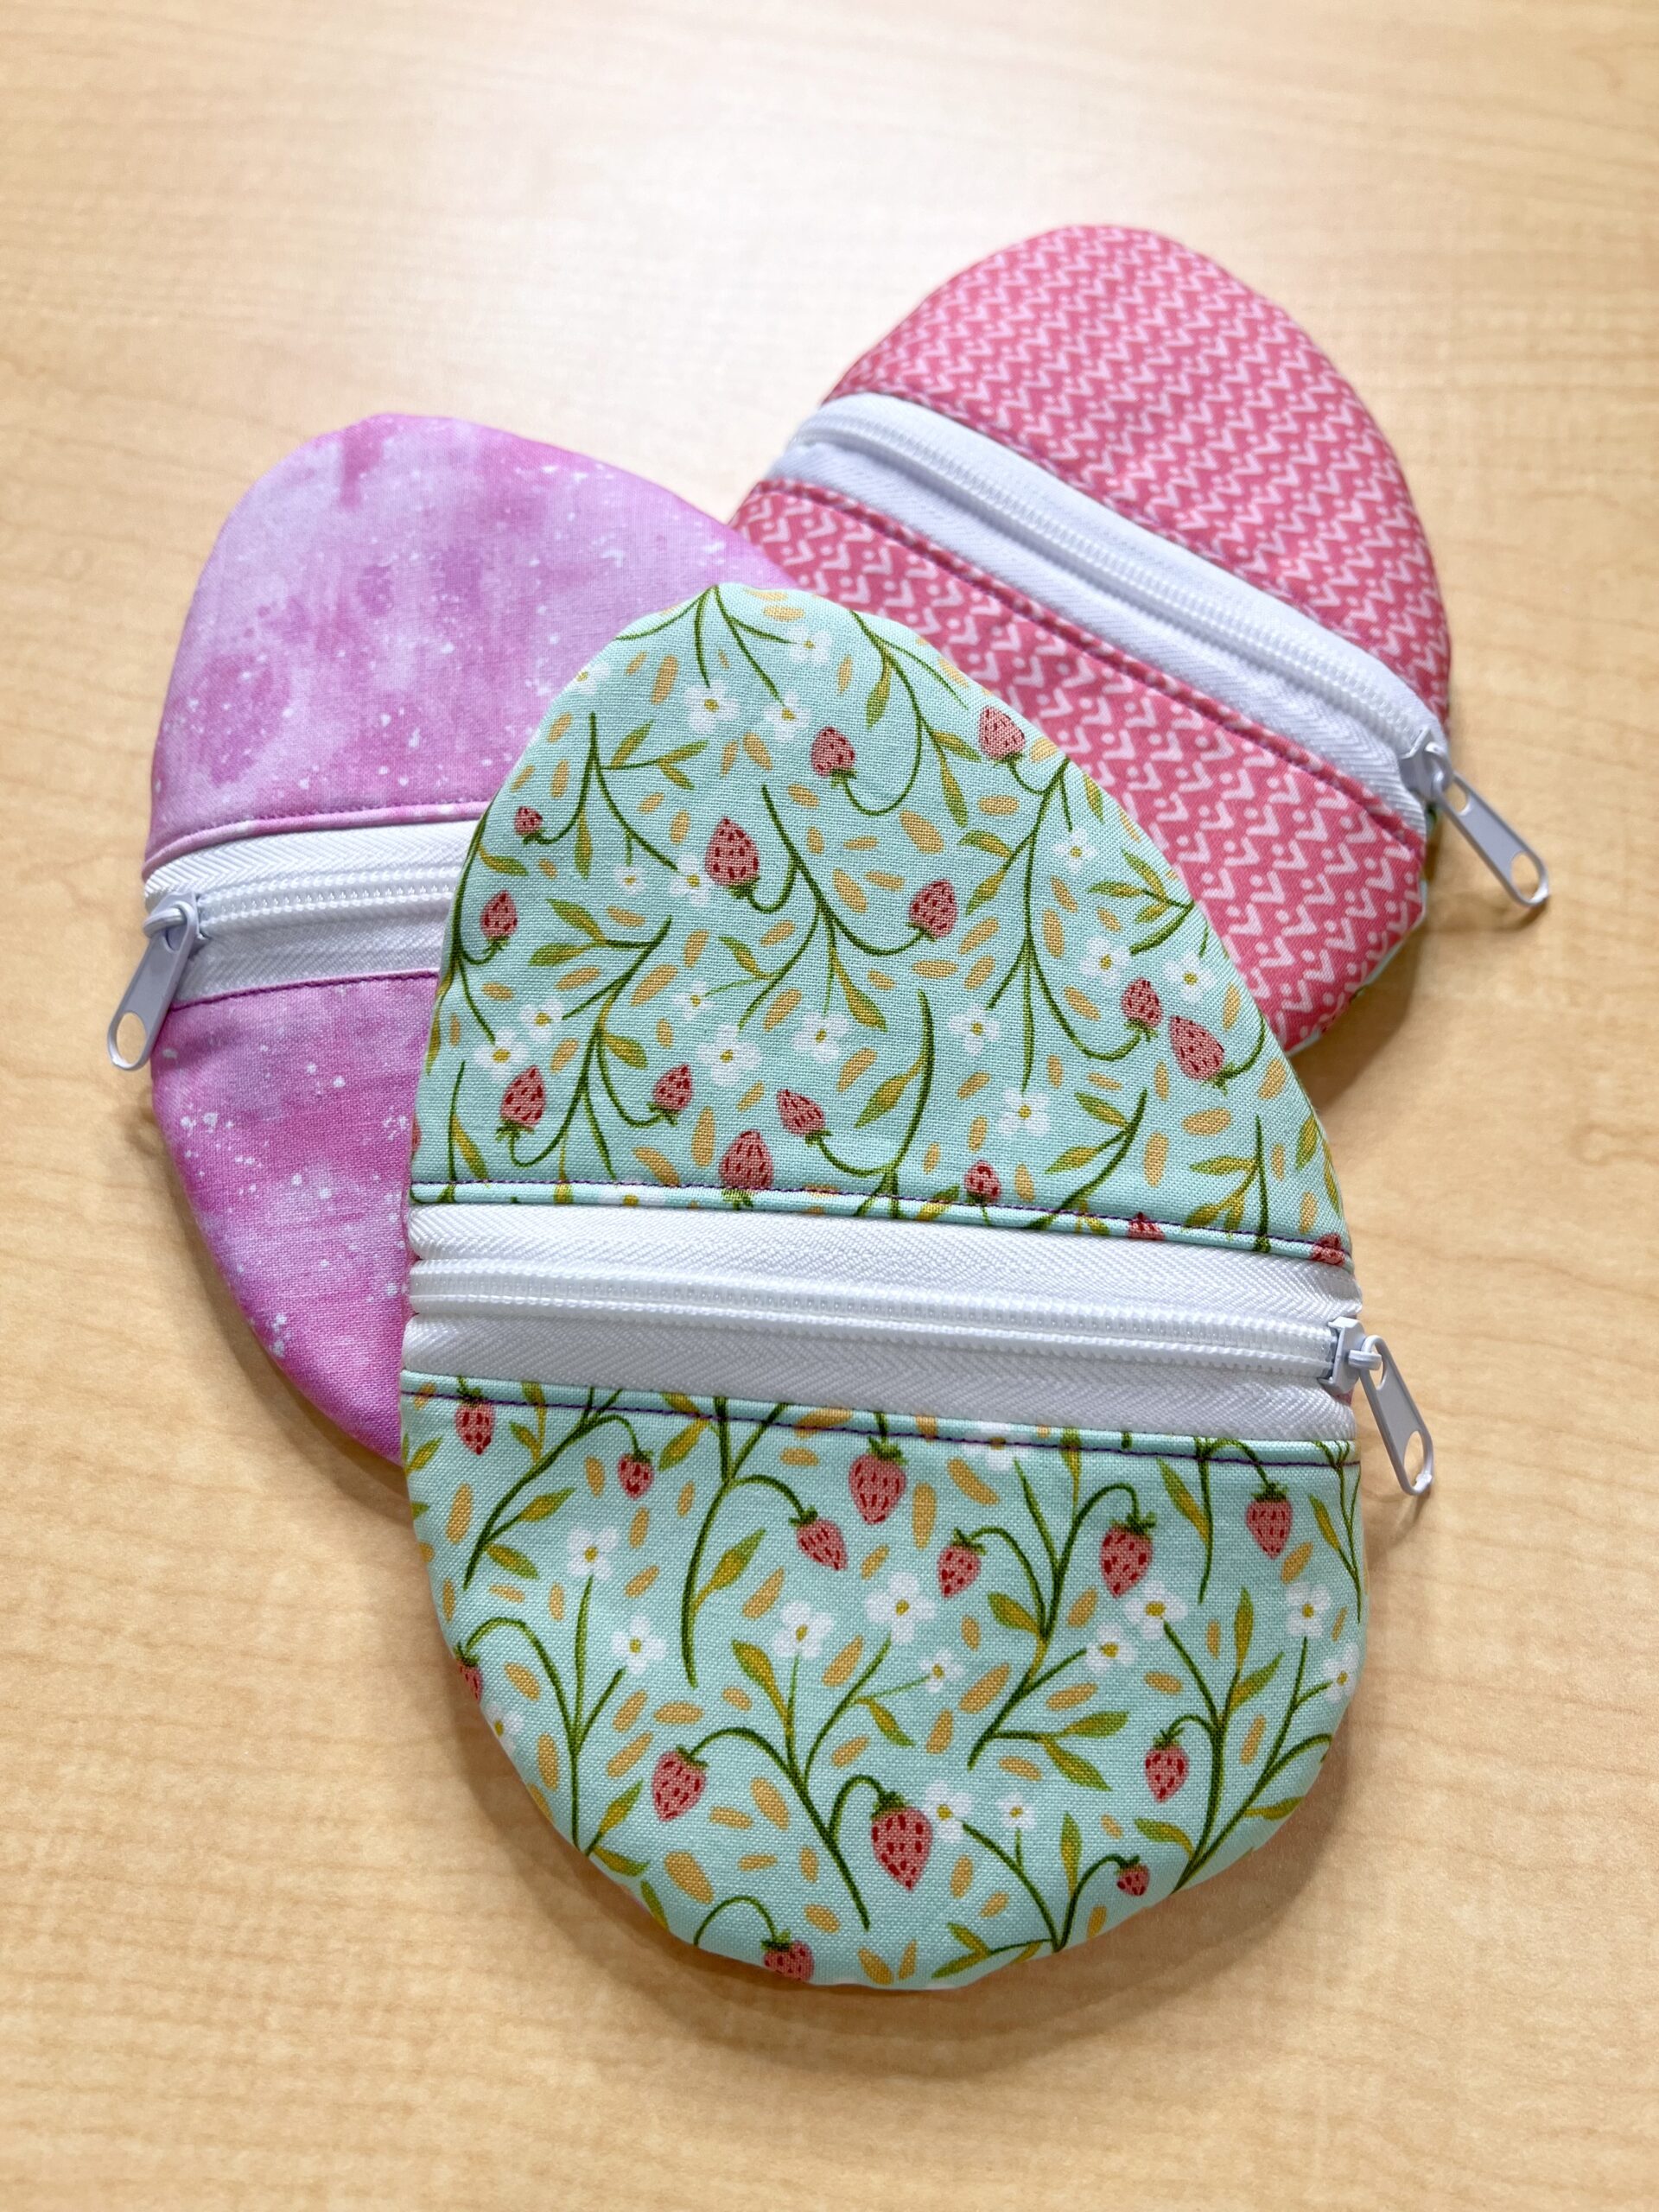
Grab you favorite spring time scrap fabrics and get ready for a fun and festive project. Let’s make an easy Easter egg zipper pouch. Make your egg hunt extra special with them or fill them with yummy treats and make your holiday even more fun. These pouches don’t take much time to make and you don’t need a lot of supplies either. All of the instructions are below or you can watch my video tutorial. Let’s get started.
Supplies Needed
Note: The measurements given are generous and designed for the egg template I provide. If you use your own template or scale mine up or down, you may want to change your fabric sizes.
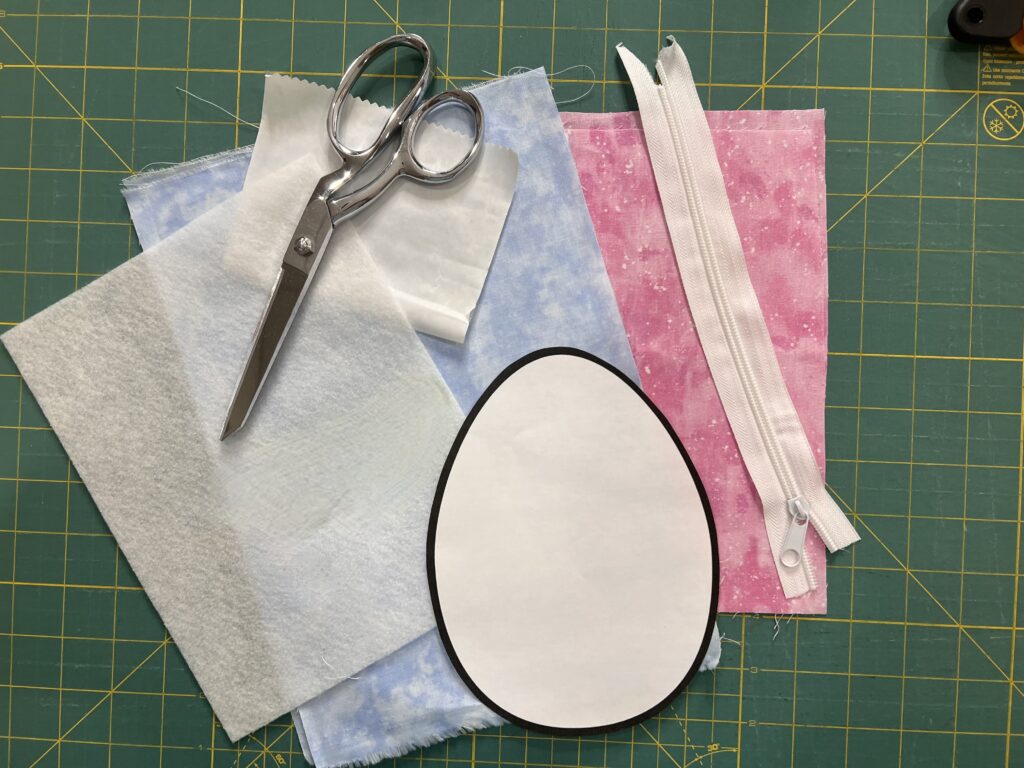
- Various fabrics – A – 2 pieces for the outside front cut 7″ x 8″, B – 2 pieces cut 7″ x 8″ for the inner lining, C – 1 piece cut 7″ x 9″ for the outside back, and D – 1 piece for lining cut 7″ x 9″. Note: These are generous pieces designed for the egg template I provide. If you use your own template or scale mine up or down, you may want to change your fabric sizes.
- Egg template which you can download here.
- Fusible Fleece – 3 pieces cut to the same size as the 2 pieces of the outside front and the 1 piece of the outside back. I used Pellon 987F which you can purchase here. As an Amazon Associate I Earn from Qualifying Purchases at no additional cost to you.
- Zipper – About 8″ – 9″ long.
- General sewing supplies
Assembling the Front of the Egg

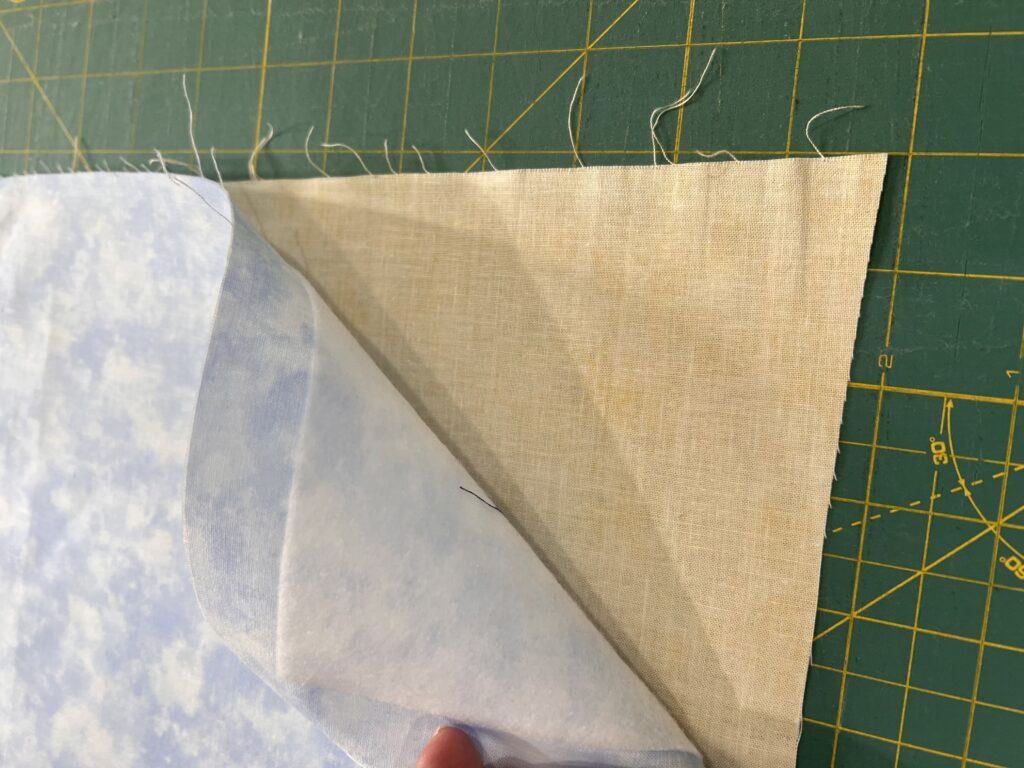
Follow the manufacturer’s instructions on the fusible fleece and adhere it to the back (wrong)side of the fabric pieces A and C.

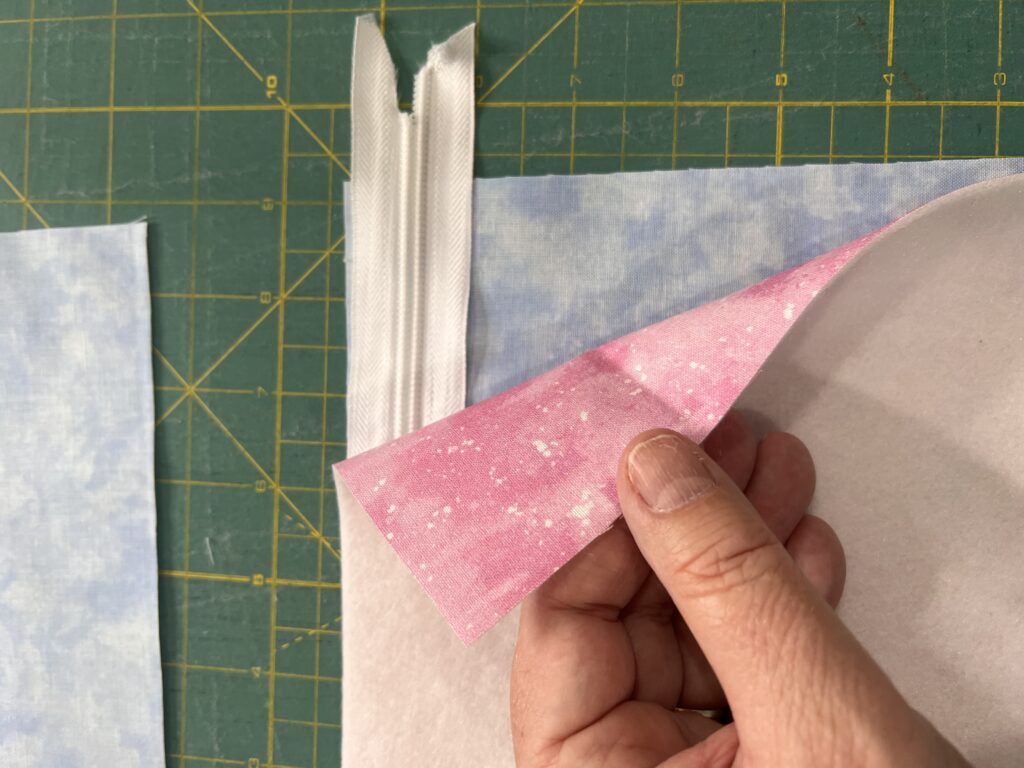
Lay one piece B on work surface with right side facing up. Line up the zipper with the right side facing up. Lay one piece A with the wrong side facing down. The right sides of piece B and piece A will be facing each other.

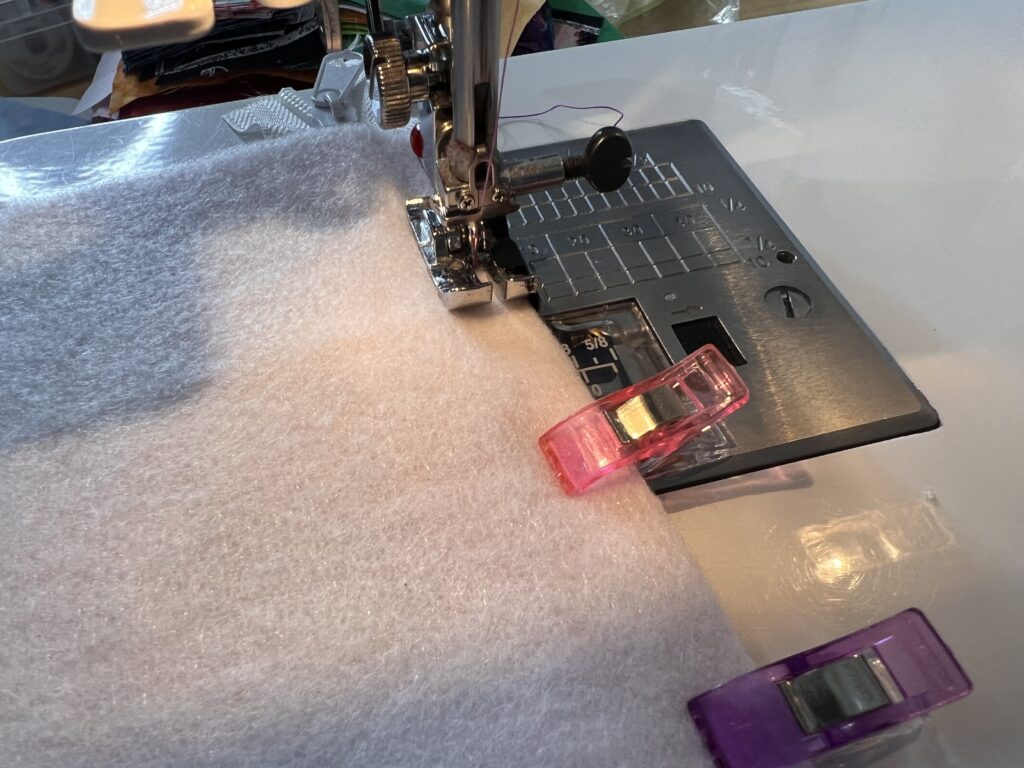
Clip the layers together and sew along the edge. I used a 1/4″ seam allowance.
Lay down the second piece B with right side facing up. Line up the part with the zipper to the top edge with the zipper facing right side up. Lastly, line up the second piece A on top with wrong side facing down.
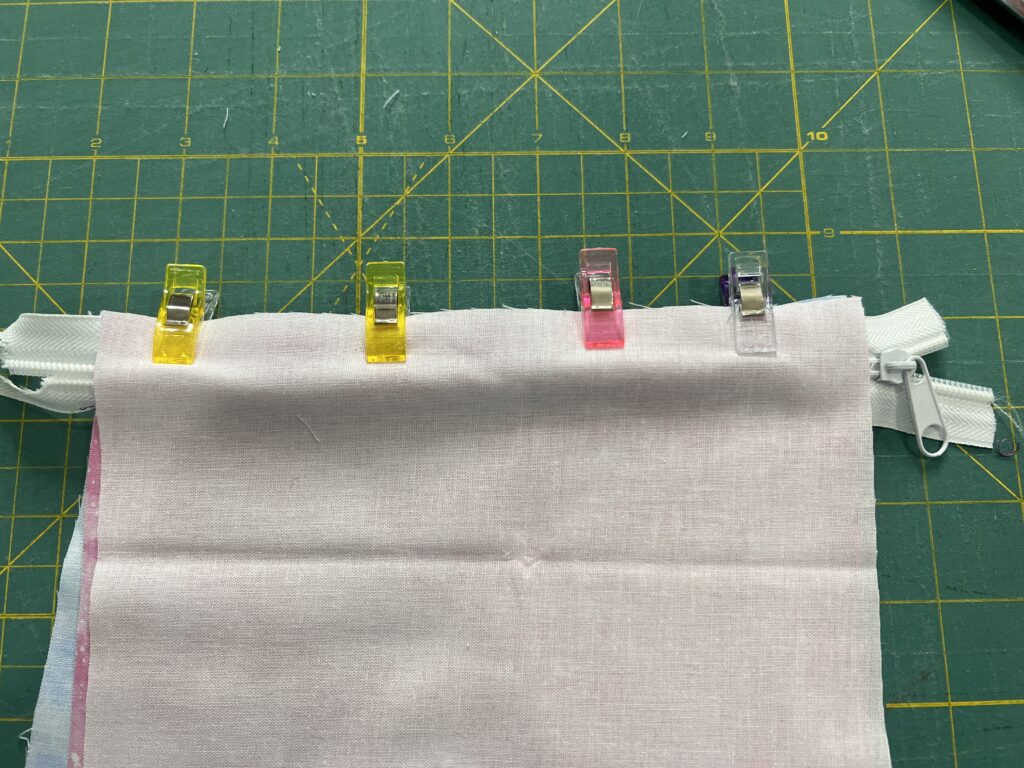

Clip along the top edge and sew the layers together. I used a 1/4″ seam allowance.
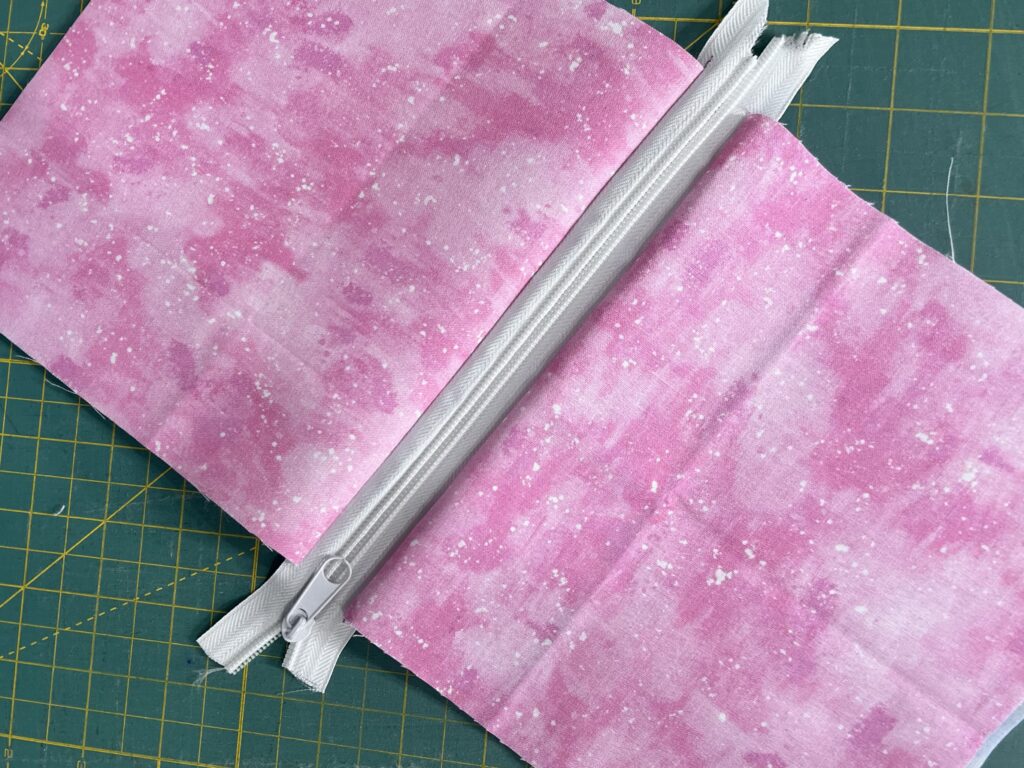

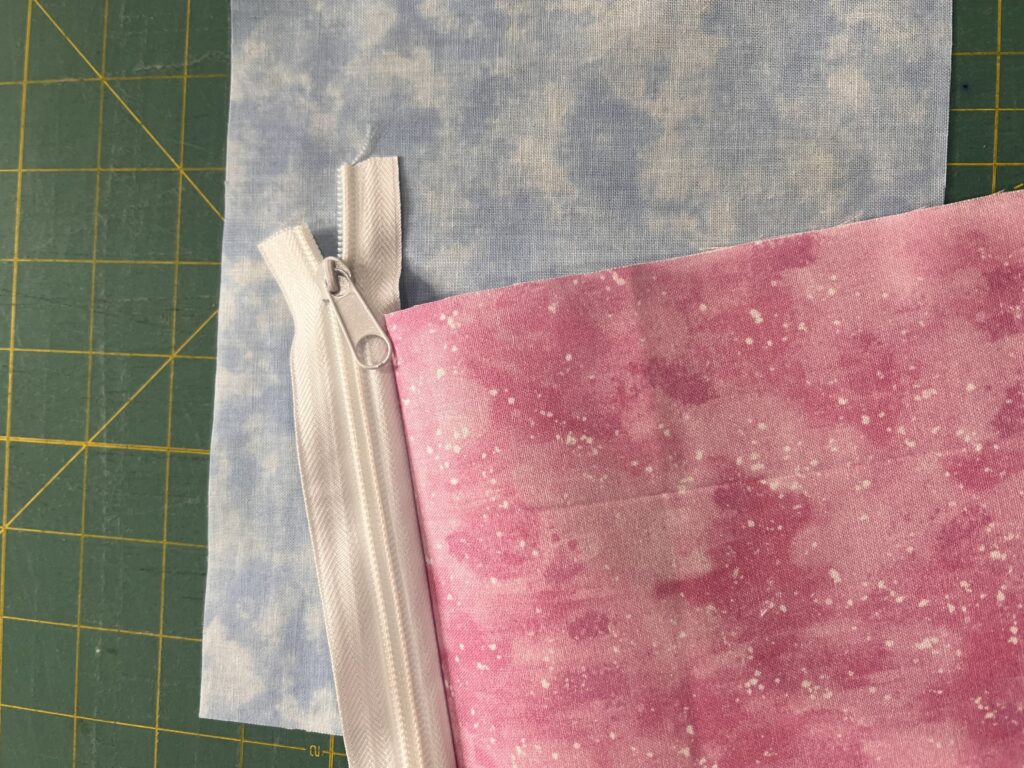
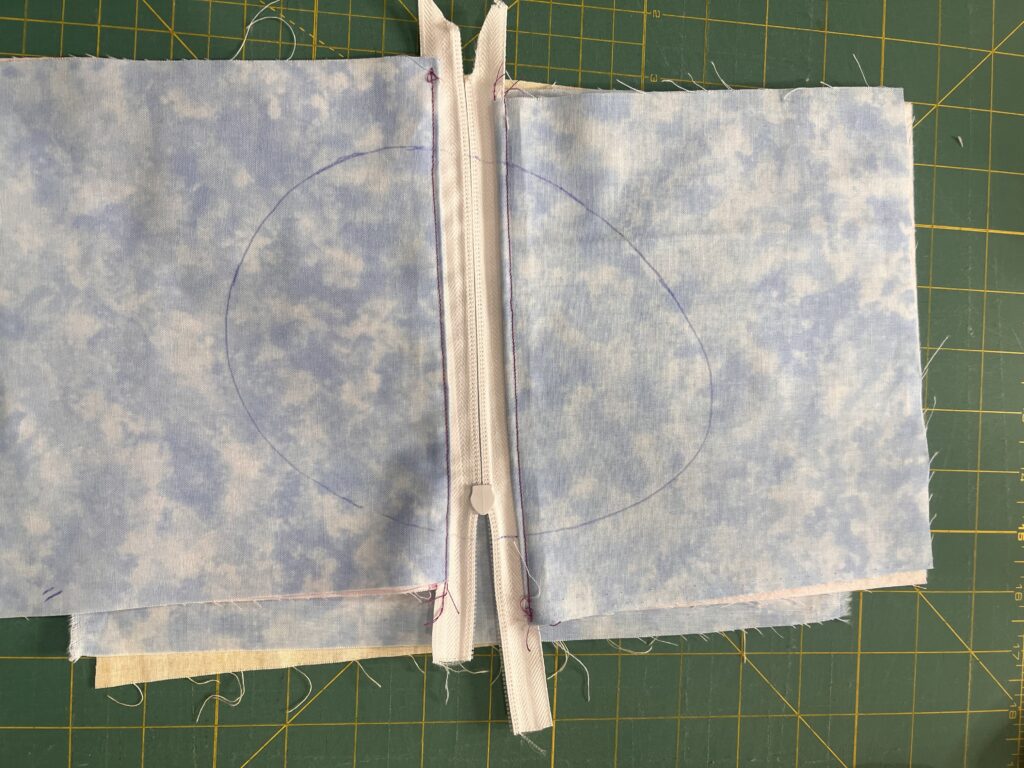
You end up with a section that looks like this. Outside front is the pink on the left.
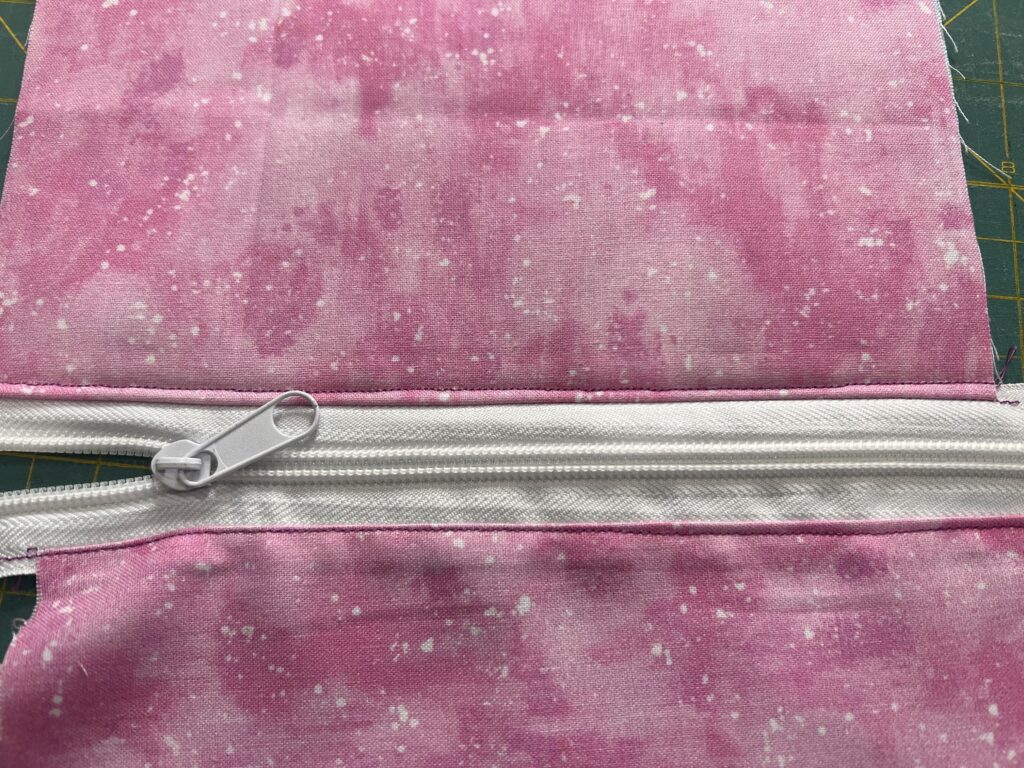
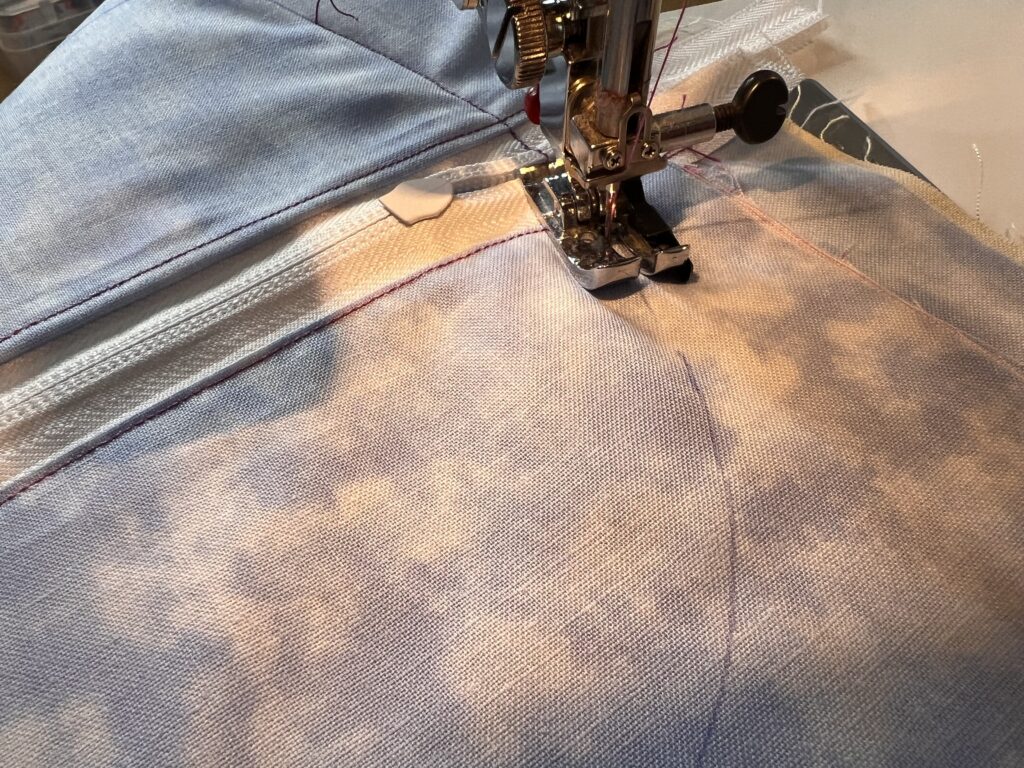
Using an 1/8″ seam allowance, top stitch along the edge of the fabric and the zipper.
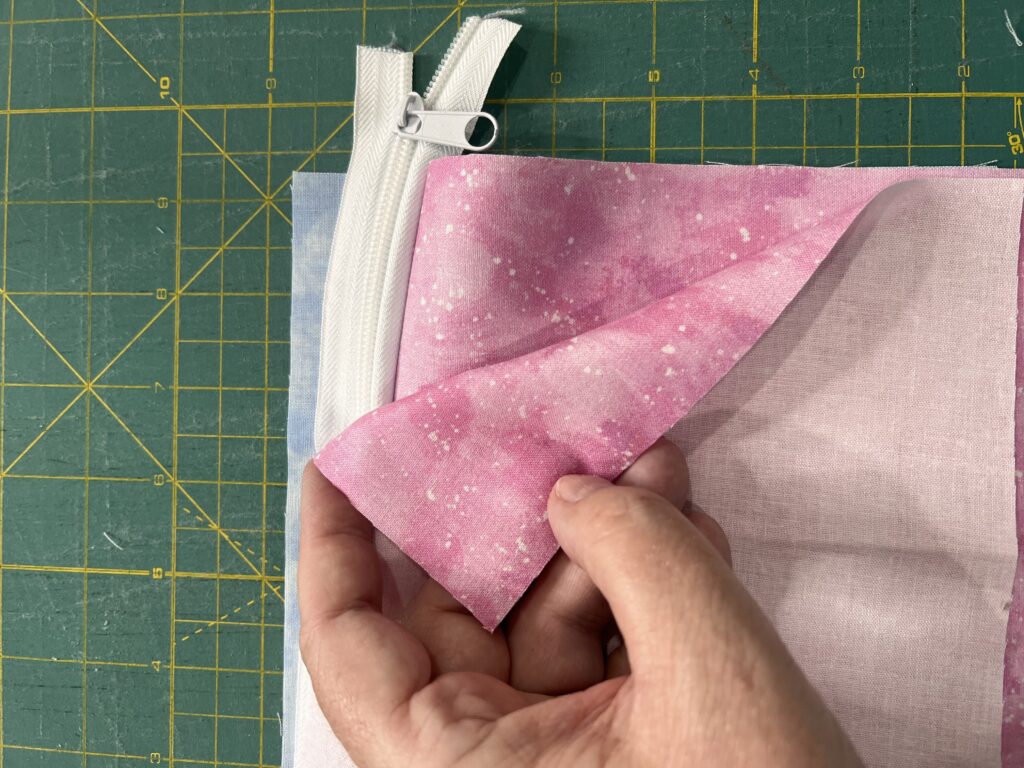
Decide on your template placement and then trace around the template. Trace on the wrong (back) side of the zipper side. I like to make the zipper slightly askew. I think it adds a some more interest and the opening is a bit larger.
Finishing the Egg
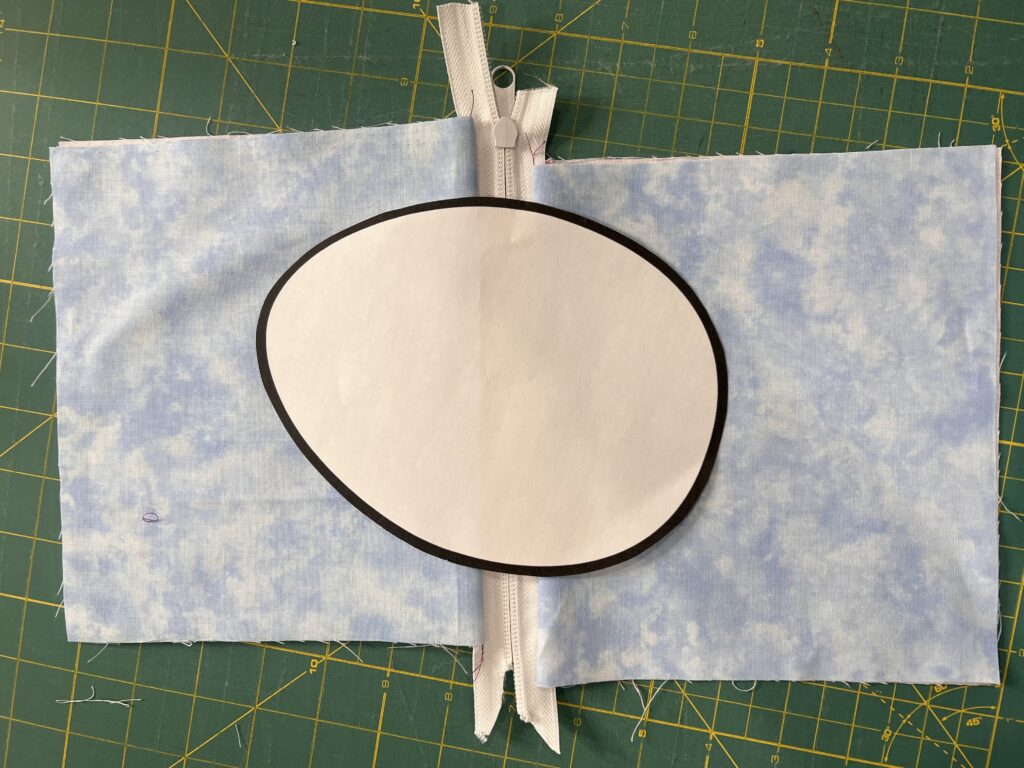
Lay the lining piece D on your work surface with right side facing down. Line up the outside back piece C on top with right side facing up. Finally, lay the zipper section made earlier on top with right side facing down. Line everything up as best as possible.
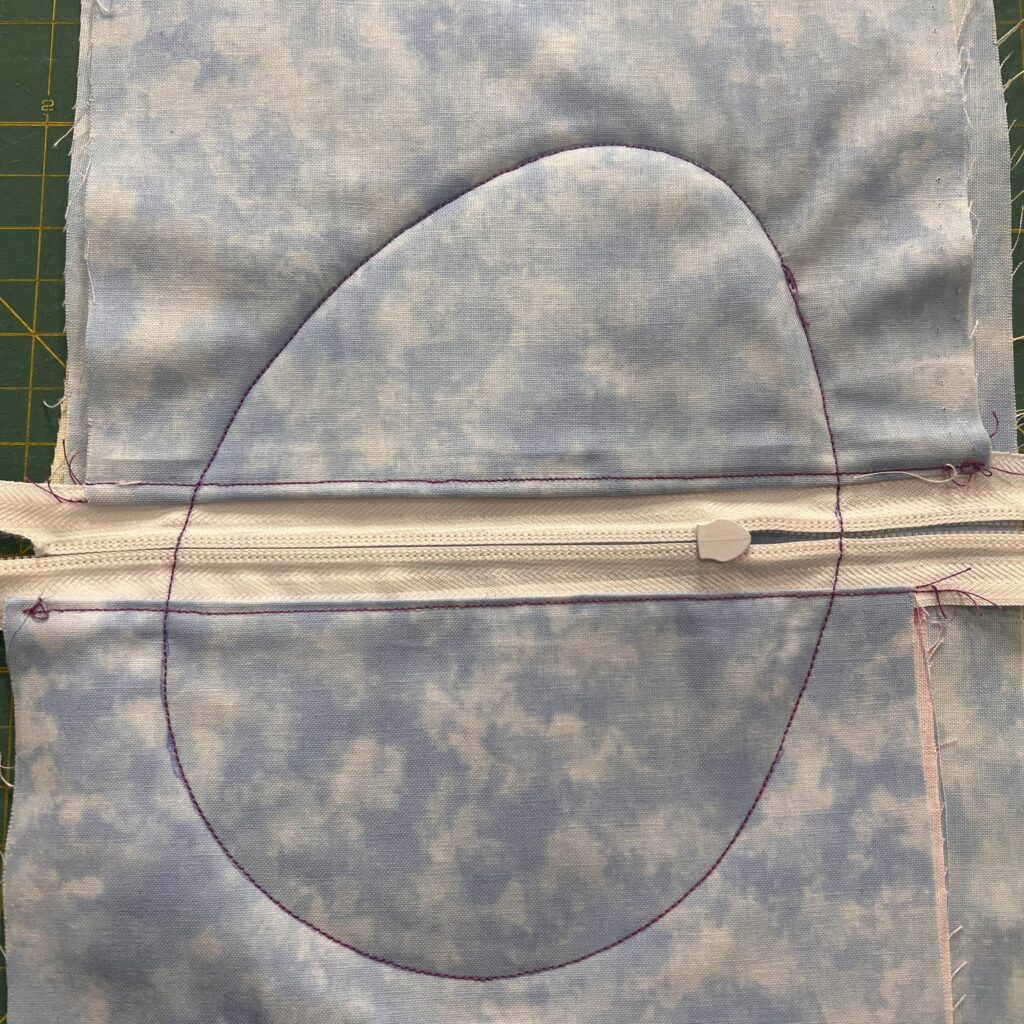
If desired, pin into place. Sew along the traced line. Important…make sure that the zipper pull is inside of the traced line before you begin sewing.
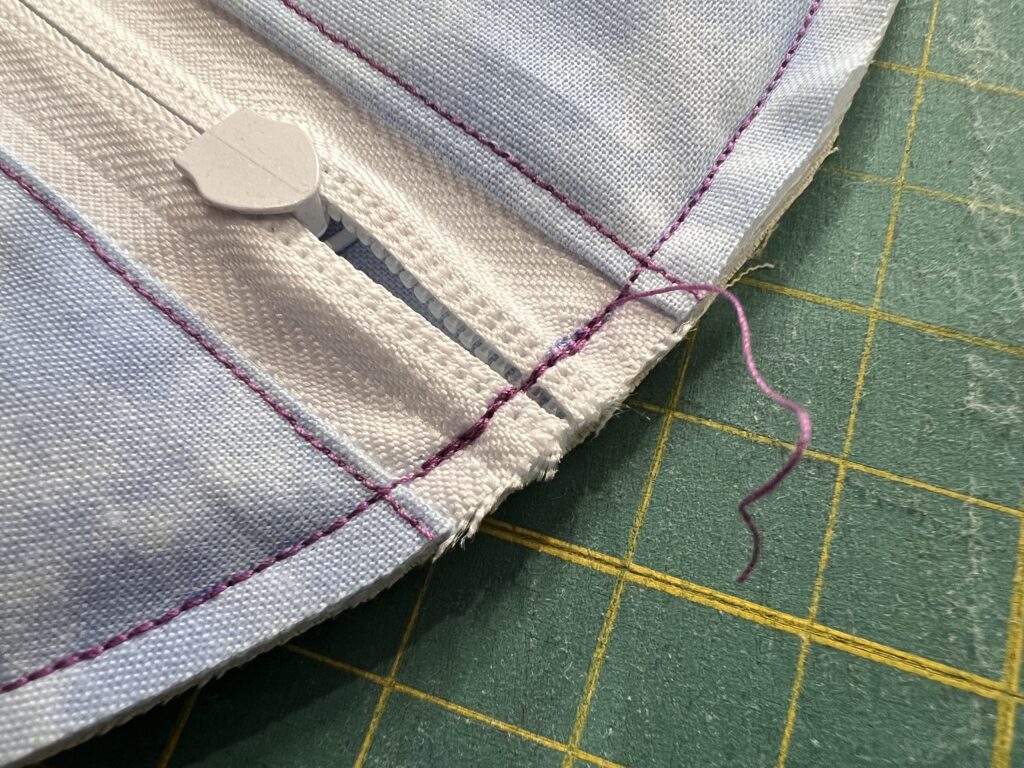
Cut around the stitching, leaving about 1/4″ seam allowance. Back stitch a couple of times over the edges of the zipper.
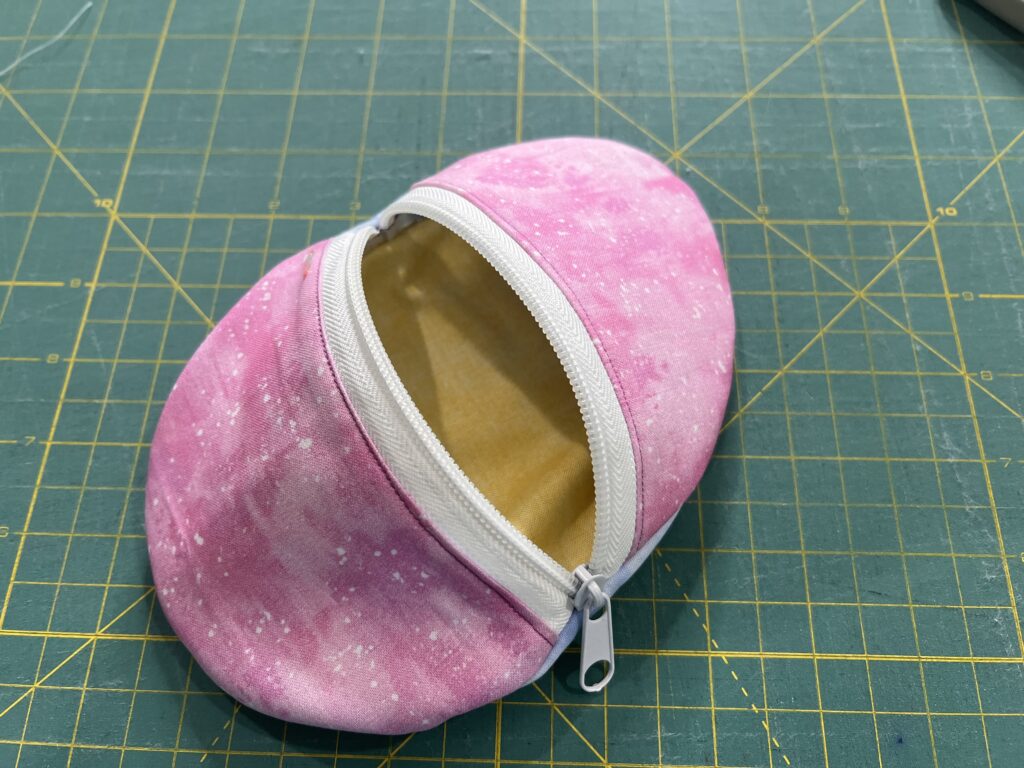
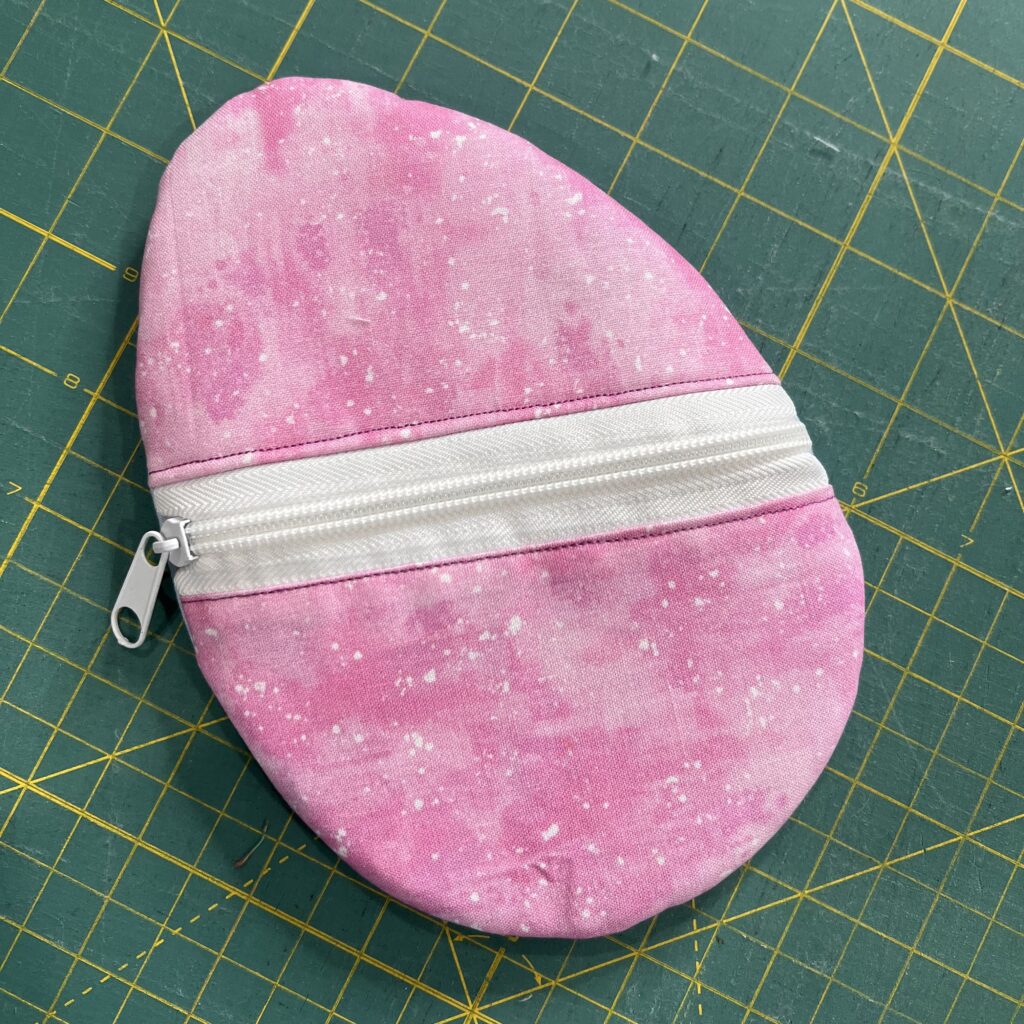
Open the zipper a bit and turn the egg right sides out. Fill these easy Easter egg zipper pouches your favorite treats or trinkets and you’ll be the hit of the Easter egg hunt!
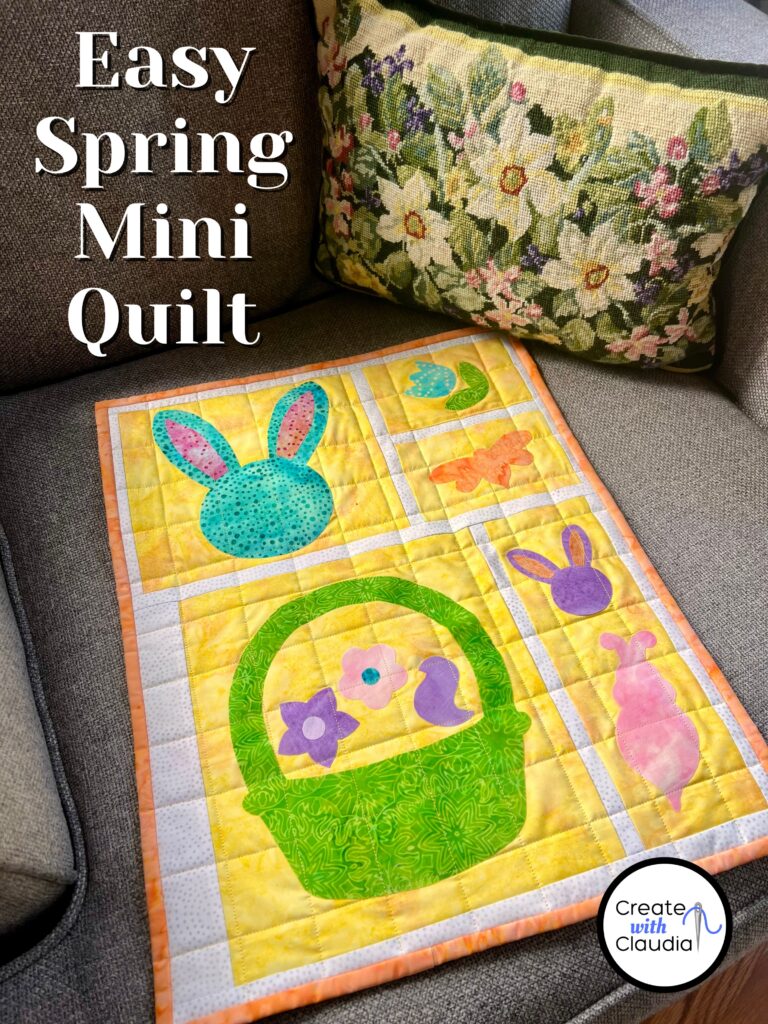
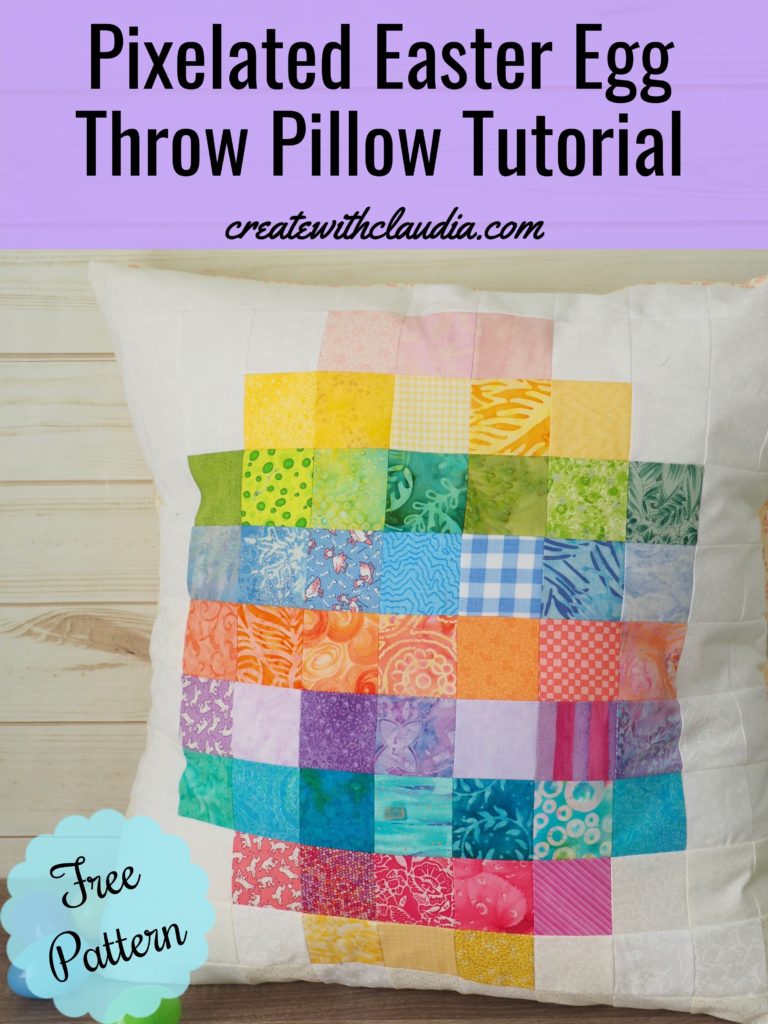
Some Other Easter Projects