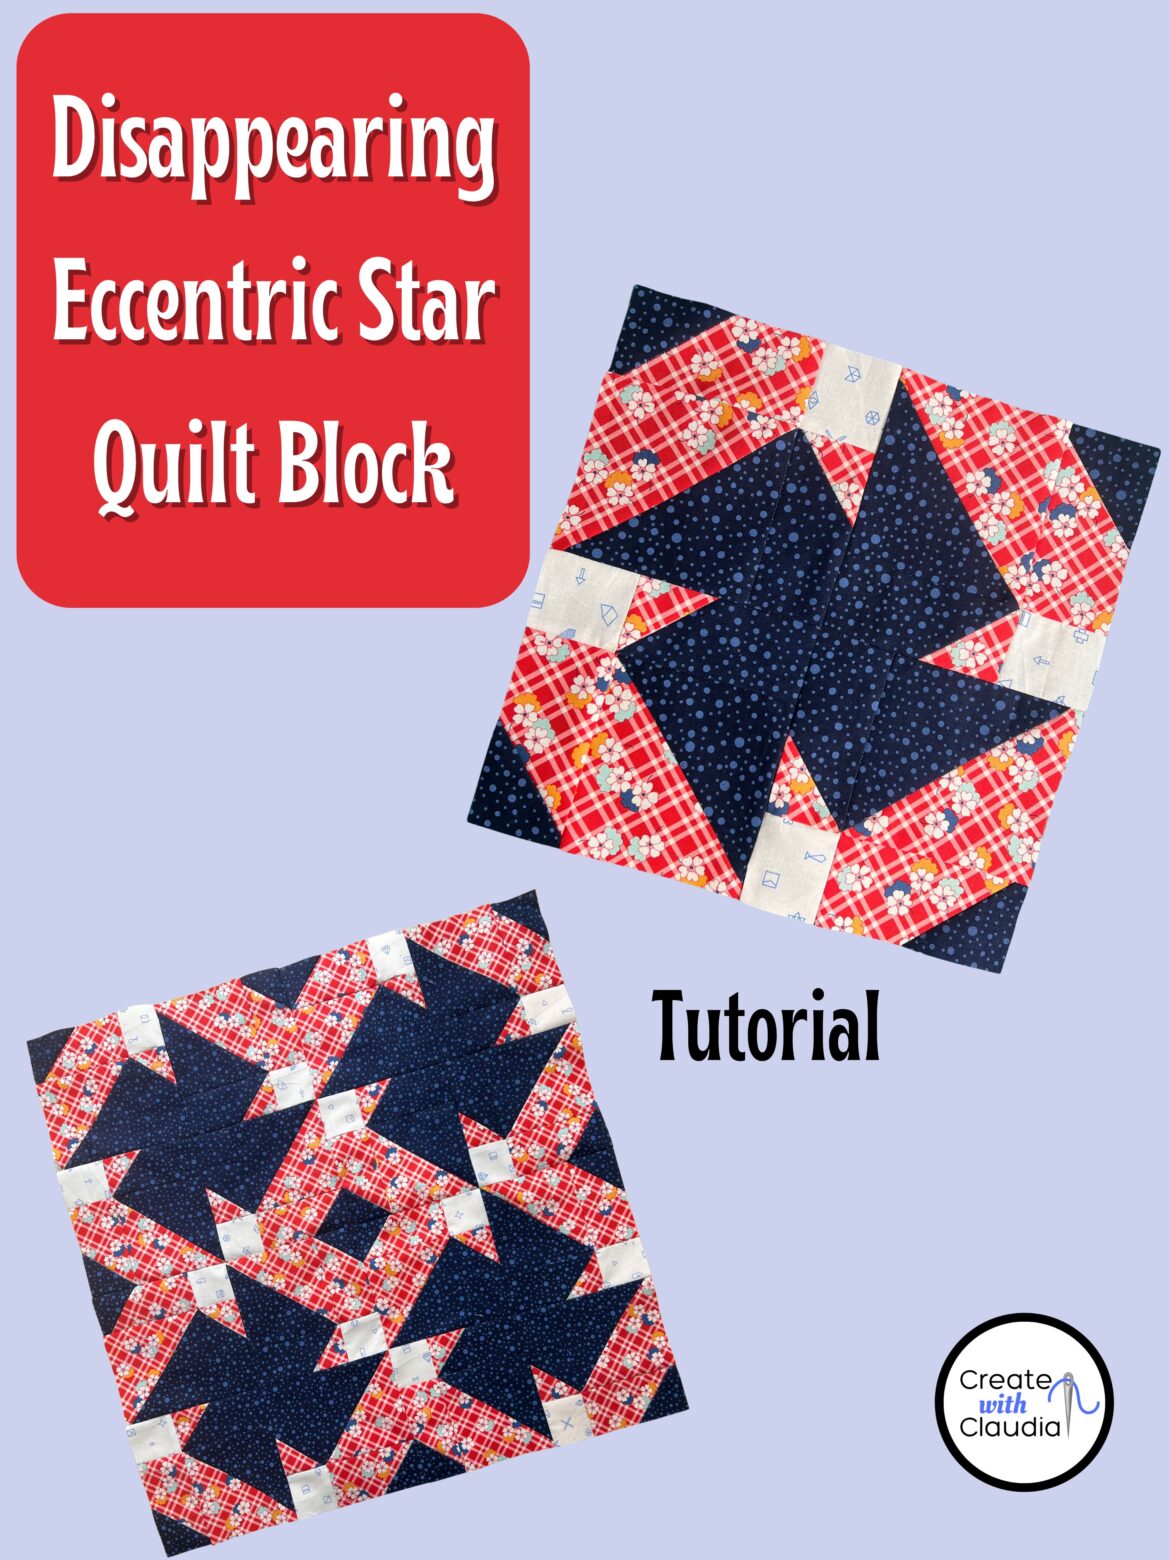
Disappearing Eccentric Star Quilt Block Tutorial
I love a good disappearing quilt block. In fact, one of my most popular posts in this blog and on my YouTube channel is a disappearing rail fence block tutorial. Now I will be transforming a traditional block into something entirely different. In this tutorial you will find out how to make the original block and then get various ways to make it change. Have fun with this disappearing eccentric star quilt block tutorial.
You can find the step by step instructions below or you can watch my video tutorial.
How to Make the Eccentric Star Block
The first thing you need to do is make an eccentric star quilt block. For one 12 1/2″ unfinished block you will need two 10″ squares and one 4 1/2″ square.
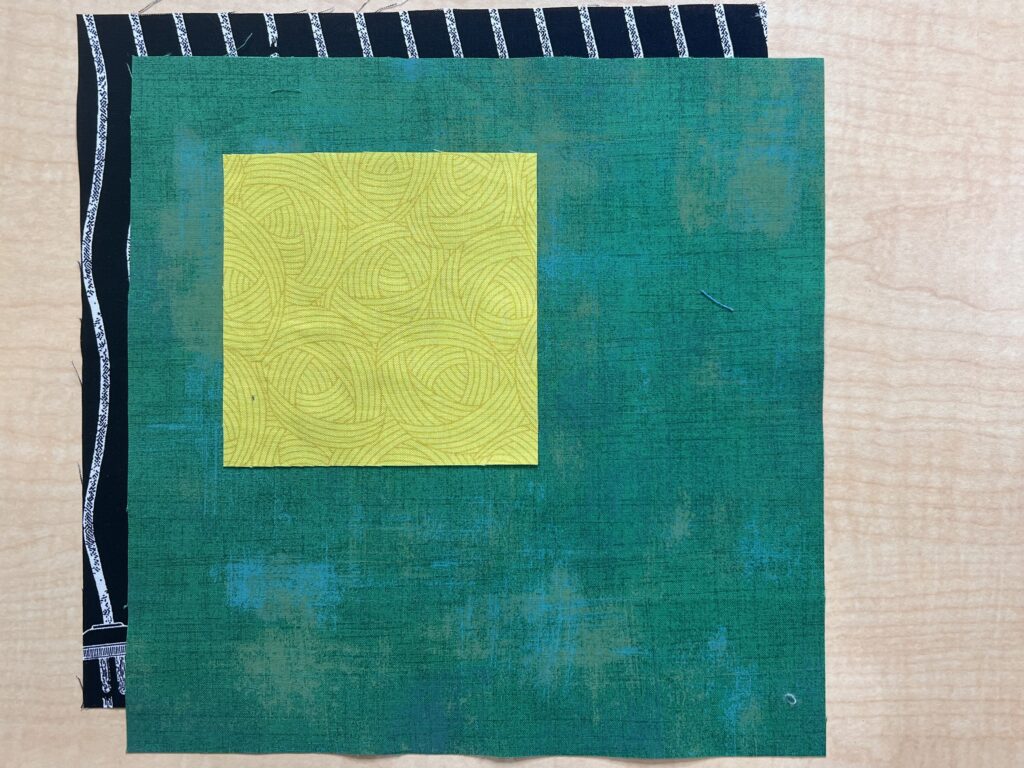
For this block you need eight half square triangles and I am demonstrating the 8-at-a-time method. It’s perfect for this project.
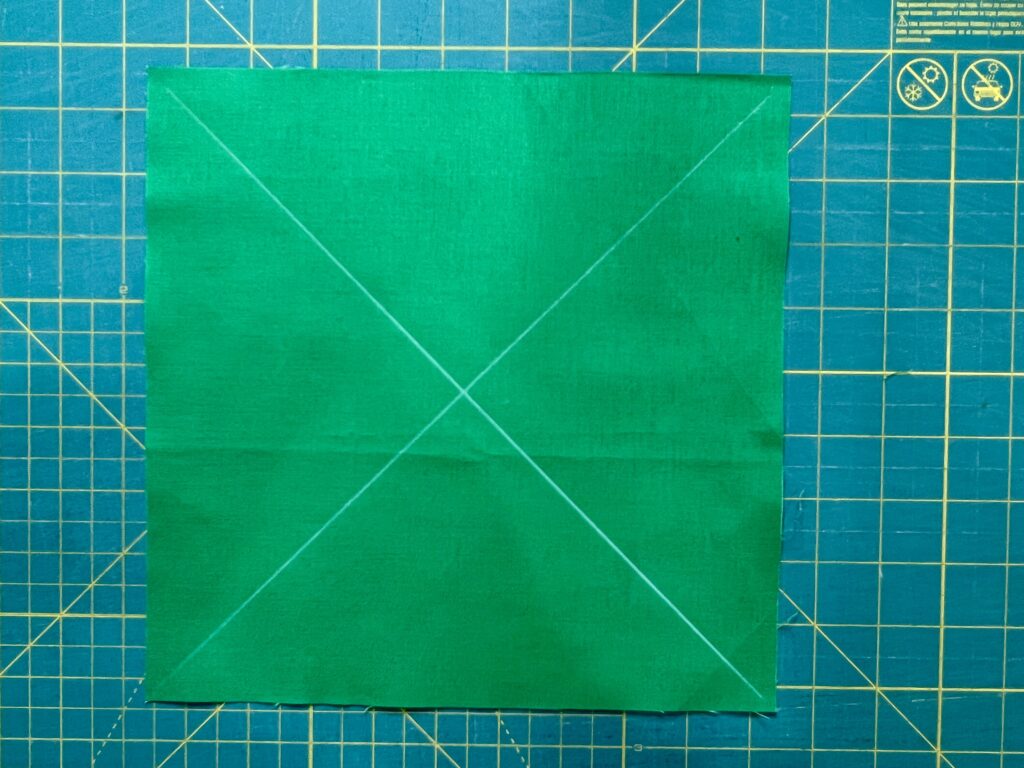
Draw an X on the back of one of the 10″ squares. Line up the fabrics with right sides facing. Then, using a scant 1/4″ seam allowance, sew along both sides of the drawn lines.
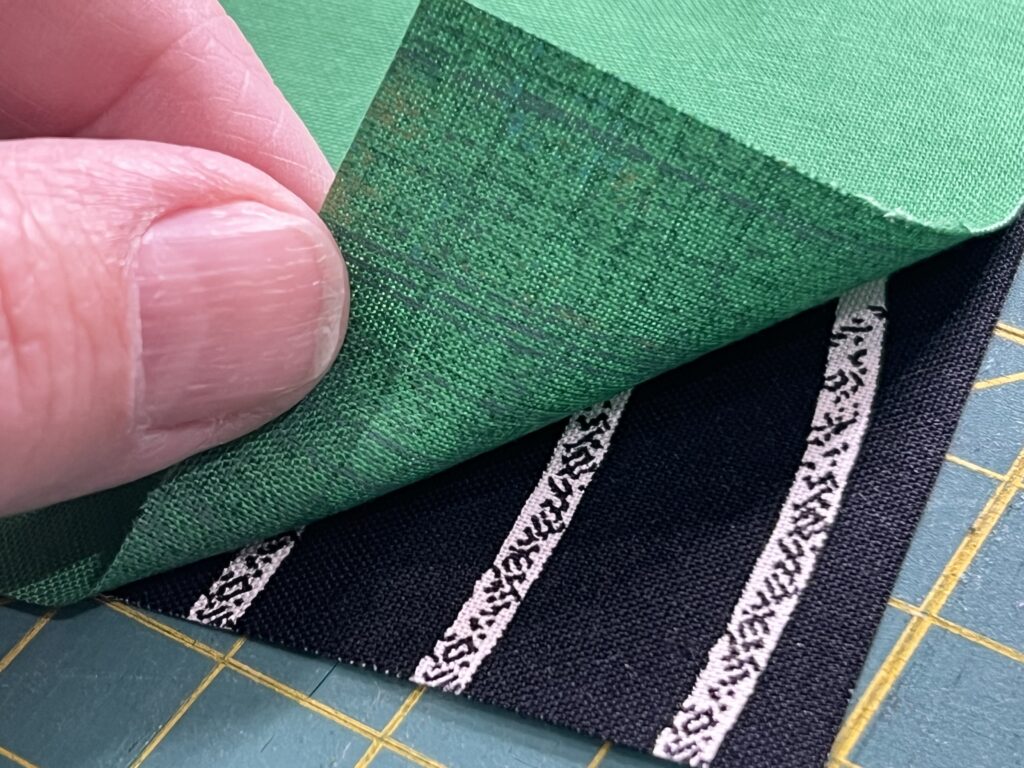
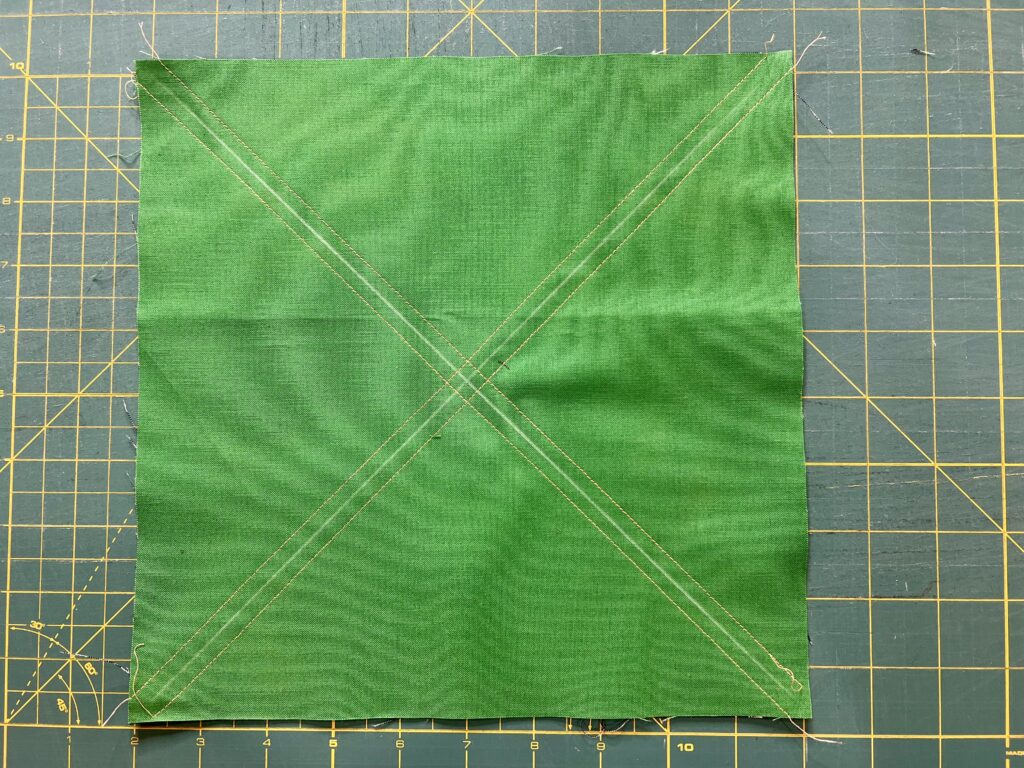
Then cut the square in half both ways. Lastly, cut the squares in half on the drawn line. Press seams open or to the darker fabric.
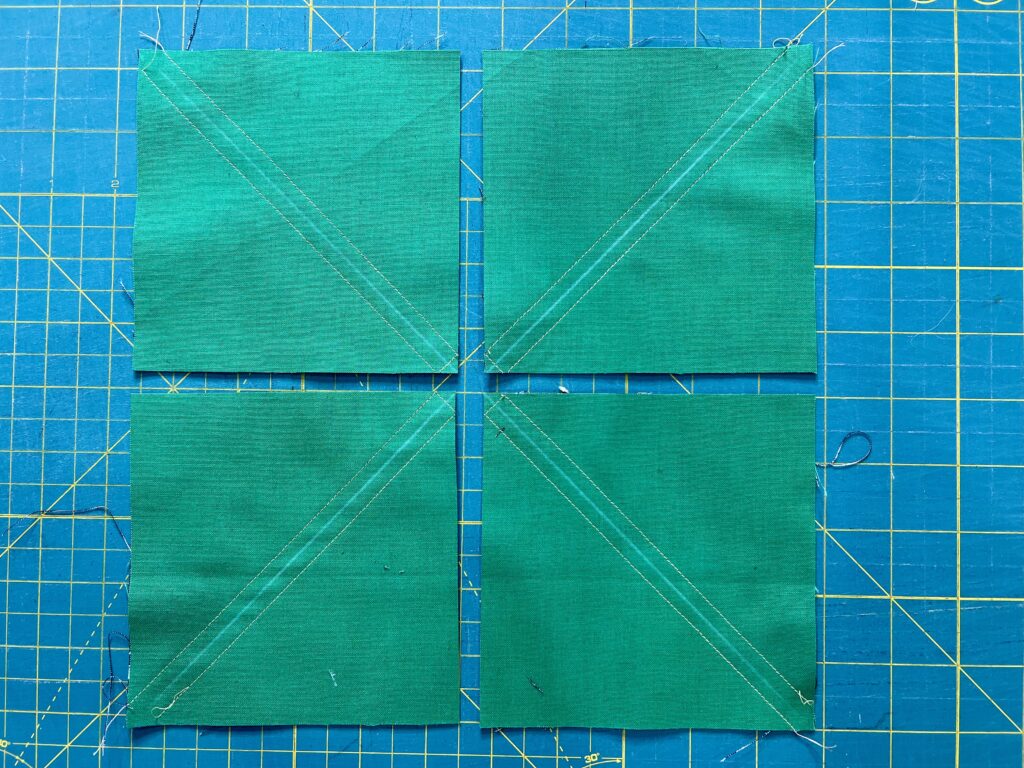
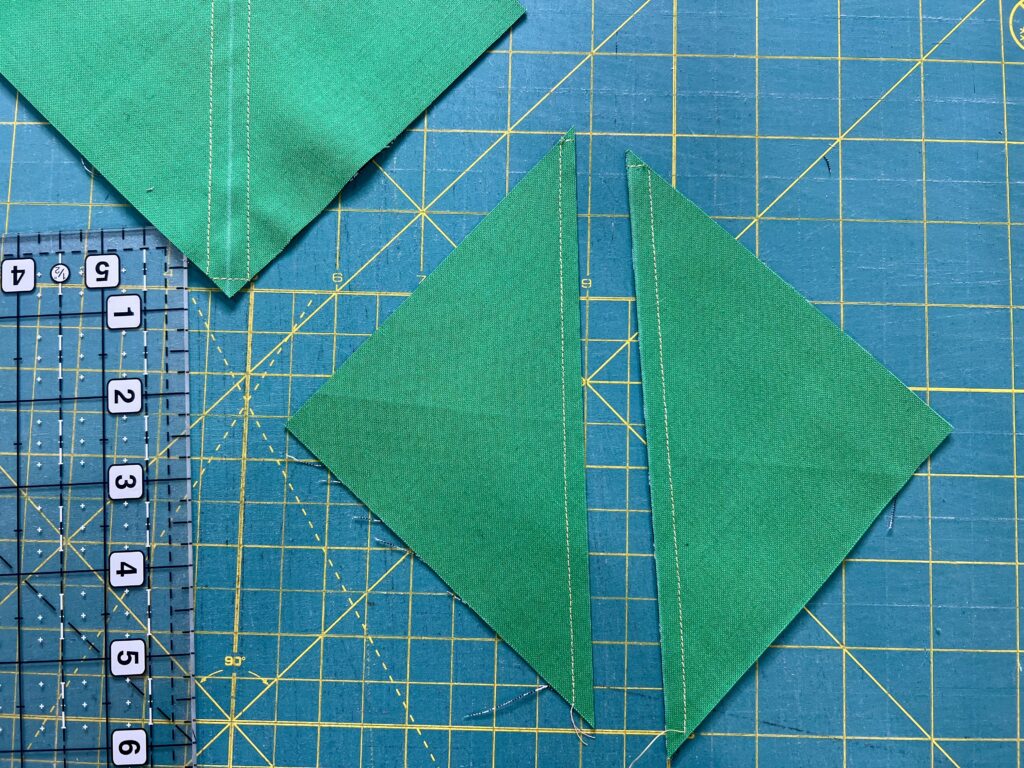
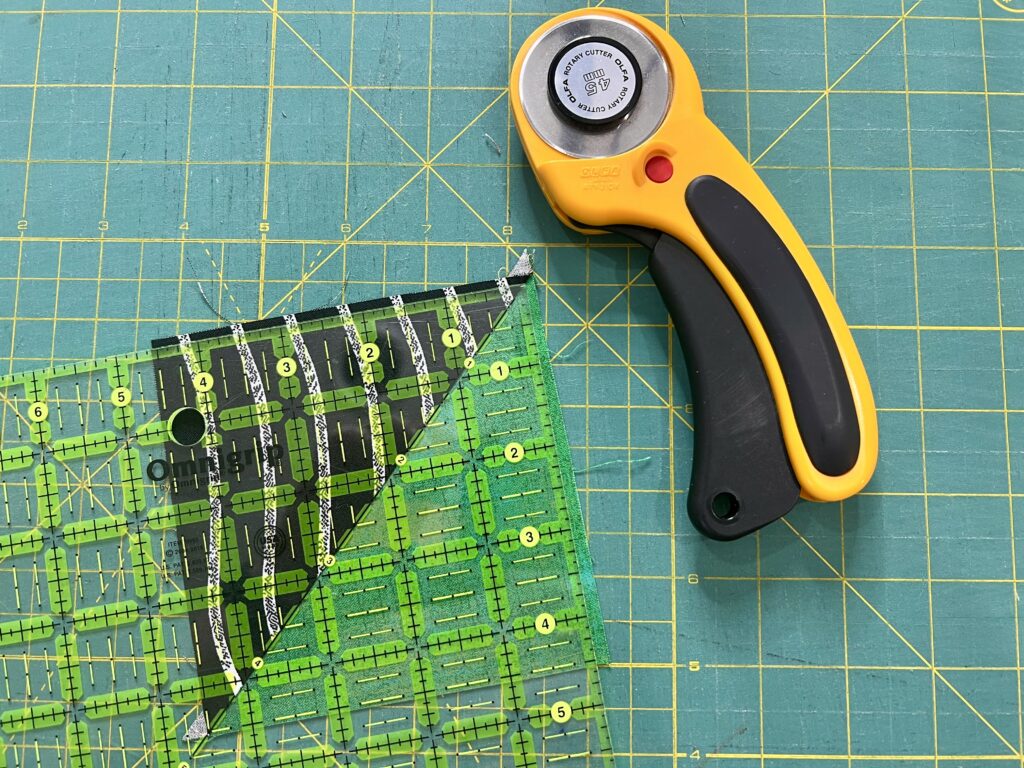
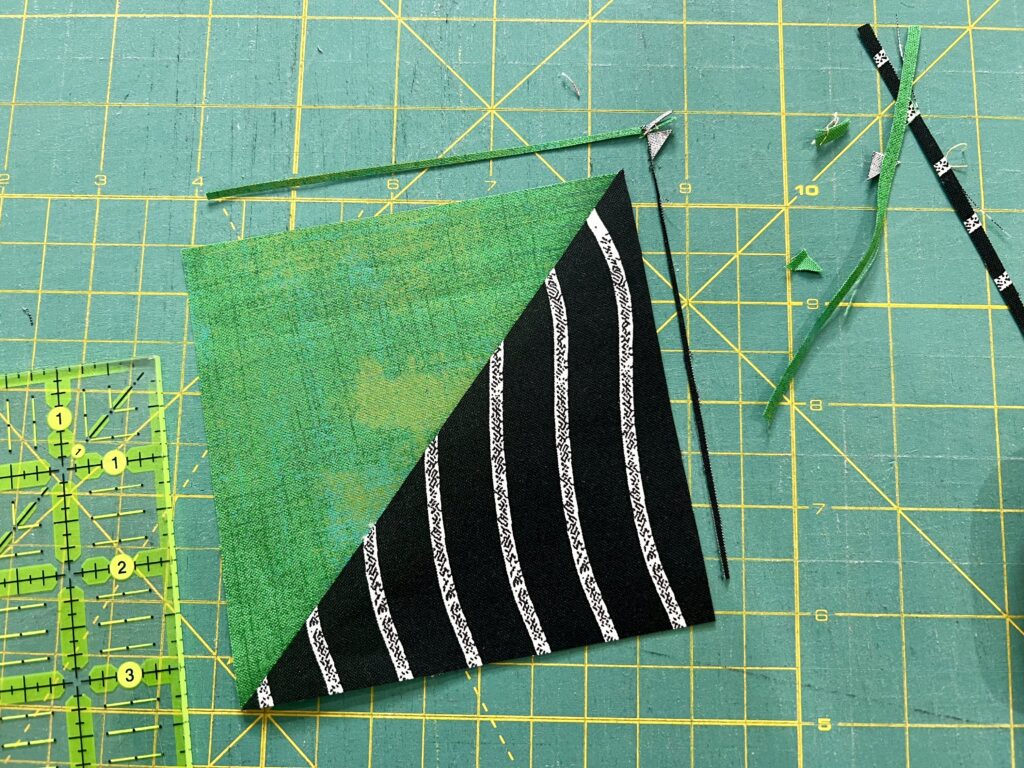
Trim all of the half square triangle to 4 1/2″ square. Trim one corner first, then rotate the block and trim it to 4 1/2″.
Lay out the half square triangles and the center square as shown and then sew the block together. You end up with the traditional eccentric star quilt block. At this point it should measure 12 1/2″ square.
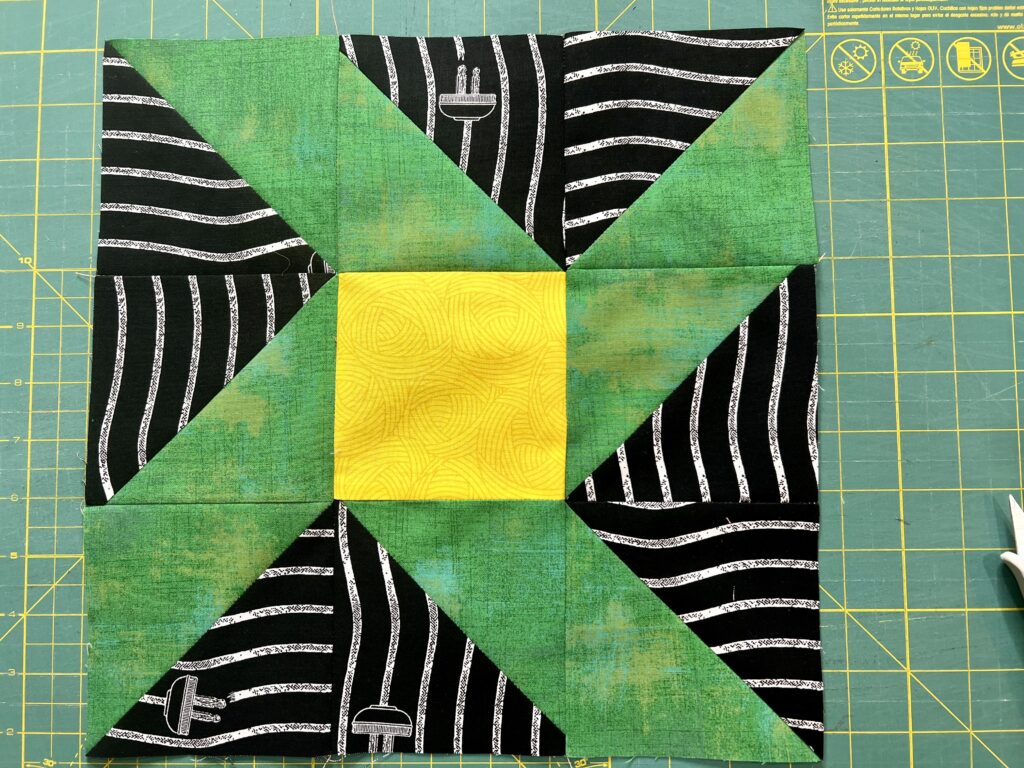
Now let’s make it disappear!
Making the Disappearing Eccentric Star Quilt Block
Before I get started, you probably noticed the fabrics are different. I had camera issues and had to change things up and I ran out of the original fabrics so I had to change it up.
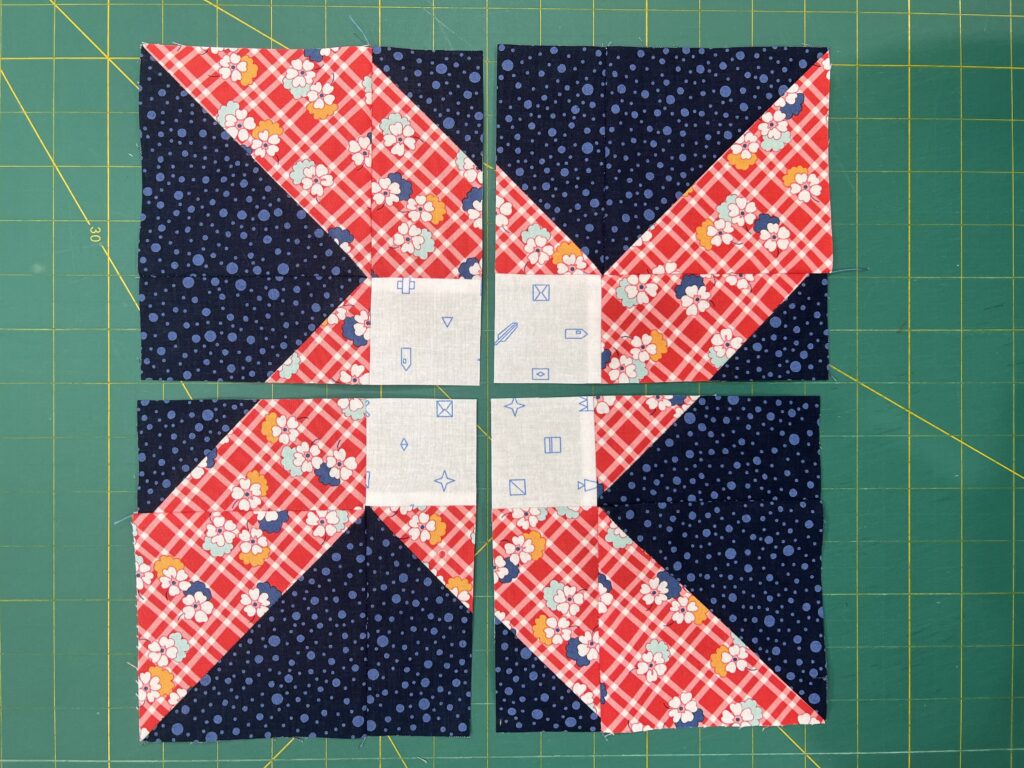
Find the center of the block. If you used an accurate 1/4″ seam allowance the center block should measure 4″. Measure 2″ in from the left side of the center square and that should be the center of your block. Cut the block in half. If you are like me, I always take a deep breath and check my measurements a few times before I make that first cut!
Then cut those two sections in half. You end up with four sections.
Here’s what a quilt would look like with the traditional eccentric star quilt block.
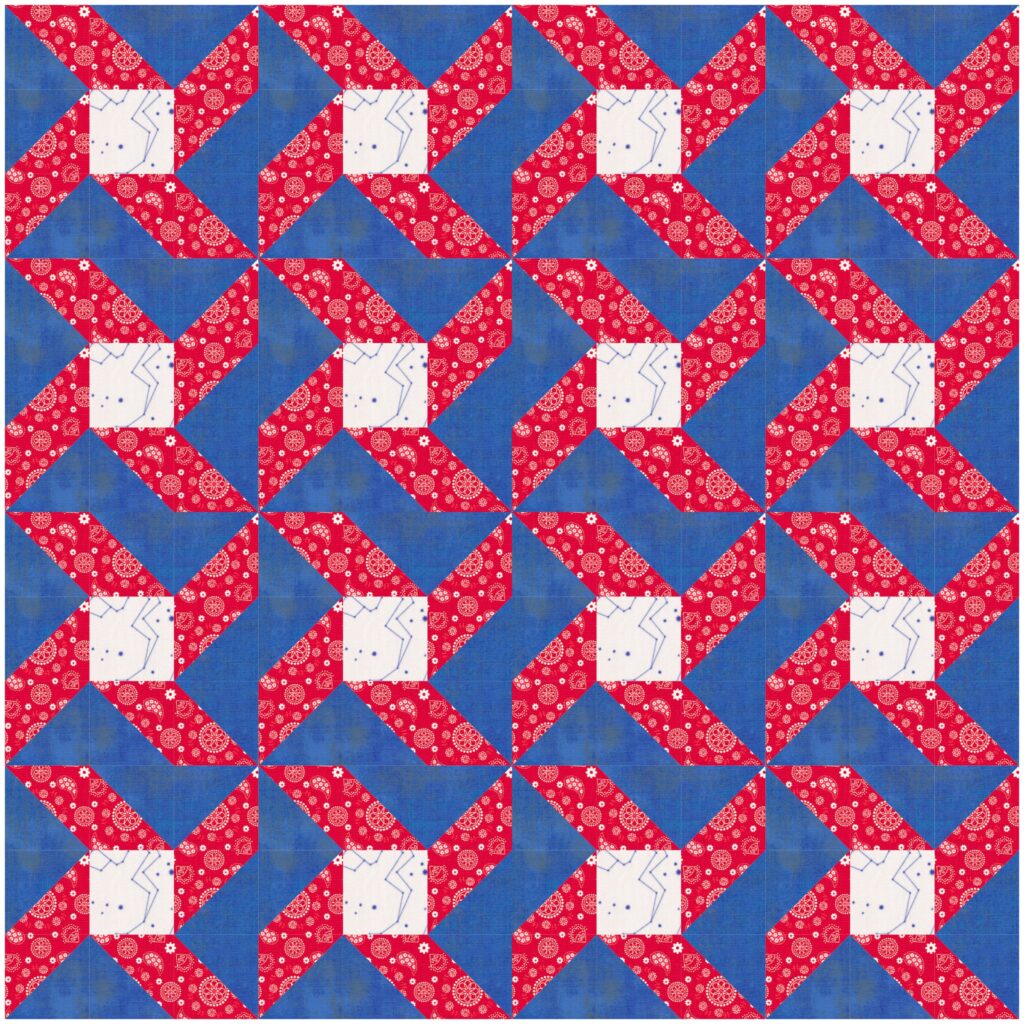
Very pretty and would make a nice quilt.
Let the Fun Begin!
Now the fun begins! Start playing with those sections to come up with a new block. Here are some of the ones I came up with. I had so much fun with this that I decided to add the blocks into my Electric Quilt 8 software and see what an entire quilt would look like with the reimagined block. It was really interesting to see what happened. Which one is your favorite?
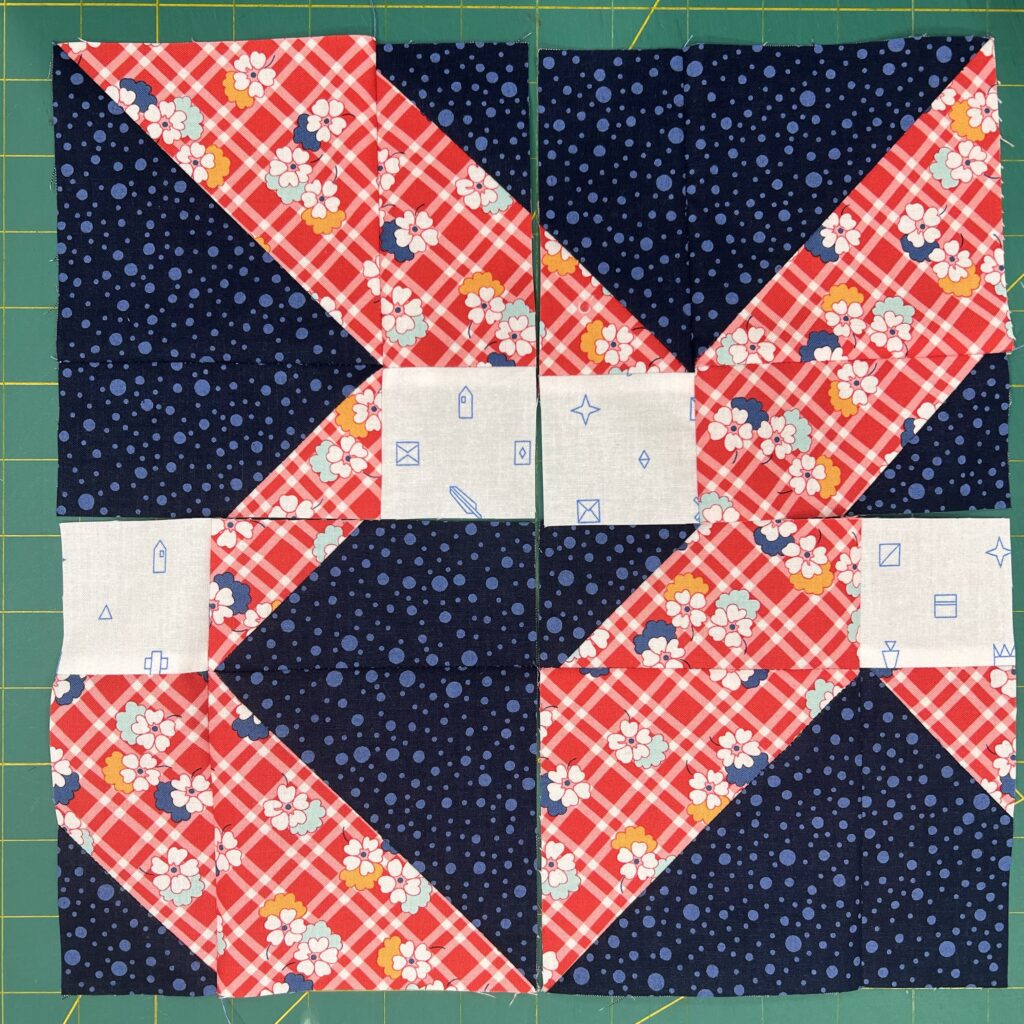
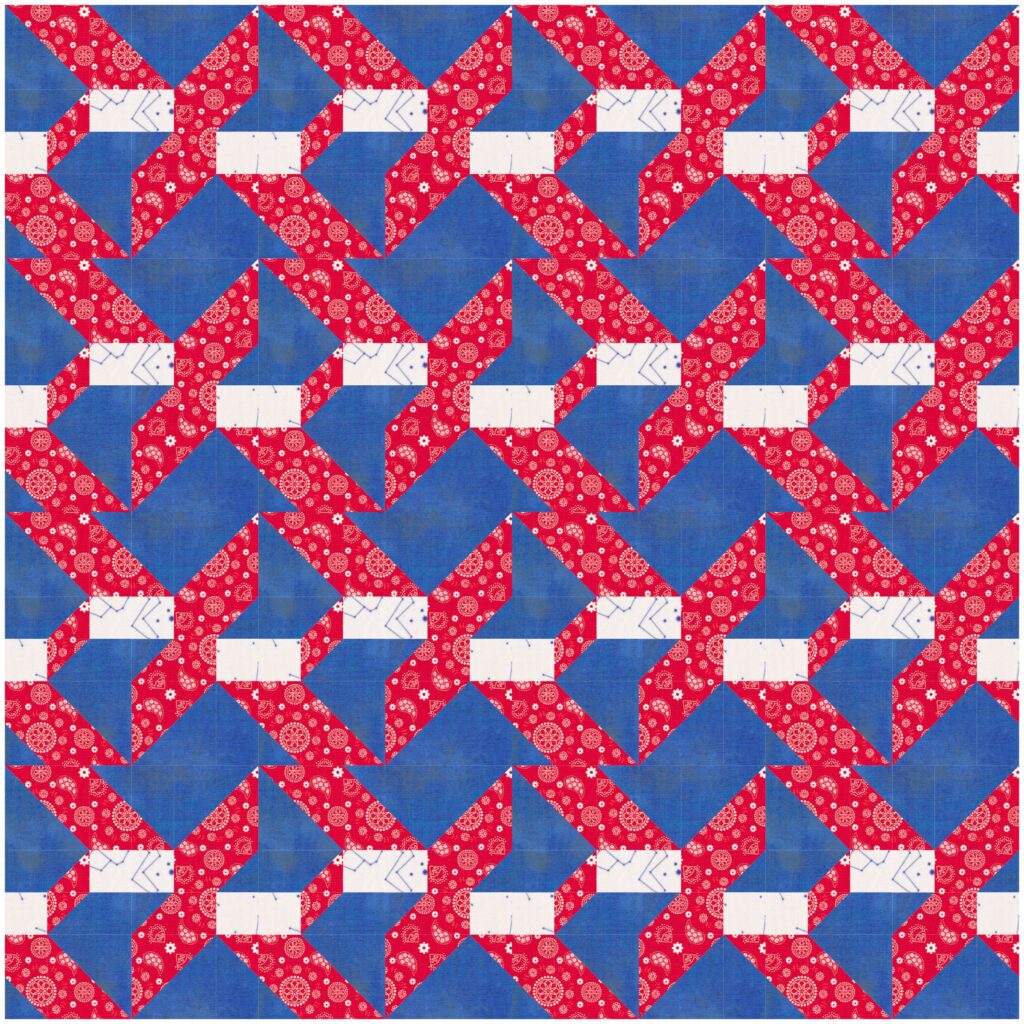
Interesting and it gives off a more modern vibe.
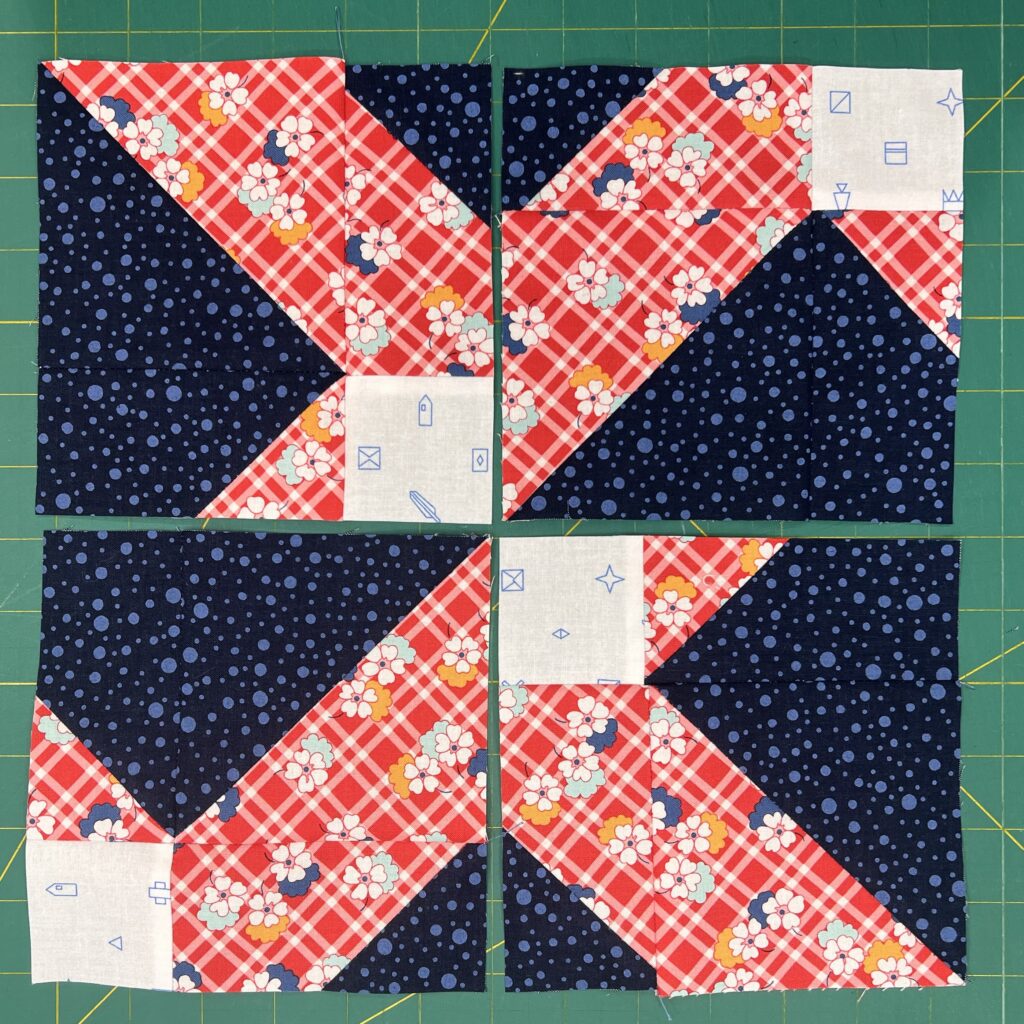
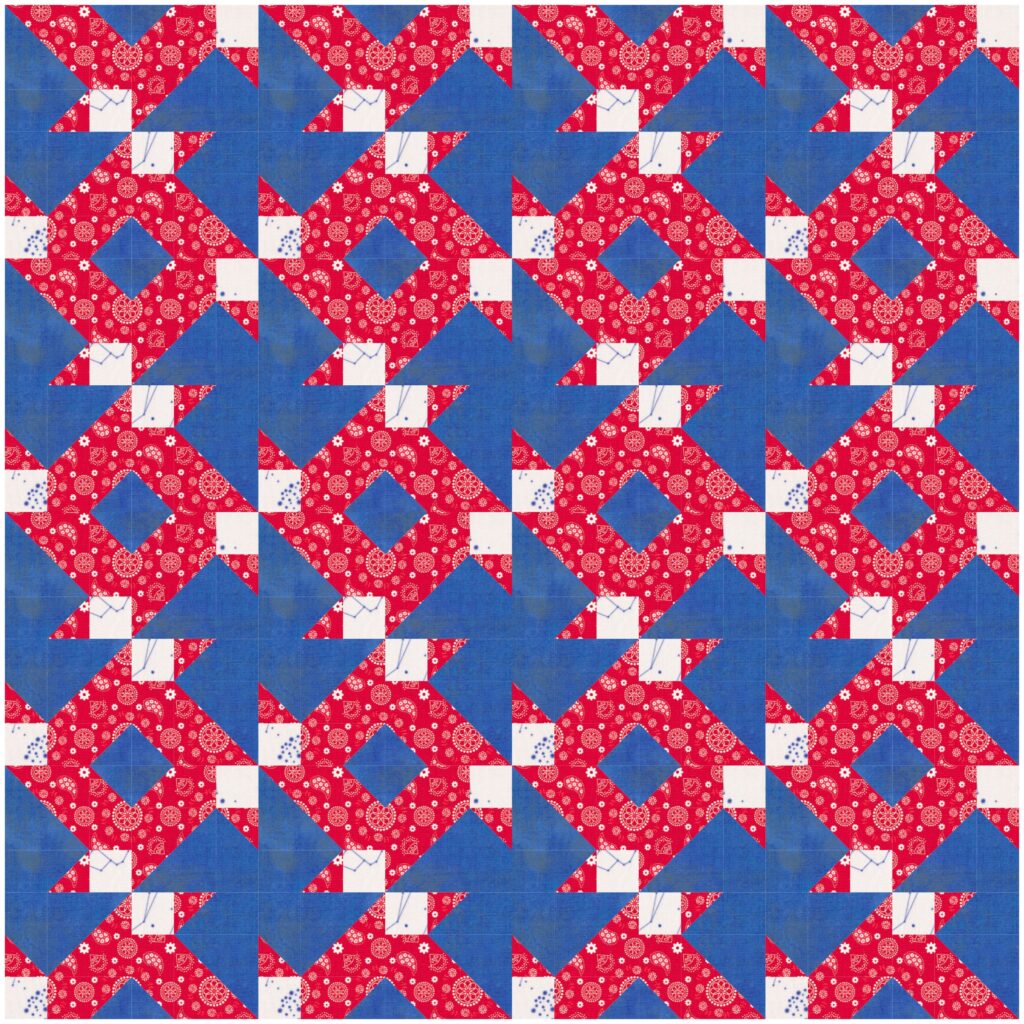
I like the secondary patterns that this layout produced.

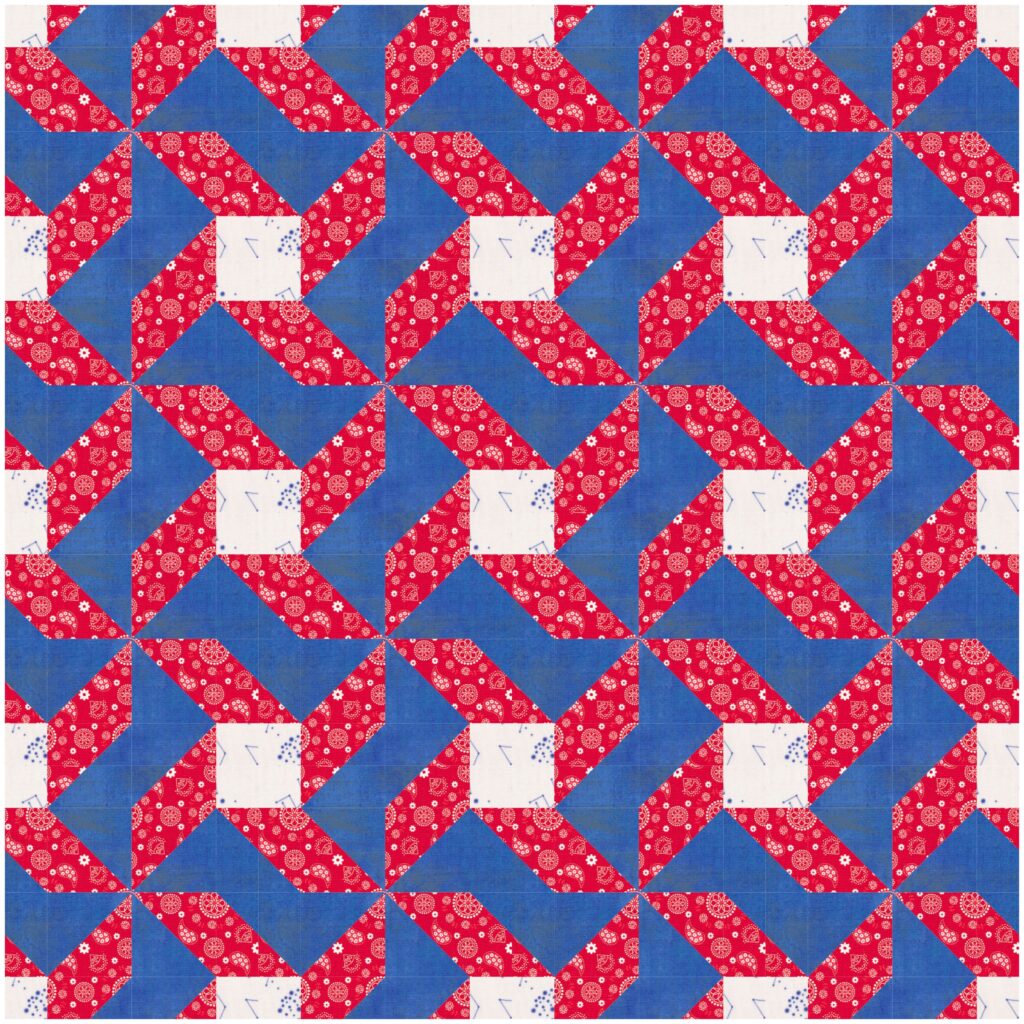
Looks almost identical to the friendship star, but it is slightly different in the placement of the squares.
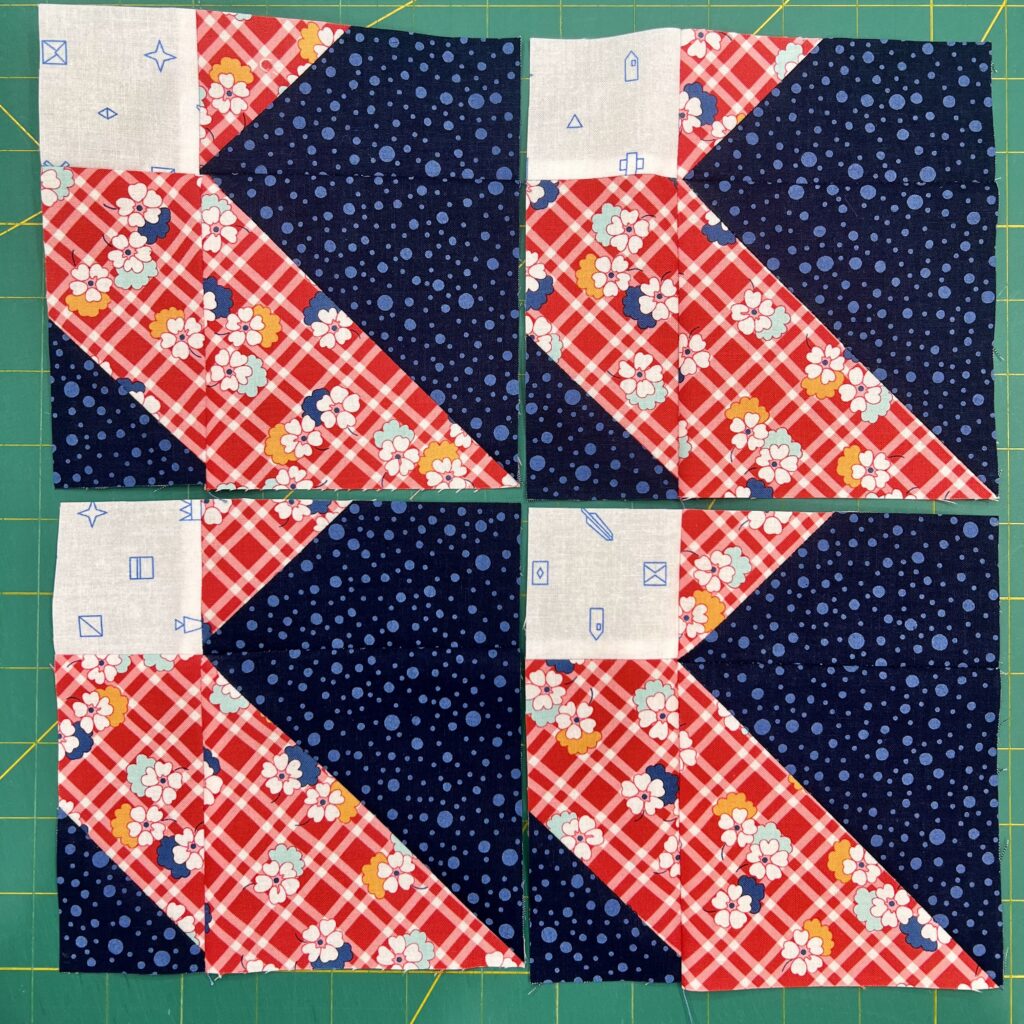
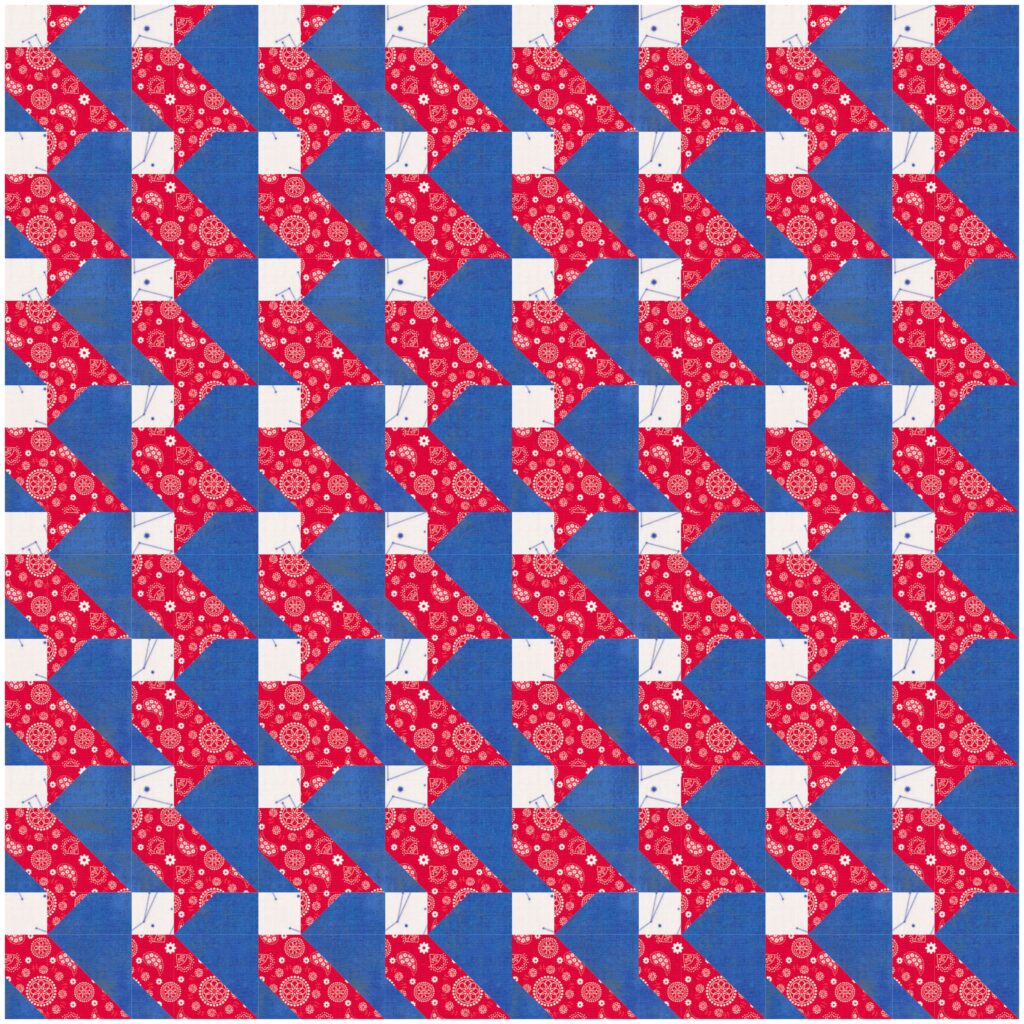
Definitely a more modern repetitive look and I liked this one.
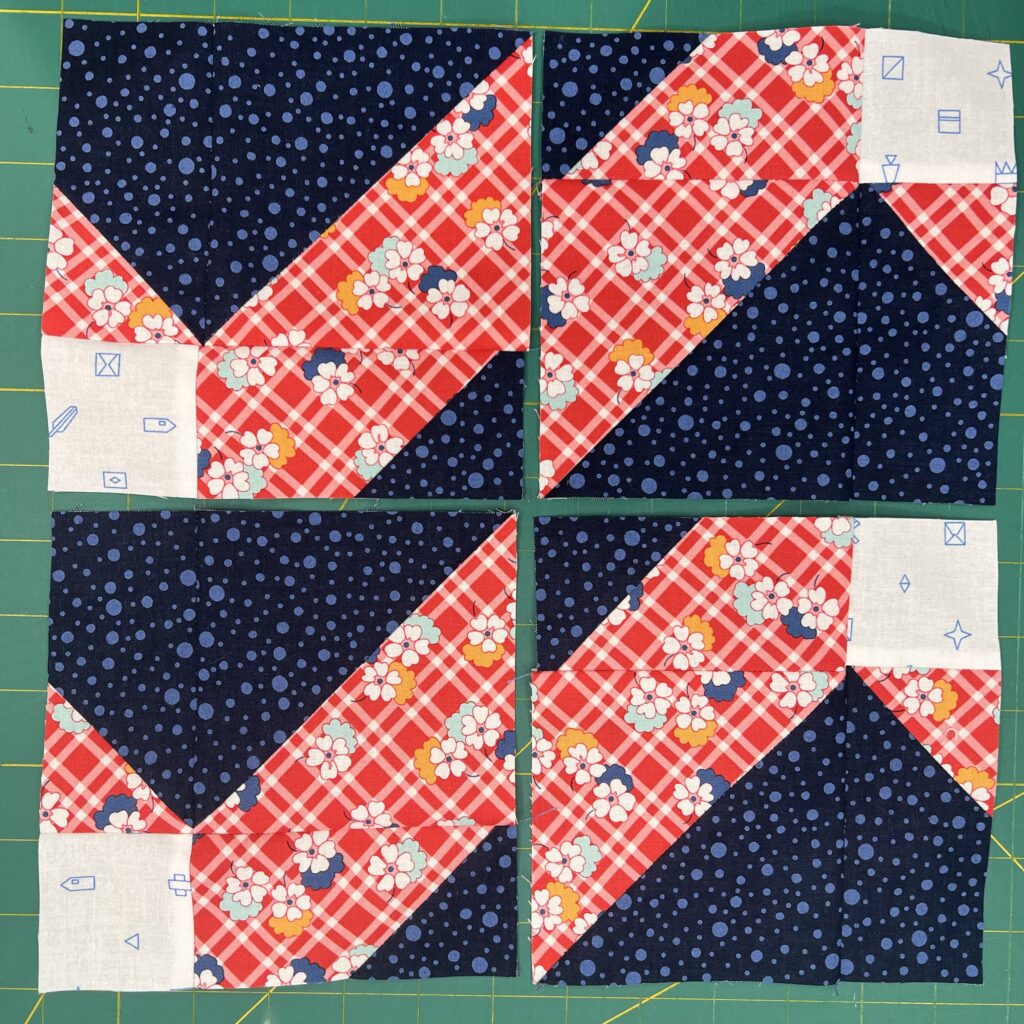
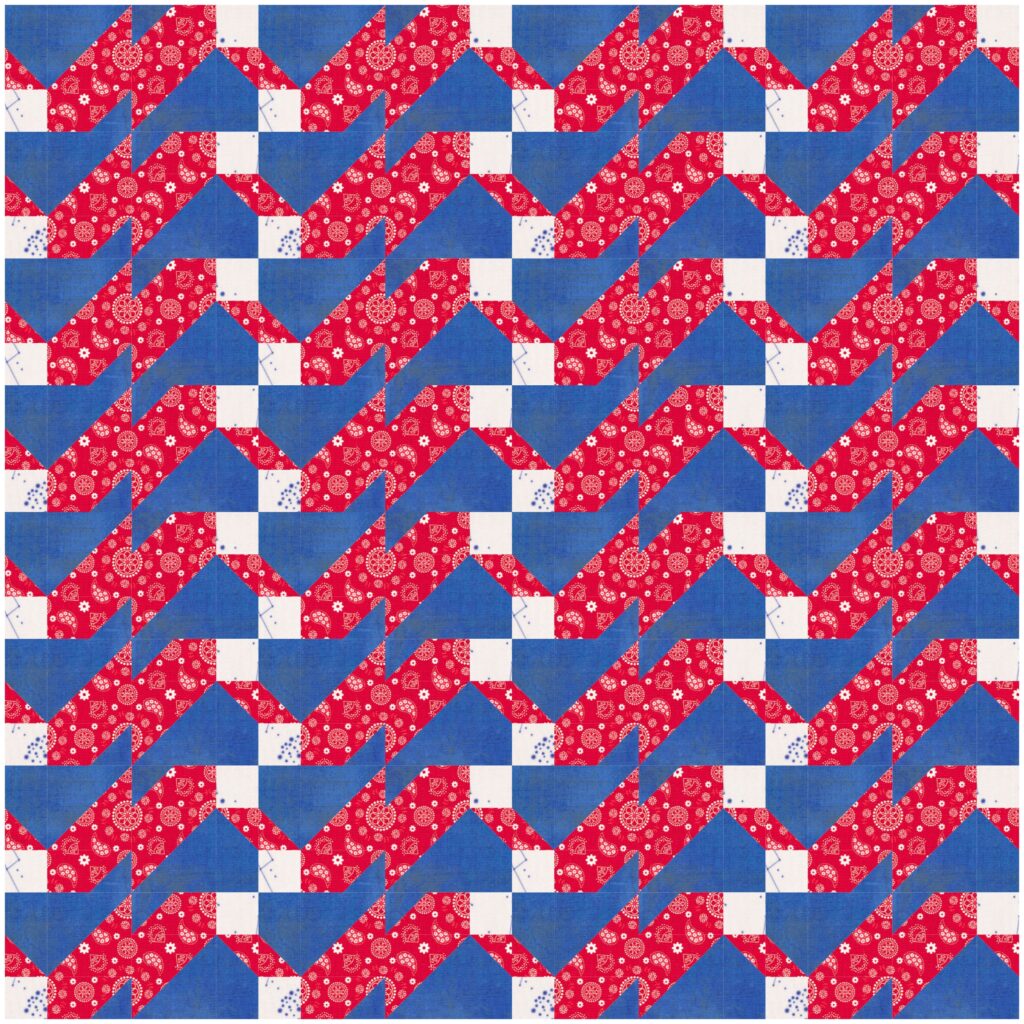
This one reminded me of lightning.
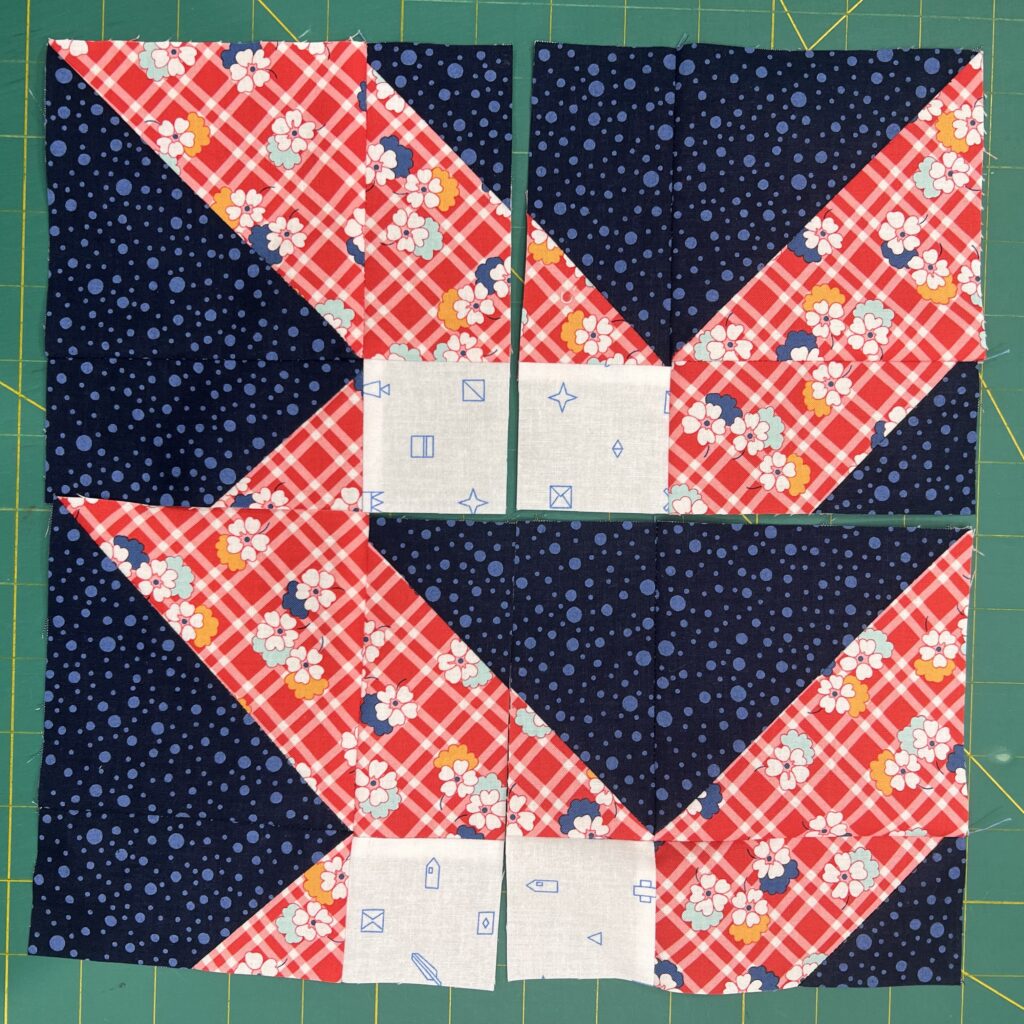
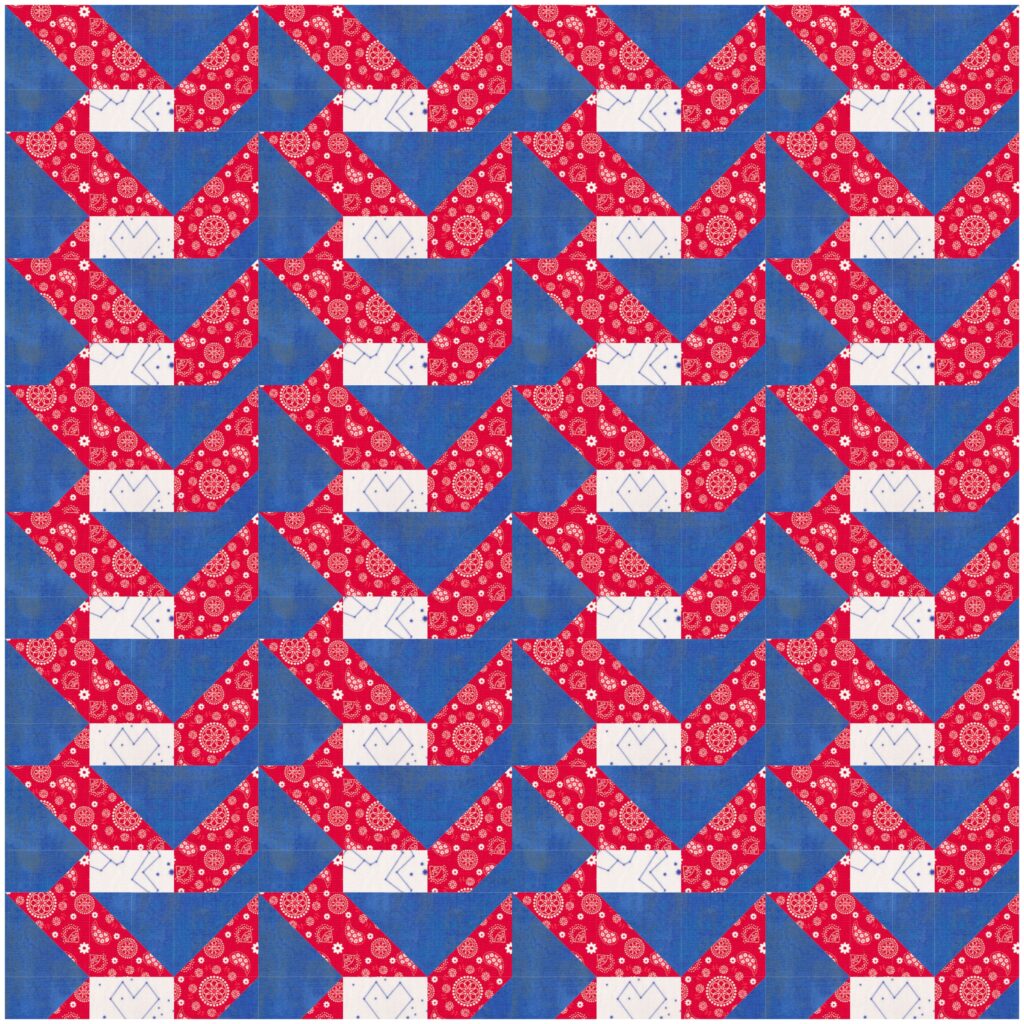
This one reminded me of birds. I’m not sure why. It was not my favorite of the bunch.
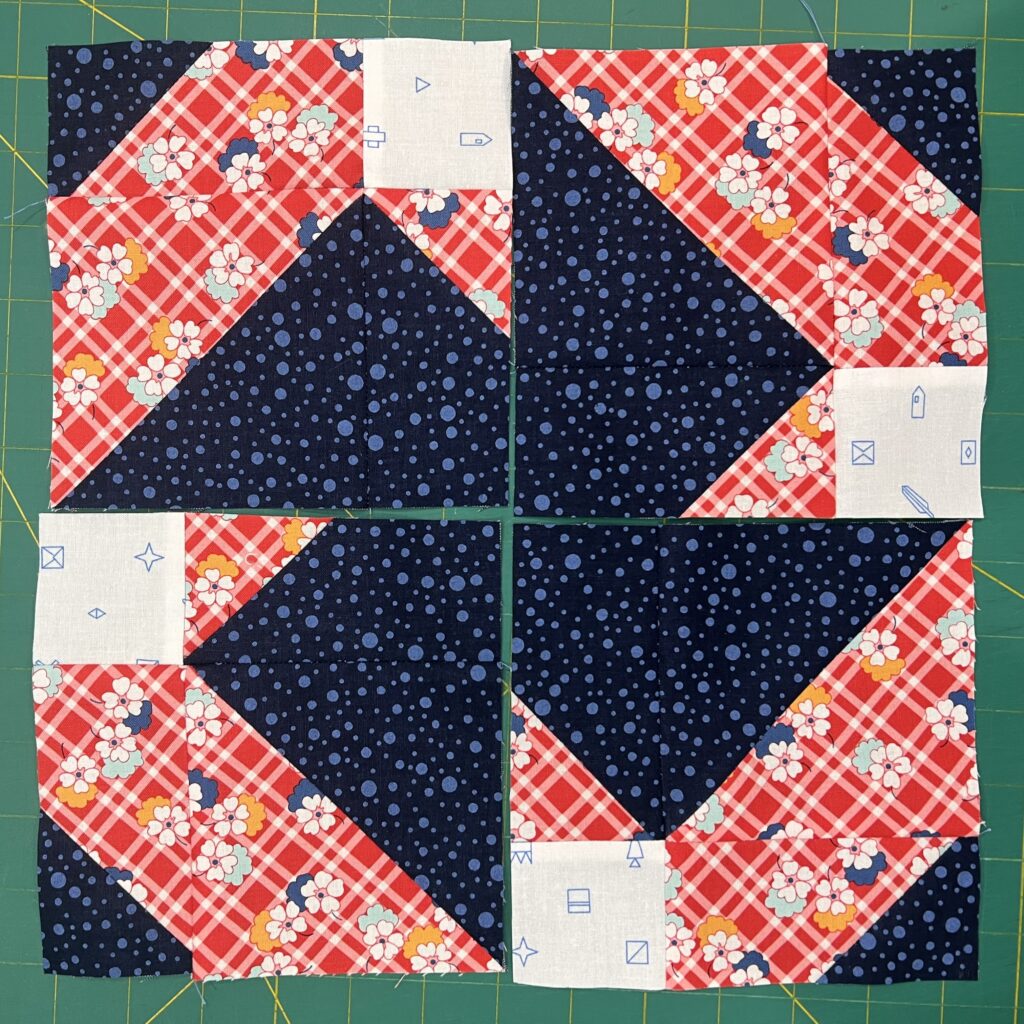
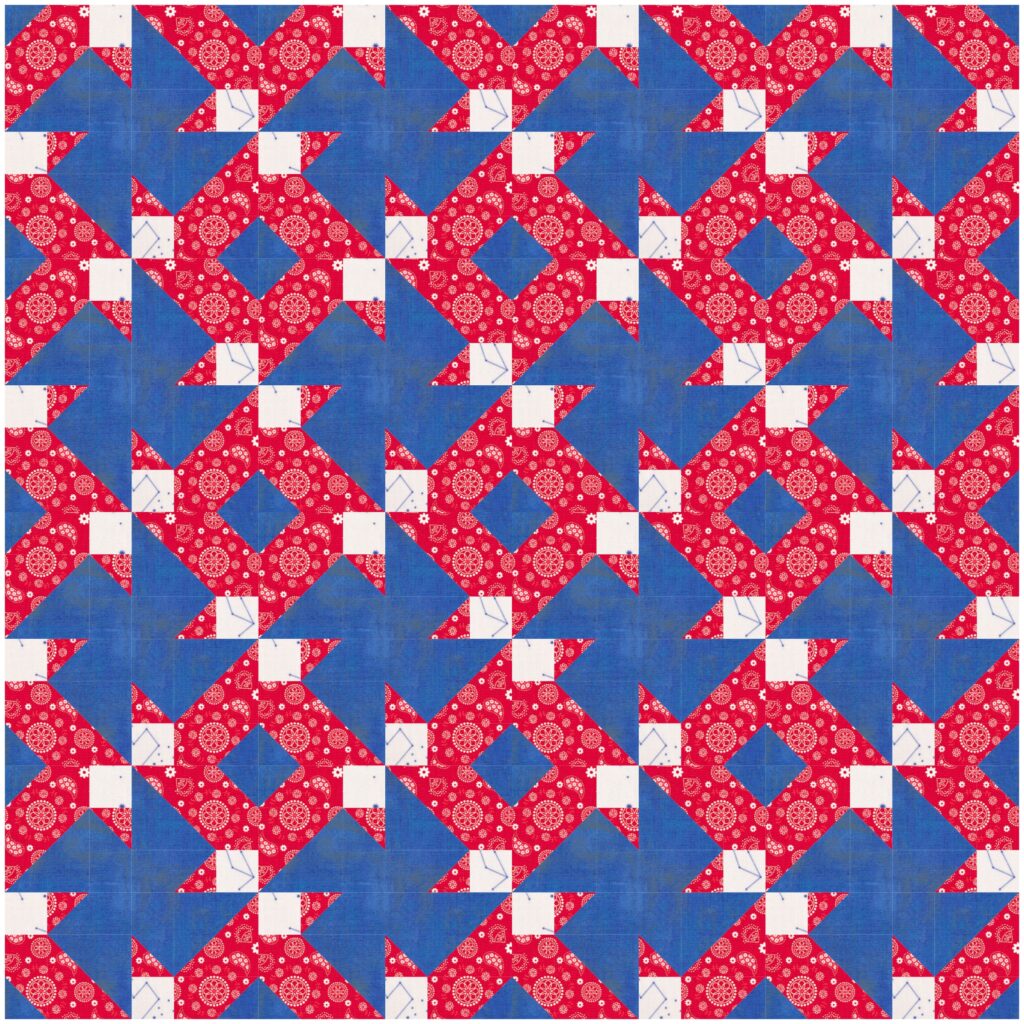
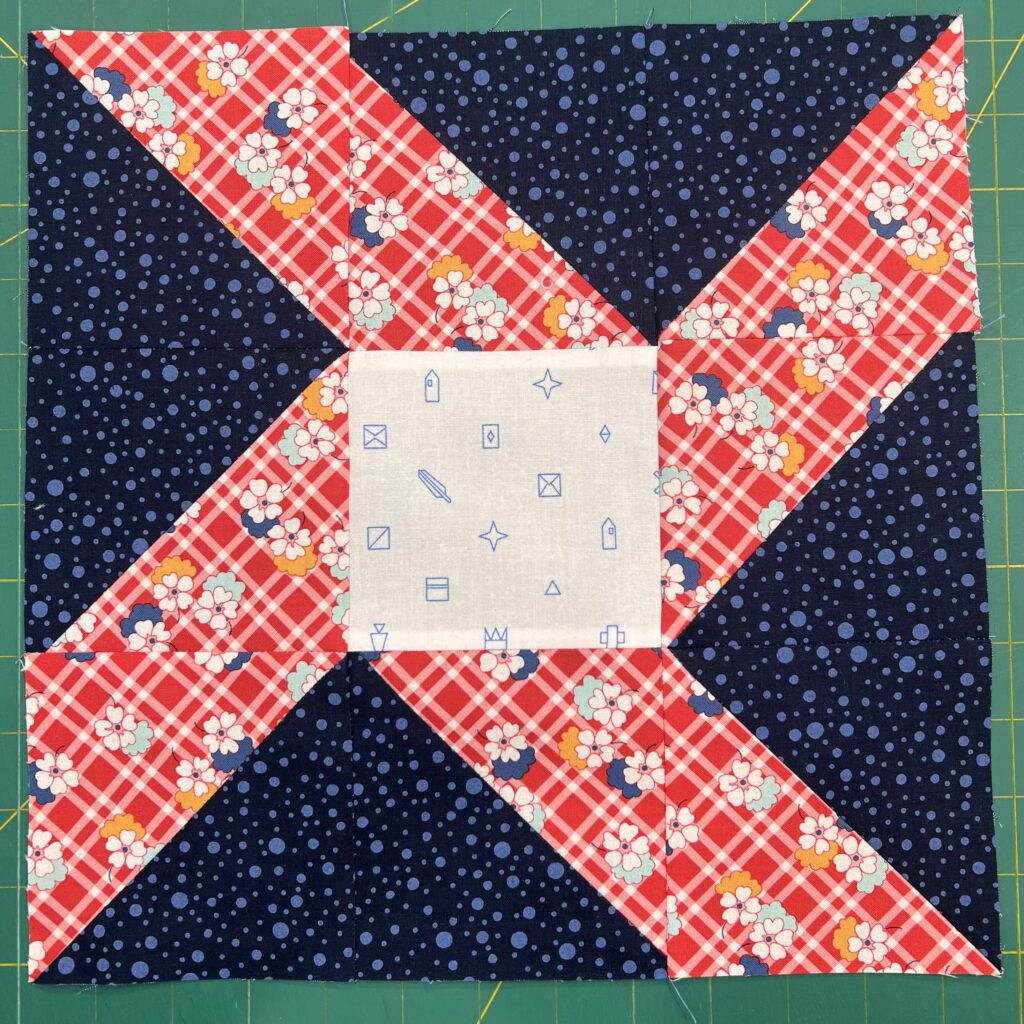
And the winner was this one! As soon as I laid it out I fell in love with it. I love that center star that it forms.
Once you decide on your layout, piece the quilt block together and it’s done. Once sewn together, it should measure 12″ unfinished (11 1/2″ in a quilt). Here are my two versions. I thought it would be fun to see what it looked like with stripes as one of the fabrics. I love it!
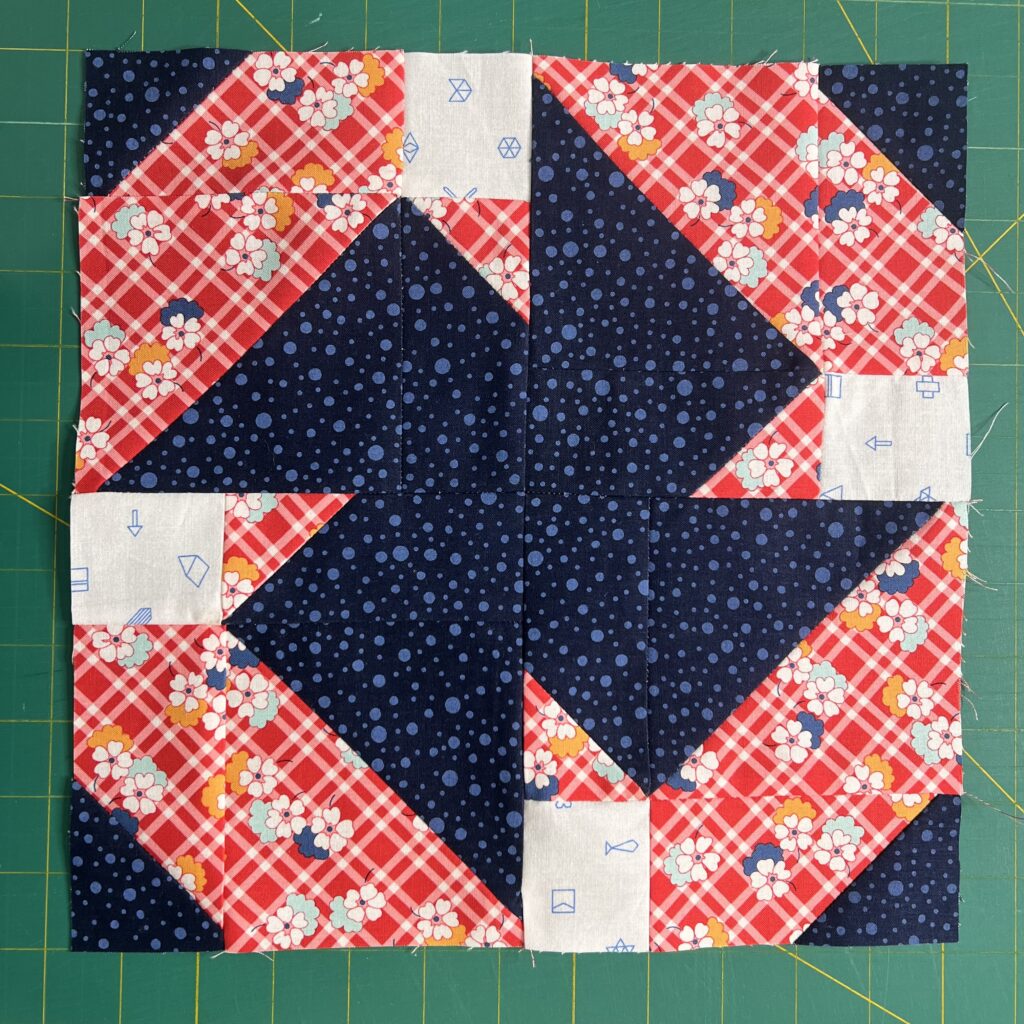
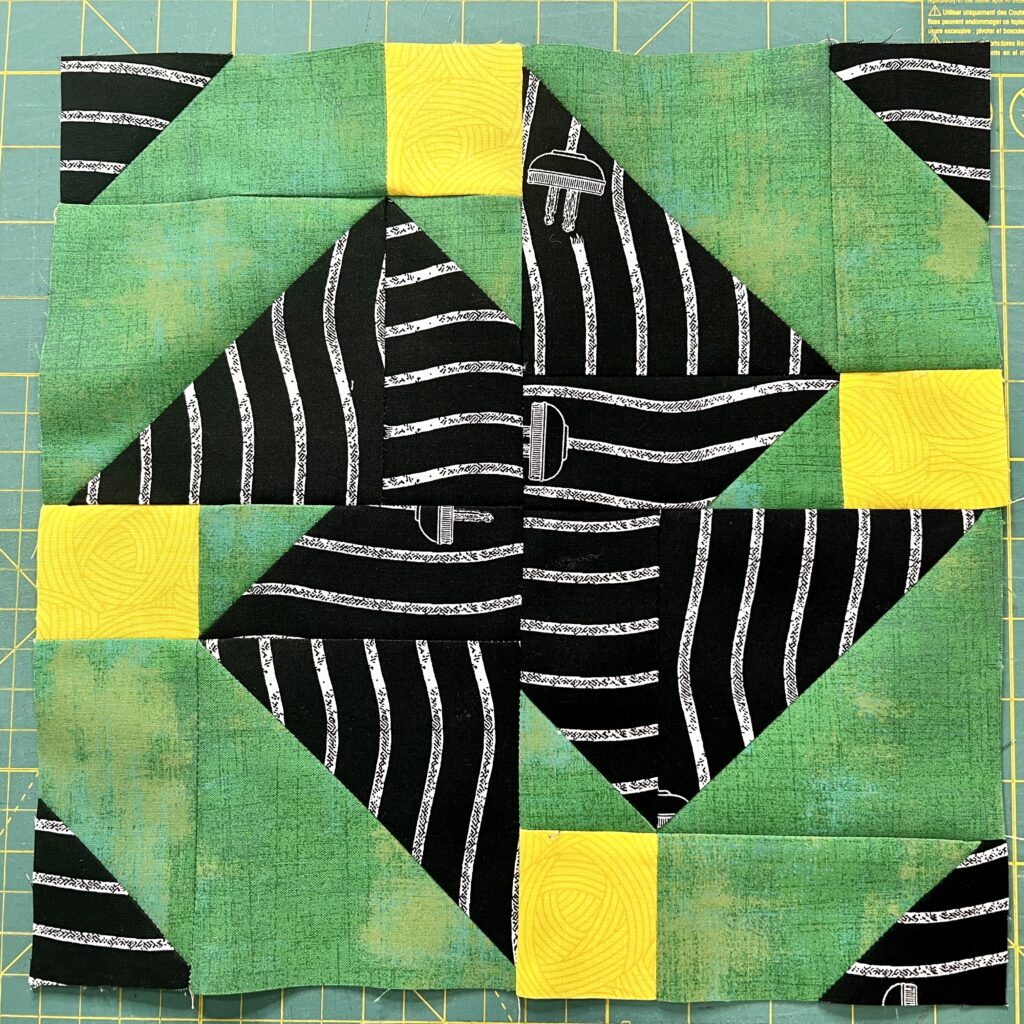
This disappearing eccentric star quilt block tutorial was so much fun to do that I decided to make a wall quilt out of this new block. I love the way it turned out and I can’t wait to quilt and bind it.
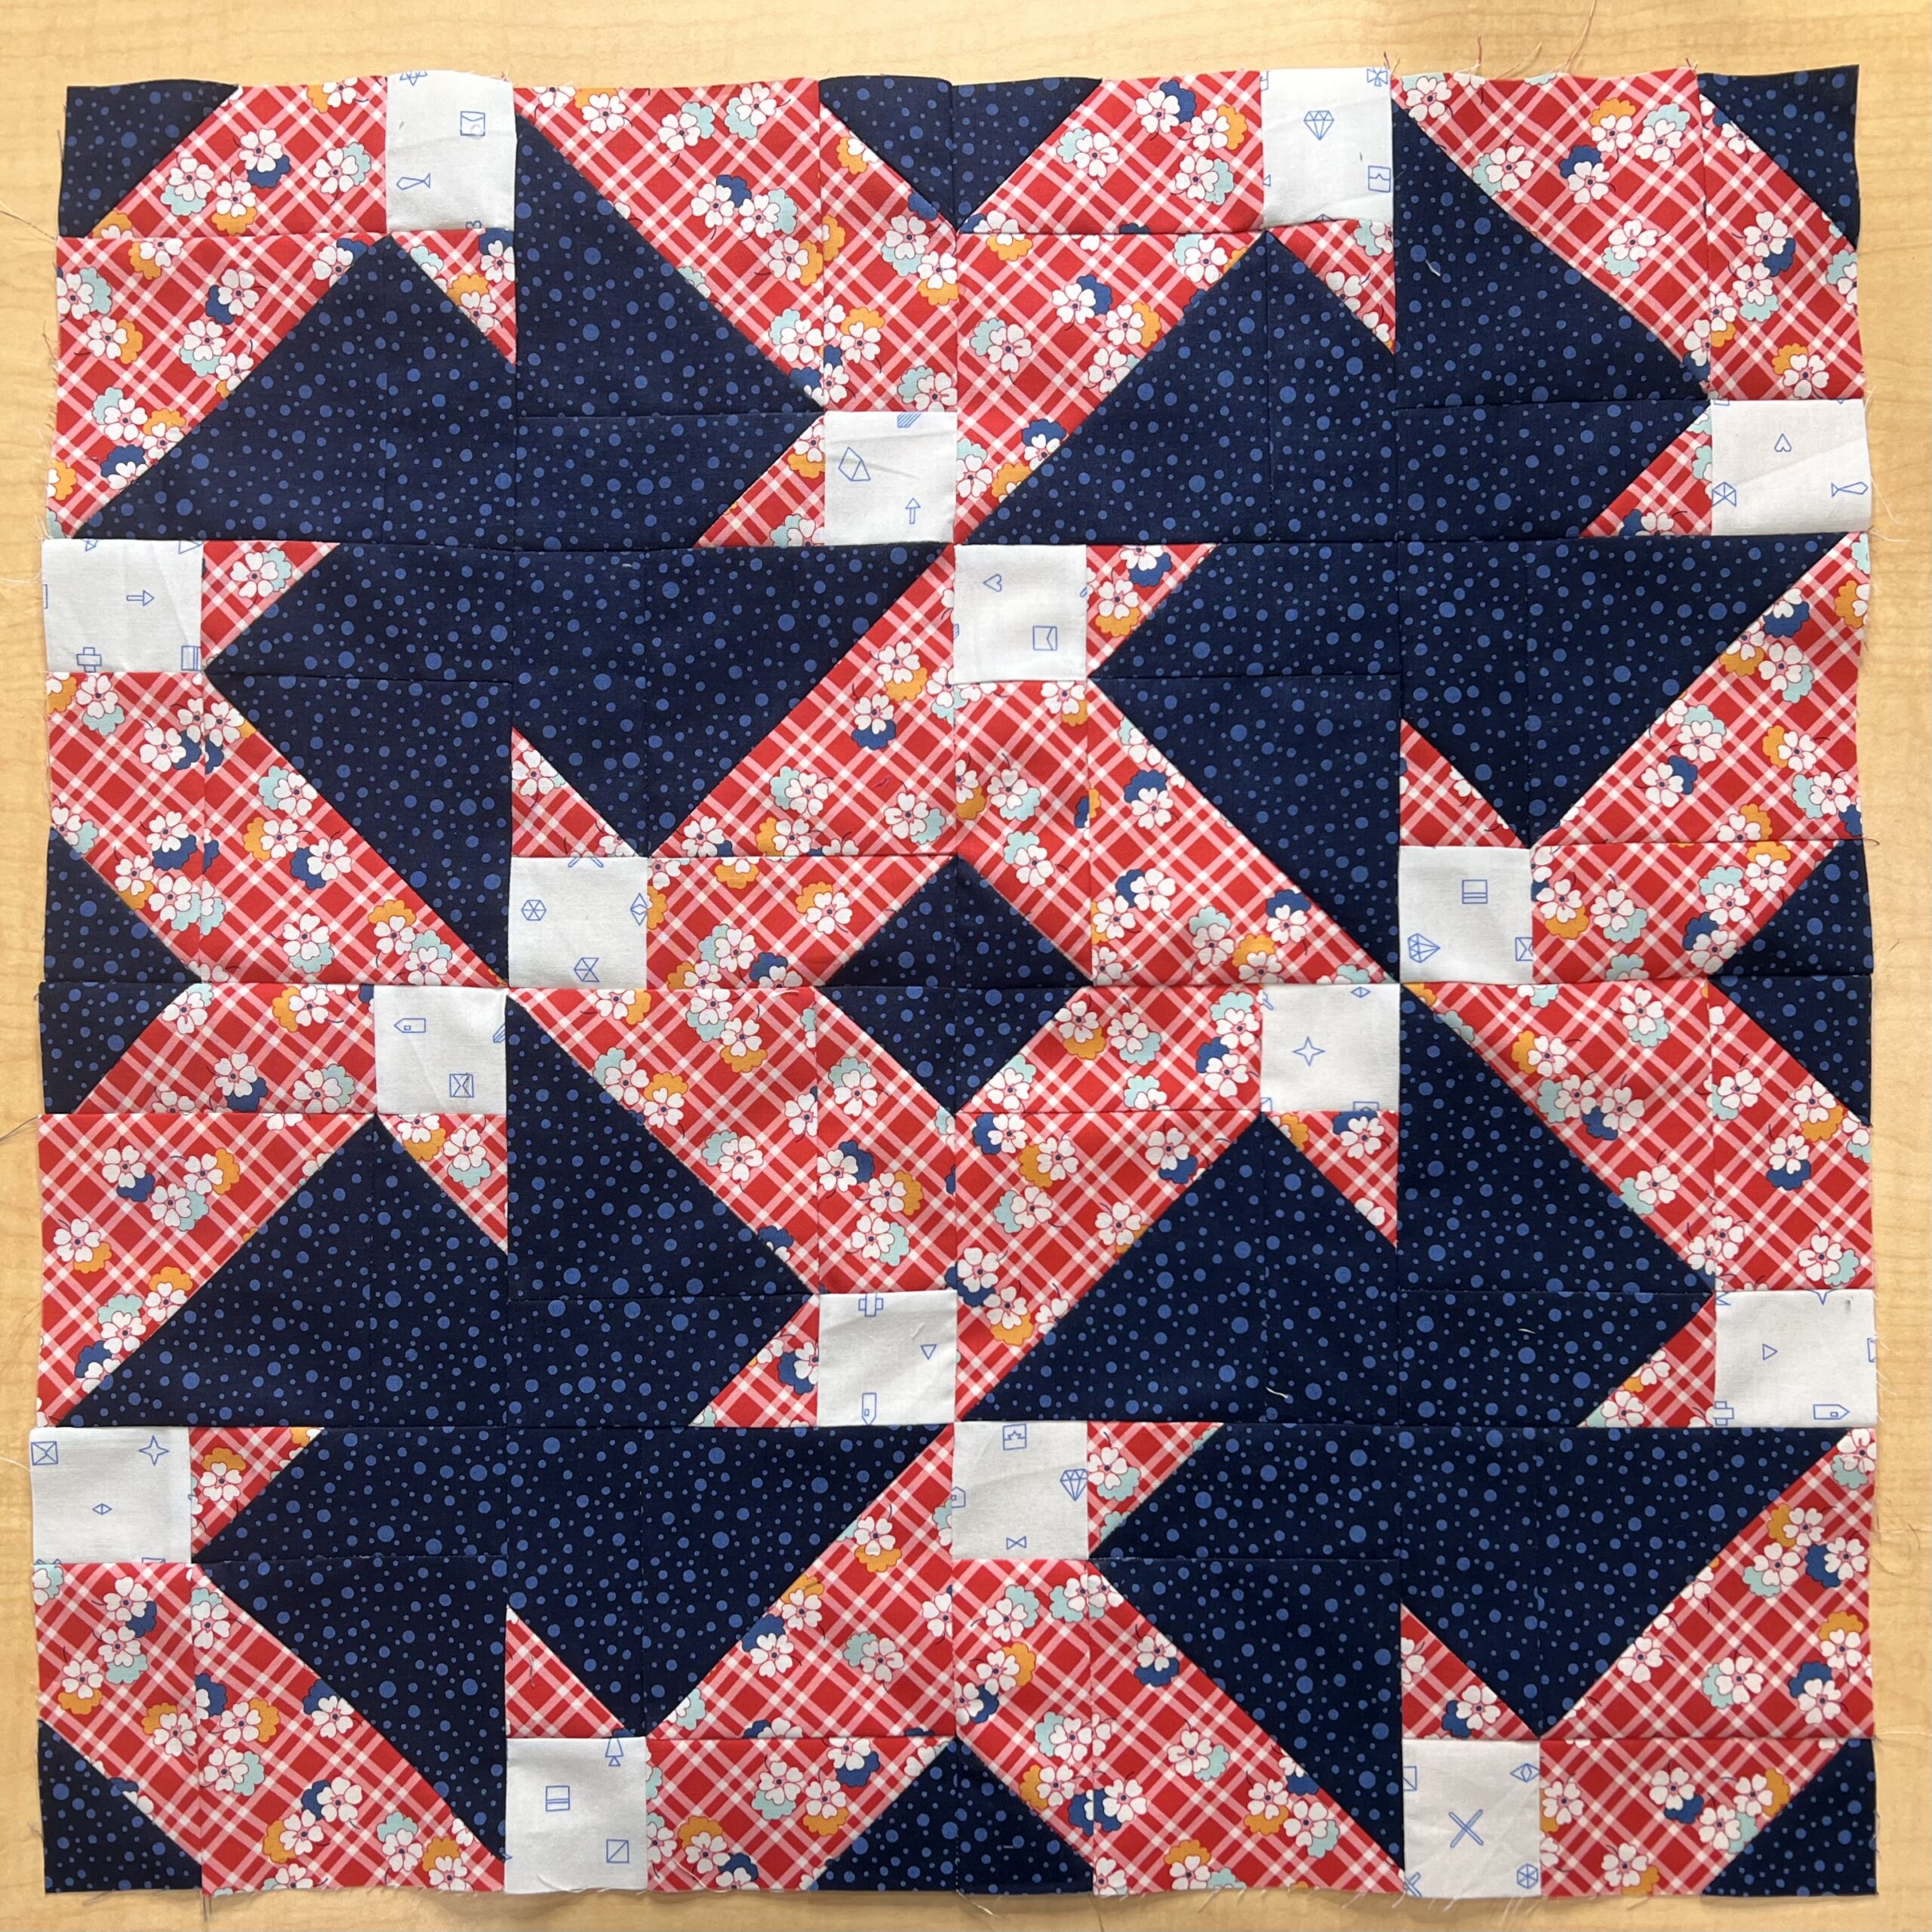
Happy Quilting! – Claudia
Another disappearing Quilt Block
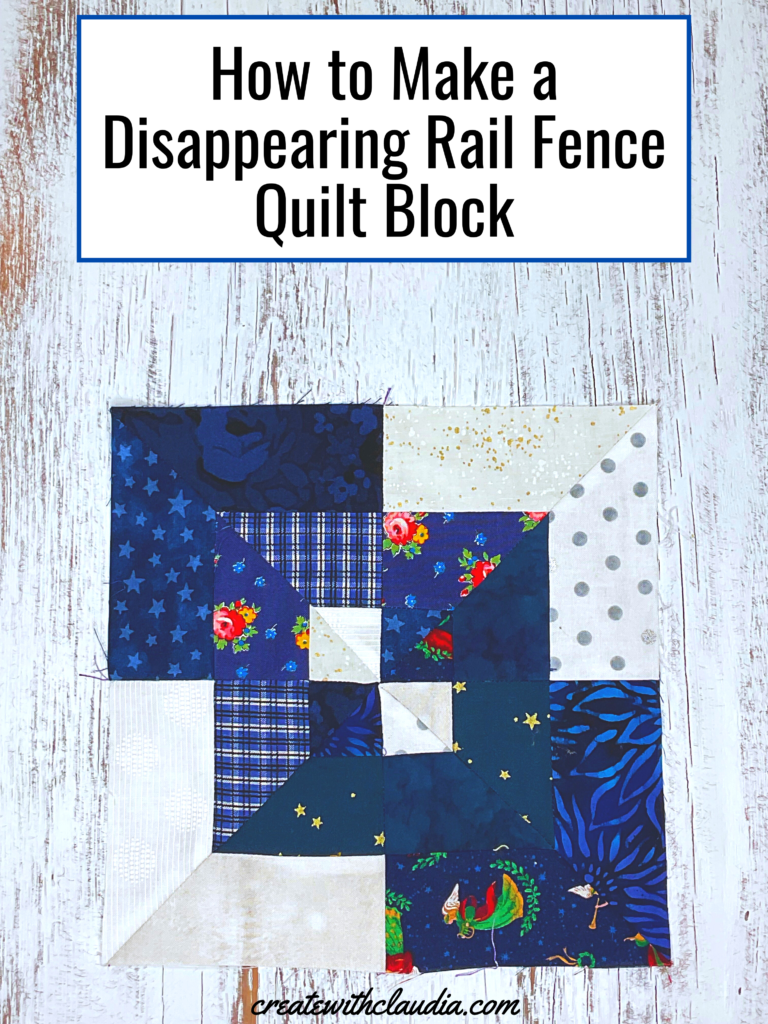
This is a great quilt block for scraps!

