
How to Bind a Quilt with the Quilt Back
Sometimes you just want to get a quilt done and you don’t feel like cutting those 2 1/2″ strips for the binding. This is the ideal solution for you. Follow along with me as I show you how to bind a quilt the quilt backing.
Using the backing as binding is easy to do. However there are a couple of things to keep in mind. Personally I only do it on my smaller wall quilts and mini quilts. I find it trickier on larger quilts. Not only that, but I really like finishing my binding by hand.
You will also want to have a lot of clips or pins on hand. Lastly, you will want to remember that your backing will be shown on the front because it will also be the binding. Make sure you like how it looks.
You can watch the process in my video below or follow all of the steps in this article.
Watch the Process in My Video Tutorial
What You’ll Need
You don’t need any special supplies for this process. The quilt backing, top and some batting are perfect. I will say that I love to use Hobbs Premium Fusible batting for this method. It makes it really easy to quilt.
Some of these items, along with my favorite tools can be found in my Amazon store.
As an Amazon Affiliate I Earn From Qualifying Purchases
Step 1
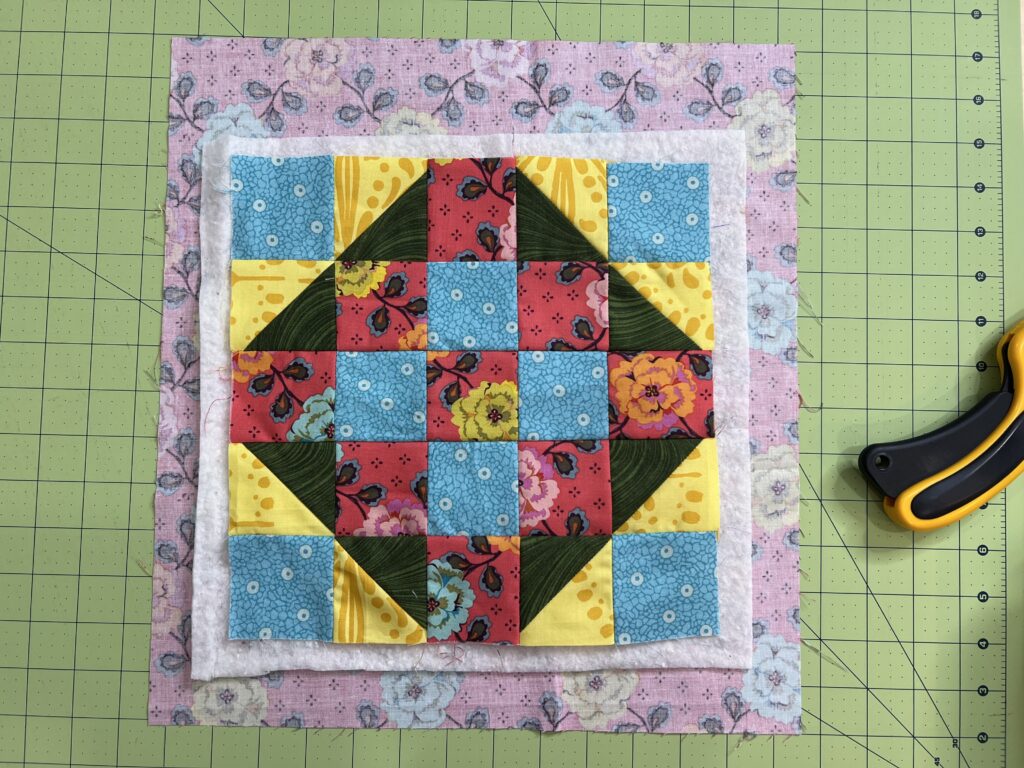
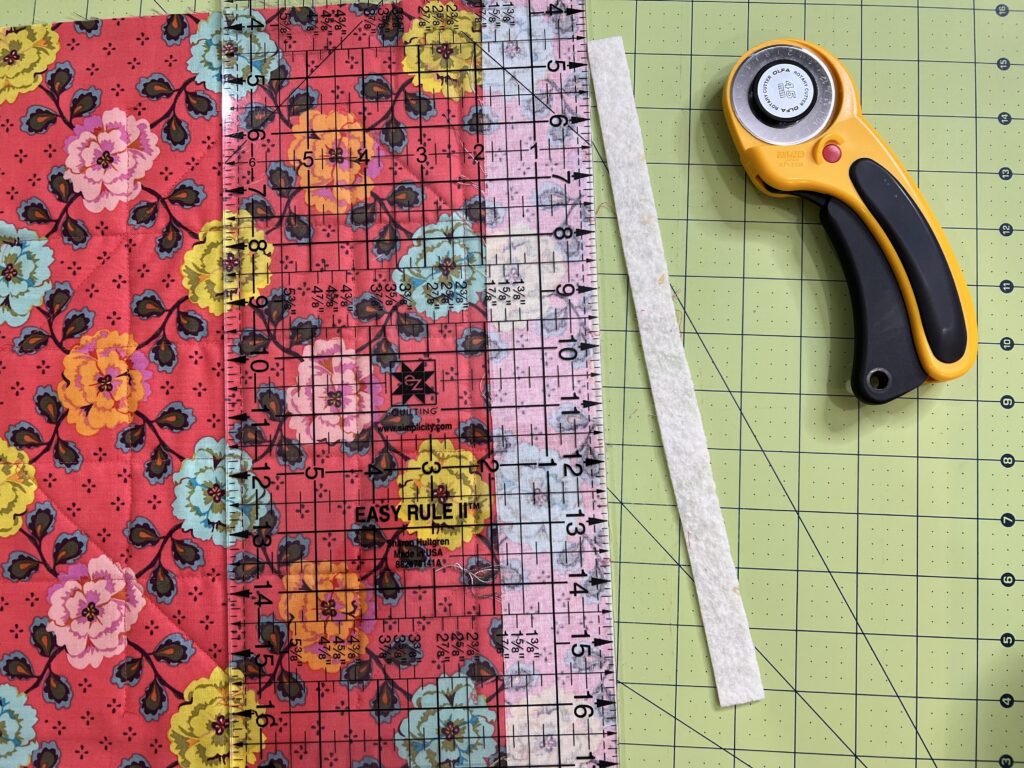
For this method you will want your backing at least 1 1/2″ to 2″ larger on all four sides.
Lay your backing, wrong side facing up, on a flat surface. Center your batting on top and then center your quilt top on the top.
Quilt as desired.

I like to quilt all the way to the edge of the quilt.
Step 2
Trim away the batting. There are two ways to do this.
The first one is kind of risky and not my favorite way because it is really easy to cut through the backing.
Flip the quilt over and fold the backing back to where the stitches end. It should line up with the edge of your quilt top and backing. Very carefully cut the batting only away, making sure that none of the backing fabric gets cut.
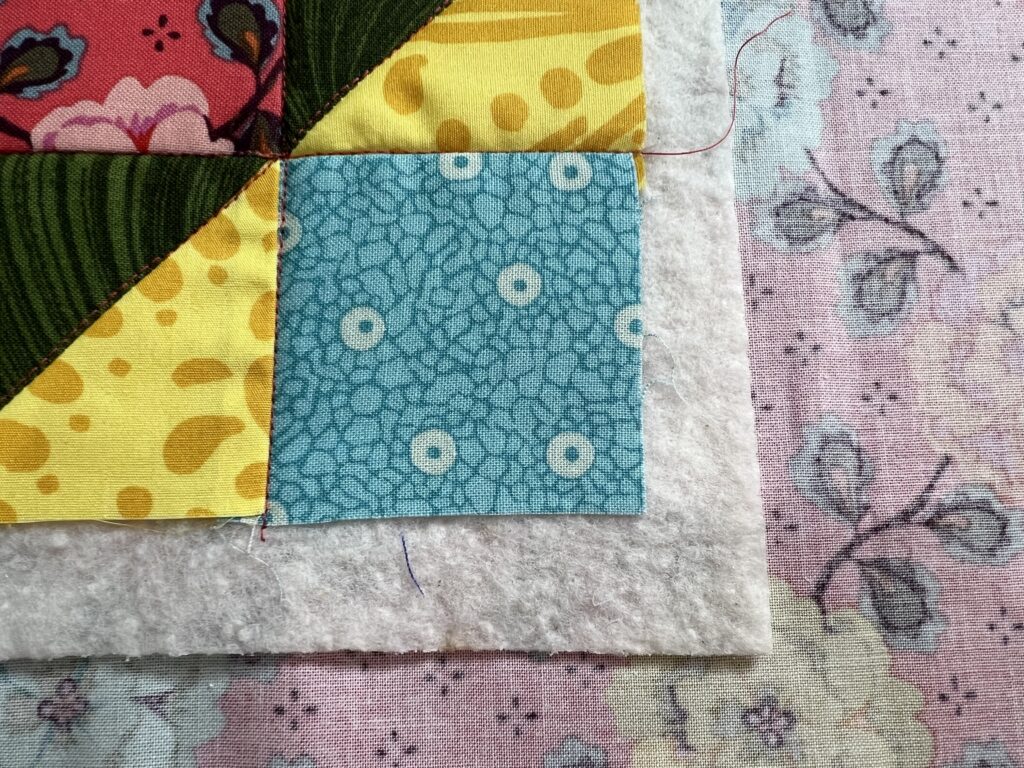
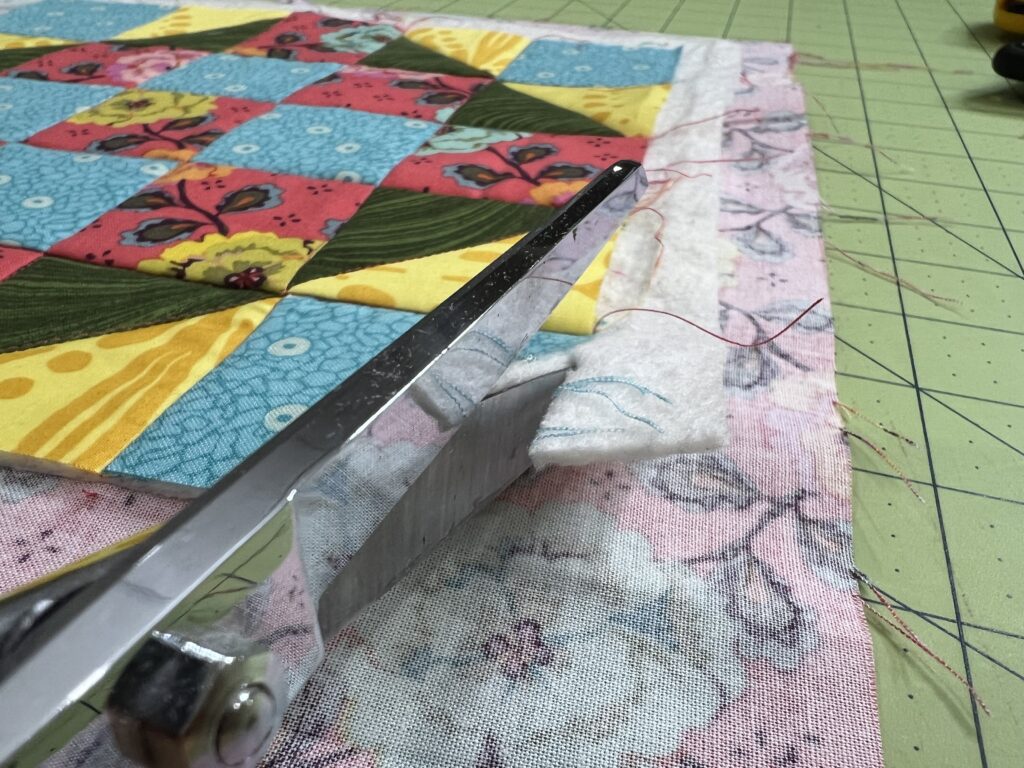
The second method is the one I like to do. Take a good pair of scissors and slide it between the backing fabric and the batting. Then cut the batting away, using the edge of the quilt top as your guide.
Remove the batting from all four sides.

Then there is even more trimming.
Step 3
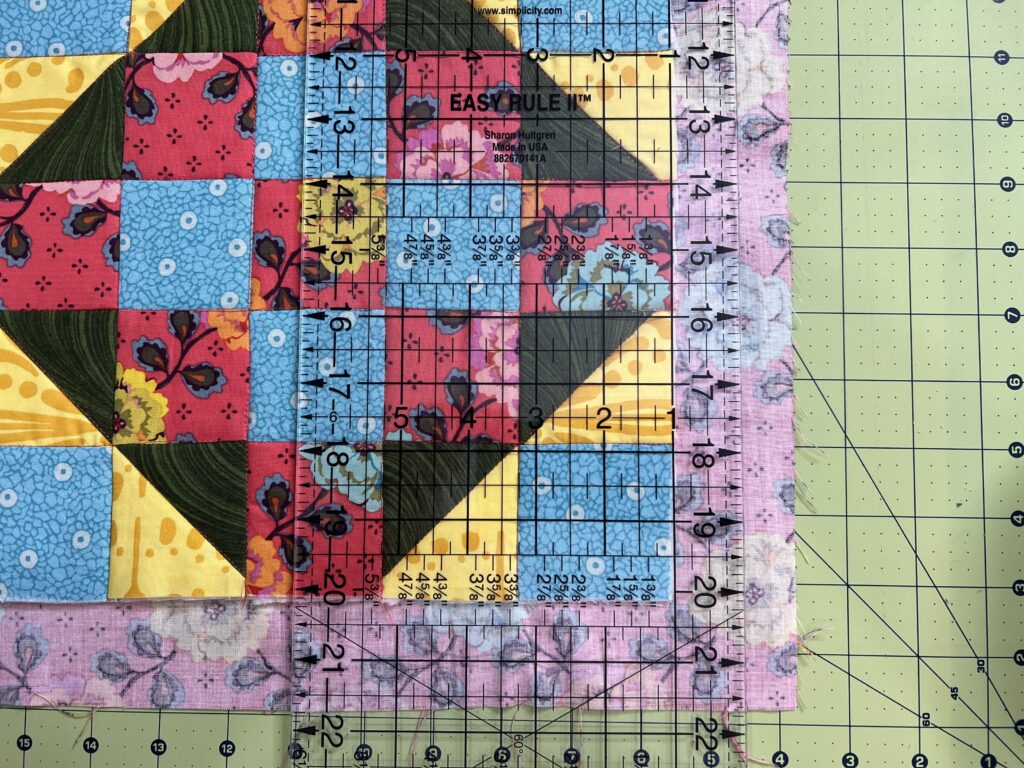
Trim the backing fabric so that you have a 1″ border around the entire quilt.
Step 4
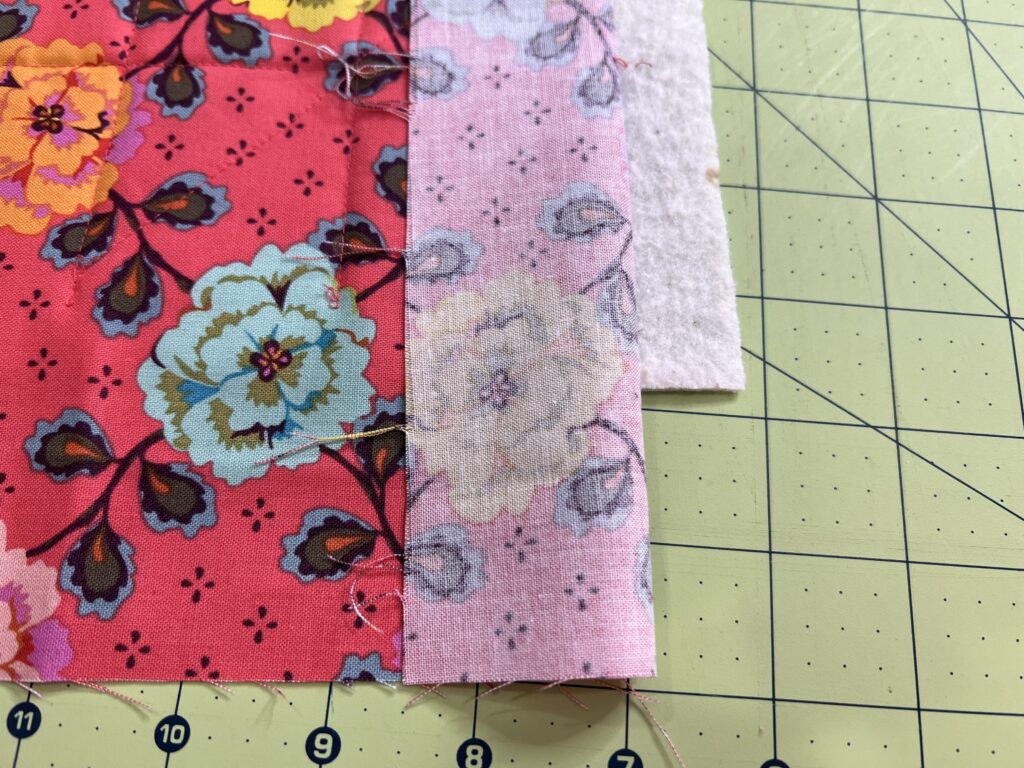
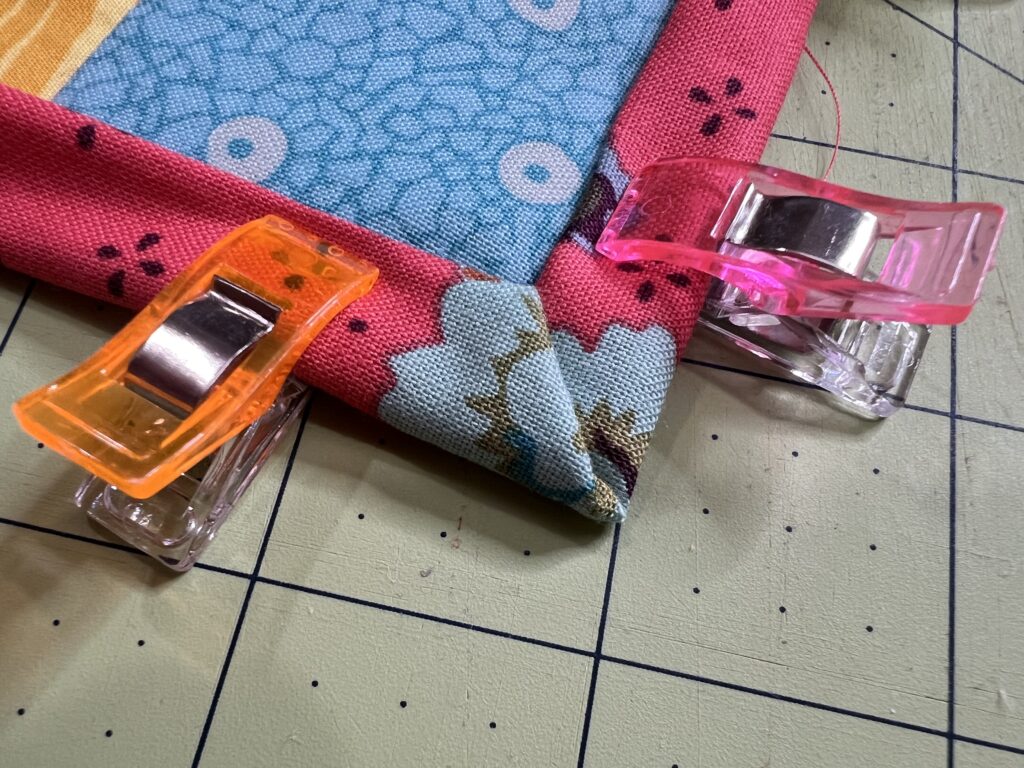
First, fold the edge of the backing to the edge of the quilt top. Then fold again over the top and clip or pin.

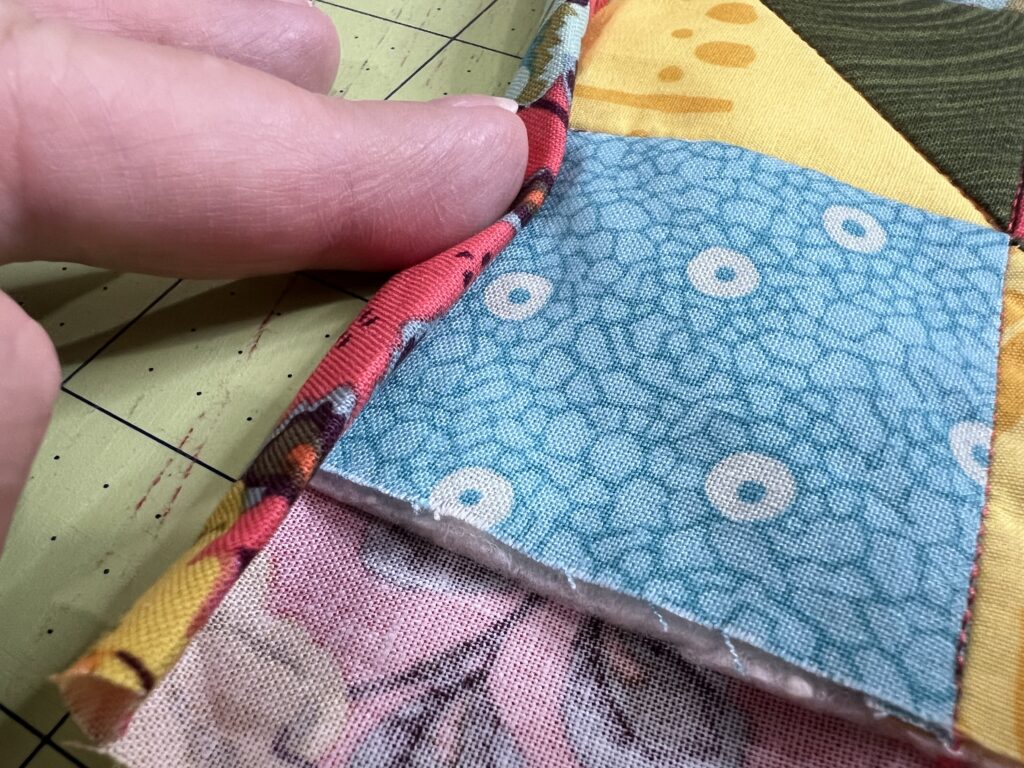
Use plenty of clips to make sure the binding doesn’t slip.

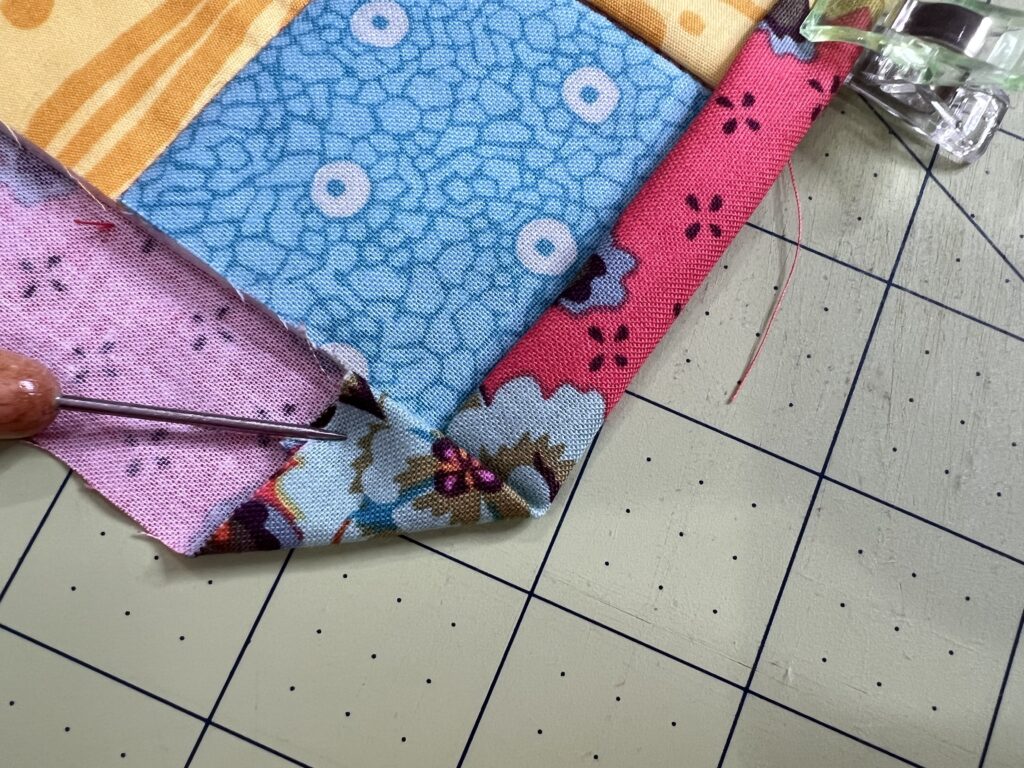
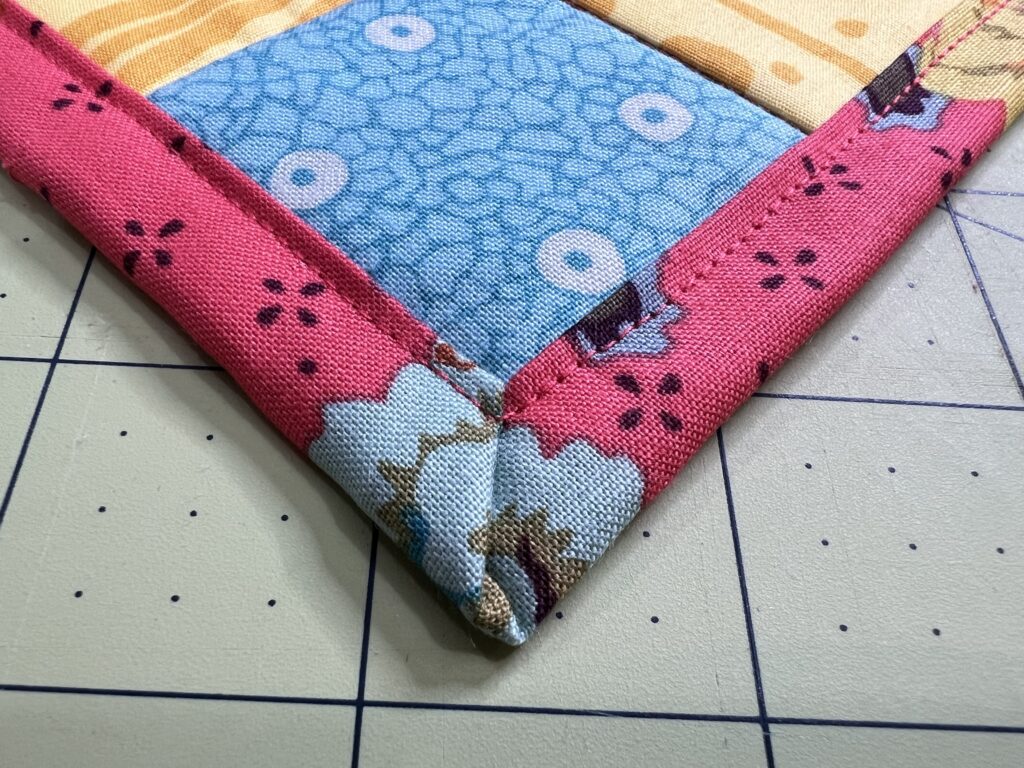
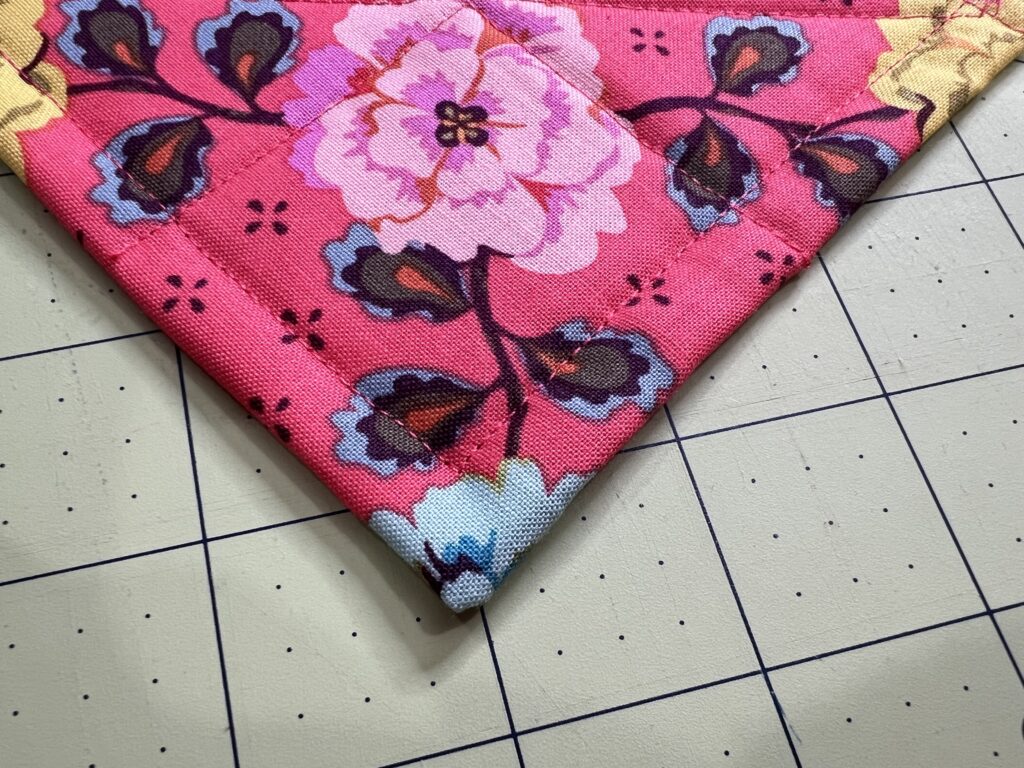
Make the mitered corners by folding over the corner of the fabric in a 45 degree angle. Fold the backing over the edge of the quilt and then fold over the quilt. Clip or pin in place.
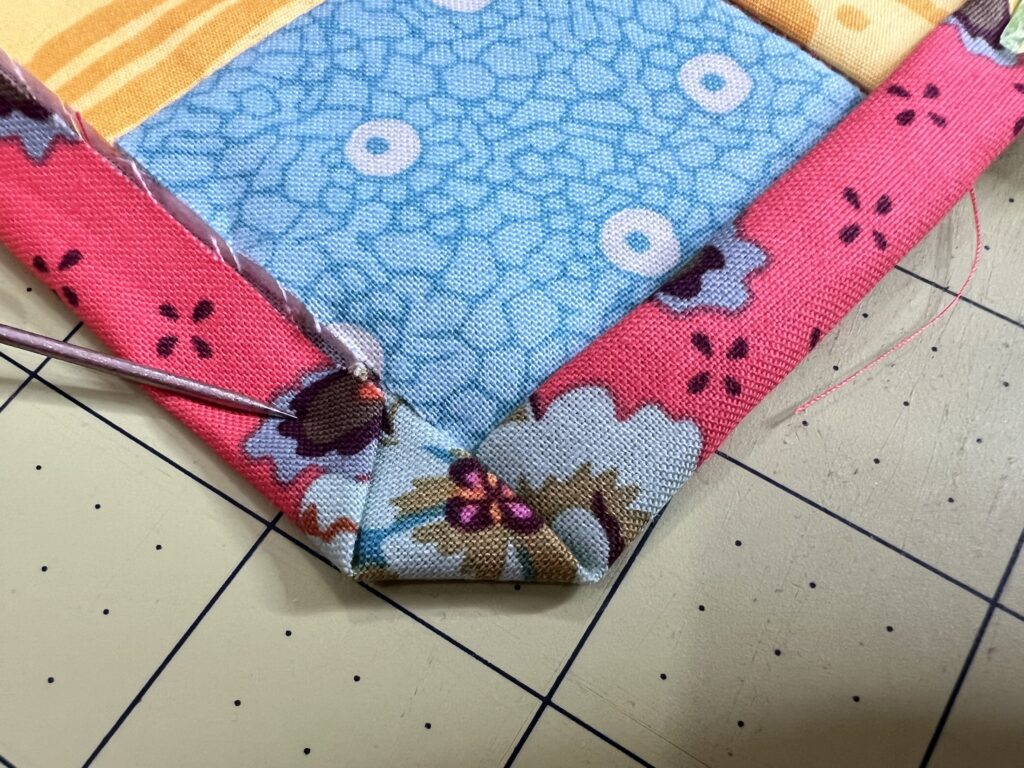
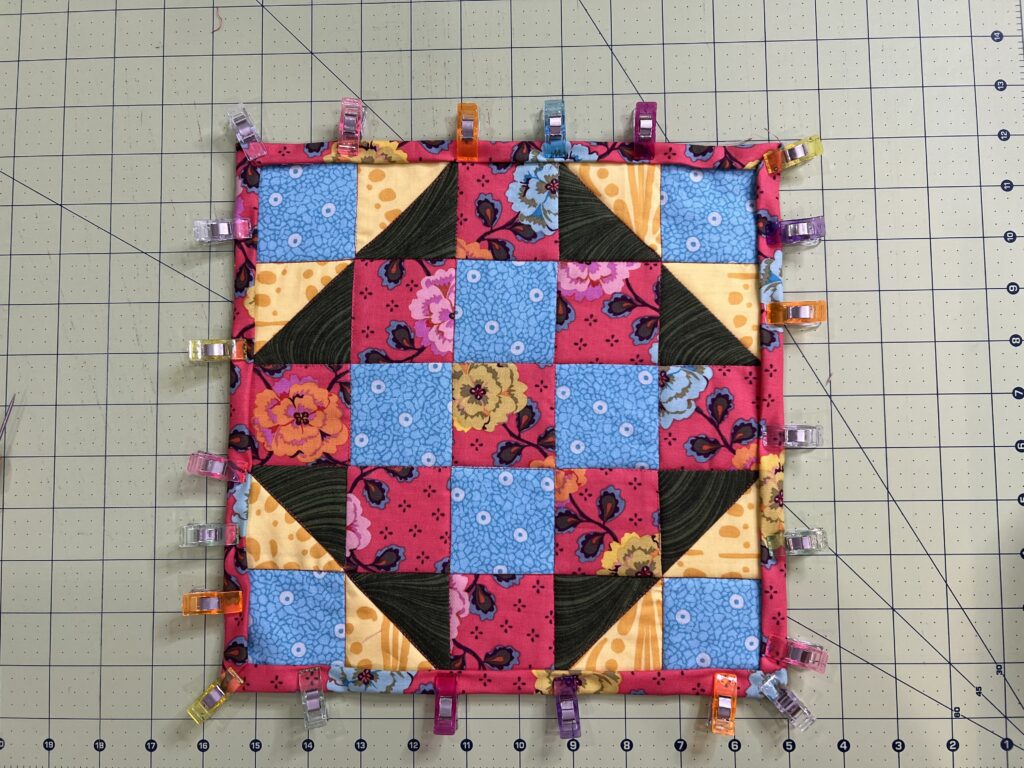
Finish folding around the entire quilt.
Step 5
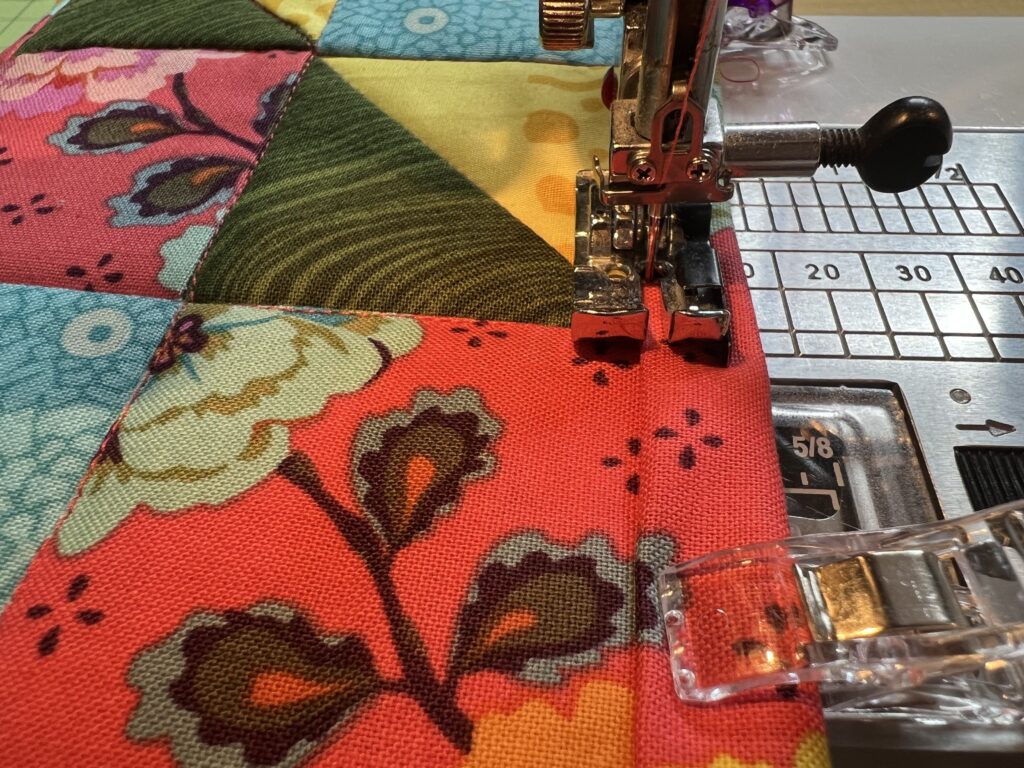
Sew the binding down. Using about an 1/8″ seam allowance (measured from the inside edge), sew around the entire quilt.
This is also a good place to show off your favorite quilting stitches if you want to jazz up your project a bit.
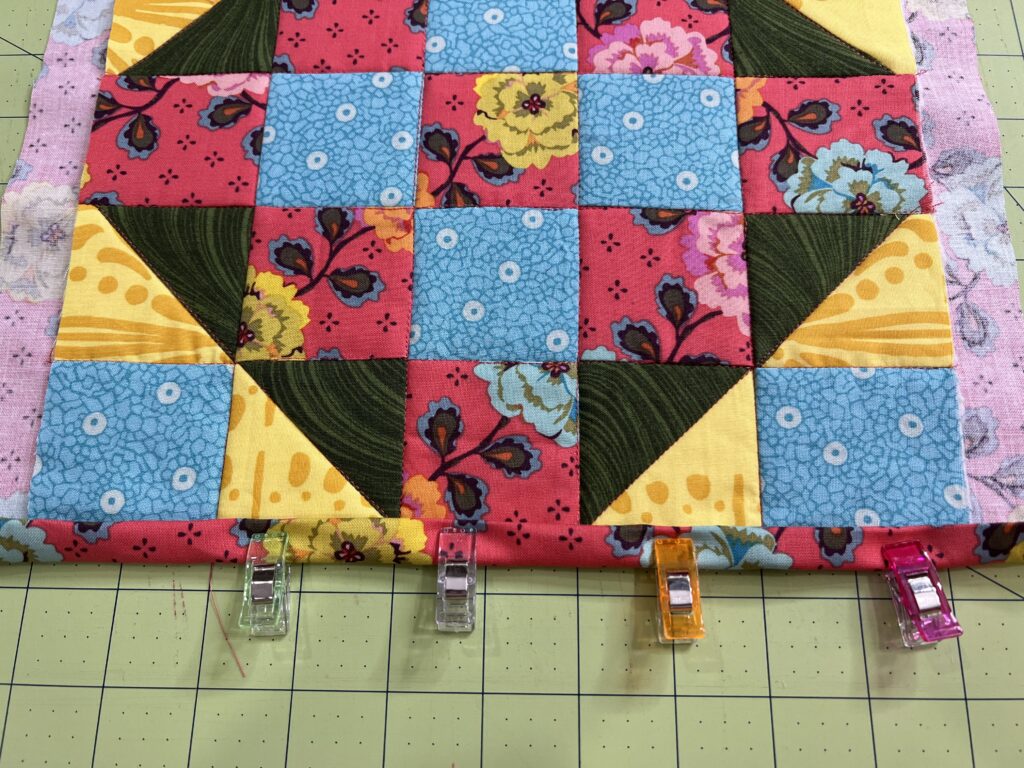
Here’s what it looks like on the back side.
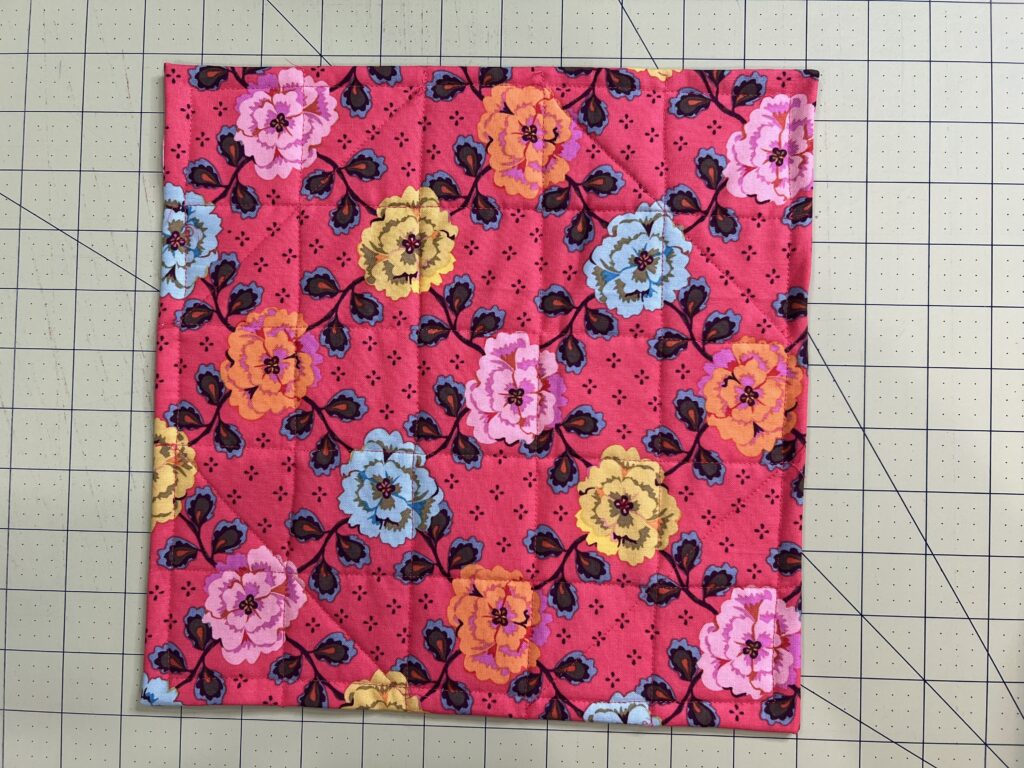
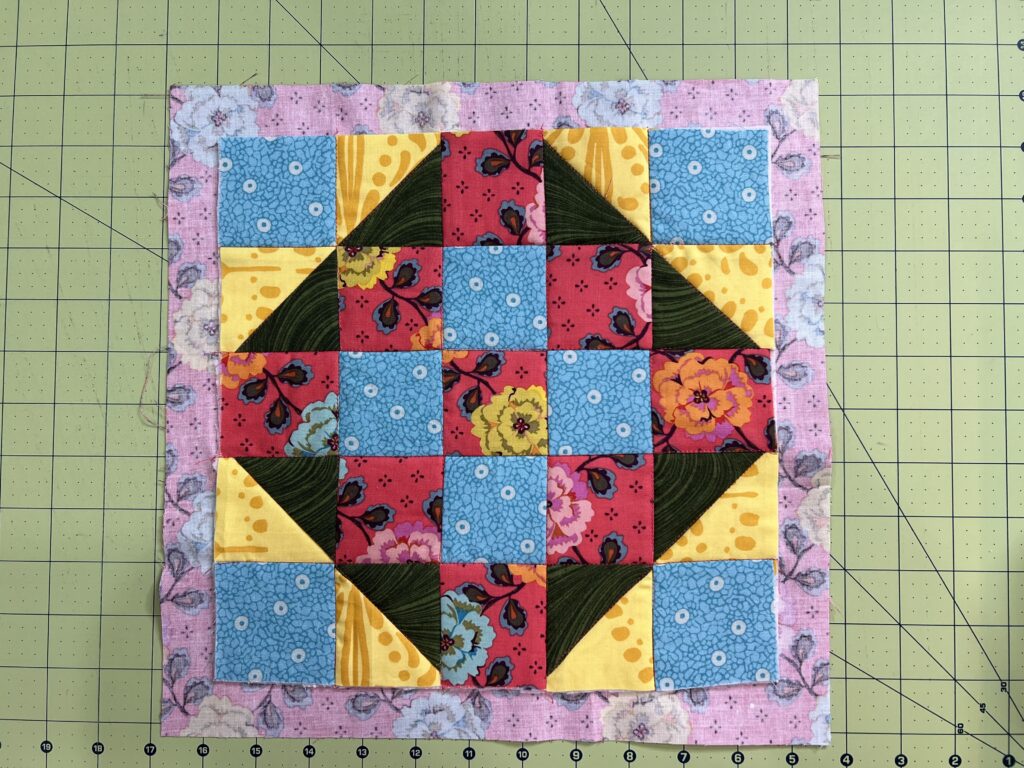
And here is the final project.

I hope you enjoyed learning how to bind a quilt with the quilt backing. Give it a try and let me know what you think!
Happy Quilting! – Claudia

2 Comments
CHARLOTTE WALLER
August 2, 2024 at 9:10 PMNice tutorial. >I’m always looking for easy ways to bind! Now here’s the but! I am a stickler for always pressing my fabric. It drives me nuts when you don’t press your fabric! Why do you not press your fabric?
createwithclaudia_7j76hs
August 5, 2024 at 11:06 AMThanks. Someone mentioned the same thing on my YouTube video (maybe you??). That backing fabric was actually pressed, but the creases wouldn’t come out. It was a lot worse, but I liked the fabric. It had been prewashed. After quilting, the creases were all gone so it worked out.