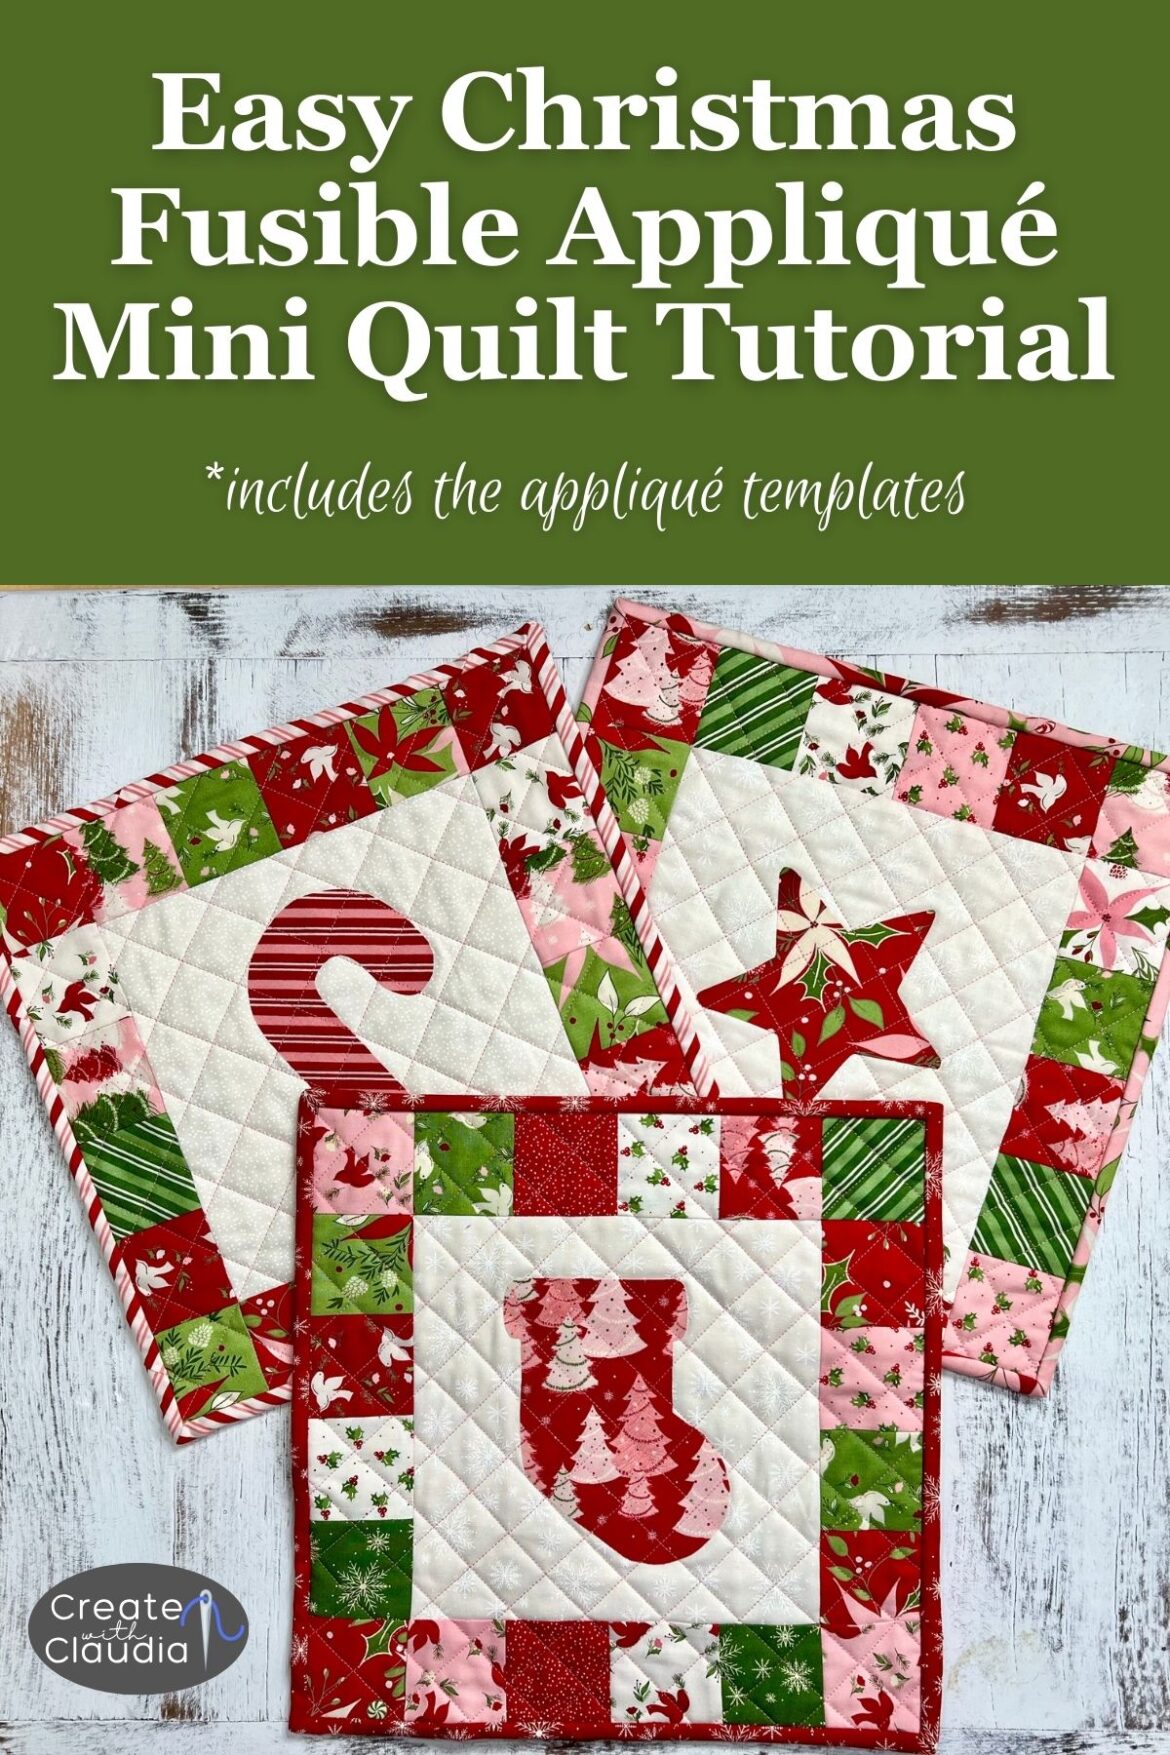
Easy Christmas Fusible Appliqué Mini Quilt Tutorial
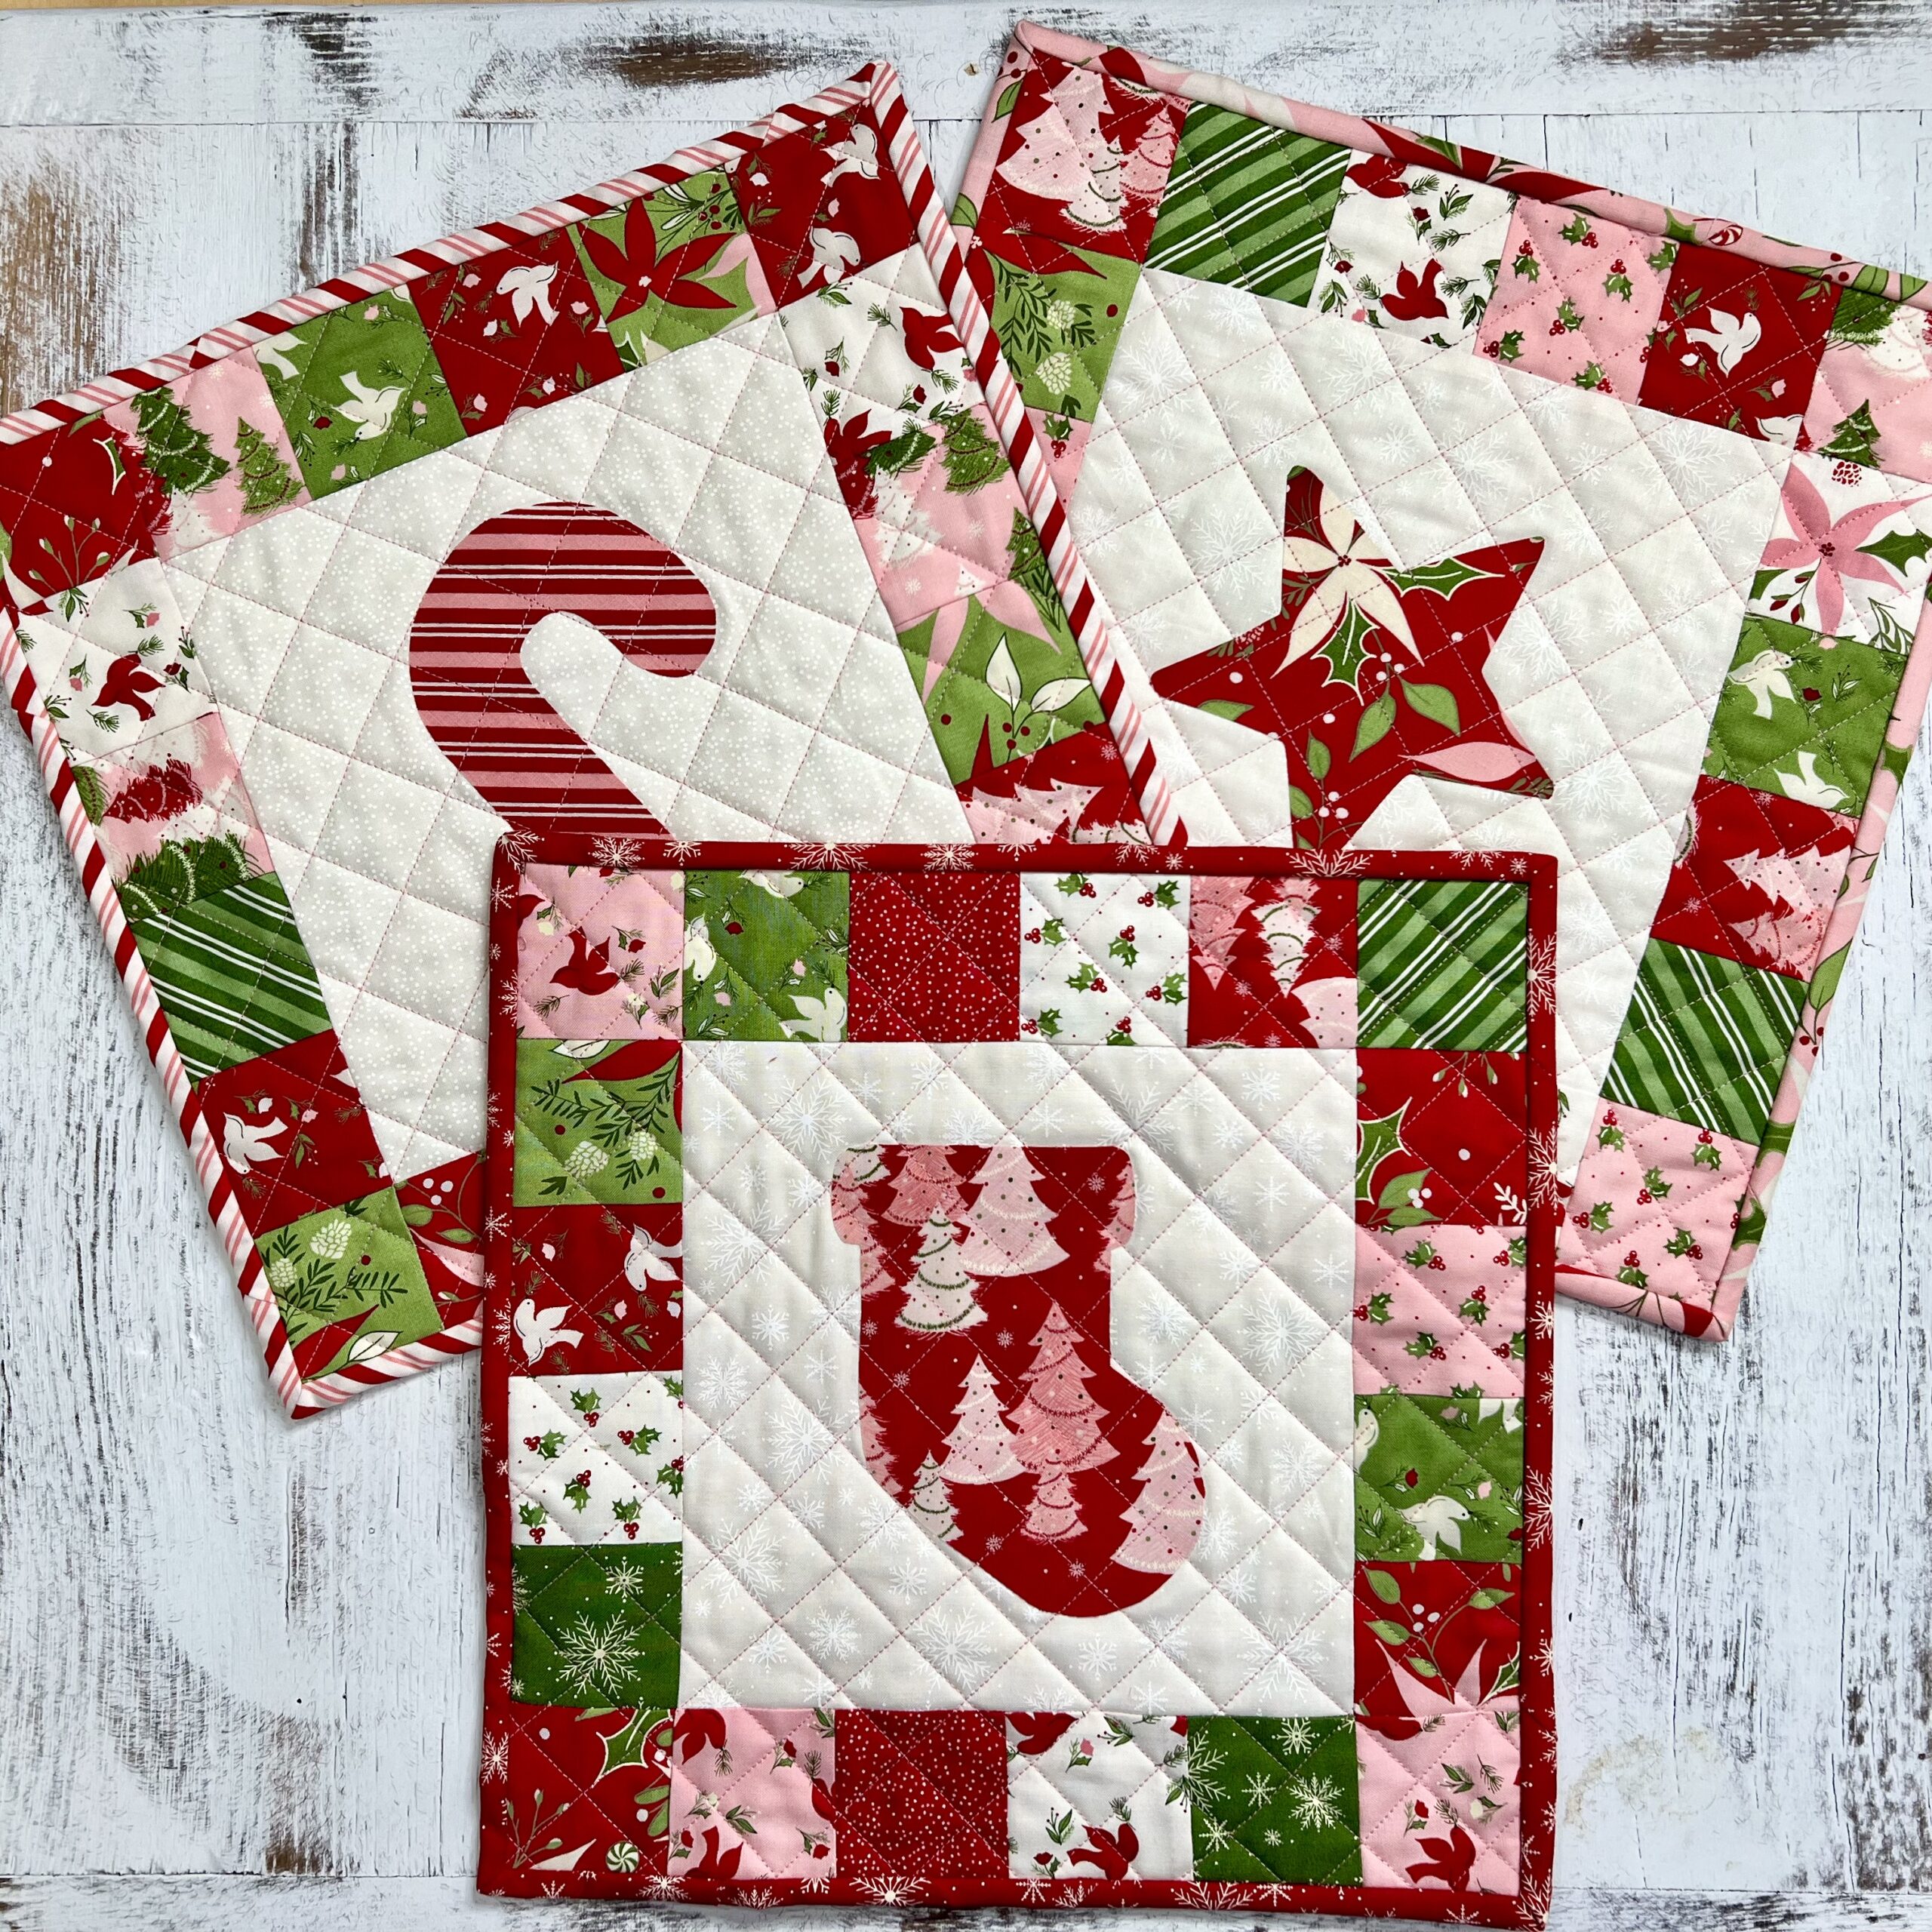
Sometimes I feel like there is always time for a holiday project and this one may be just what you are looking for. This is my easy Christmas fusible appliqué mini quilt and it may just be my new favorite Christmas design. The quilt measures about 12″ square and can be made as a wall quilt or table topper. Make a few and you get a table runner, or make a lot of them and you have an entire quilt. Just have fun with this.
Watch Me Make One
Supplies Needed
I used a Moda layer cake called Once Upon a Christmas by Sweetfire Road. It was part of a delivery I got as a partner with the Missouri Star Quilt Company. It may still be available but if not, there are many other holiday precuts to choose from. You can also use scraps to make this quilt.
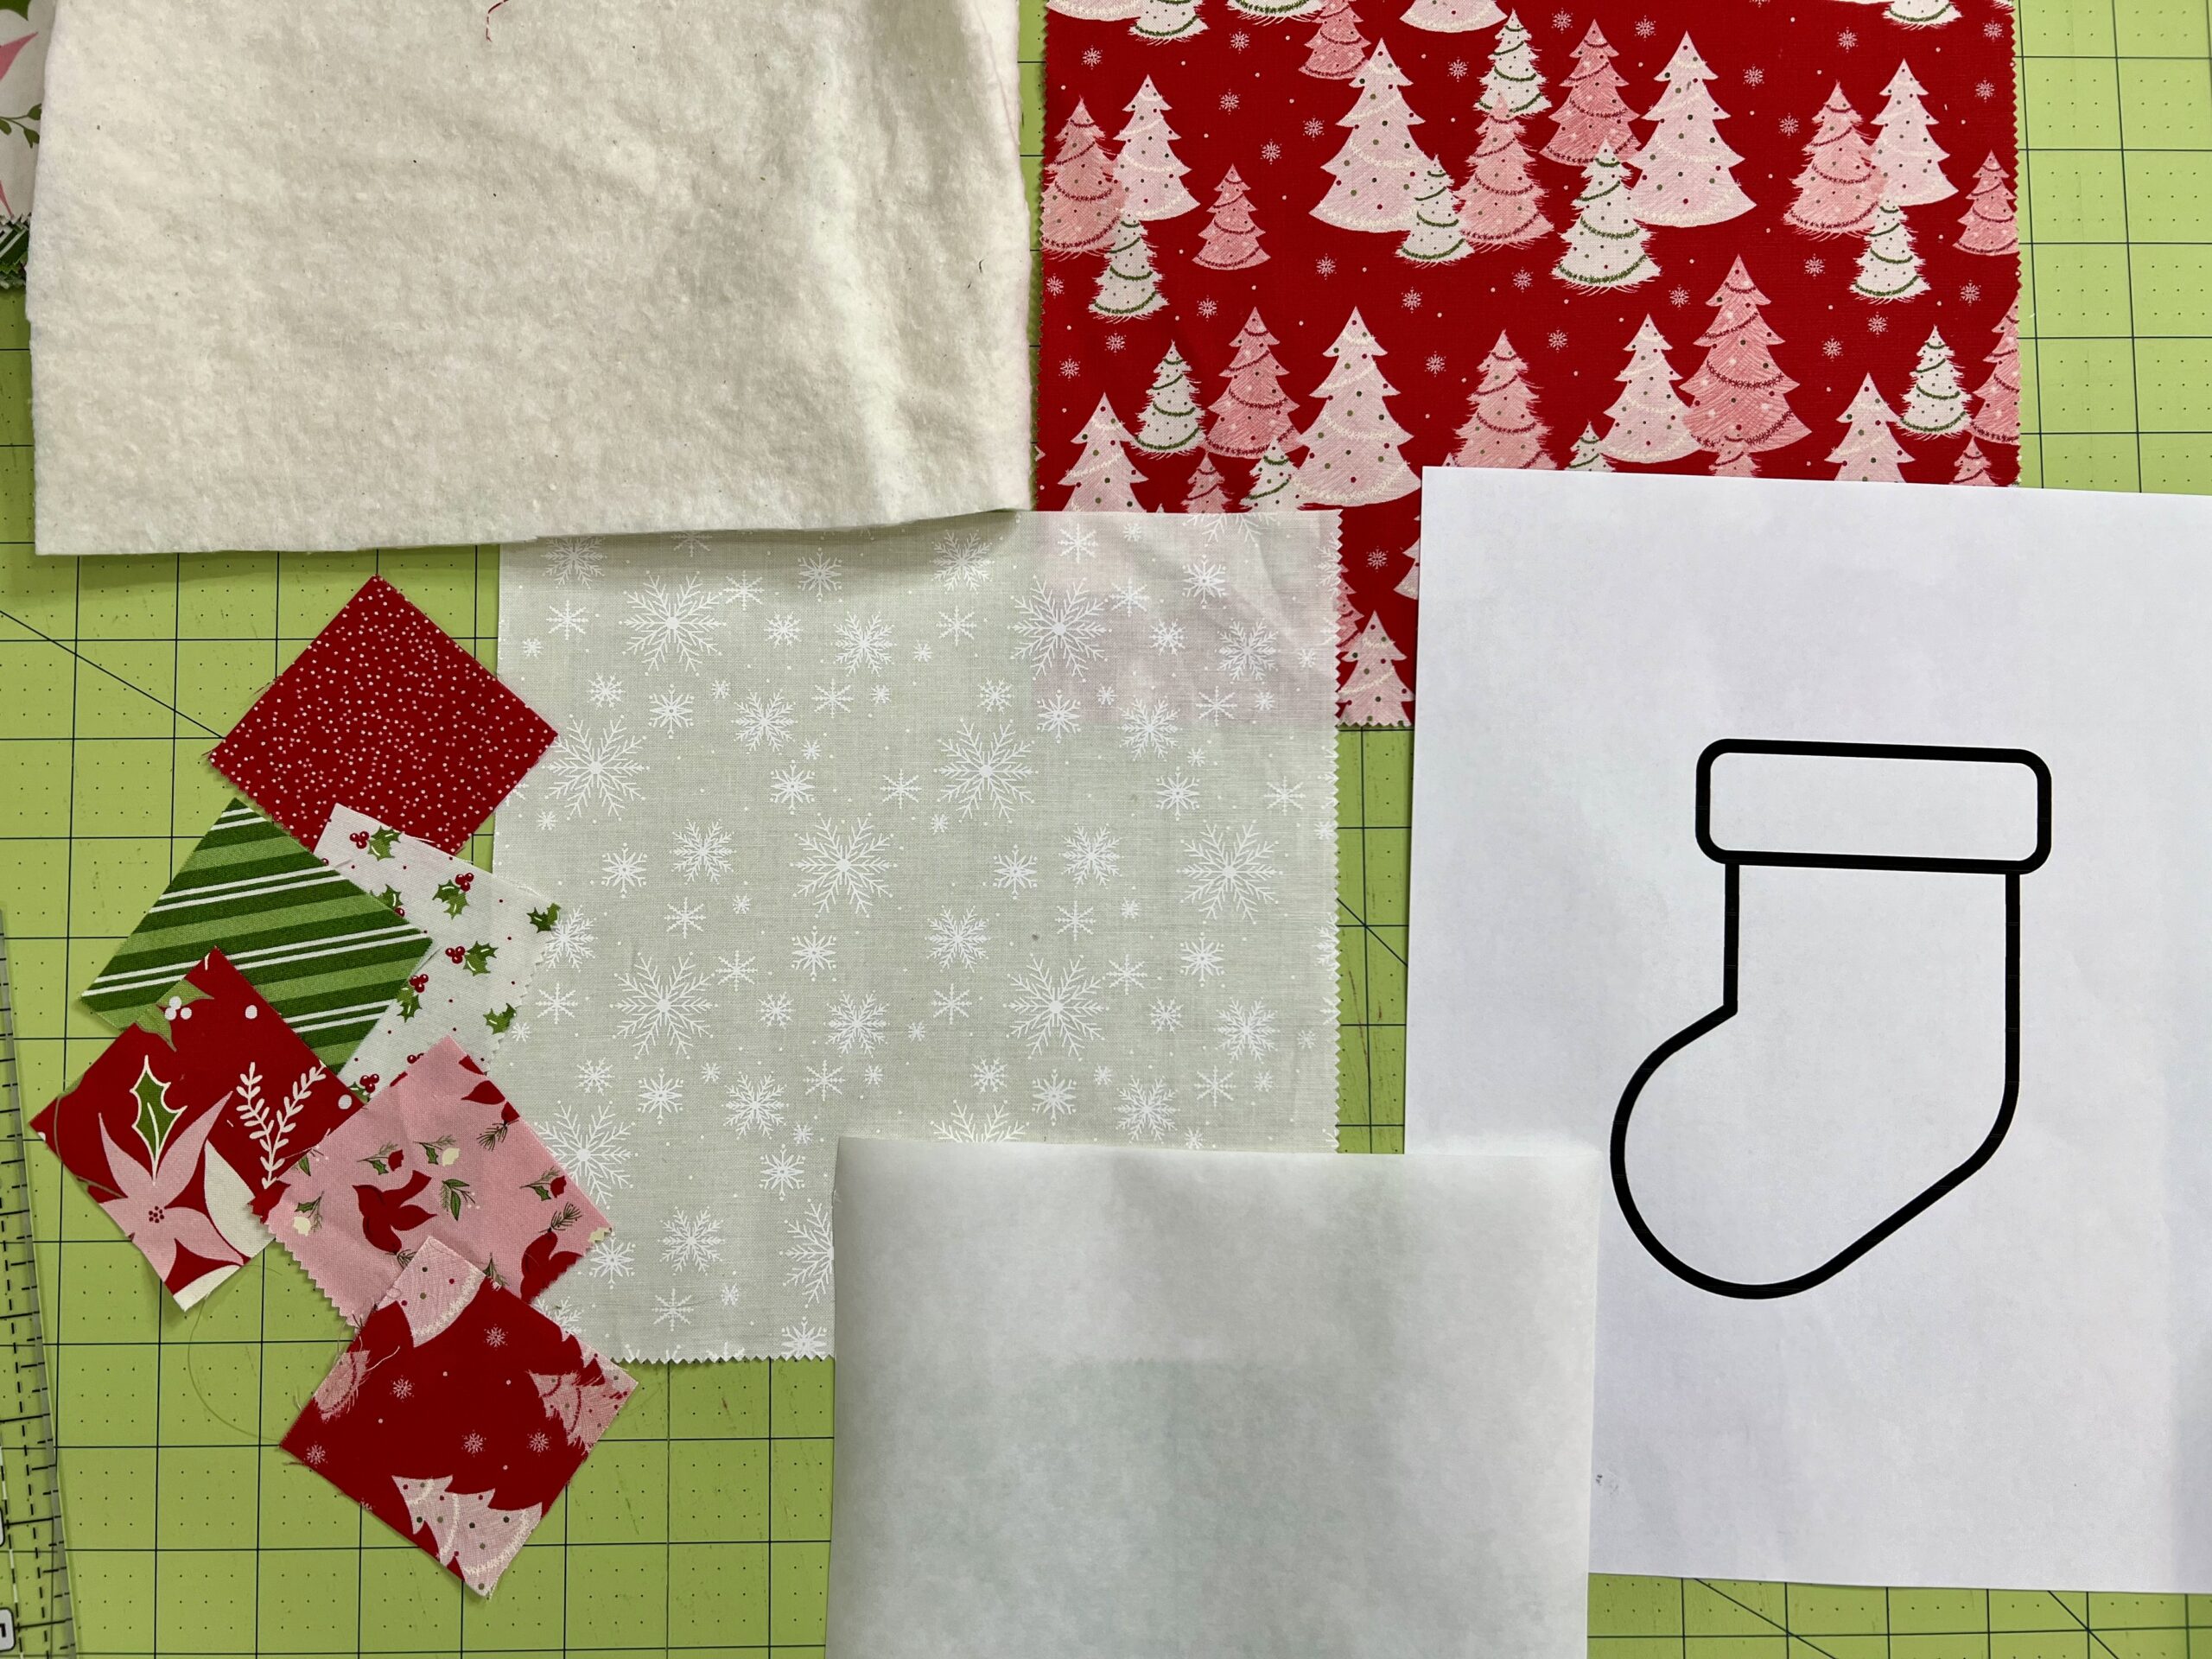
- Holiday-themed fabrics
- Paper-backed fusible Adhesive – I used Heat ‘n Bond Light Paper Backed Fusible Adhesive
- Batting – I use Hobbs Premium Fusible
- *Appliqué template (see below)
- General Sewing Supplies
As an Amazon Affiliate I Earn from Qualifying Purchases
*DOWNLOAD THE APPLIQUE TEMPLATES BY CLICKING ON THE ONE YOU WANT*




Cutting
- For the center, cut one square 8 1/2″ x 8 1/2″
- Cut 20 squares 2 1/2″ x 2 1/2″ in various fabrics for the border
Assembling the Quilt Top
Unless otherwise indicated, use a 1/4″ seam allowance.
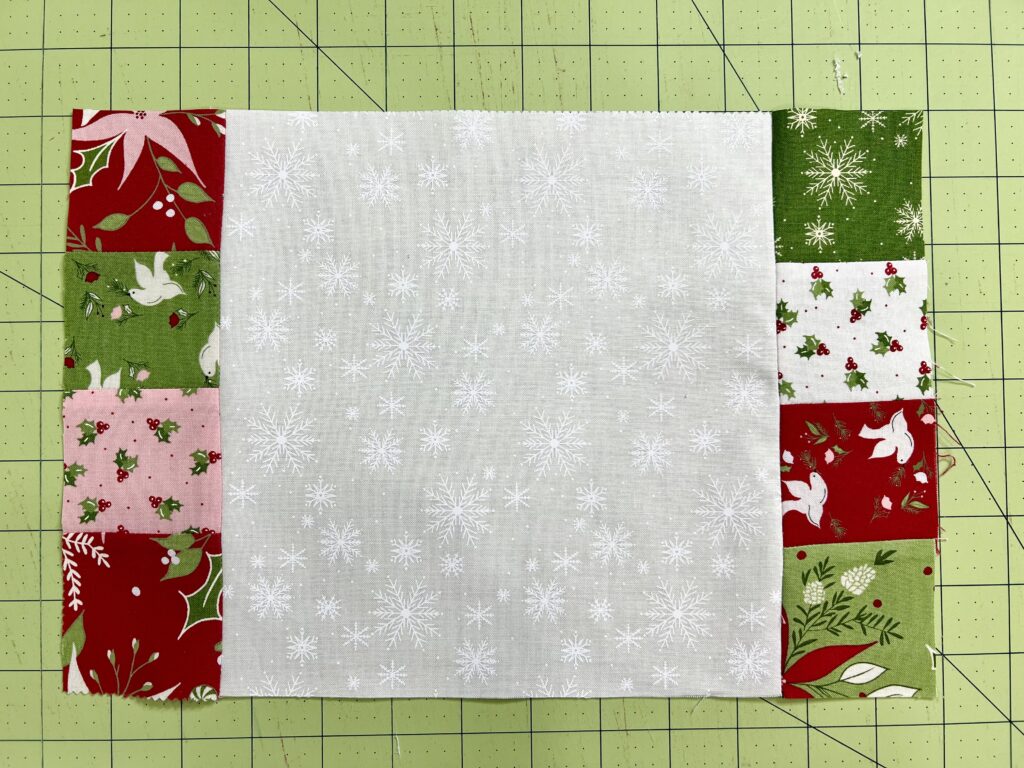
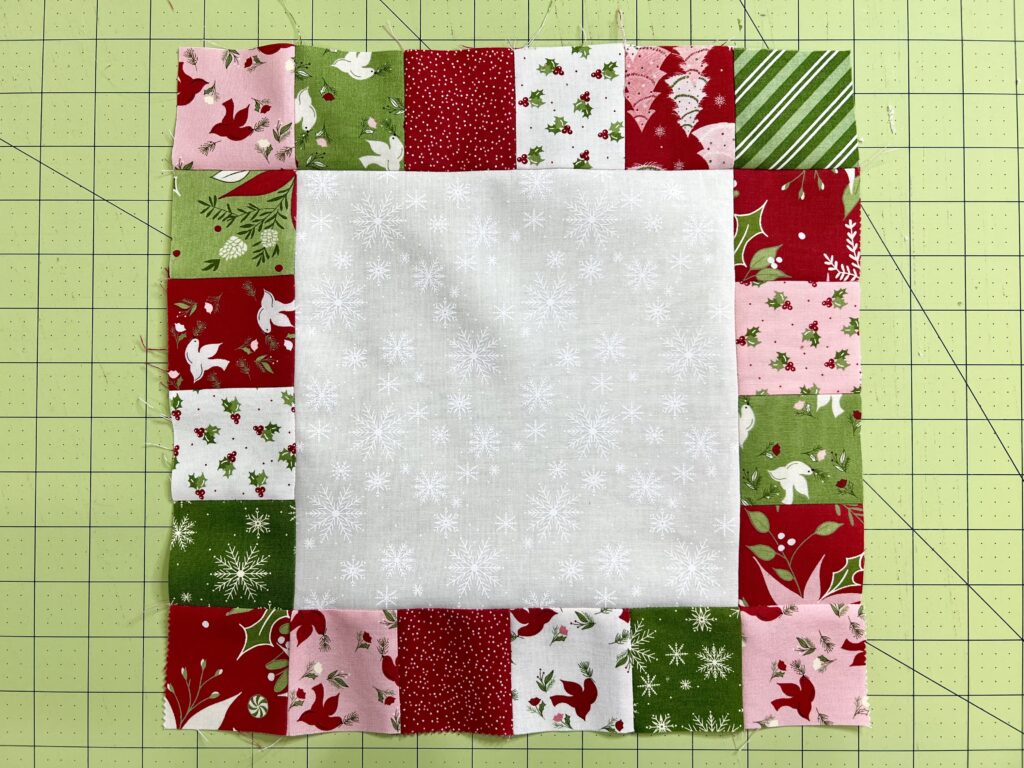
First, sew together 2 strips of 4 squares and set aside. Sew together 2 strips of 6 squares and set aside.
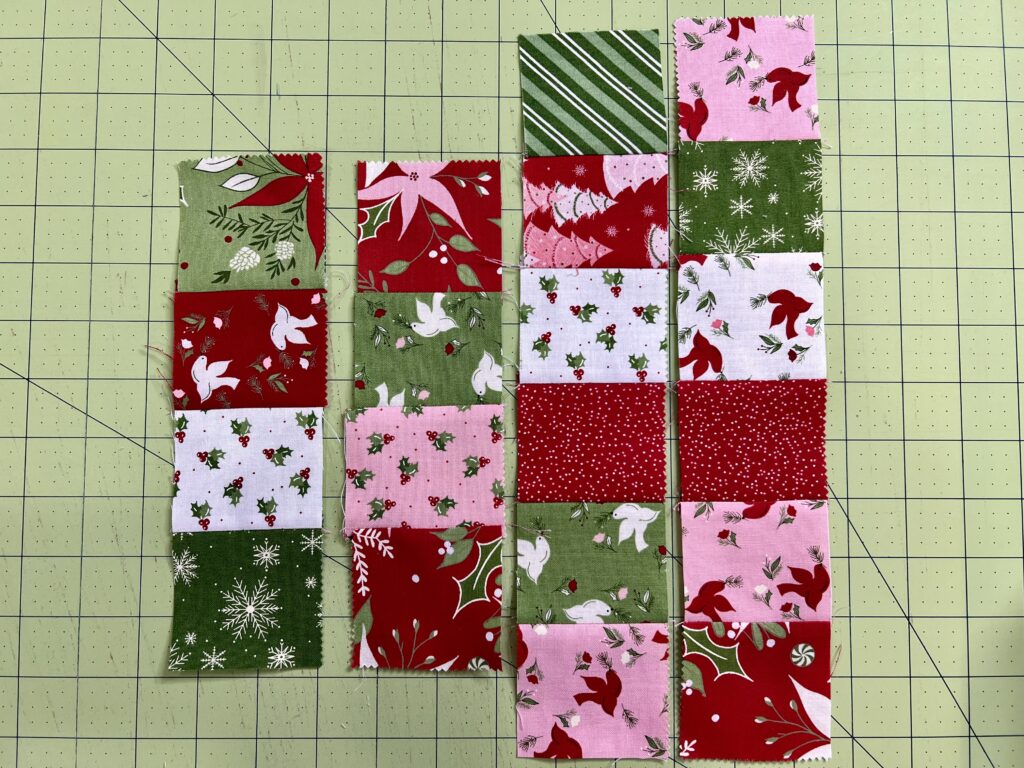
Attach the strips made up of 4 squares to the left and right of the center square. Then add the strips made up of 6 squares to the top and bottom. Set aside.
Preparing the Appliqué Shape
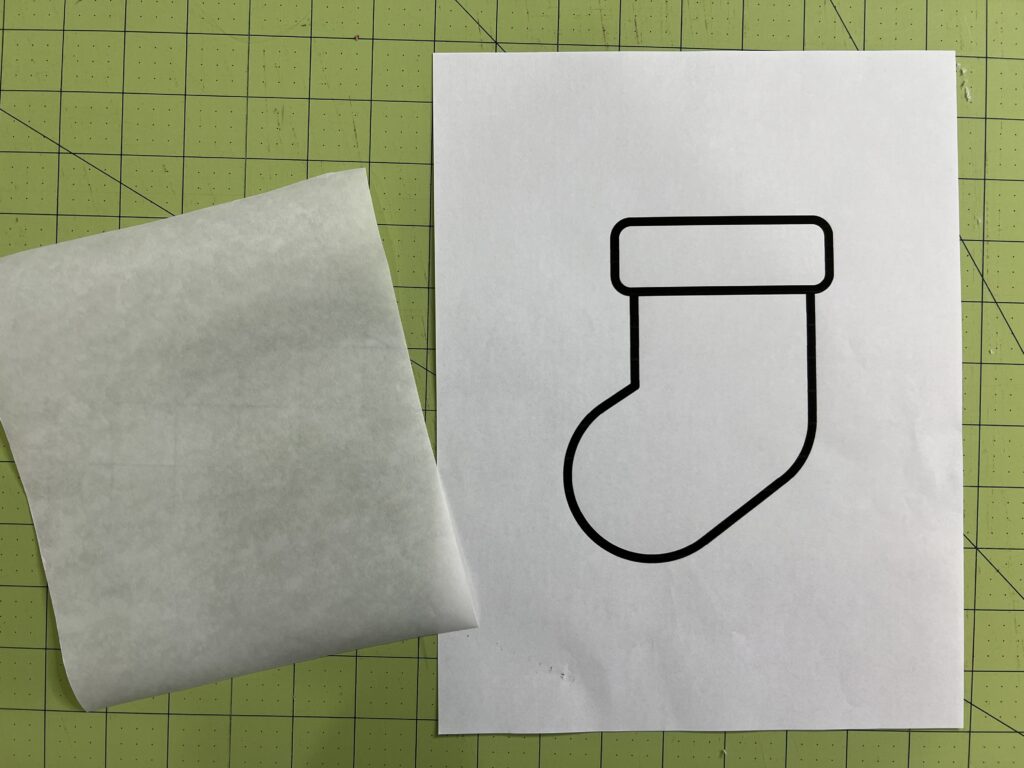
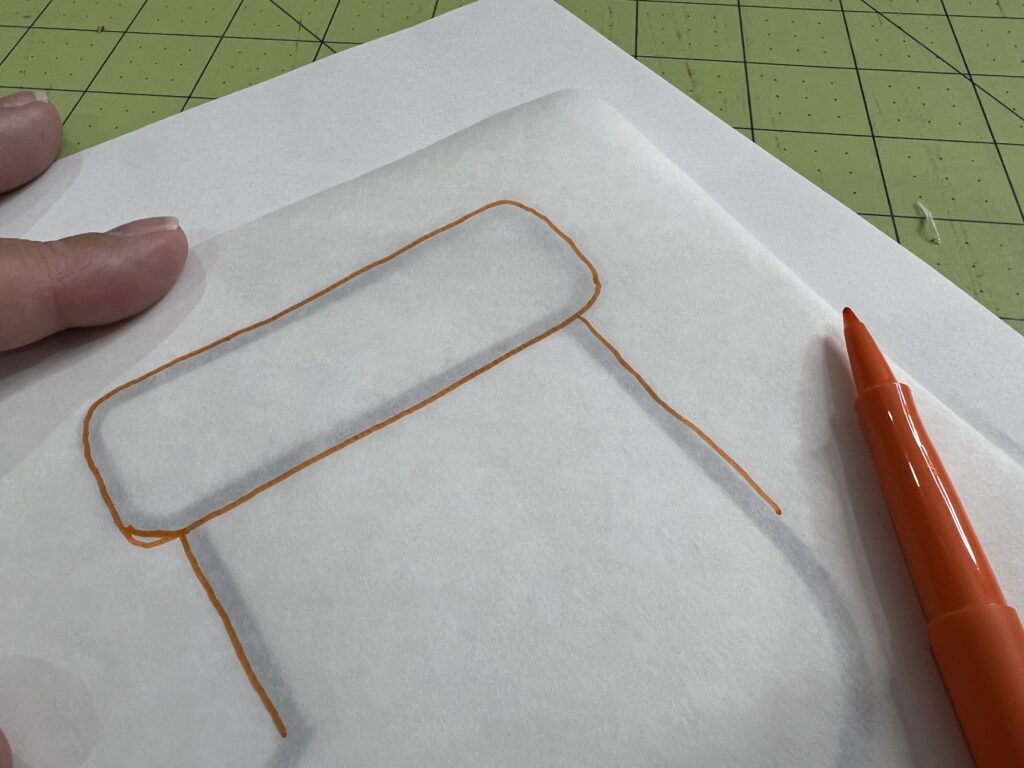
Cut out a piece of paper-backed fusible adhesive that is large enough to cover the appliqué template. Trace around the shape.
Next, following the instructions on the fusible adhesive, adhere it to the back (wrong) side of the fabric you chose for the appliqué shape. Then cut out the shape and carefully remove the paper backing.
Tip: Use a pin and lightly scratch the paper backing. It should peel off easily.
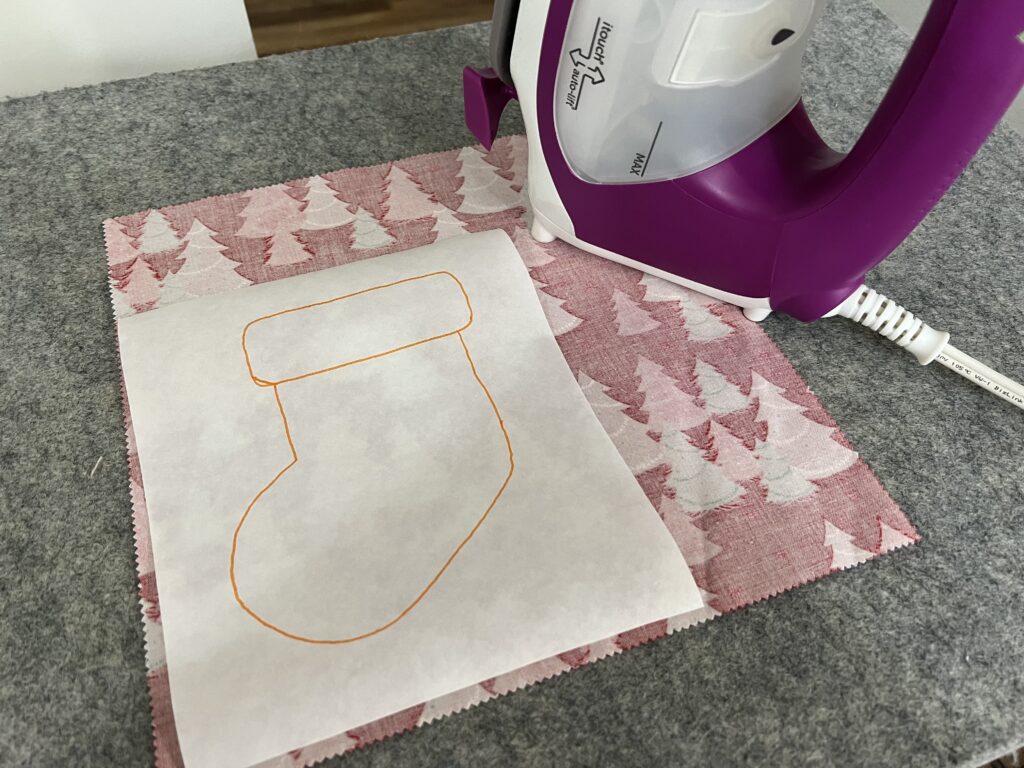
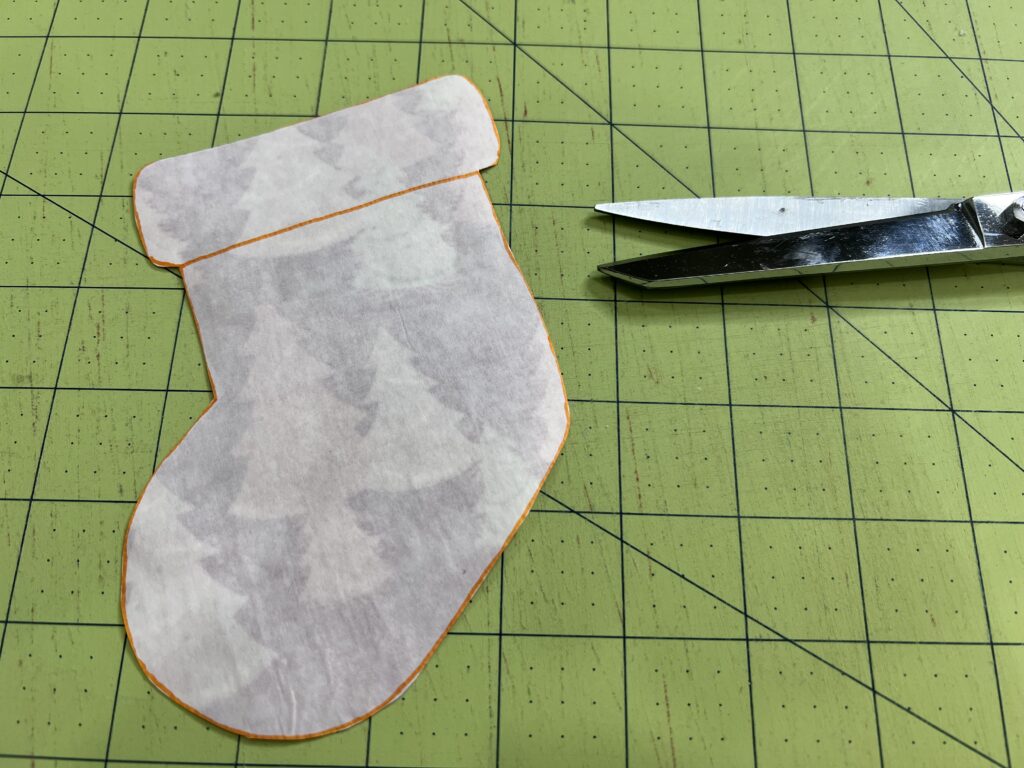
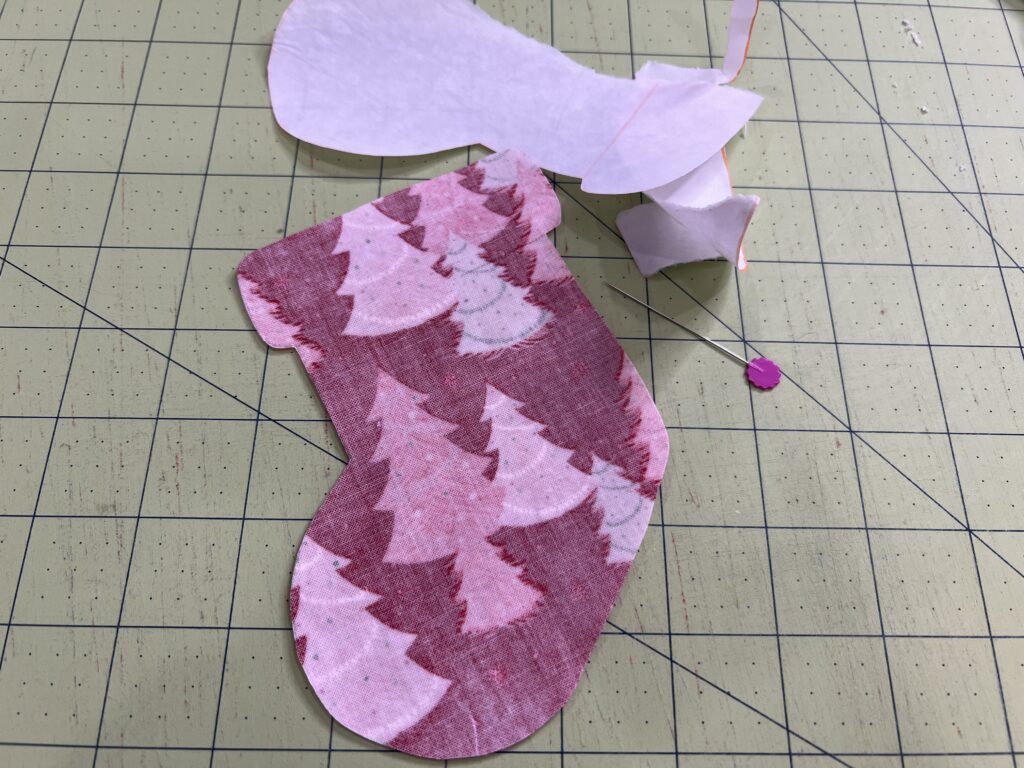
Carefully center the cutout in the center of the quilt top. I find it helps to fold the top in half both ways to get a center. Then, following the product directions, adhere the shape to the center.
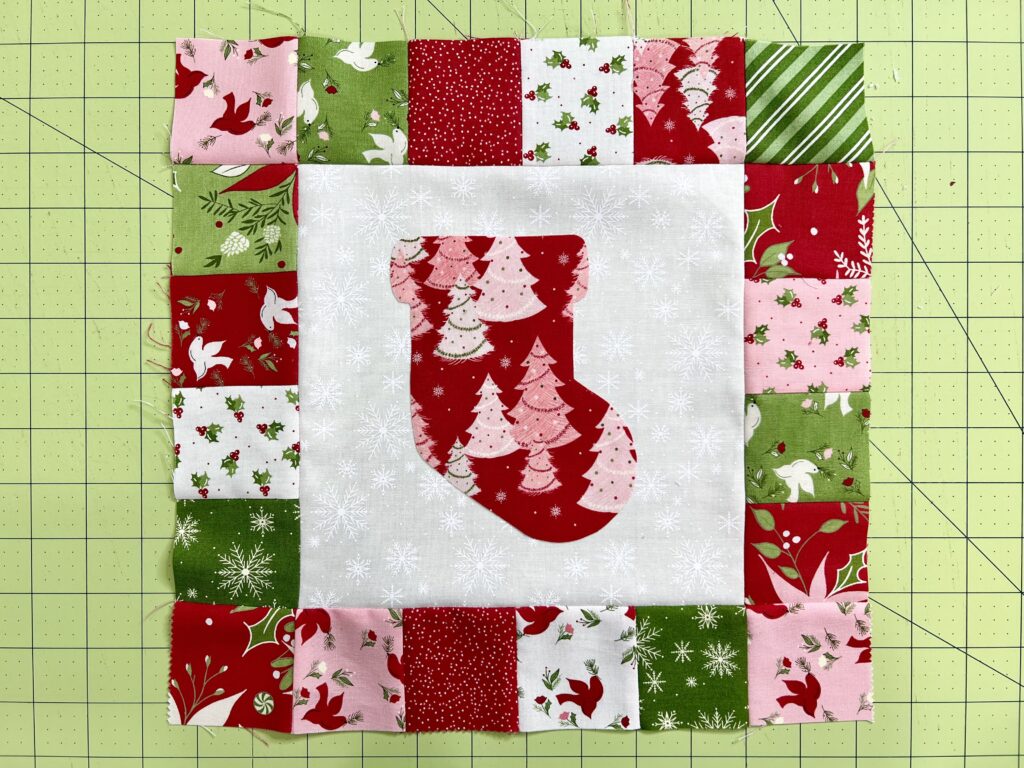
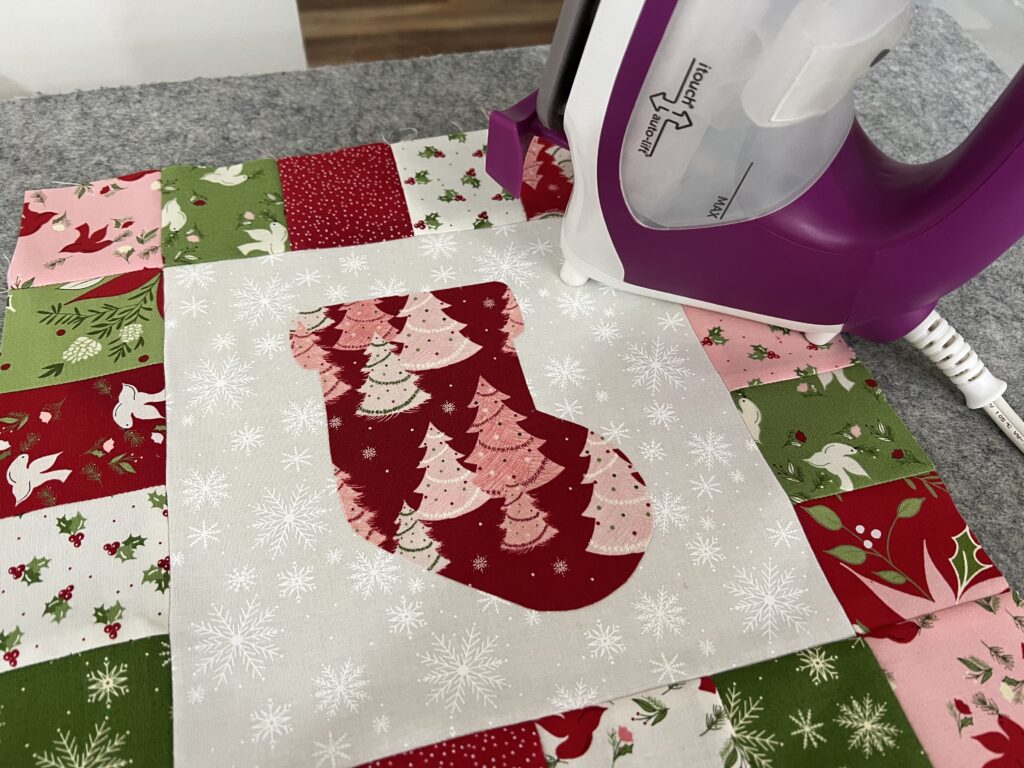
Quilting the Easy Christmas Fusible Appliqué Mini
For the backing of my mini I used some of the left over scraps from the layer cake. You will need a piece of backing fabric at least 14″ x 14″.
Lay the backing fabric on my surface, wrong side facing. Next, put the fusible batting on it. Lastly center the quilt top on top of the batting.
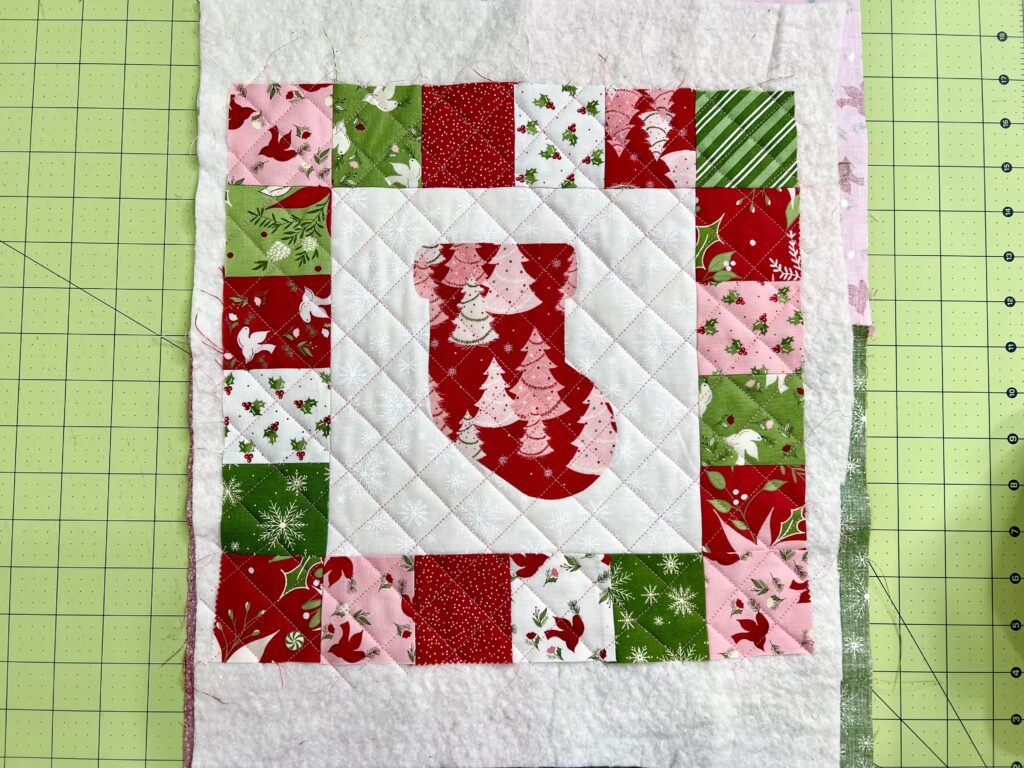
Following the instructions on the batting, press the three layers together and quilt.
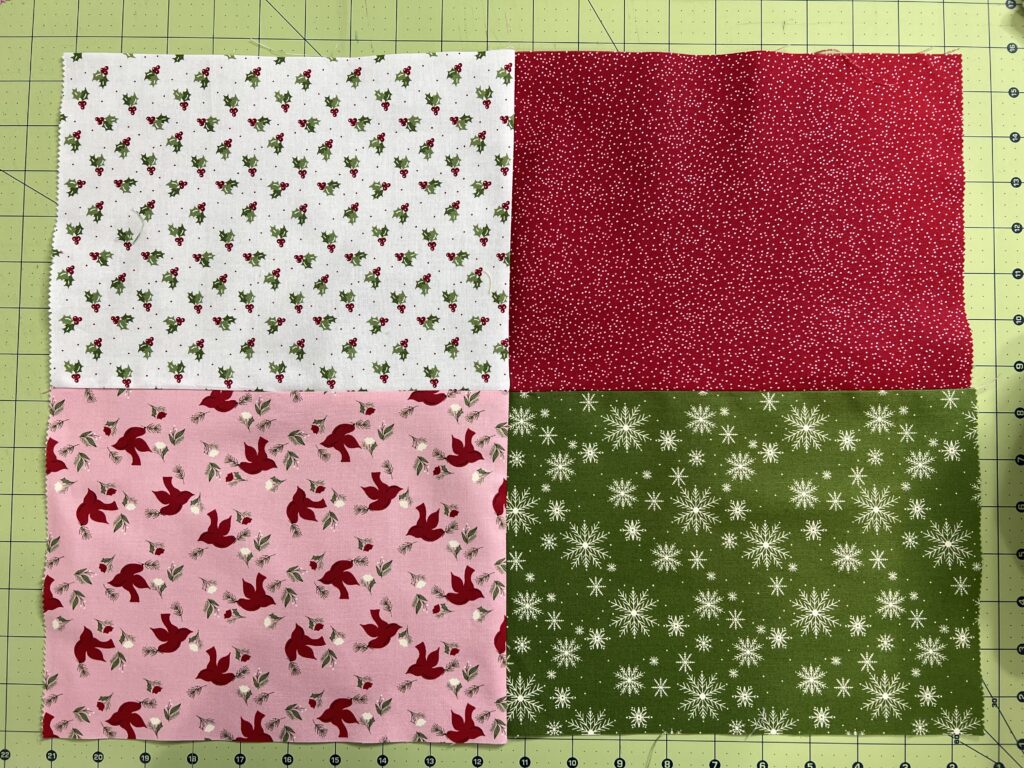
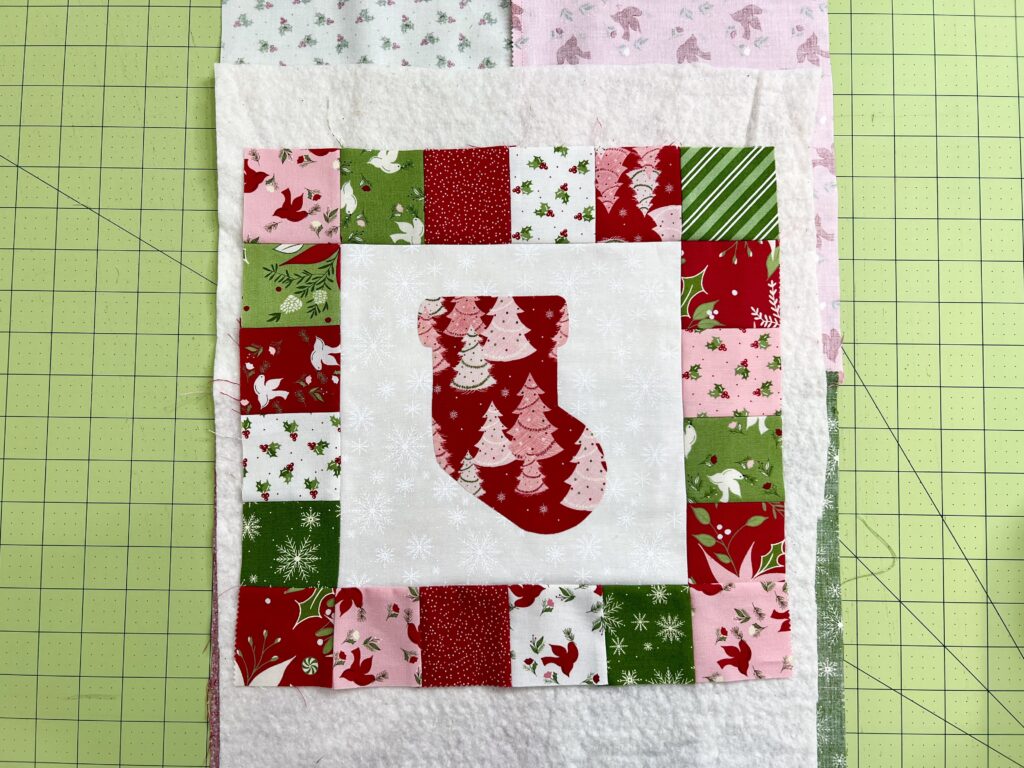
My Quilting
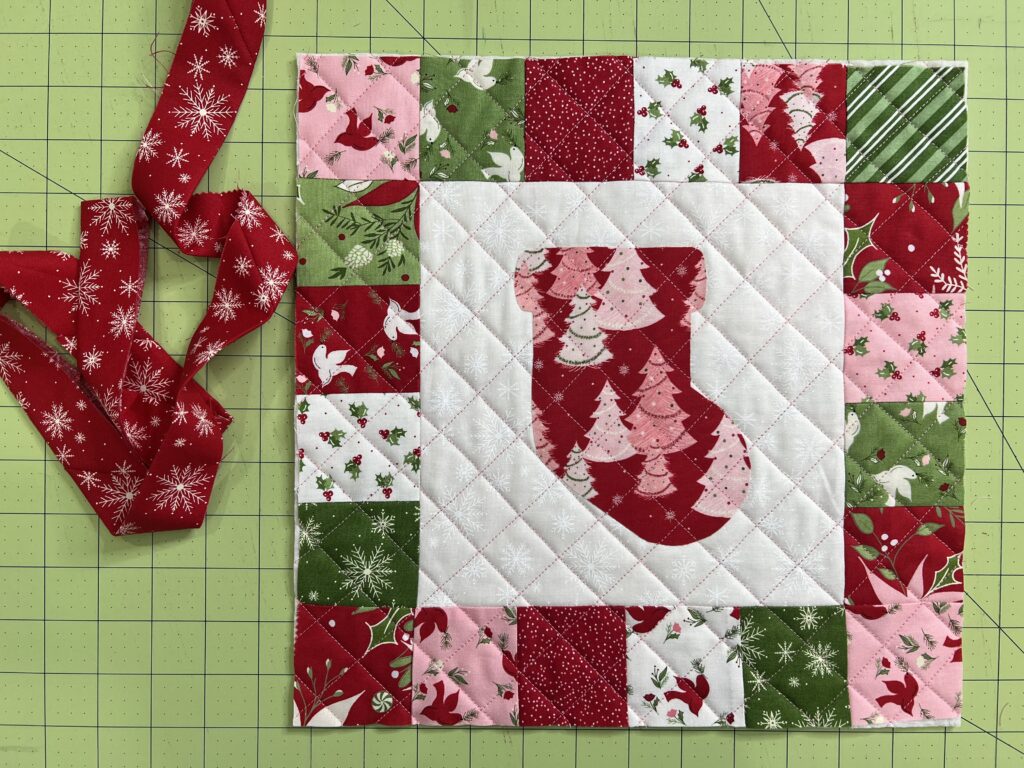
I did an easy cross-hatch quilting design for my mini and I used pink thread to show off some of the pretty pinks in this fabric line.
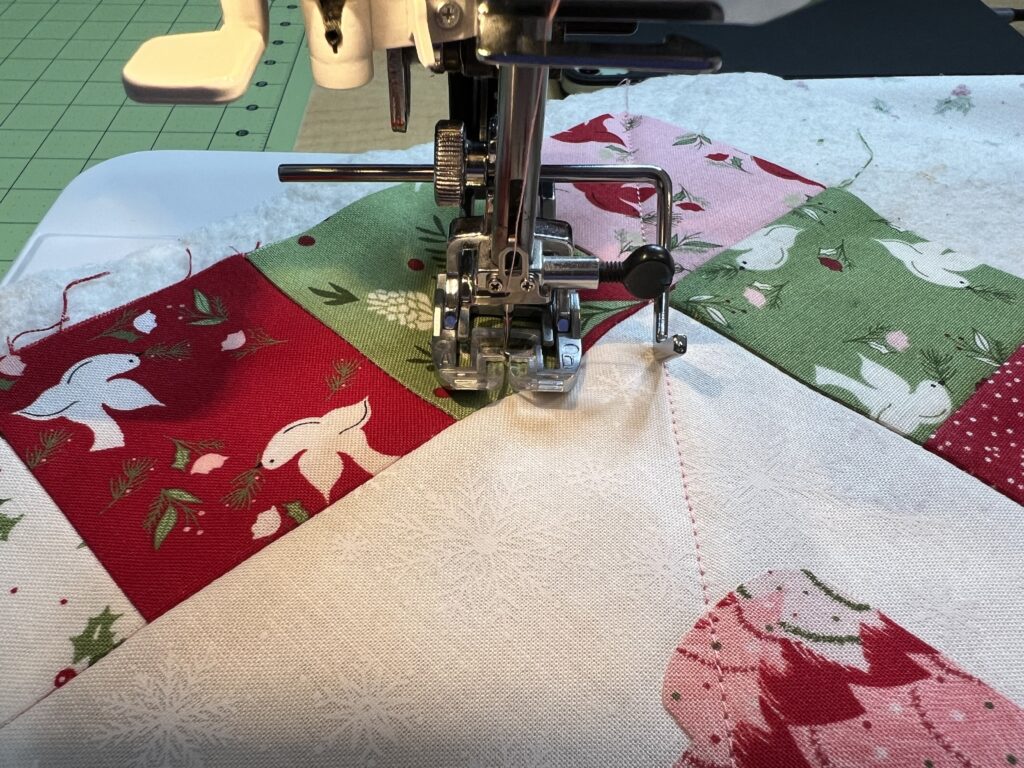
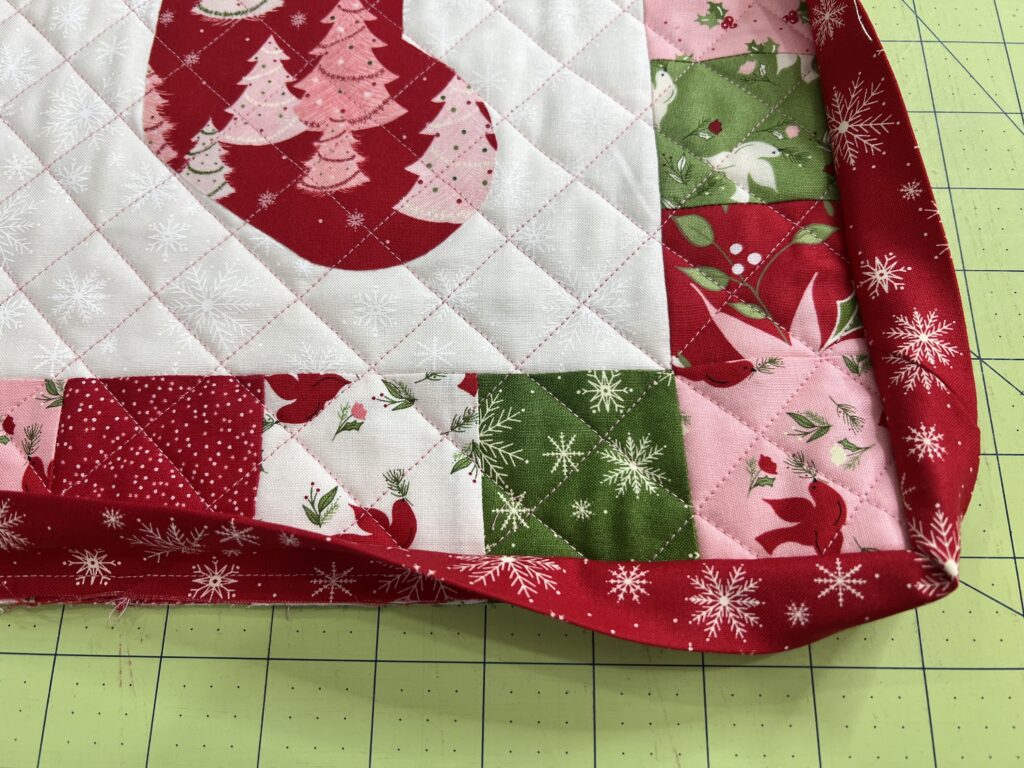
Because I wanted to keep using the same fabric line in this quilt, I cut 2 1/2″ wide strips from two of the 10″ squares and pieced them together to form the binding. I attach my binding to front of my quilt and then hand stitch it to the back.
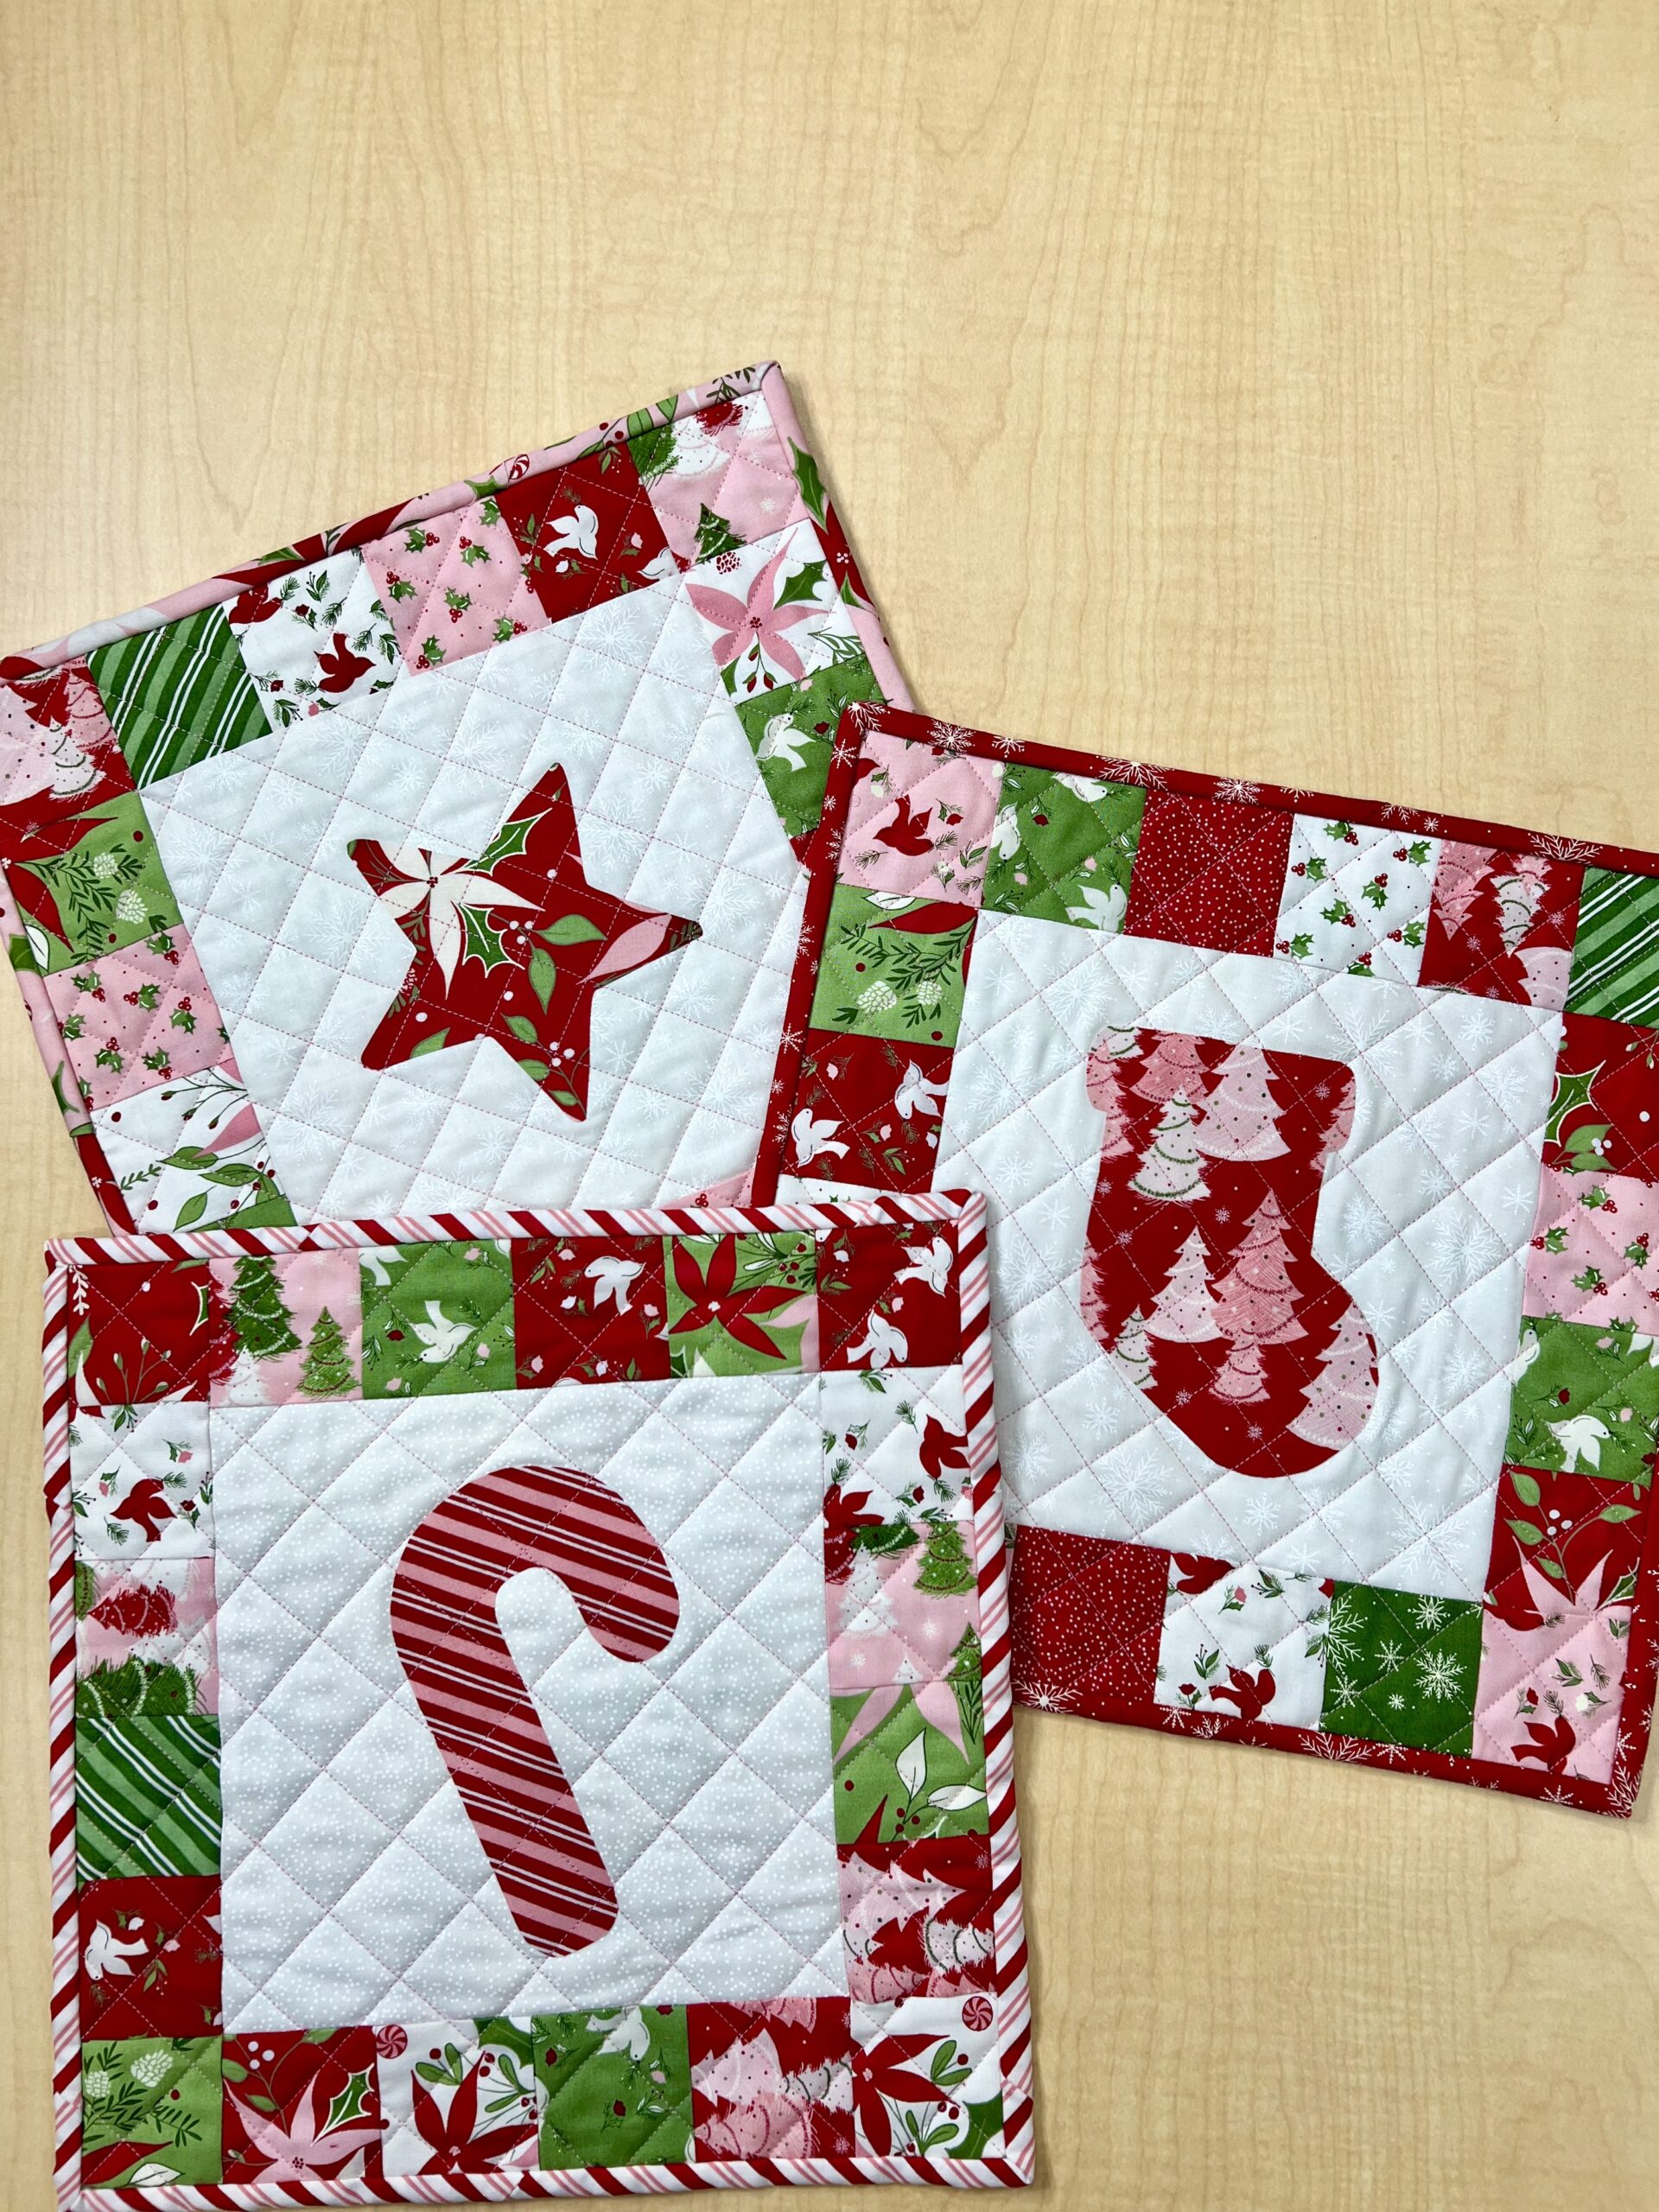
That’s it! You can finish this project in a couple of hours. I made three different ones and you can download all of the appliqué templates here. I still have enough squares left from the Moda layer cake to make another one.
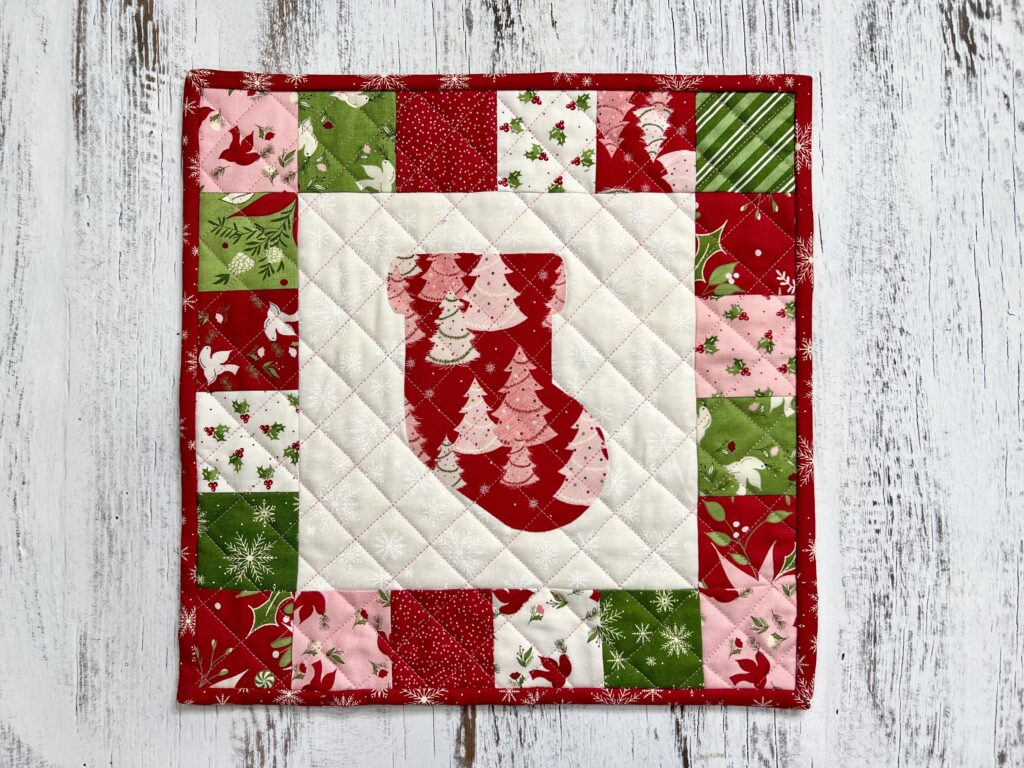
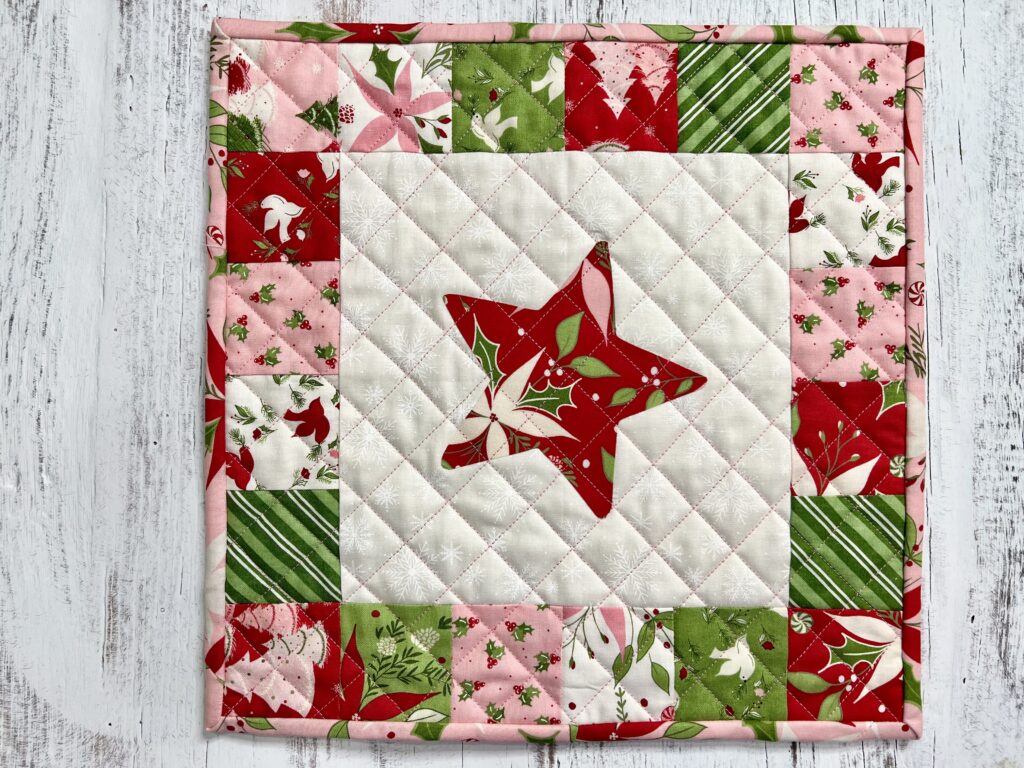
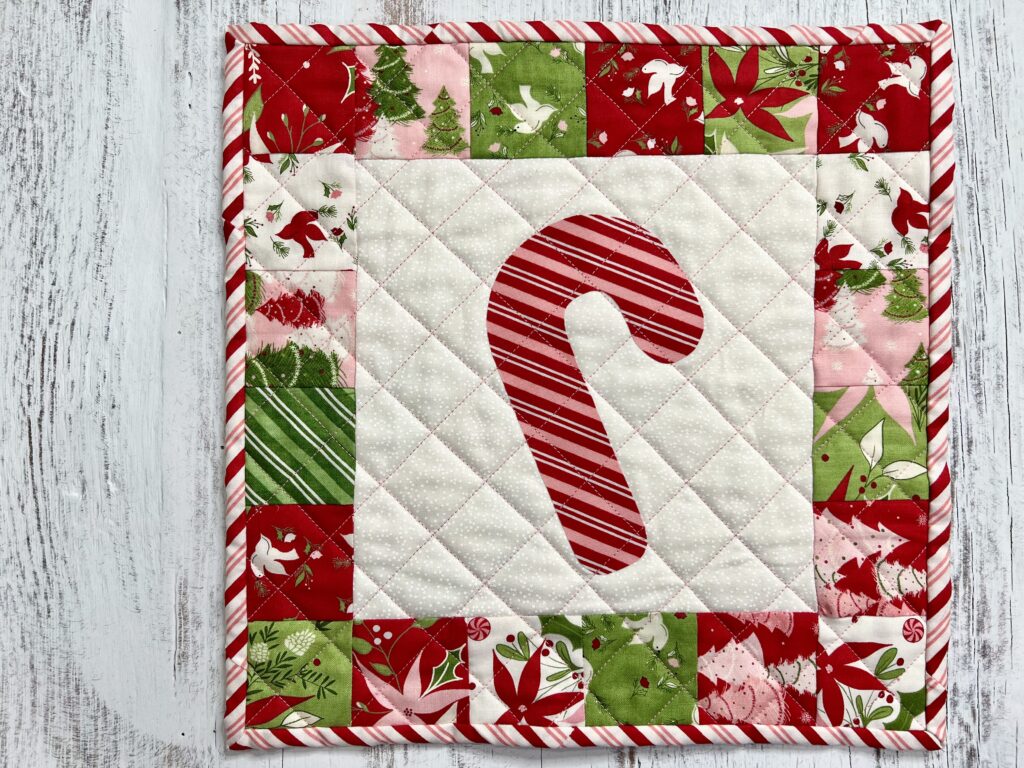
Which one do you like best? I think you could make all three, sew them together, and have an adorable table runner. It would be perfect for your holiday décor. Happy Quilting! – Claudia


4 Comments
Sheila McClurg
July 31, 2024 at 5:31 PMThis is such a cute idea. Thanks so much for sharing early.
createwithclaudia_7j76hs
August 5, 2024 at 11:04 AMThanks. I appreciate that.
Lori Palmieri
October 10, 2024 at 6:06 PMMet you at the Beaver County Piecemakers show and took your card. Going to make this! Thank you so much! And I subscribed to your YouTube channel!
createwithclaudia_7j76hs
October 16, 2024 at 9:54 AMThanks for stopping by!