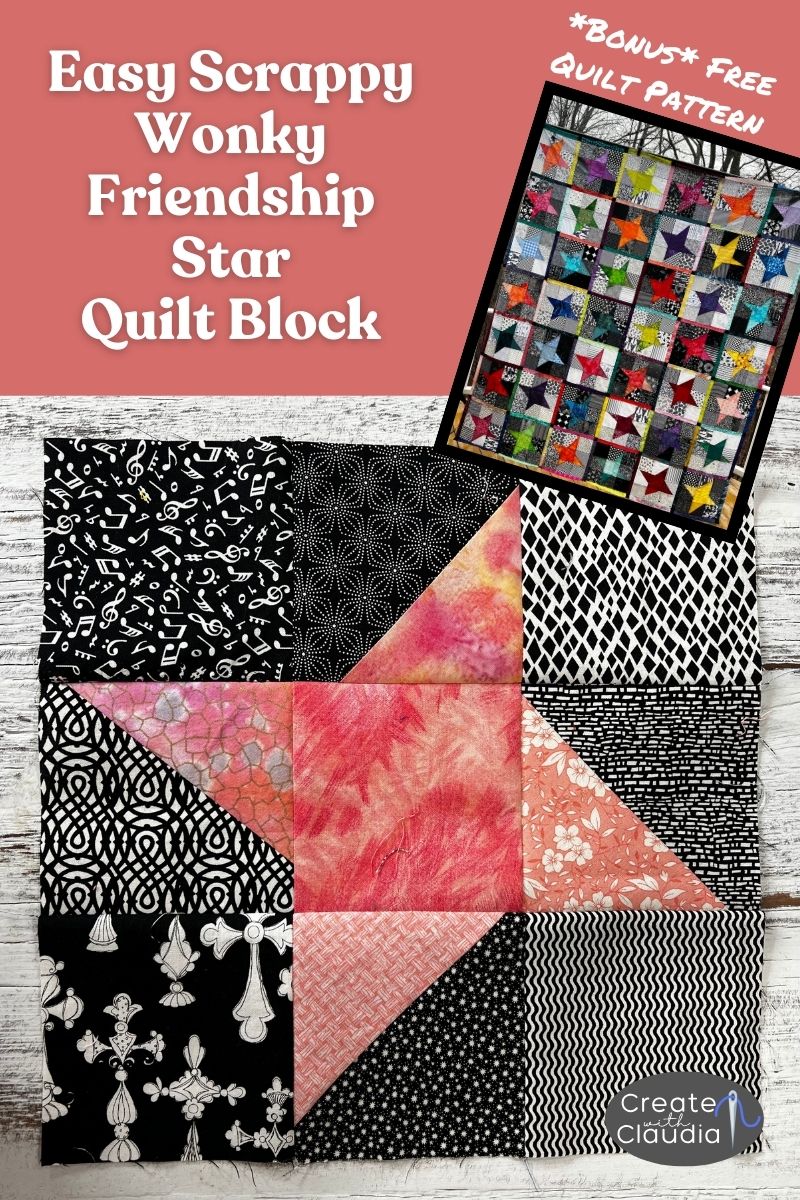
Easy Wonky Friendship Star Quilt Block Tutorial
It’s time for another episode of Working Our Scraps Off! This one (episode #17) is probably one of my favorites in this series. It’s a super easy Wonky Friendship star quilt block tutorial. This block comes together in no time and is an awesome scrap buster. In this tutorial I demonstrate how easily be resized which is handy if you are looking for a particular size. Get out your scrap bins and get ready to have some scrappy quilting fun!
If you are looking for more ways to use up your scraps you’ll want to check out my Youtube series called Working Our Scraps Off. There are all sorts of ideas, including other quilt blocks. I don’t know about you, but I have a lot of scraps in my bins and I am constantly trying to figure out what to do with them.
What You’ll Need for One 12 1/2″ (unfinished) Quilt Block
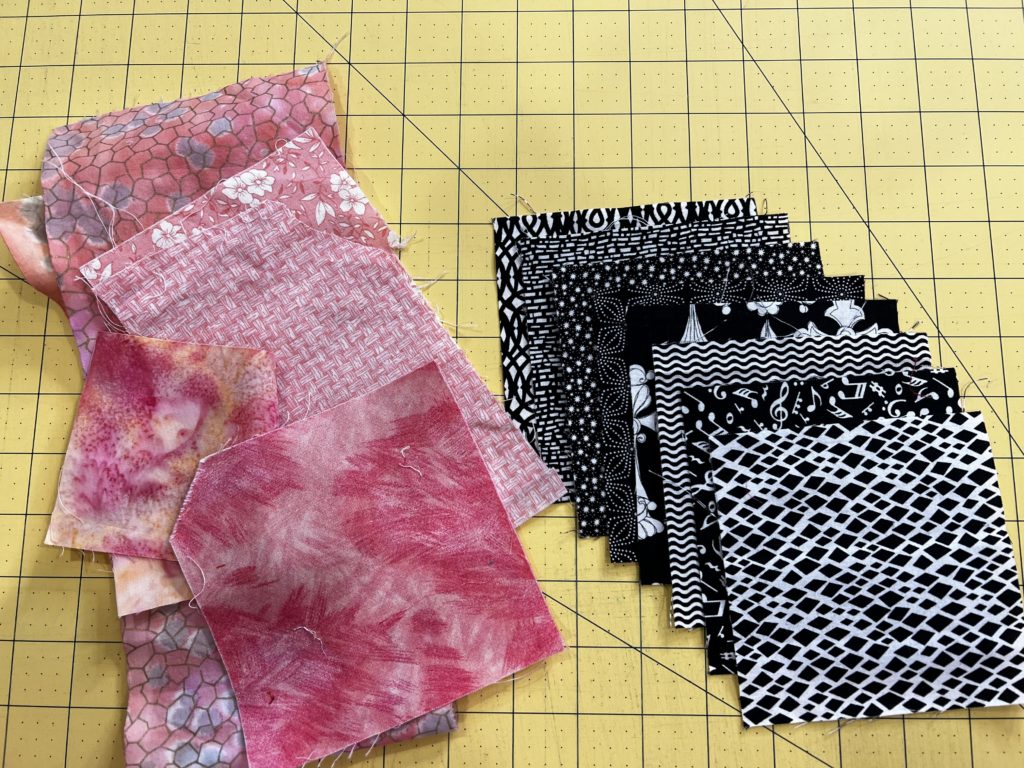
8 squares of background scrap fabrics cut 4 1/2″ x 4 1/2″ ( shown in black & white fabrics)
5 scraps of focal color fabrics (shown in pink) and one needs to be at least 4 1/2″ square – Almost any shape or size will work
General sewing supplies – Many of the supplies I use in this post and my video can be found in my Amazon shop. As an Amazon Affiliate I earn from qualifying purchases (at no extra cost to you).
Making the Easy Wonky Friendship Star Quilt Block Points
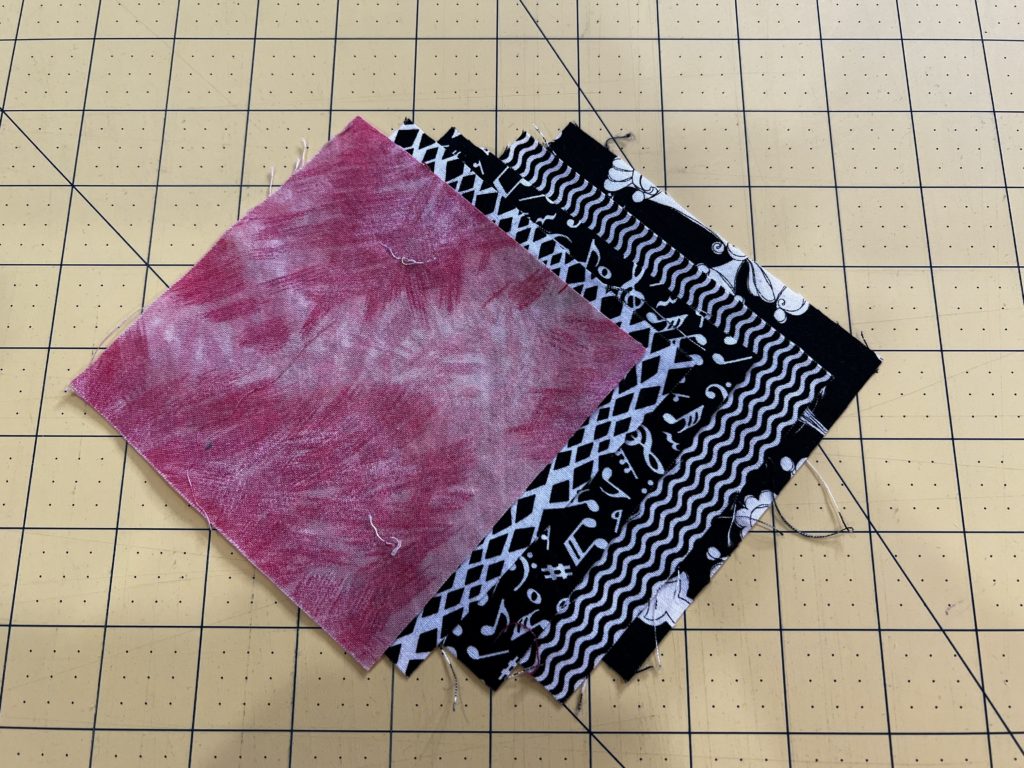
Cut a 4 1/2″ square from one of the scrap focal fabric pieces and set it aside with four of the background fabric squares.
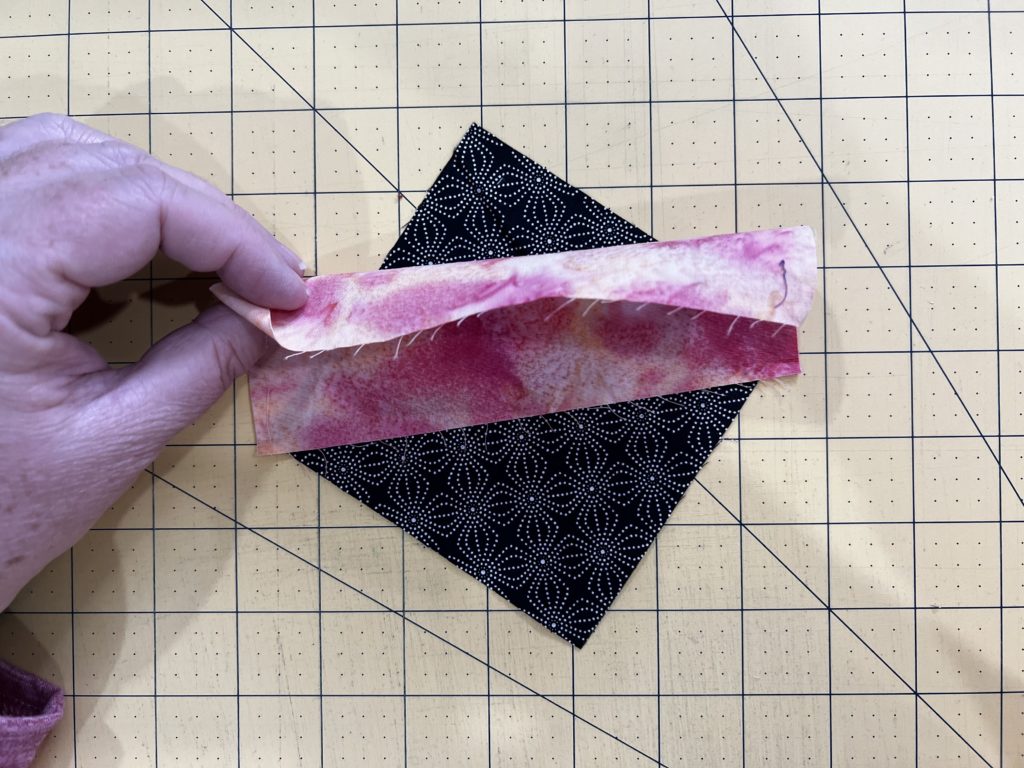
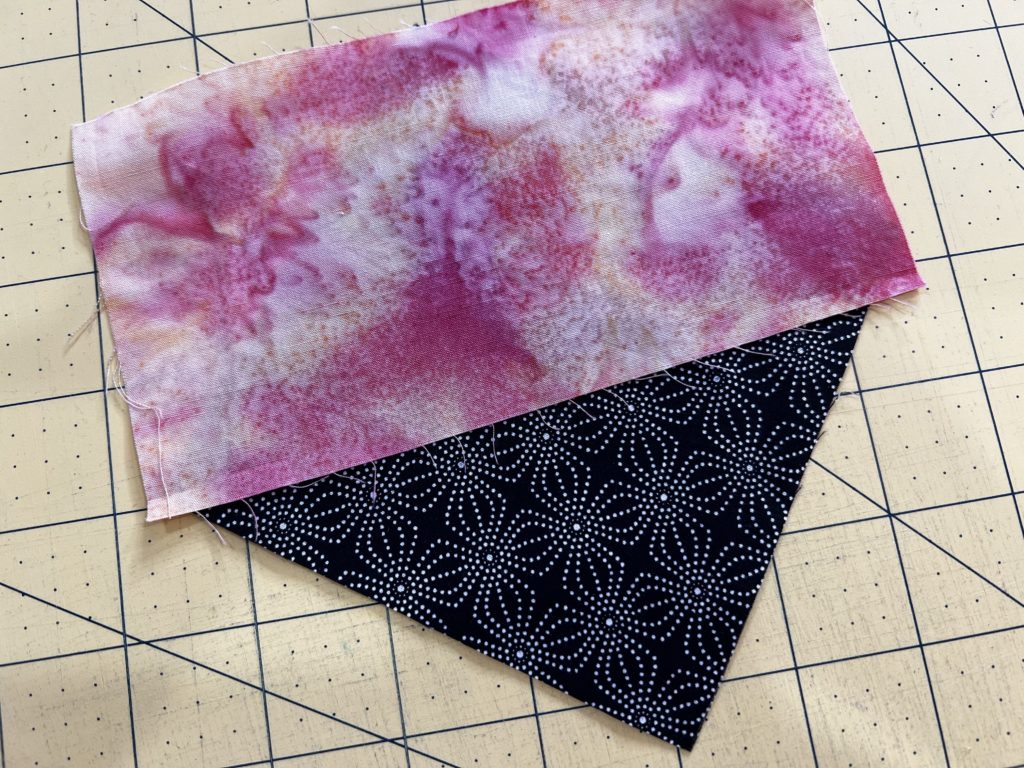
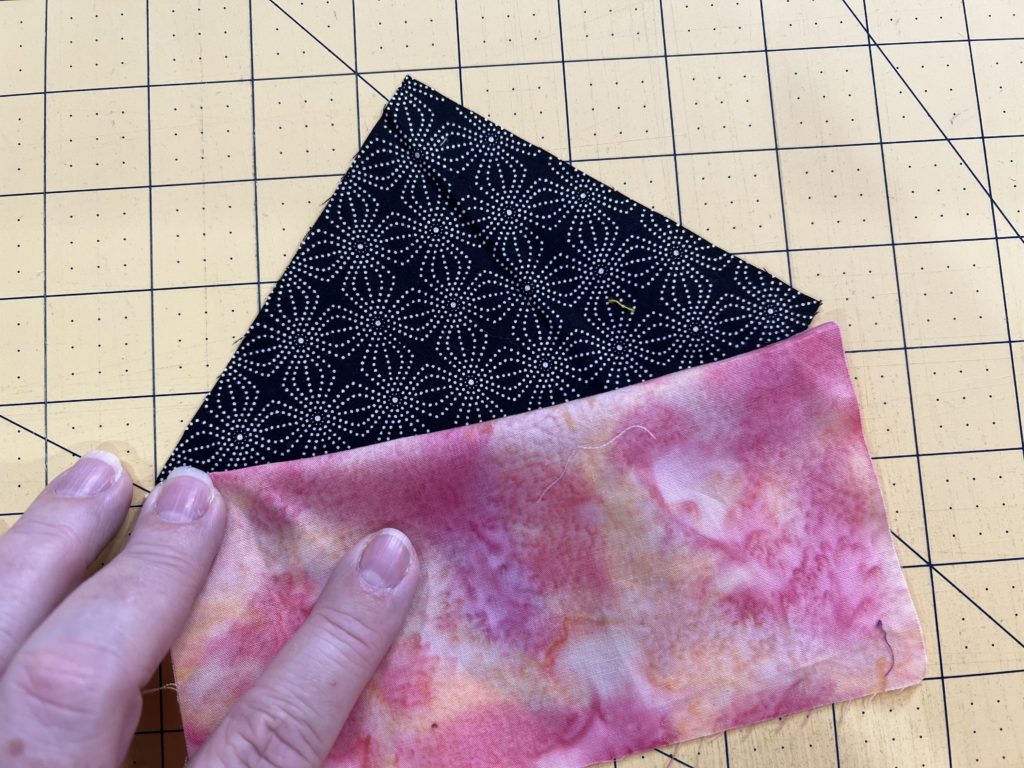
Make the wonky Friendship Star points. Lay a scrap of fabric, right sides facing, on top of of one of the background fabric squares. Position it so that when it is folded over using the 1/4″ seam allowance, it will completely cover the one corner. You made need to test it out a few times before sewing it just to make sure.

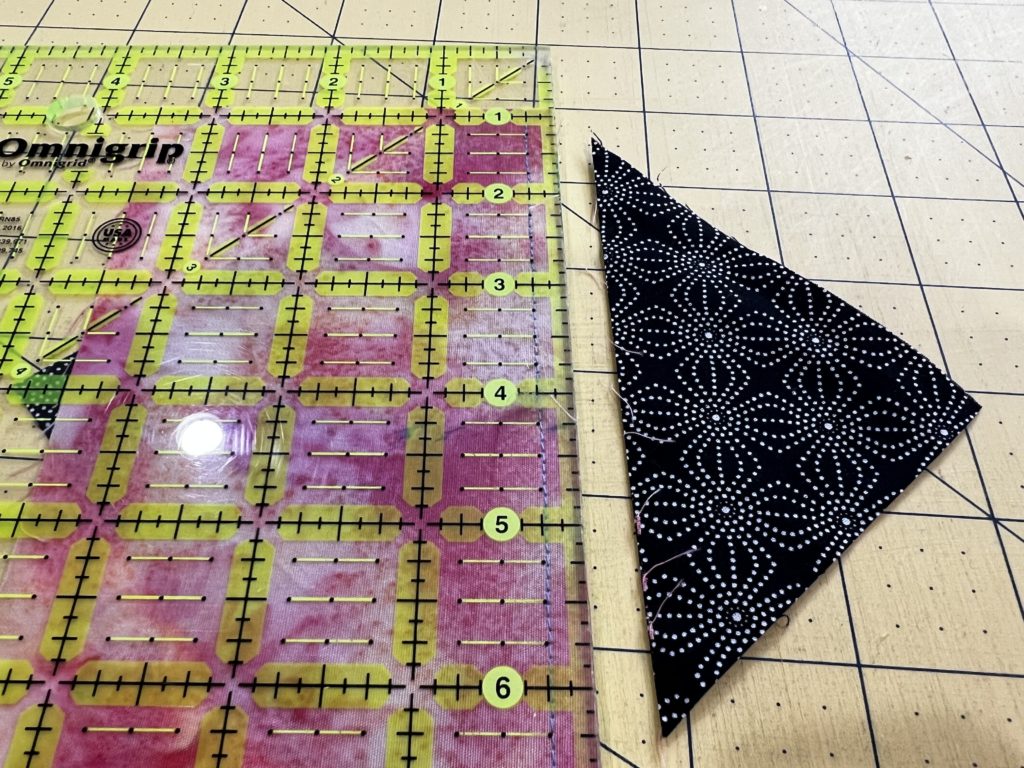
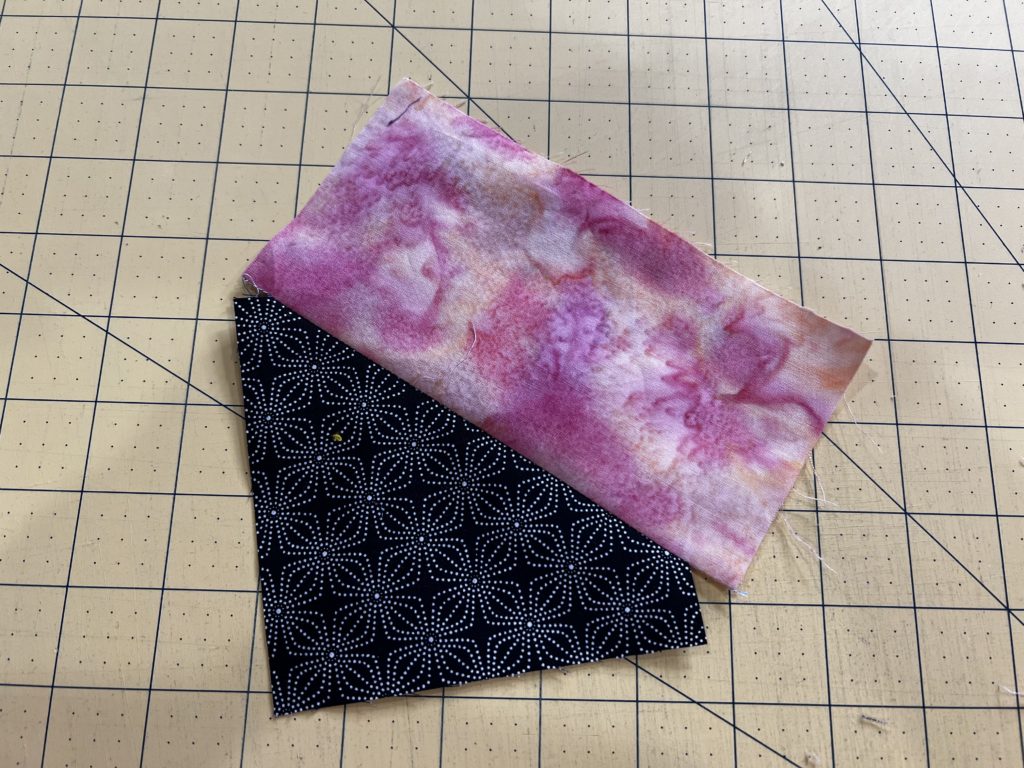
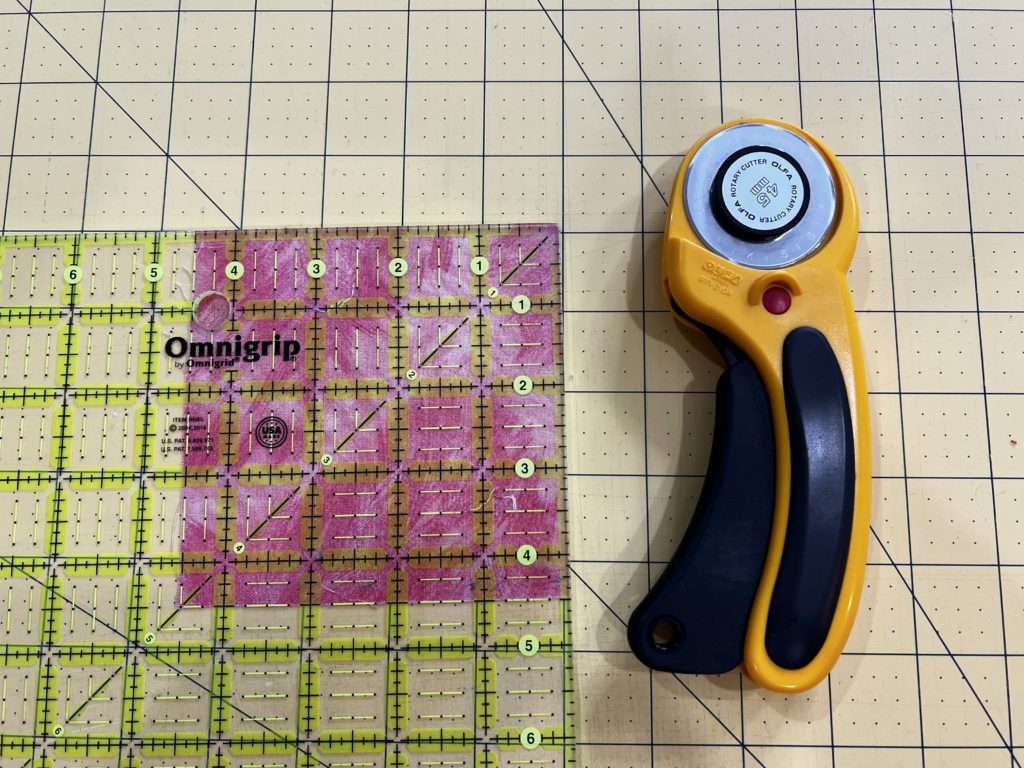
Sew along the edge using a 1/4″ seam allowance. Place the 1/4″ mark on your ruler on top of the seam just stitched. Trim away the excess and then press towards the focal scrap fabric piece.
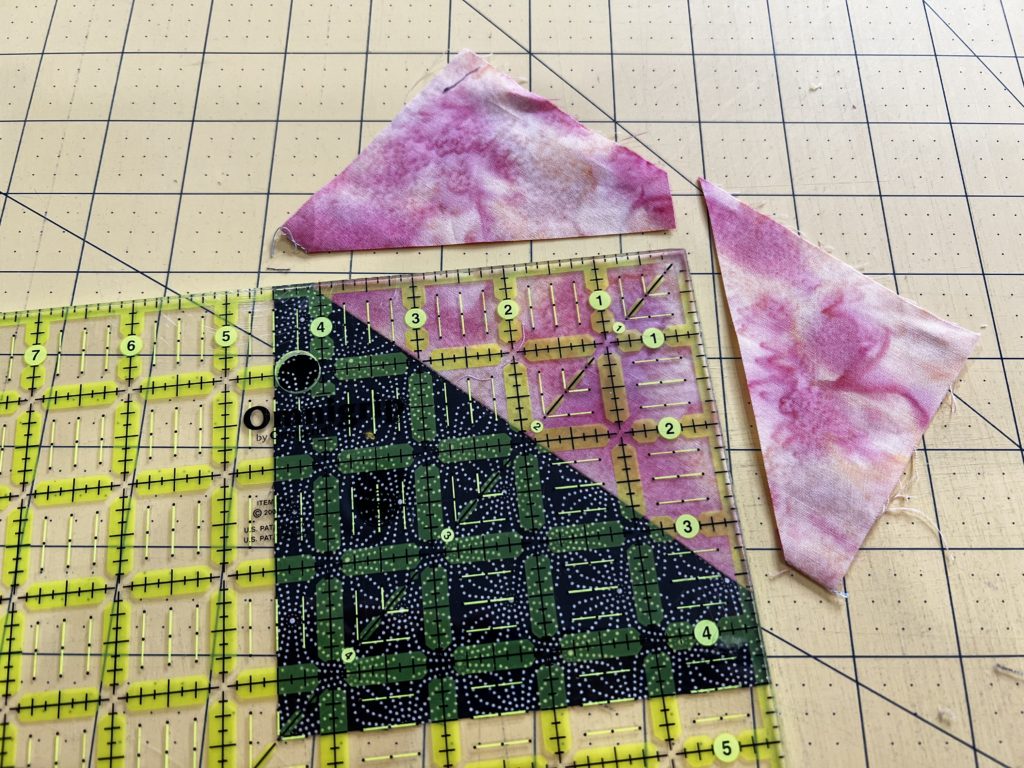
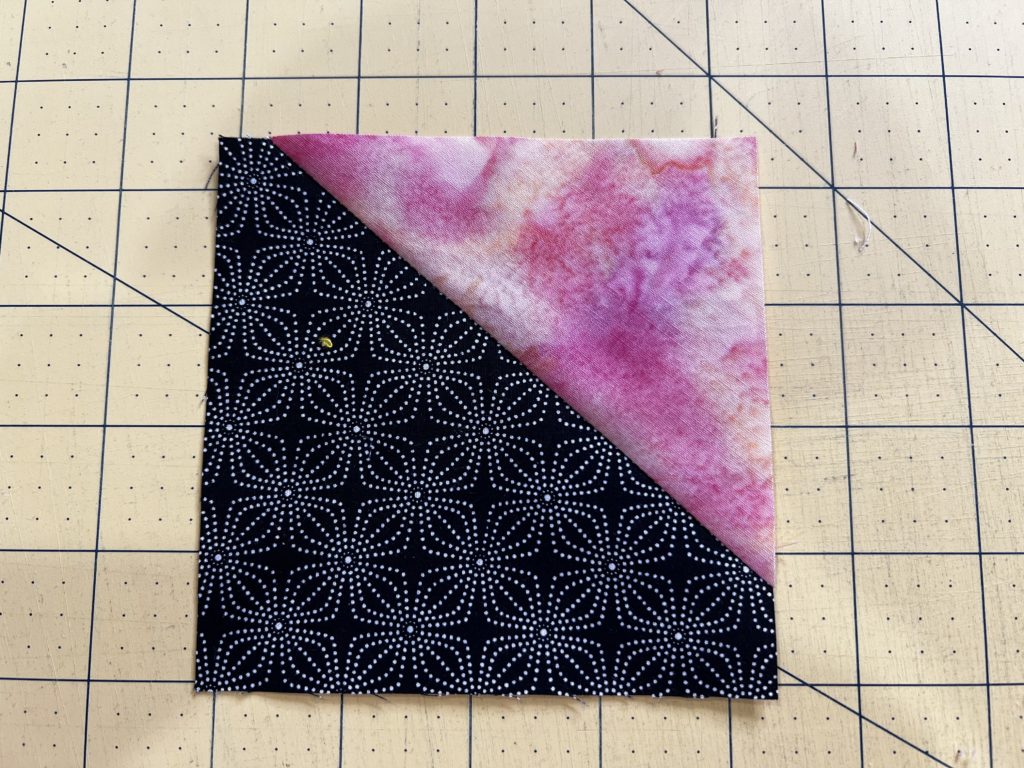
Making sure the square measure 4 1/2″ by using your ruler, trim away the excess fabric. Repeat with the three remaining background fabric squares and the scrap focal fabric.
Assembling the Block
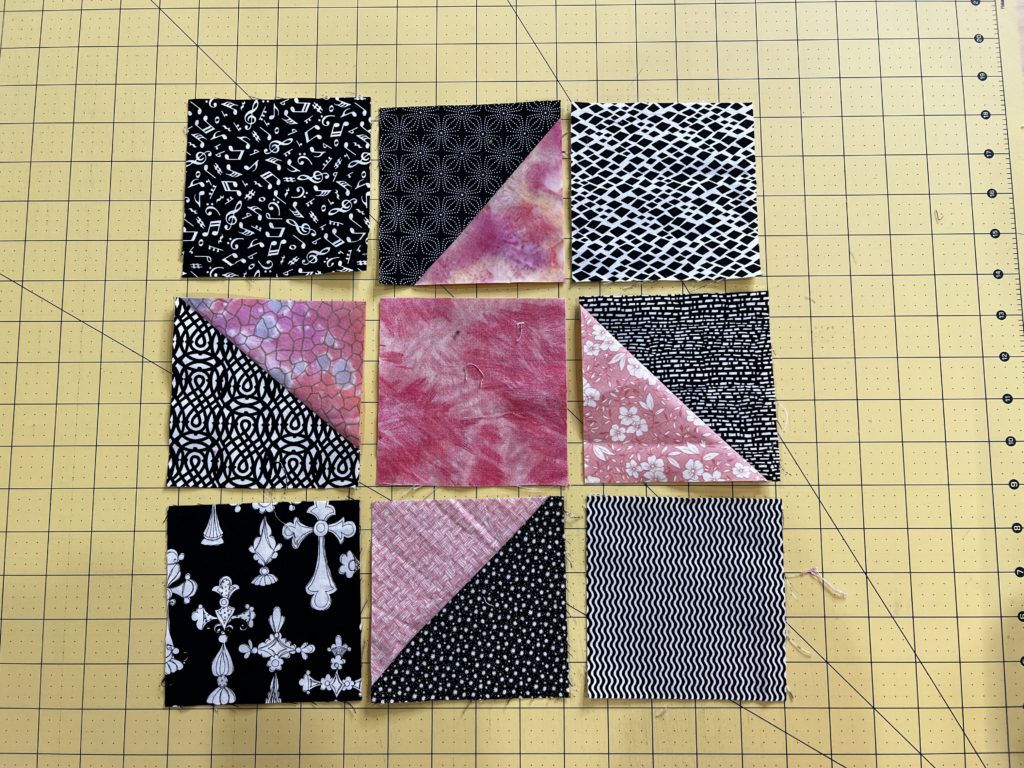
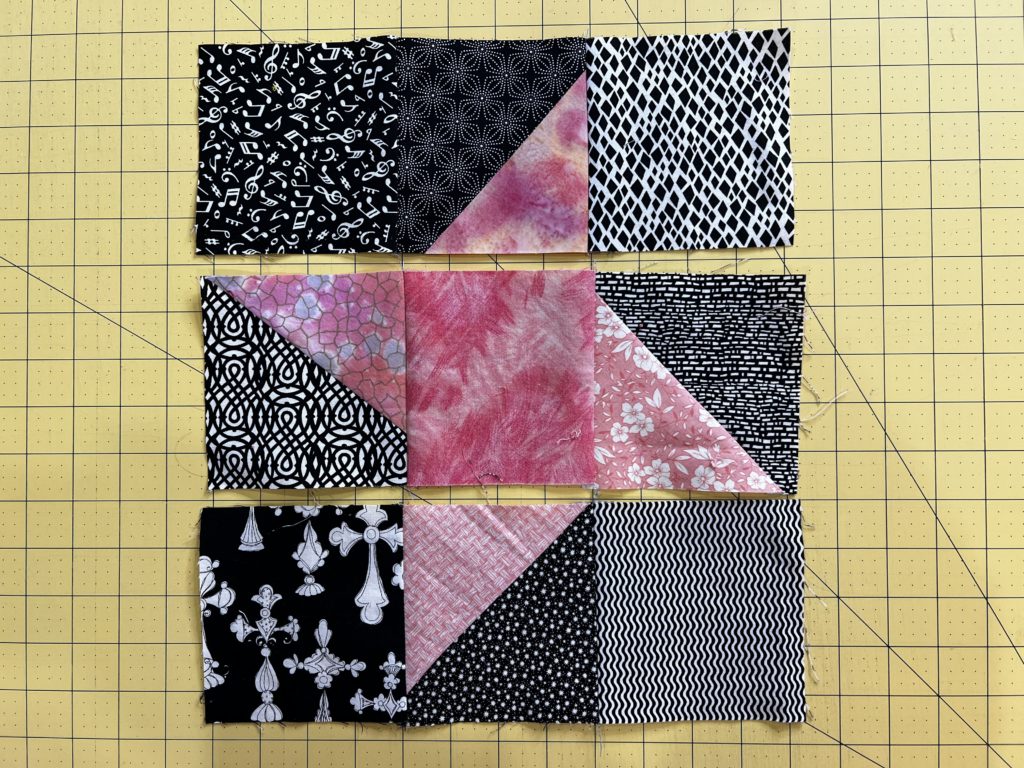
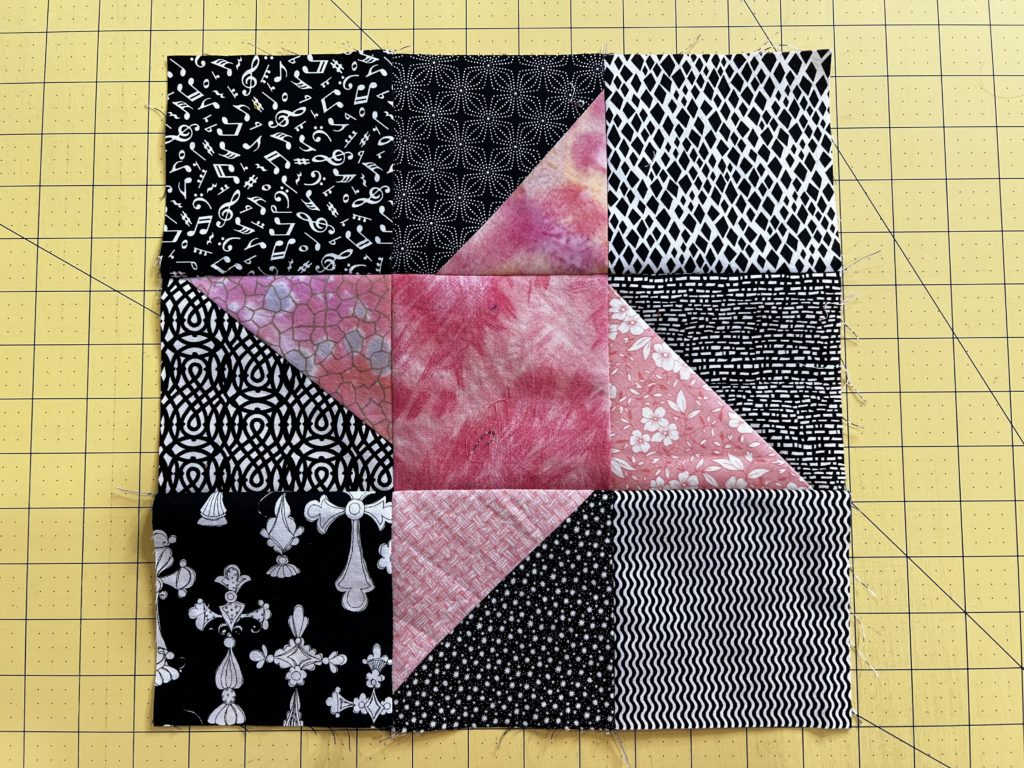
Lay out the blocks as shown. Sew together the individual rows. Press the top and bottom rows to the outside and the center one to the inside.
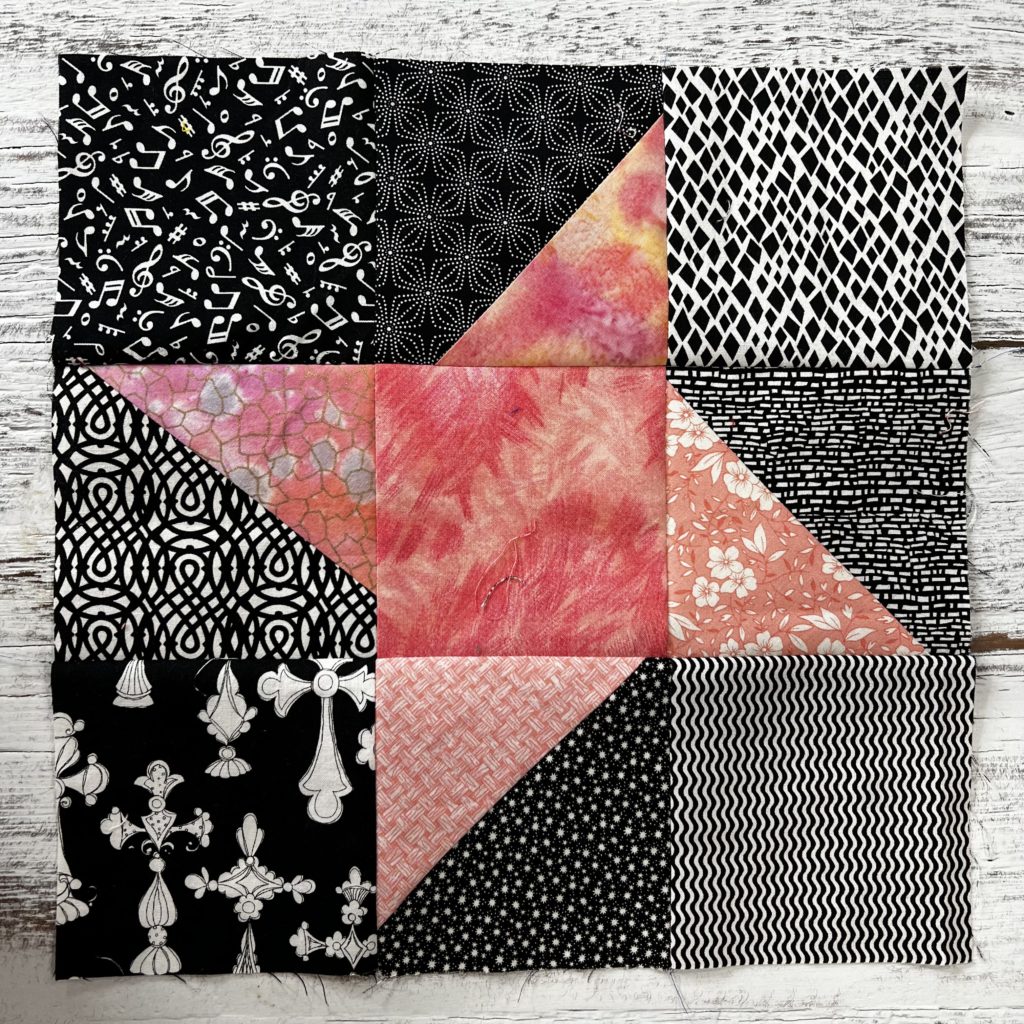
Then sew together the finished rows to get your 12 1/2″ (unfinished) block. It’s that easy!
Size Options
I am a fan of larger quilt blocks, however you may want to use different sizes. Here are a few options.
| Size of Squares Needed | Block Size (unfinished) | Block Size (finished) |
| 1 1/2″ | 3 1/2″ | 3″ |
| 2 1/2″ | 6 1/2″ | 6″ |
| 3 1/2″ | 9 1/2″ | 9″ |
| 4 1/2″ | 12 1/2″ | 12″ |
| 5 1/2″ | 15 1/2″ | 15″ |
| 6 1/2″ | 18 1/2″ | 18″ |
Turn Those Blocks Into A Quilt
For my quilt I decided to add some sashing. My sashing strips are 1 1/2″ x 12 1/2″. I also added 1 1/2″ square cornerstones (those little squares at the ends of the sashing). Here’s what I needed to make my 79″ x 92″ quilt.
- Wonky Friendship Star Blocks (12 1/2″ squares) – 42
- Sashing Strips (1 1/2″ x 12 1/2″ strips) – 97
- Cornerstones – (1 1/2″ squares) – 56

Assemble the sashing by alternating between a cornerstone square and a sashing strip (beginning and ending with a cornerstone).

Assemble the rows with blocks by alternating between a sashing strip and a wonky Friendship Star quilt block (beginning and ending with a sashing strip).
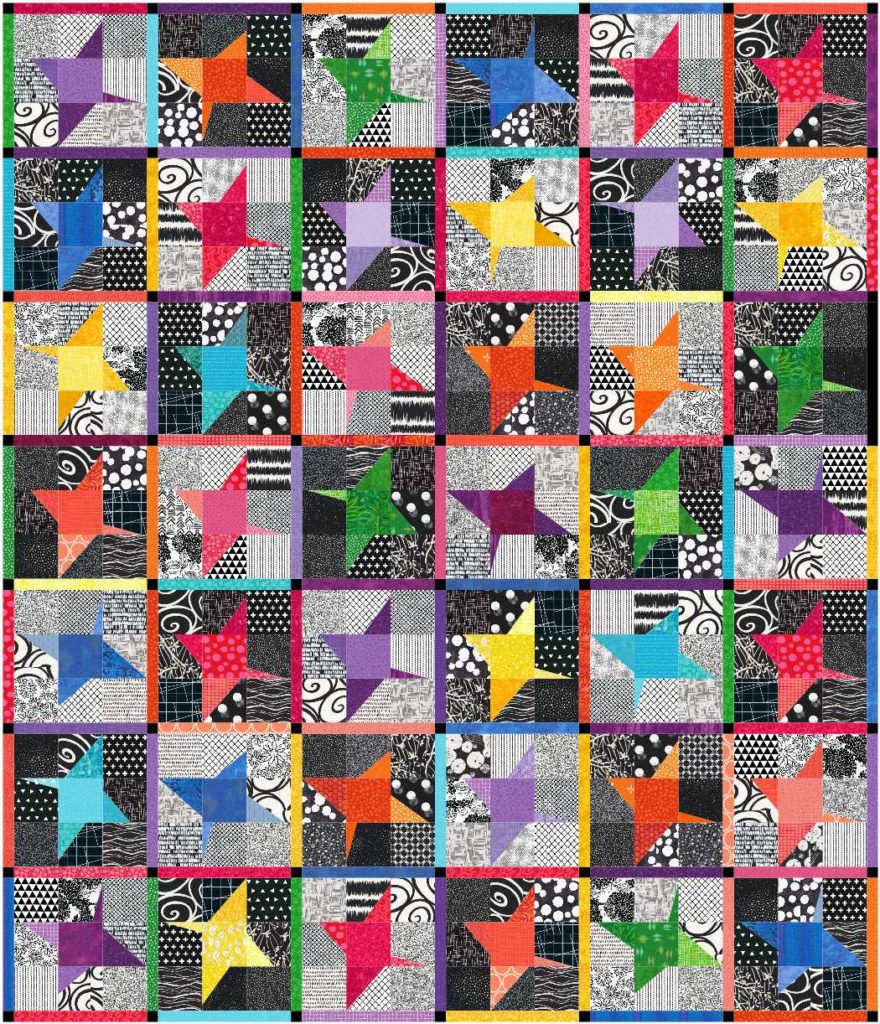
Finish assembling the quilt top by sewing together the rows, alternating between a sashing row and a block row (beginning and ending with a sashing row)
Happy Quilting!
- Claudia

