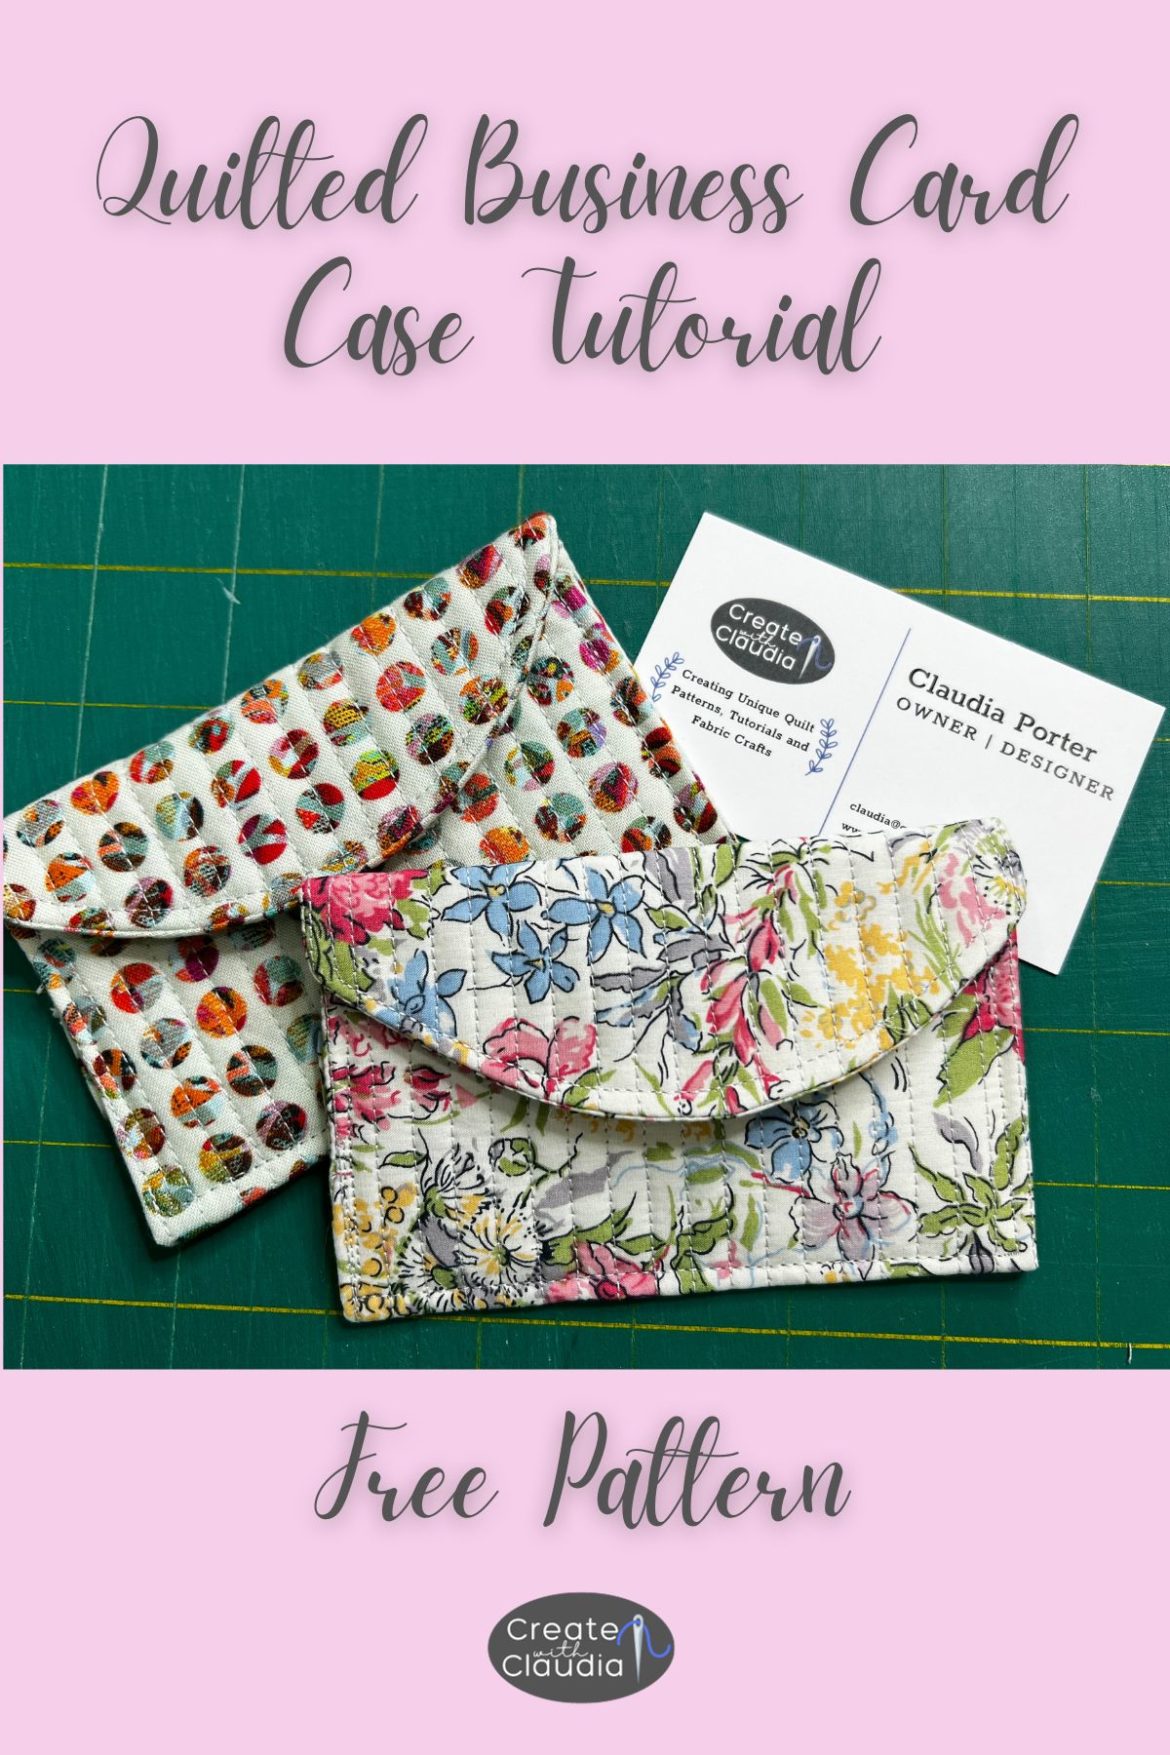
How to Make a Quilted Business Card Case
The other day I was cleaning up my workspace and I had a stack of business cards spread around my desk. Since they kept getting in the way I decided that I needed to find a solution. That is how this blog post How to Make a Quilted Business Card Case came about. With just a bit of fabric, batting and some hook & loop closure, you can make one for yourself in no time. They are great for business cards, credit cards, gift cards or other small items.
This project is episode #16 of my YouTube series “Working Our Scraps Off”. I took a long break from making some projects for this series, but I am back with this one. Wach the tutorial posted below or keep reading for the written one.
What You’ll Need to Make One Case

- 2 pieces of fabric cut 9″ x 6″ – One will be the outside of the case so it will be the main fabric you can see. The other piece won’t be seen once the case is done.
- 1 piece of fabric cut 8″ x 5″ – This is the lining and will be seen when you open the case
- 1 piece of thin batting cut 9″ x 6″ – I used Hobbs Thermore because it gives this project the ideal weight.
- 1 piece of hook & loop closure for fabric about 1″ long and 3/4″ wide – I used Velcro brand for fabric and it works perfectly for this case. (Optional) Instead of hook & loop closure you can use snaps for this quilted business card case tutorial.
- Circular template that is large enough for the 5″ width. I used a 6″ embroidery hoop.
- General sewing supplies
Quilt the Outside of the Case
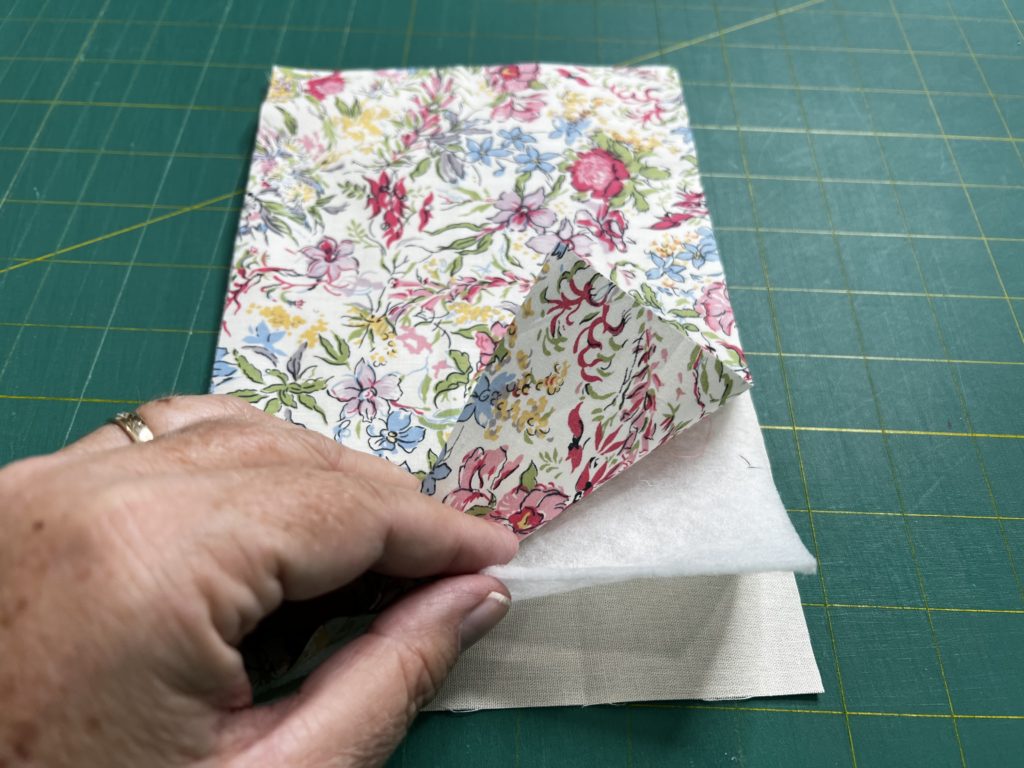
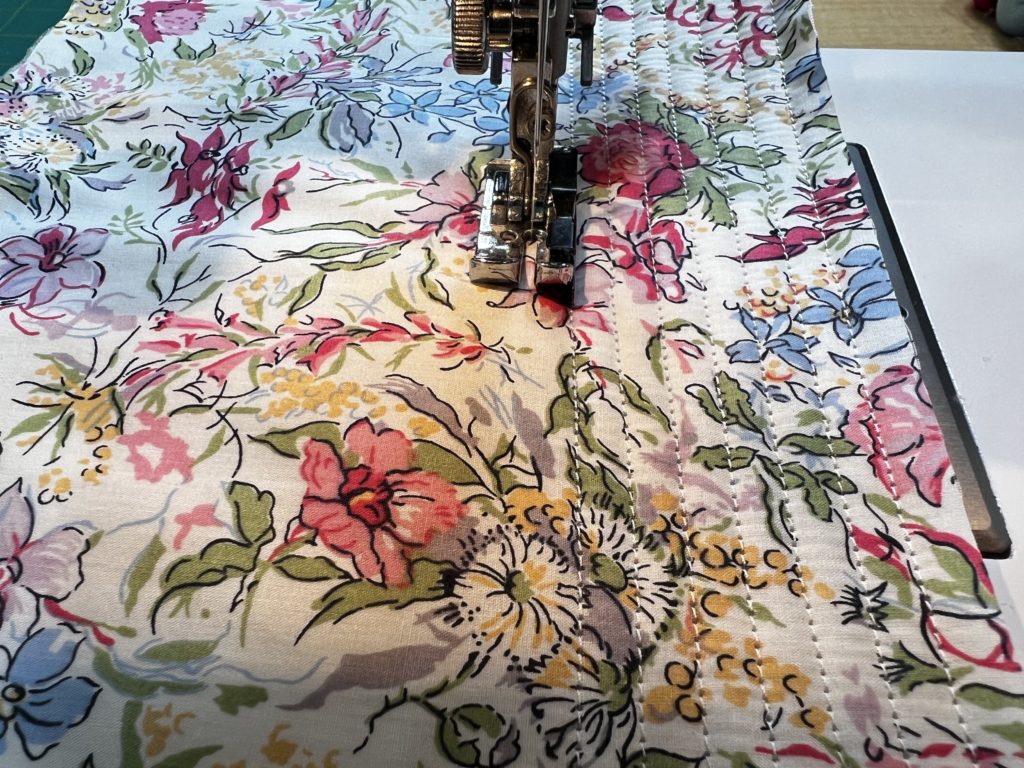
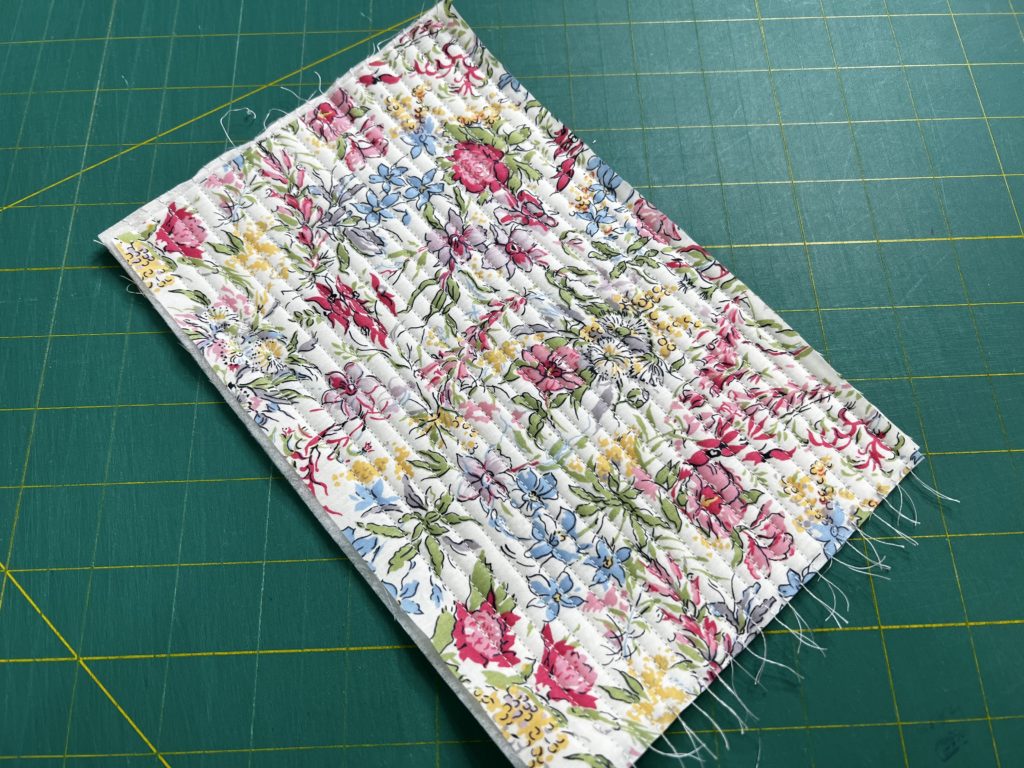
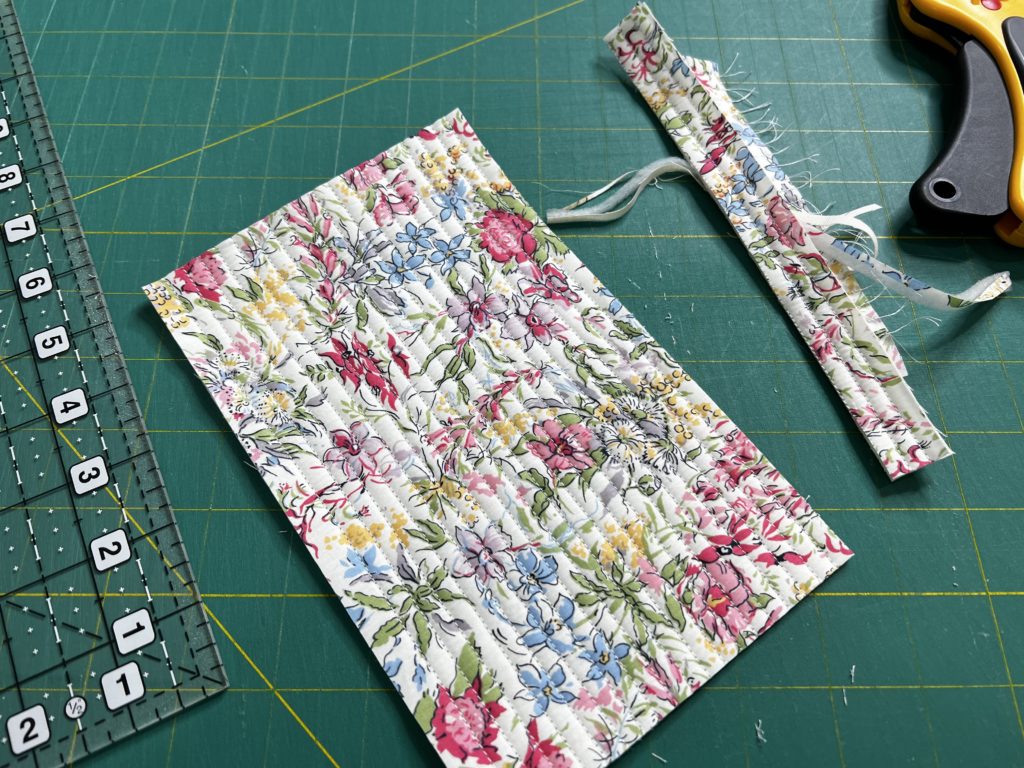
First, lay down the 9″ x 6″ piece of fabric that will not be seen on your surface. Next, line up the batting on top of that fabric. Lastly, lay the piece of fabric that will be the outside of the case on top, right side facing up.
Pin and quilt as desired. Trim quilted piece to 8″ x 5″.
Assembling the Case
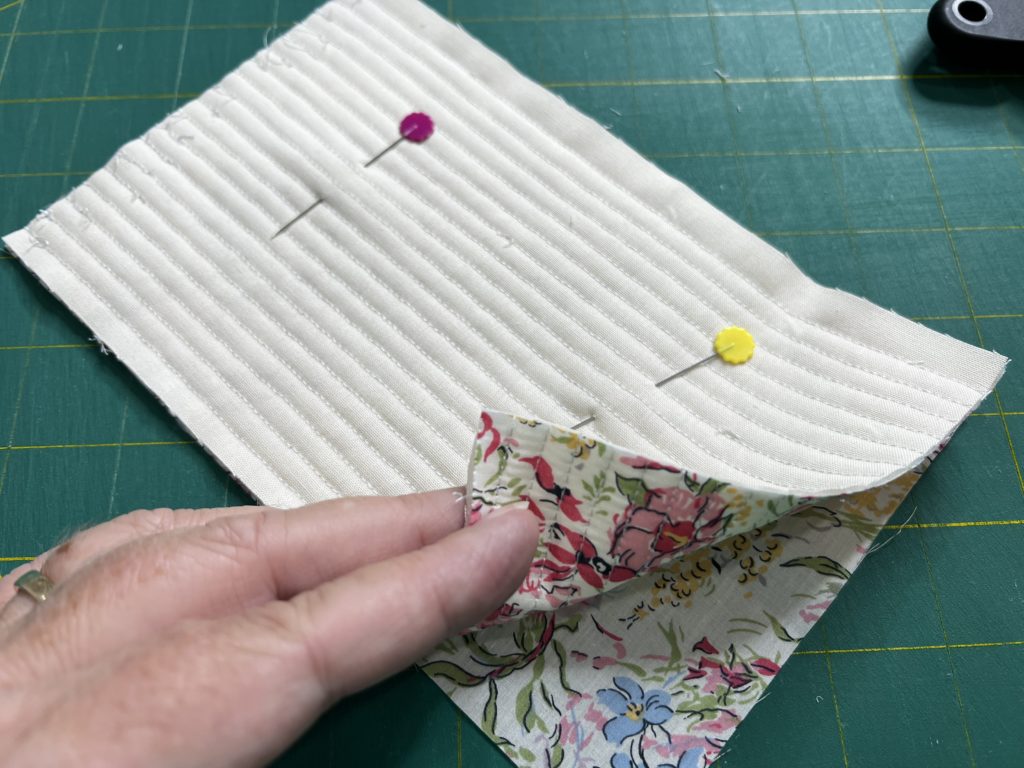
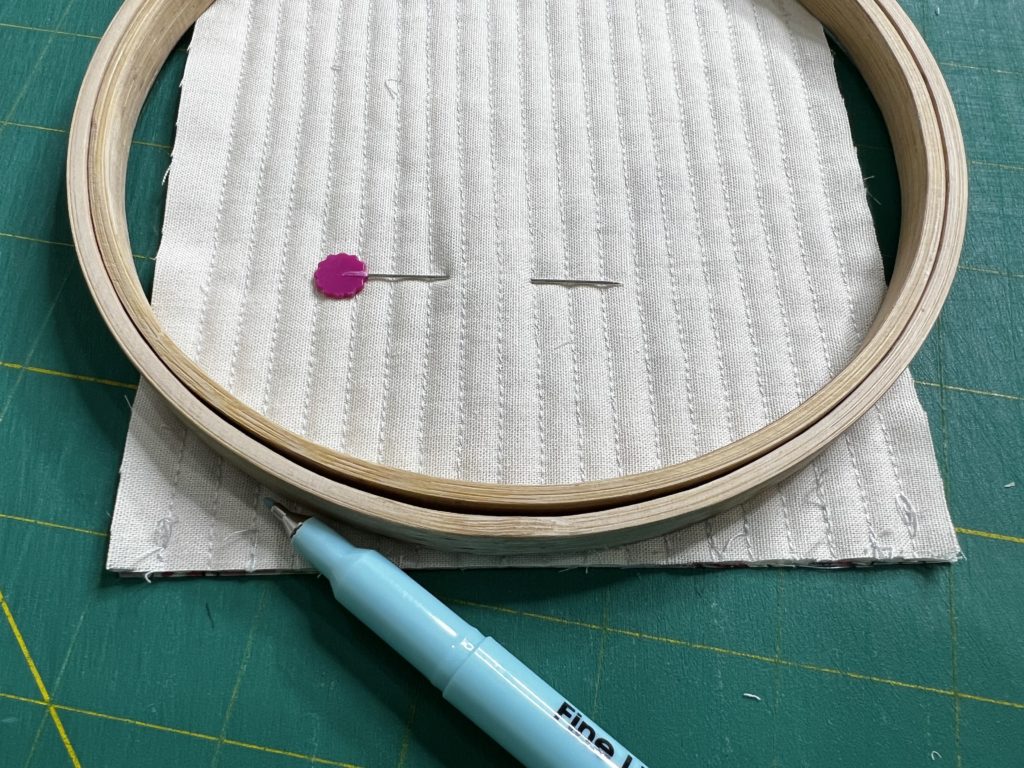
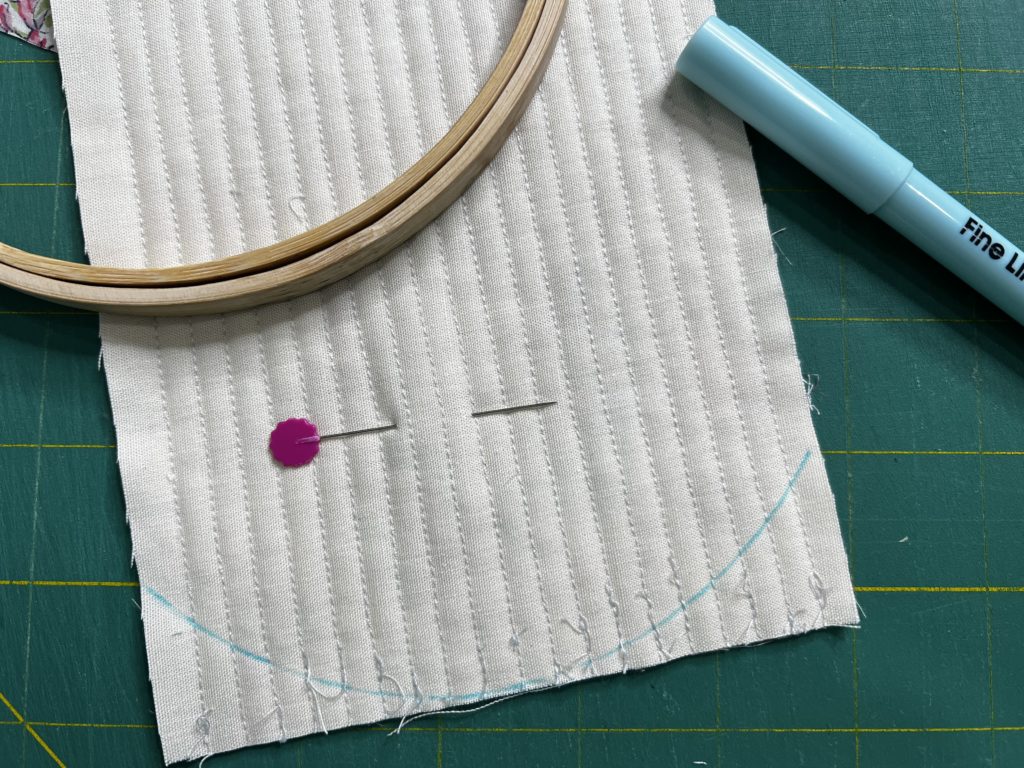
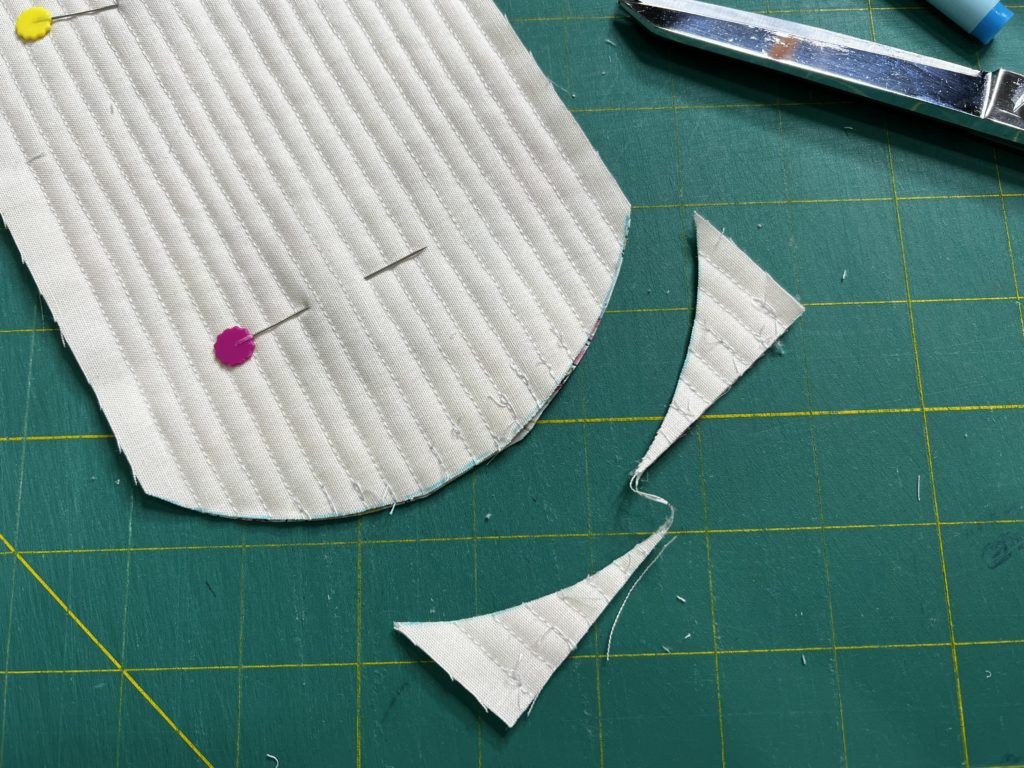
Once you have the quilted section finished it is time to finish up the case.
First, with right sides of fabric facing, line up the quilted section and the lining fabric and pin together.
Center your circular template on the top edge of the case. I leave a scant space at the very top so the marked line will show. Then, using a water soluble marker (or something else that won’t bleed through to the outside), mark the curve.
Cut along the drawn line to get the top curve.
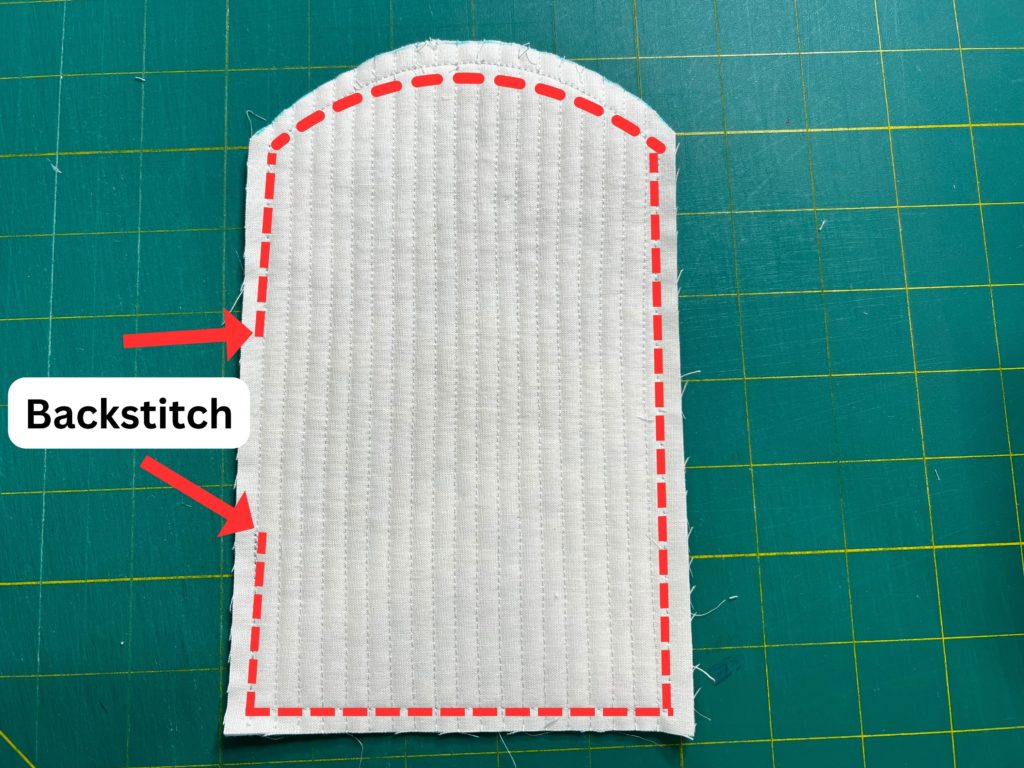
Using a 1/4″ seam allowance, sew around the edge of the layers. Leave an opening about 2 1/2″ long on one side so you can turn the case right sides out. Make sure to backstitch at both ends so that the seams won’t rip open when you are turning it.

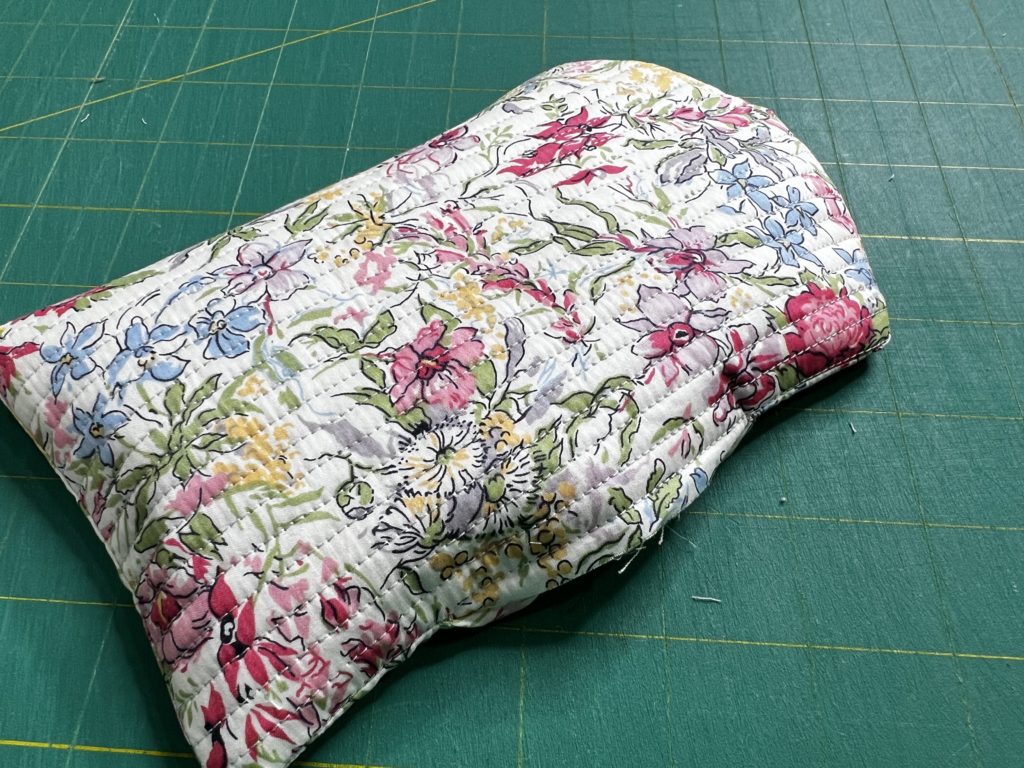
Clip the bottom 2 corners, making sure not to the cut through the seam.
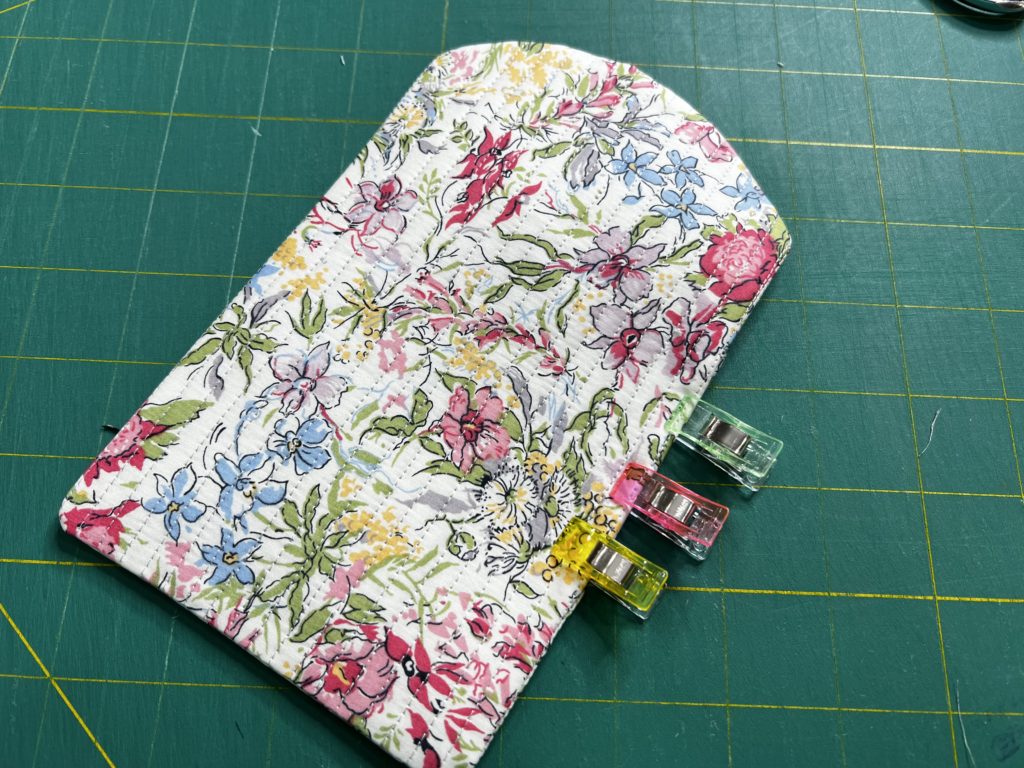
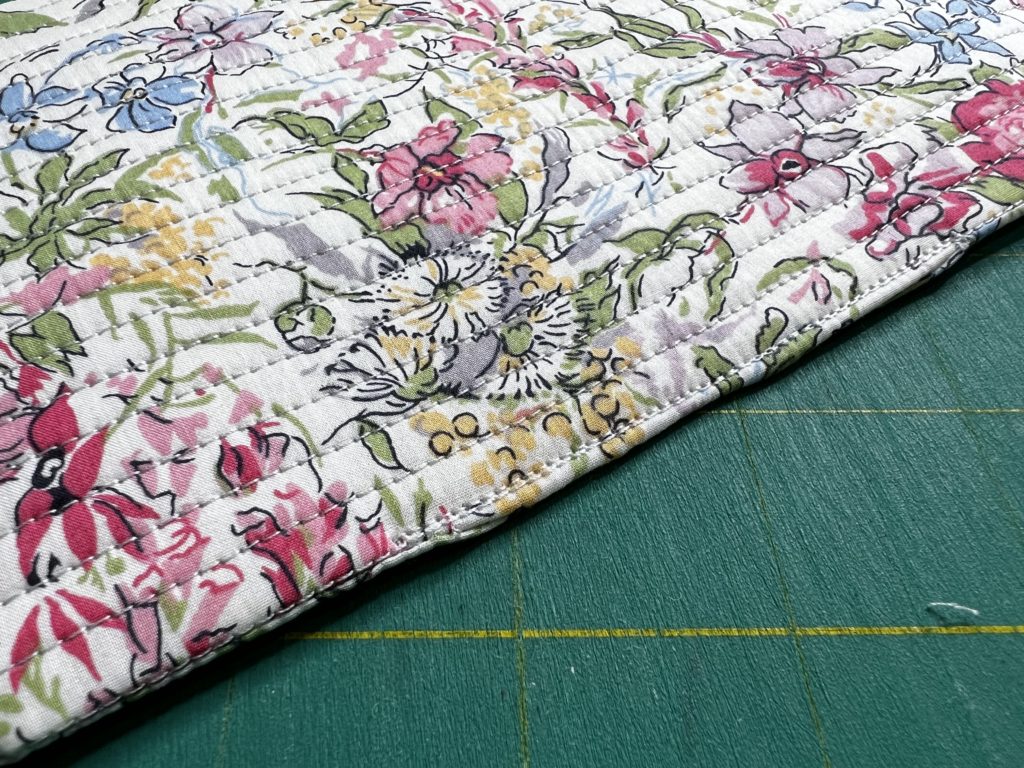
Press well, turning under the edges of the opening and, using a scant 1/8″ seam, sew the opening closed.
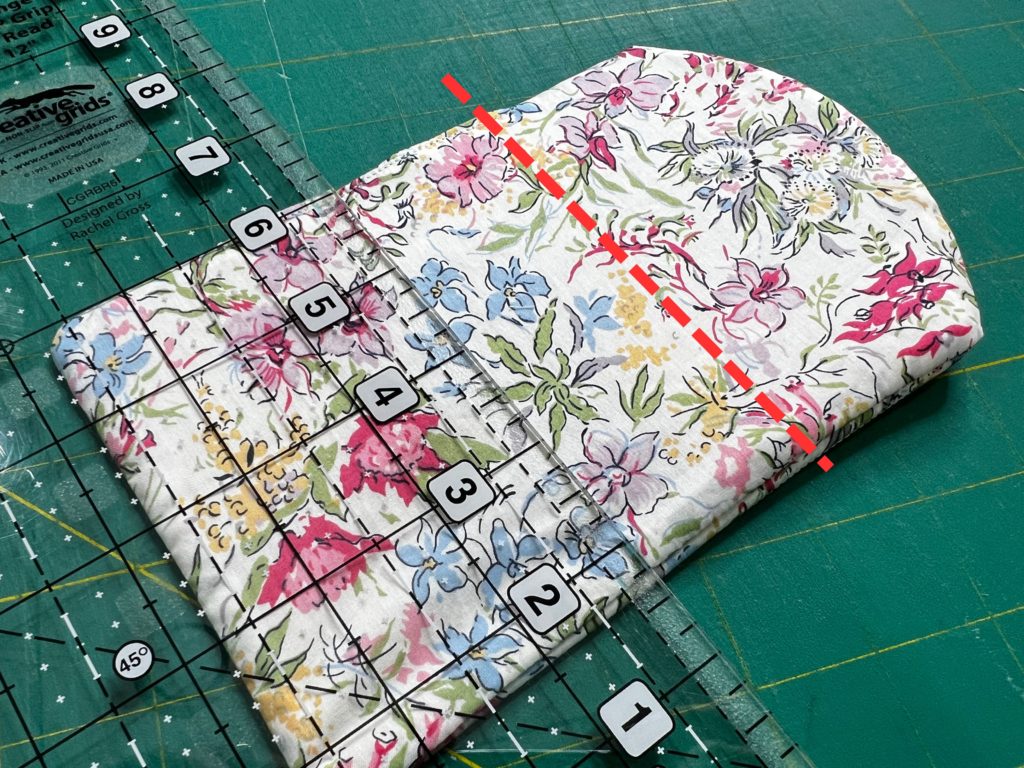
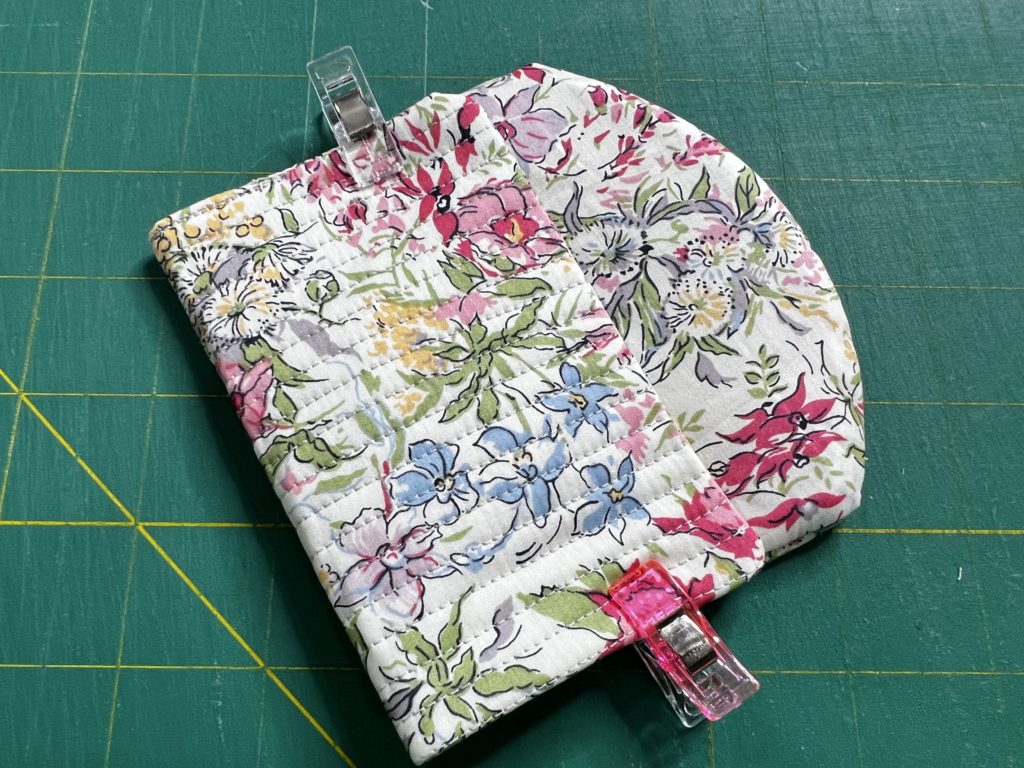
Using a water soluble marker, lightly mark a line across the width of the piece that is 5 1/4″ from the bottom (shown by the red dotted line in the photo on the left). Fold up the bottom to the line just drawn and clip on both sides. Press.
Finishing the Case
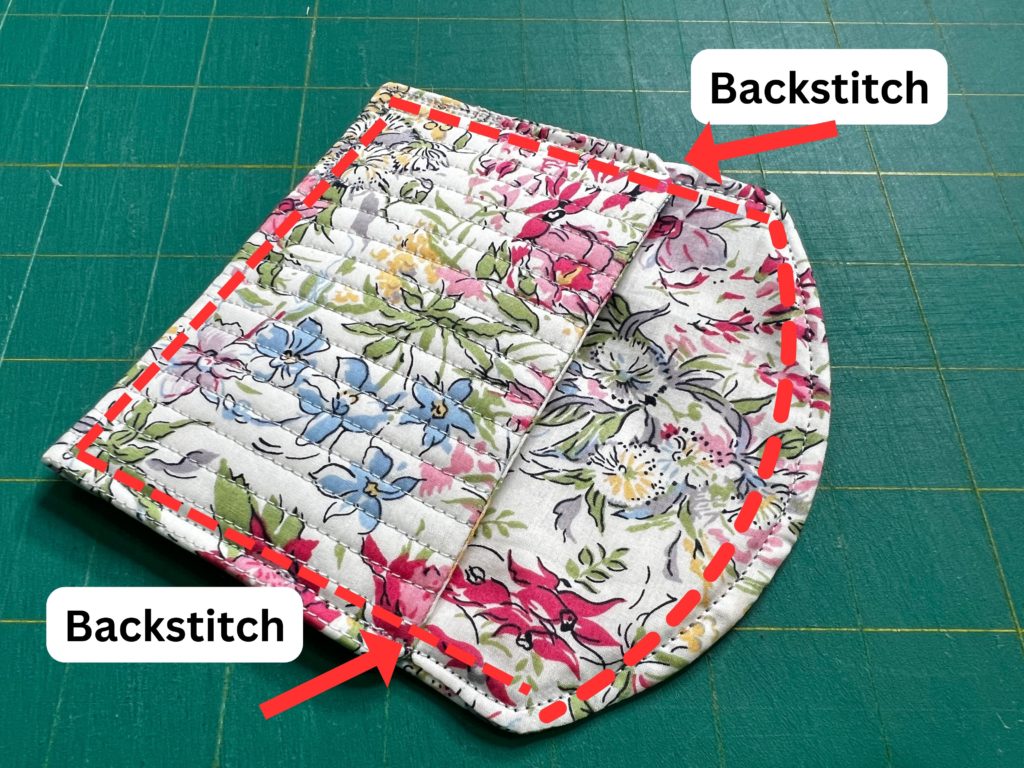
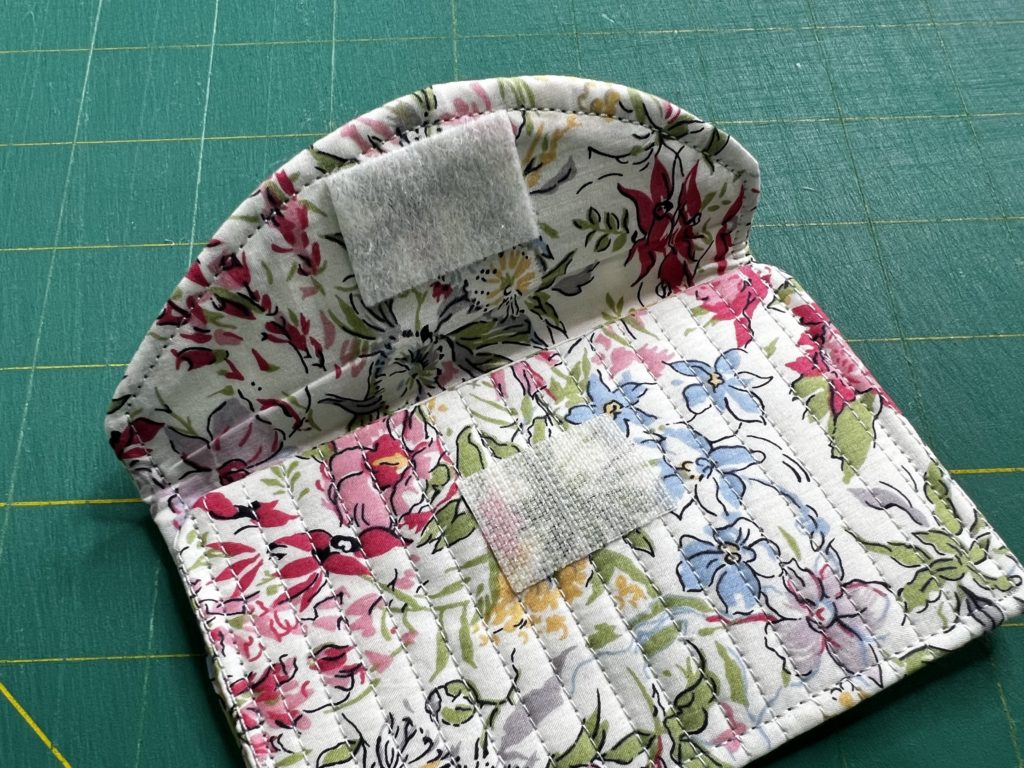
Stitch around the case using an 1/8″ seam allowance. Backstitch at the edges where the edge of the case that was folded up meets the back.
Finally, add the hook and loop closure to the top edge of the case. I use the fluffy side on the top part and the rougher side on the body of the case.
How to Make a Quilted Business Card Case
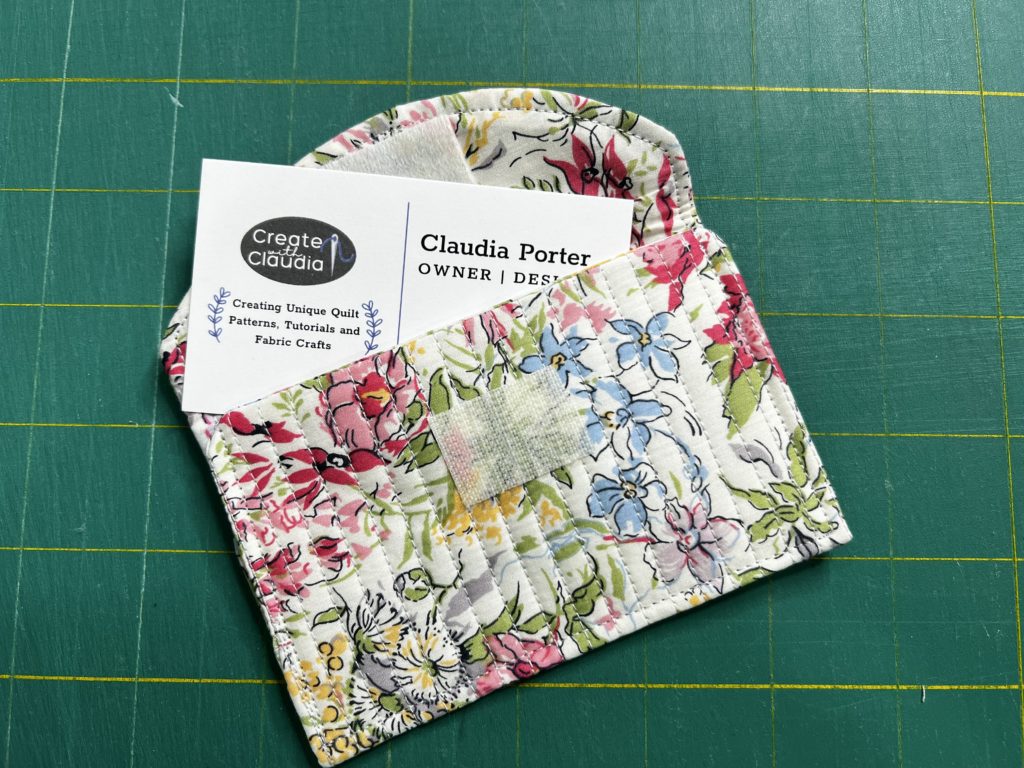
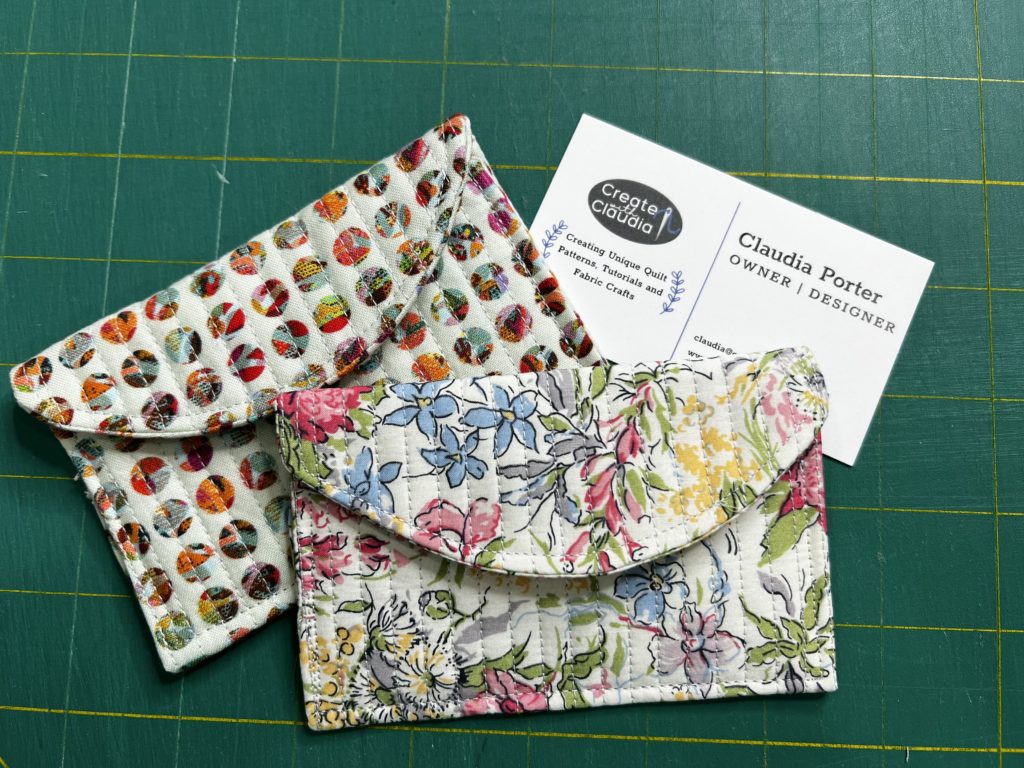
I am loving this card holder. I’ve already made four of them and plan on making many more. It’s easy, looks great and is perfect for so many things. Are you giving someone a gift card? Give it to them in a case like this. Need something for your credit cards? Try one of these.
Whatever you use your case for you are going to love it.
Happy Quilting!
- Claudia


1 Comment
Noah
October 13, 2023 at 2:16 AMThis blog post is a fantastic DIY guide on creating a quilted business card case. It’s a creative and practical project that can add a personal touch to your networking efforts. Additionally, considering the modern touch, you can use metallic business cards. Just as this DIY project combines craftiness and functionality, metallic business cards blend professionalism and aesthetics, making your networking efforts stand out. Thanks to the author for this fun and crafty idea and for acknowledging the value of metallic business cards, which add a unique and memorable dimension to your professional connections. This post is a great resource for those looking to showcase their creativity while networking effectively.