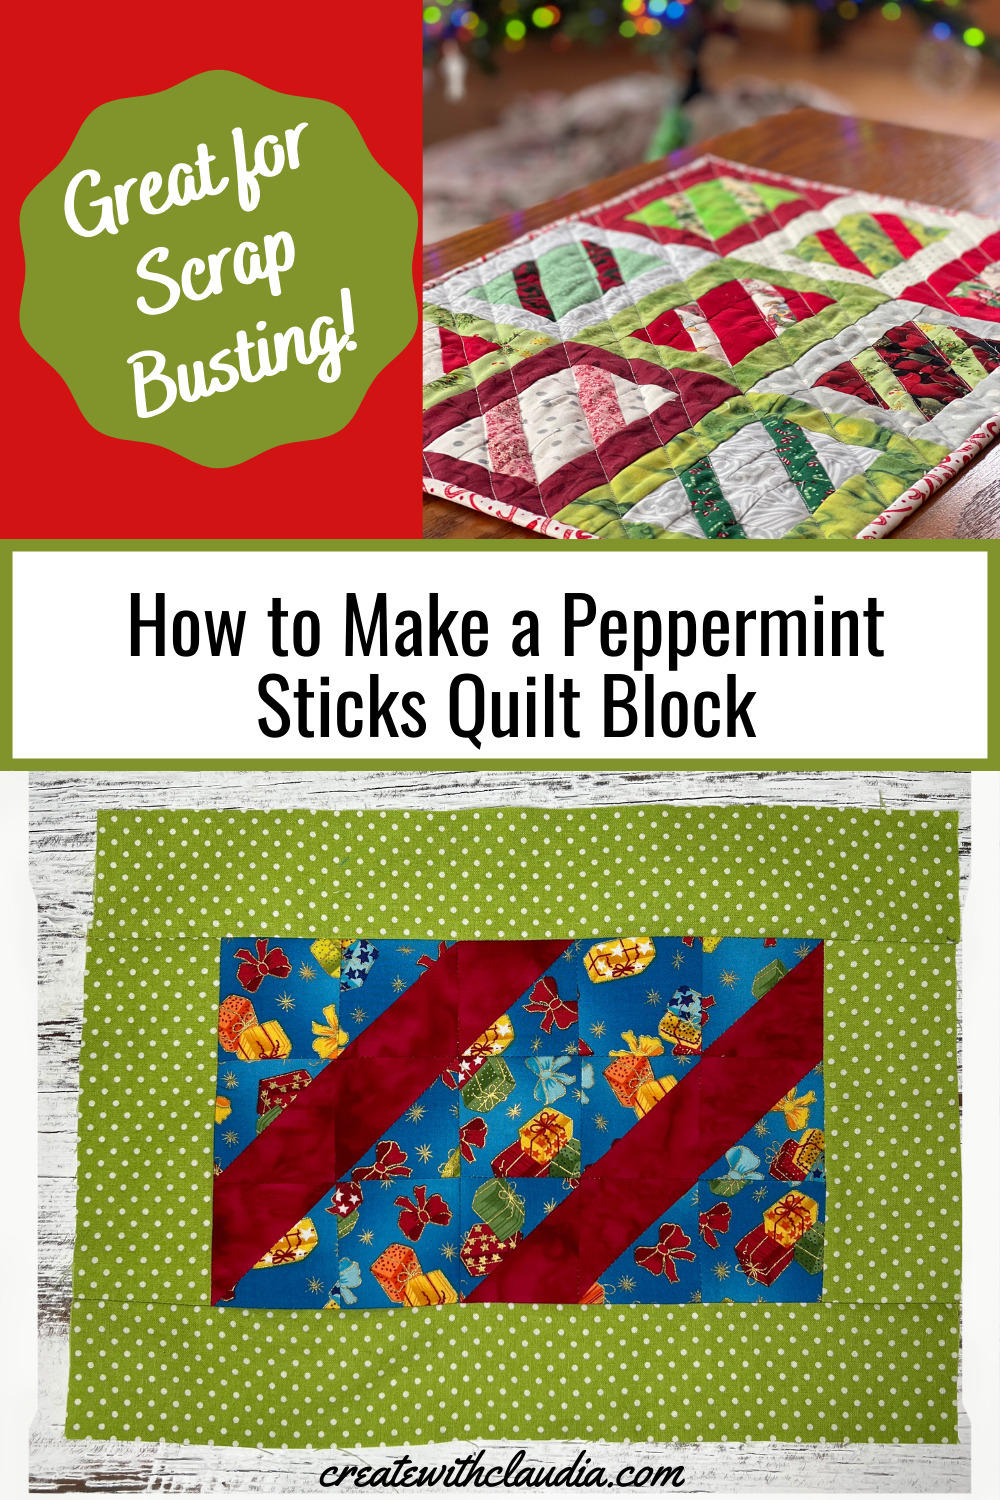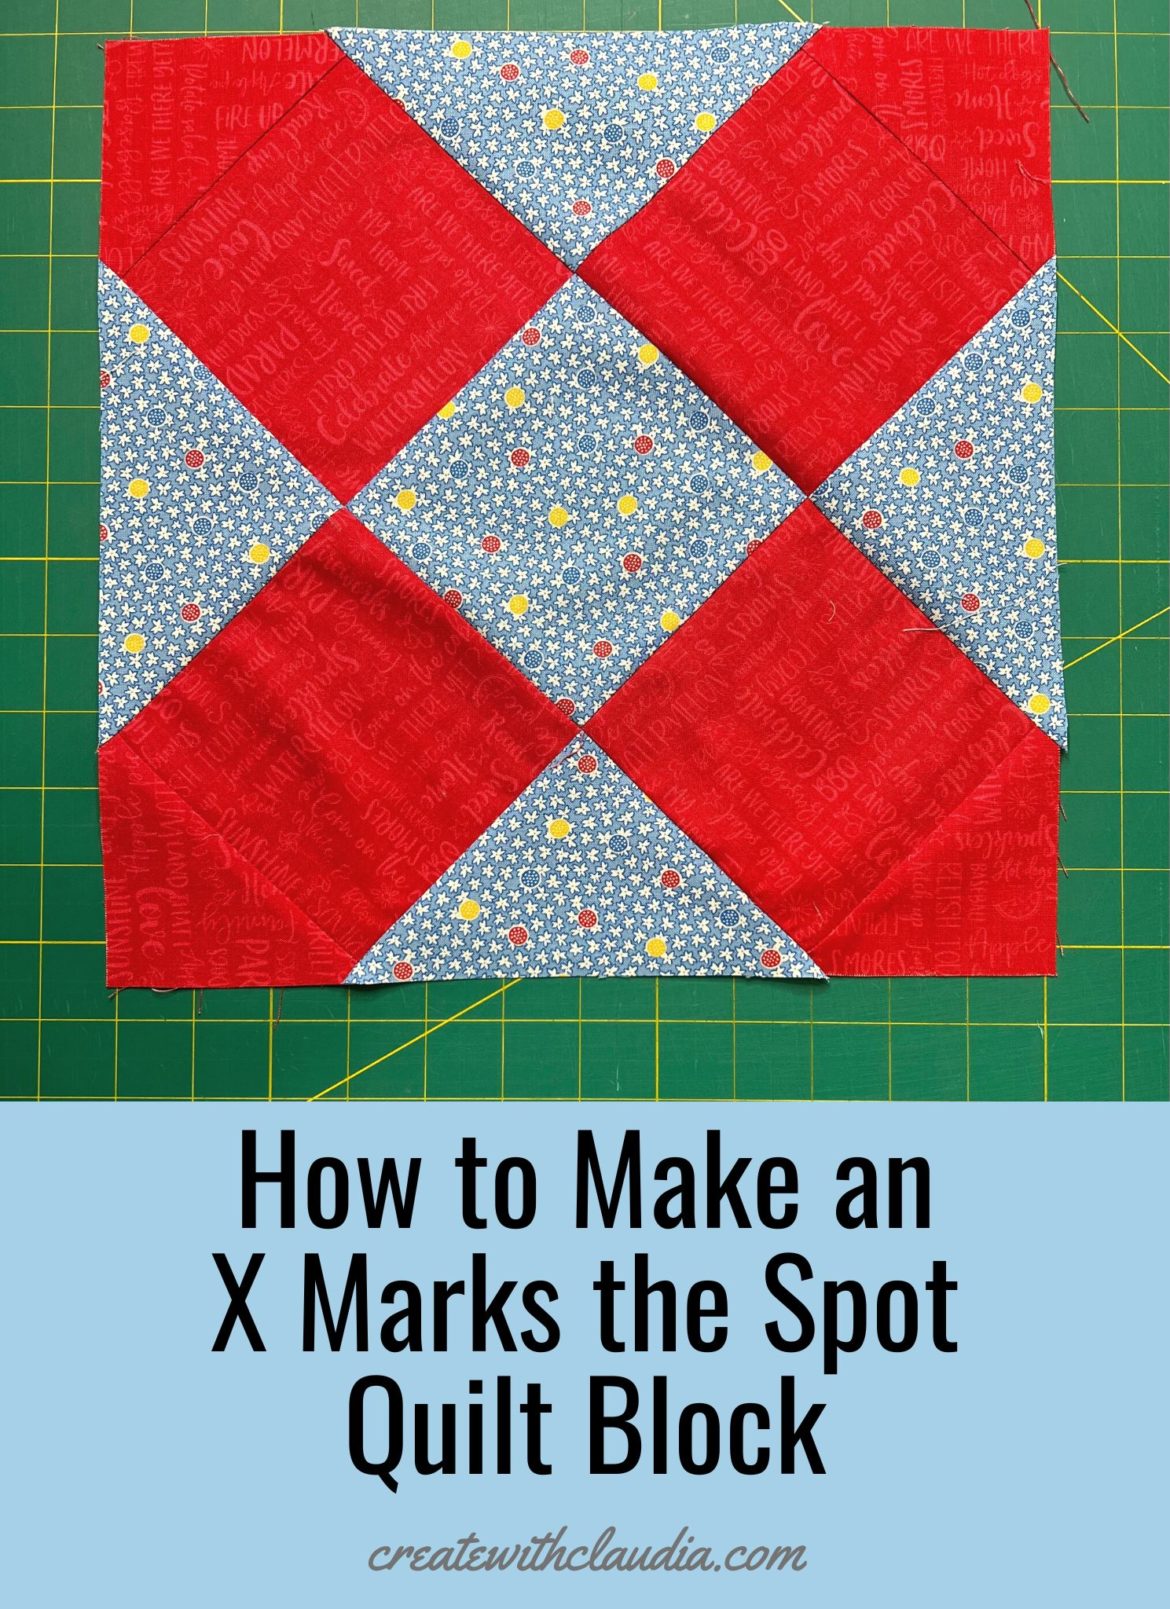
How to Make an X Marks the Spot Quilt Block
Easy to assemble and a true scrap busting quilt block, learn how to make an X Marks the Spot quilt block. The block measures 12″ finished so it is a nice and large block. Depending on the colors you use, the X can really stand out or fade into the background. I hope you give it a try.
How to Make an X Marks the Spot Quilt Block
Tips
General quilting supplies are needed to make this block. A 1/4″ seam allowance is used.
I have curated a shop with some of my favorite quilting/crafting tools in my Amazon store. You can shop here.
As An Amazon Affiliate I Earn From Qualifying Purchases at No Extra Cost To You
What to Cut to Make One 12″ Finished Block
Fabrics
A – 1 square cut 7 1/4″ by 7 1/4″ (cut in half on the diagonal 2 times) & 1 square cut 4 3/4″ by 4 3/4″
B – 4 squares cut 4 3/4″ by 4 3/4″ and 2 squares cut 3 7/8″ by 3 7/8″ (cut in half on the diagonal)
Block Layout

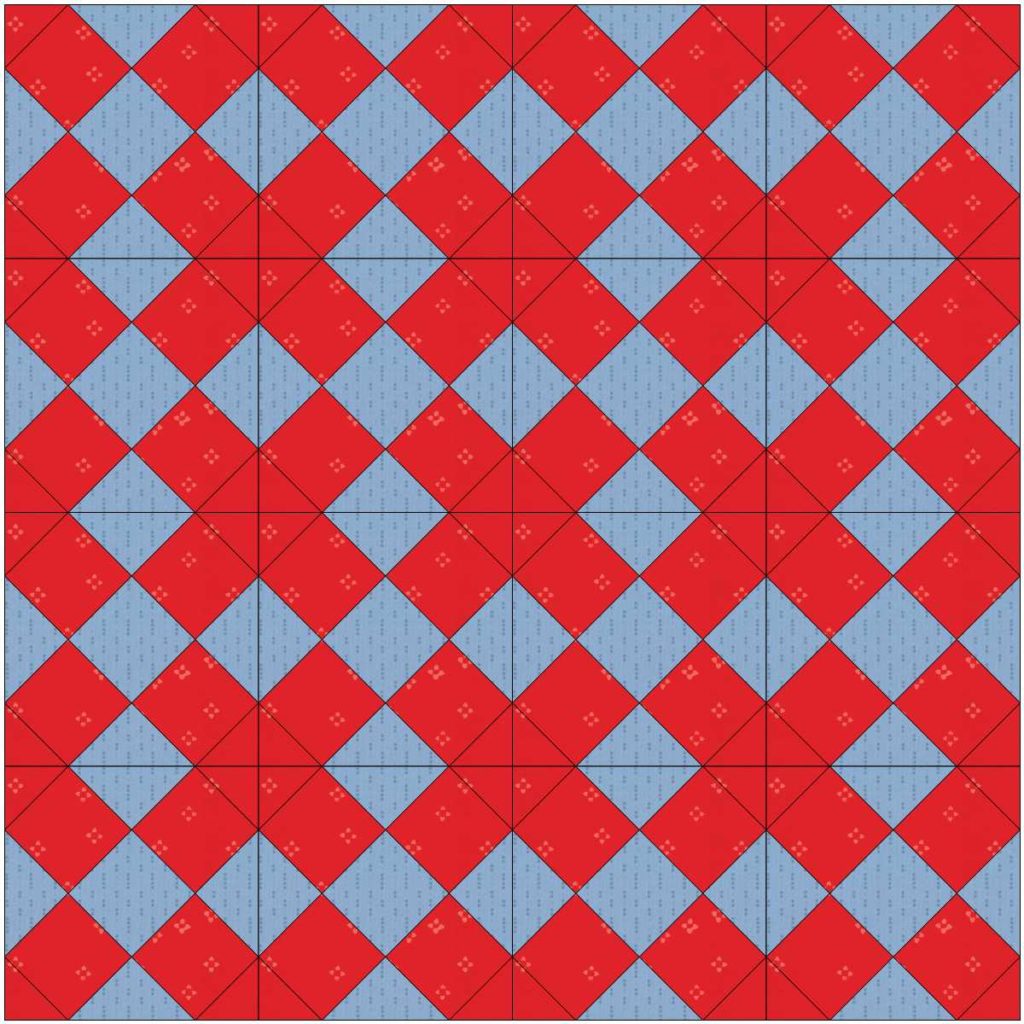
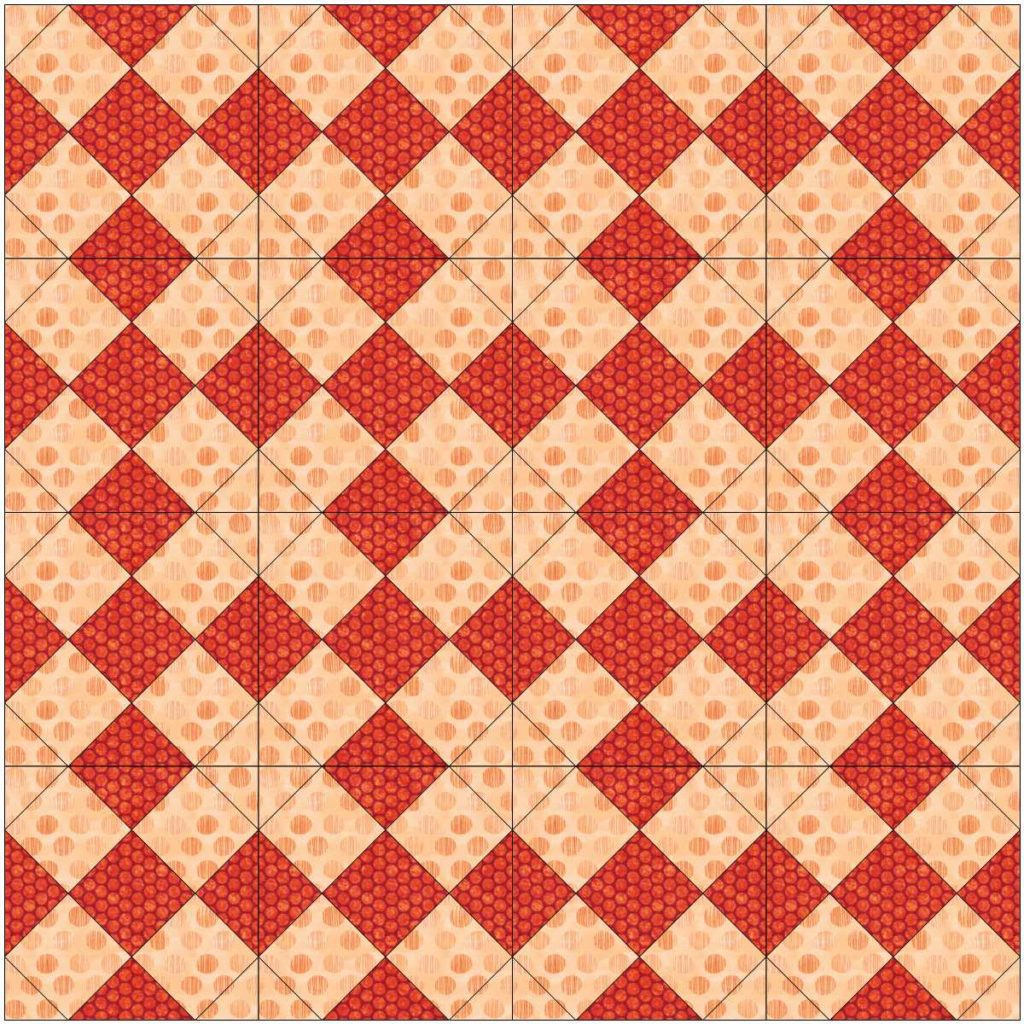
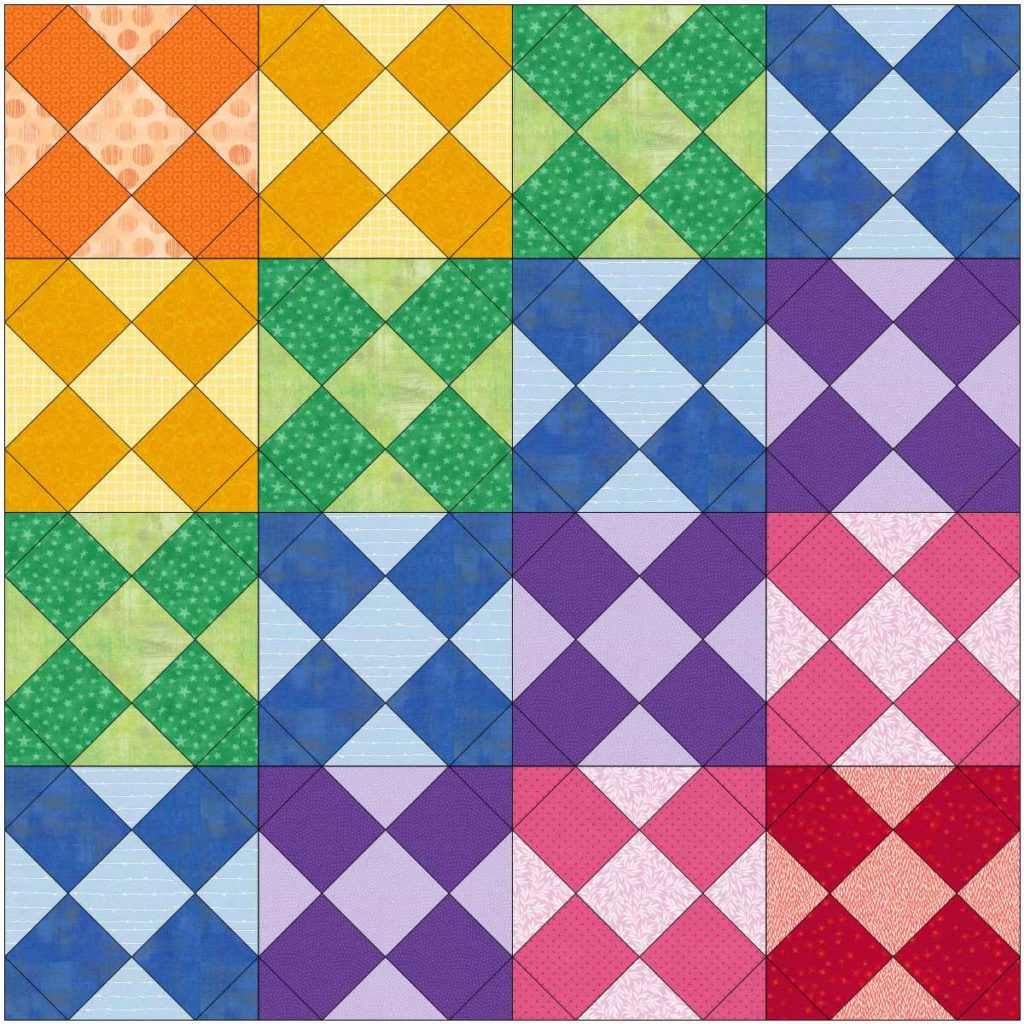
See How This Block Looks in a Quilt
The look of this block in a quilt can change immediately with a change of fabrics and colors. See how the X really pops in the blue and red version. In addition, see how the shape shows up just by coloring the outside blocks in a light color and placing the blocks on point.

Other Scrappy Quilt Blocks
If you follow my blog then you know that I love scrappy quilts and quilt blocks. Here are a few other tutorials that might interest you.