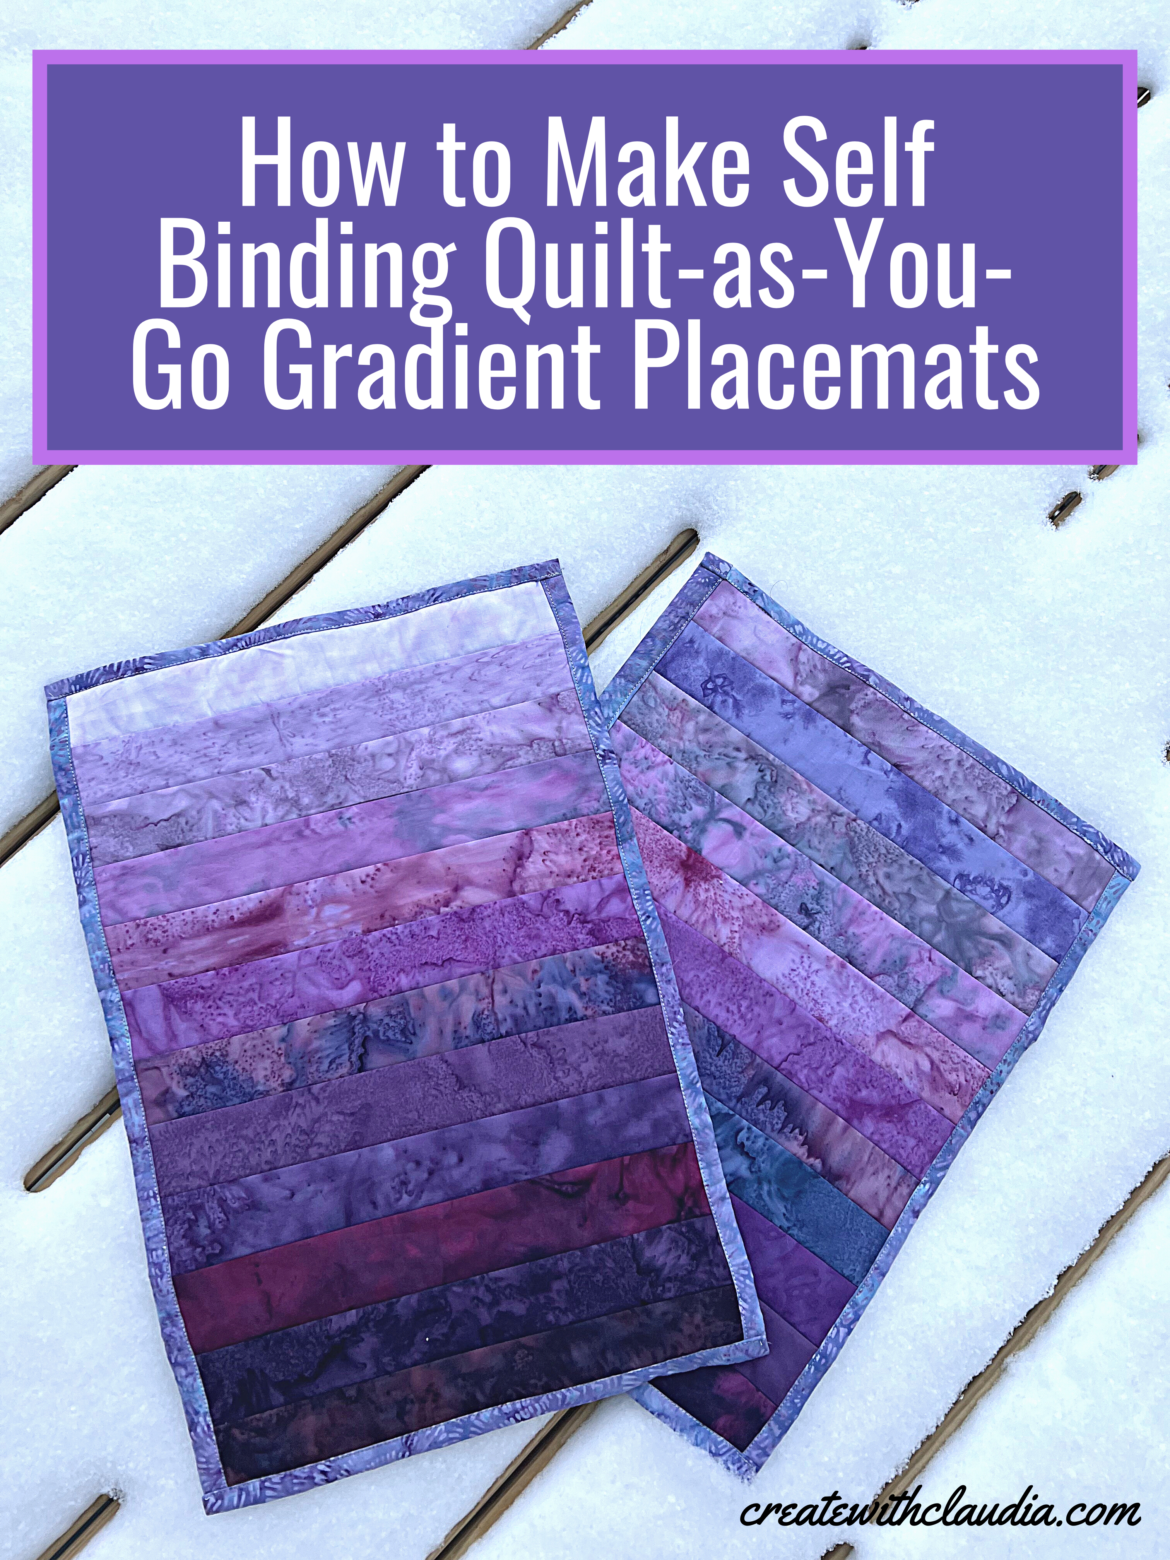
How to Make Self Binding Quilt as You Go Gradient Placemats
I am in love with the new purple gradation hand dyes from Island Batik. I am a 2022 Island Batik ambassador and this is the bundle of 20 fat quarters that they sent me to work with. Aren’t these colors incredible? For my January ambassador project I made a gradient quilt, but I was lucky because I had a little bit of extra fabric left over. I decided to make a little bonus tutorial with it. Stick around to learn how to make self binding quilt-as-you-go gradient placemats. It is about as easy as it gets!
Besides the incredibly beautiful colors, gradient fabrics do a lot of the work for you in designs. It’s too bad they can’t sew LOL. I always look at ombré projects and think that they glow. That is one of the reasons why I like them so much.
Disclosure: Items in this post were generously provided by Island Batik, Hobbs Batting, Aurifil, and Schmetz Needles.
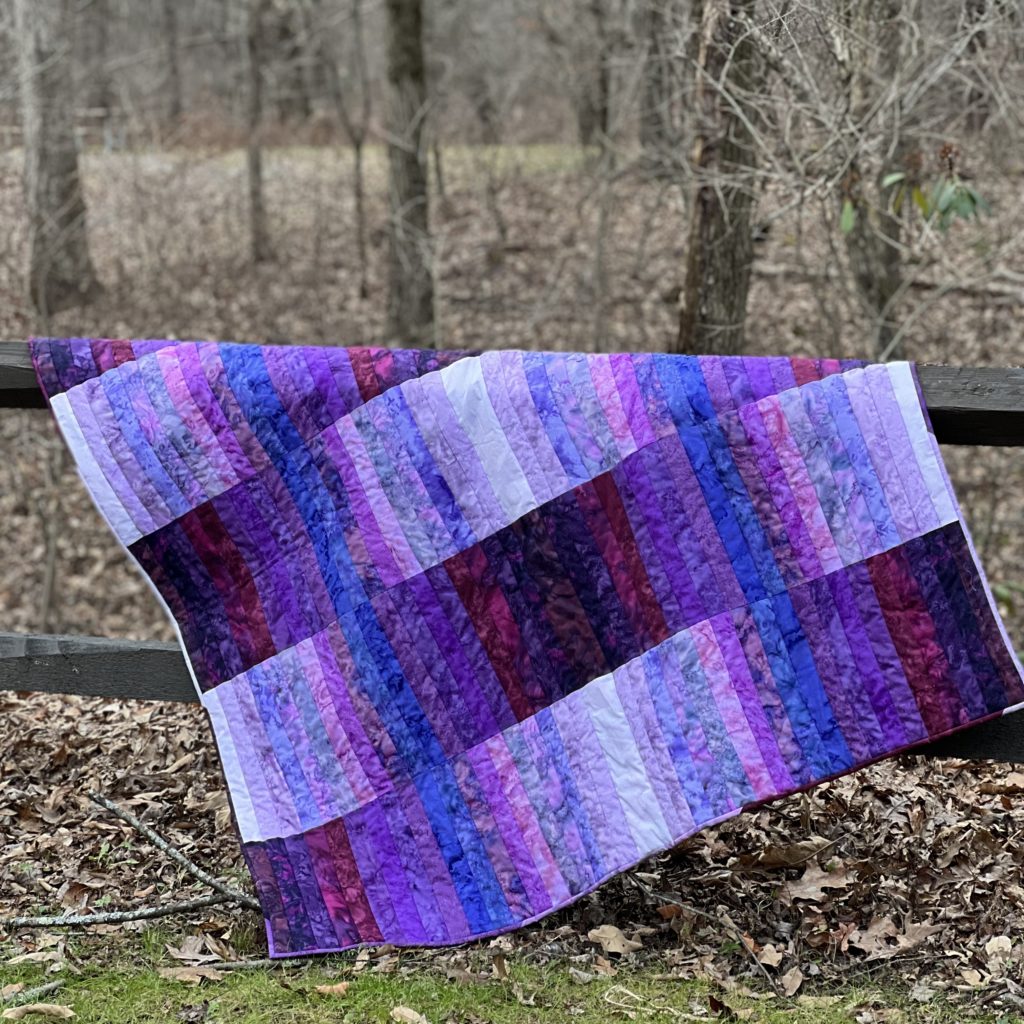
Here is the quilt that inspired this placemat project. I called it “Purples of Parade” and it was made using Island Batik’s new Basics Gradations yardage which is available in local quilt shops.
The Tutorial
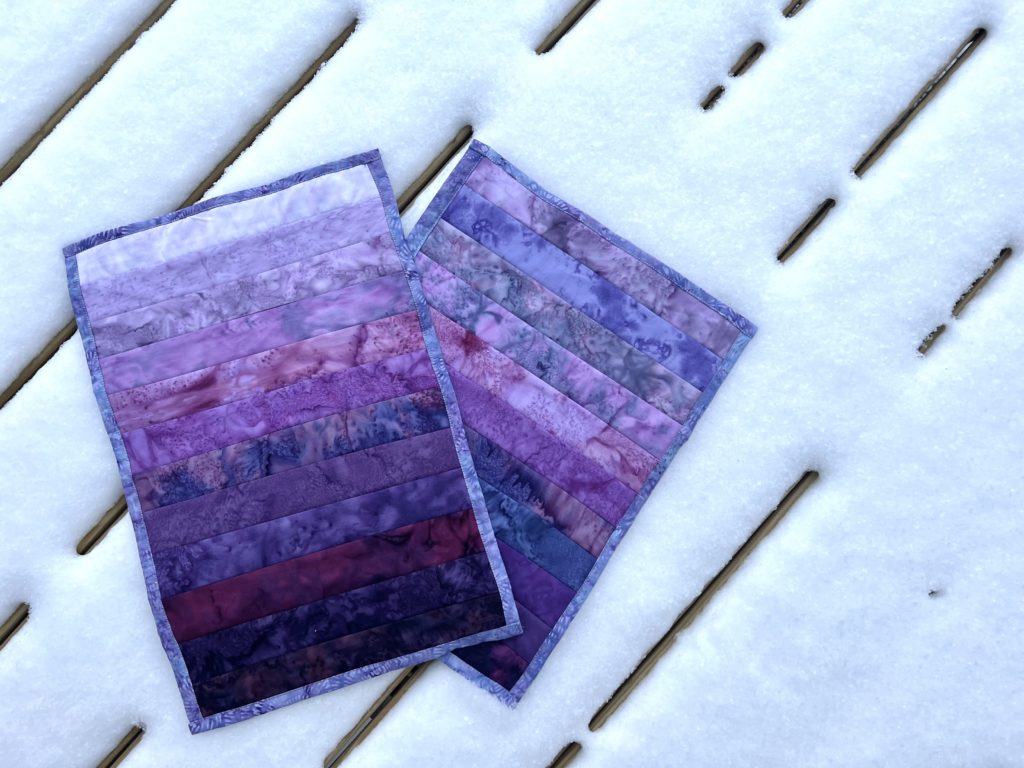
You will find that this is one of the easiest placemats you can make. With enough fabric, you make a set of four in about an hour or so. My video demonstrates the entire process.
As An Amazon Affiliate I Earn From Qualifying Purchases
What You Will Need
12 strips of fabric in a gradient colorway (or any 12 strips you prefer) cut 2″ x 12″
1 piece of backing fabric measuring 15″ x 21″
1 piece of batting cut 12″ x 19″
General Sewing Supplies including a rotary cutter, cutting mat, quilters ruler, clips and sewing machine
These are Items that May Help You with This Placemat
You can find many of the items that I used to make this project in my Amazon Store.
As an Amazon Associate I earn from qualifying purchases.
How to Make Self Binding Quilt As You Go Placemats
Step 1
Before you begin, make sure to press your strips, backing and binding. Keep your ombré strips in order so they don’t get mixed up.
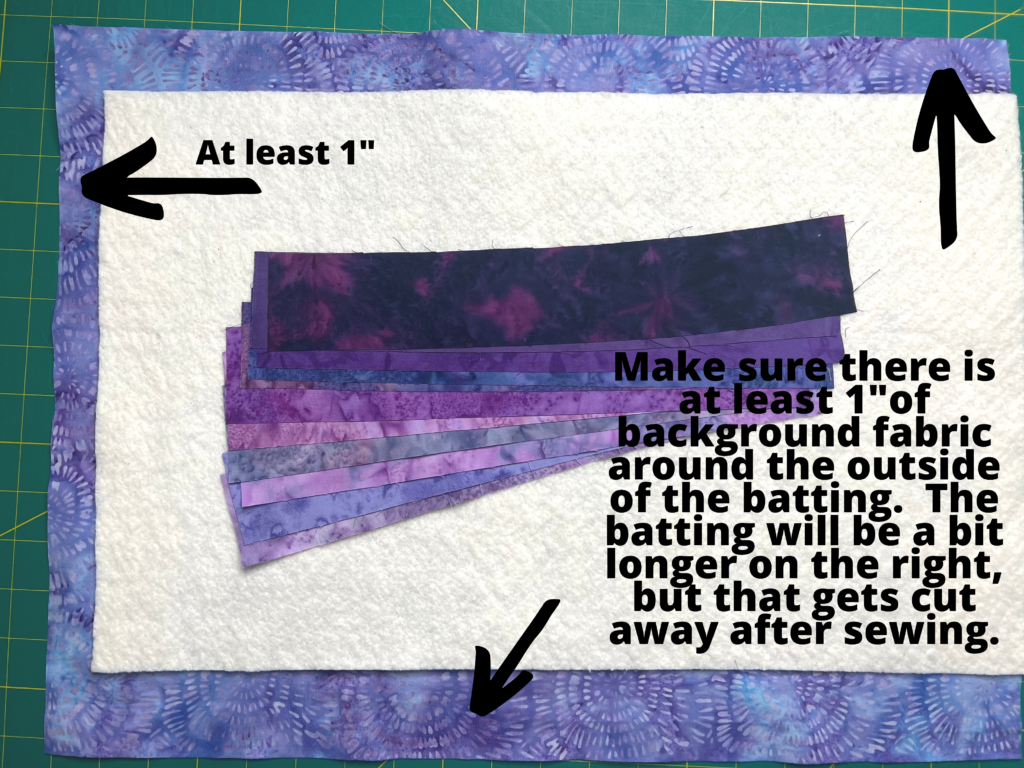
Lay down your backing, wrong sides facing up. Then lay your batting down on top, making sure you have at least 1″ of backing fabric larger than the batting on 3 sides.
Note that on the right the batting will be a bit longer. I leave that in because sometimes the seam allowances are not quite right and the last strip may be wider than the batting. Don’t worry though, any excess gets cut away.
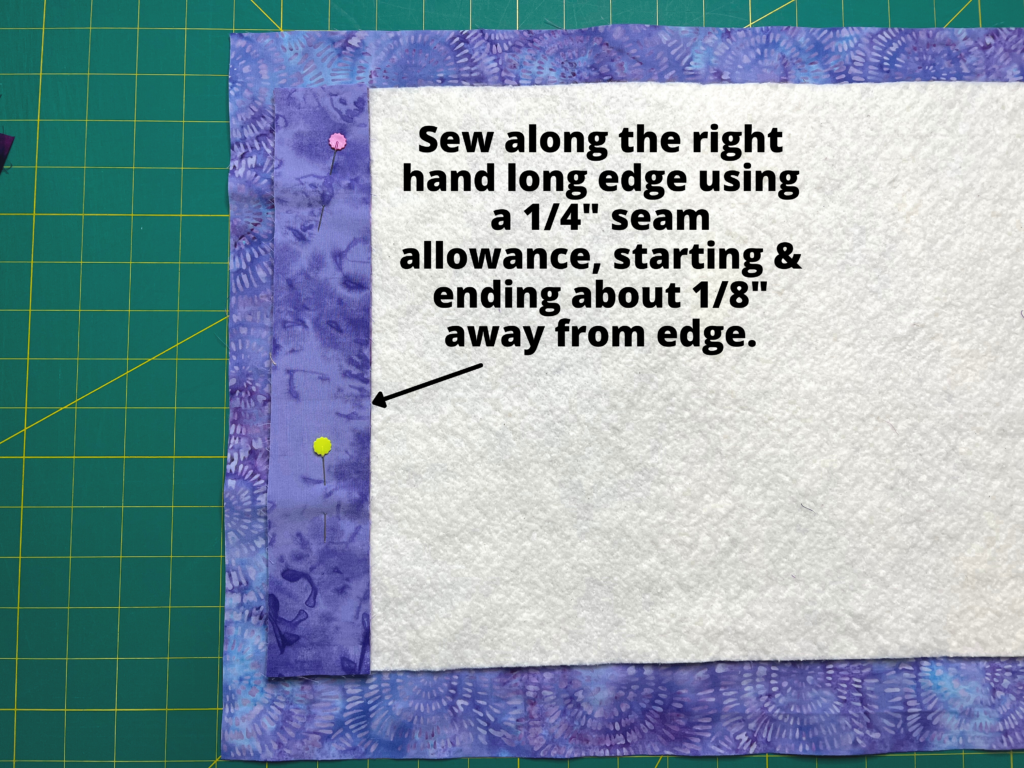
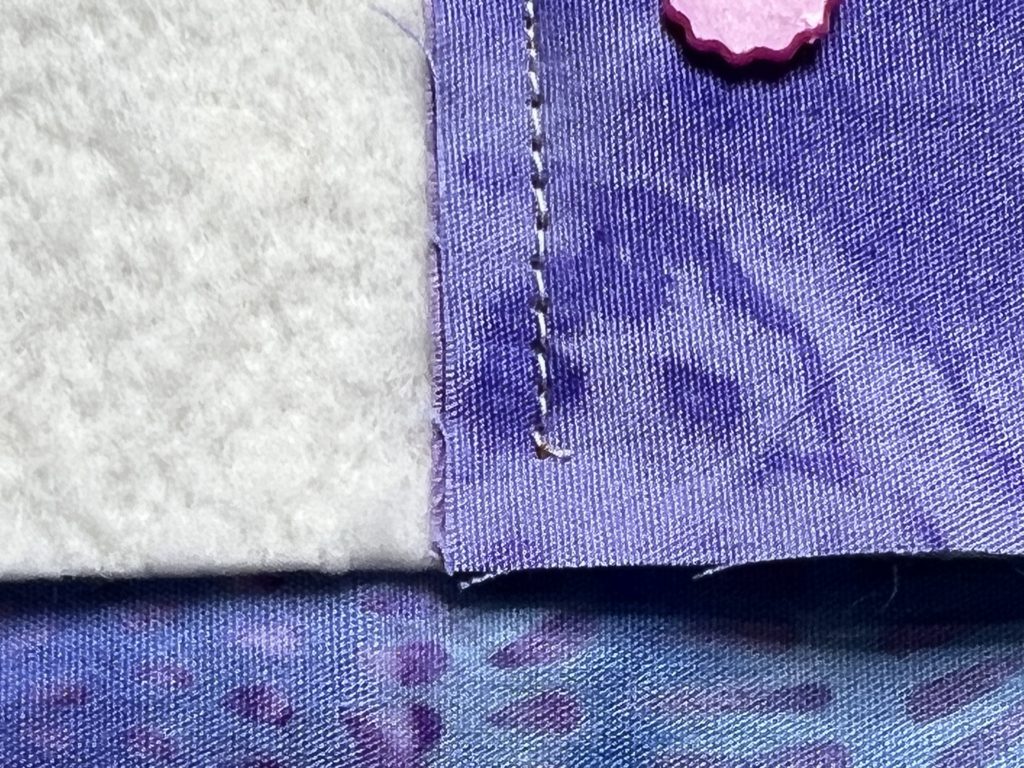
Take your first two strips of fabric and line them up right sides together. Place them on the left side of the batting, making sure they are evenly lined up with the top, bottom, and left hand side of the batting. Pin to the batting and backing to keep from slipping. Sew along the right side using a 1/4″ seam allowance, starting and stopping about 1/8″ away from the edge.
Note: I leave that 1/8″ unstitched on both ends of the strip just in case something gets skewed and I need to trim some of the batting.
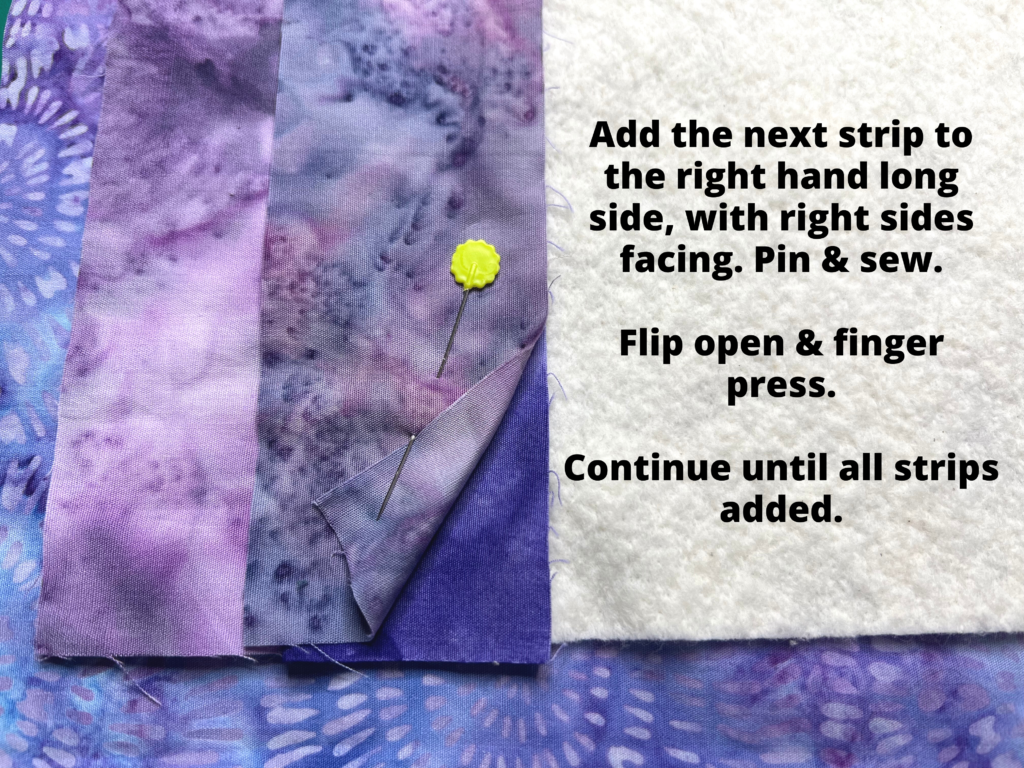
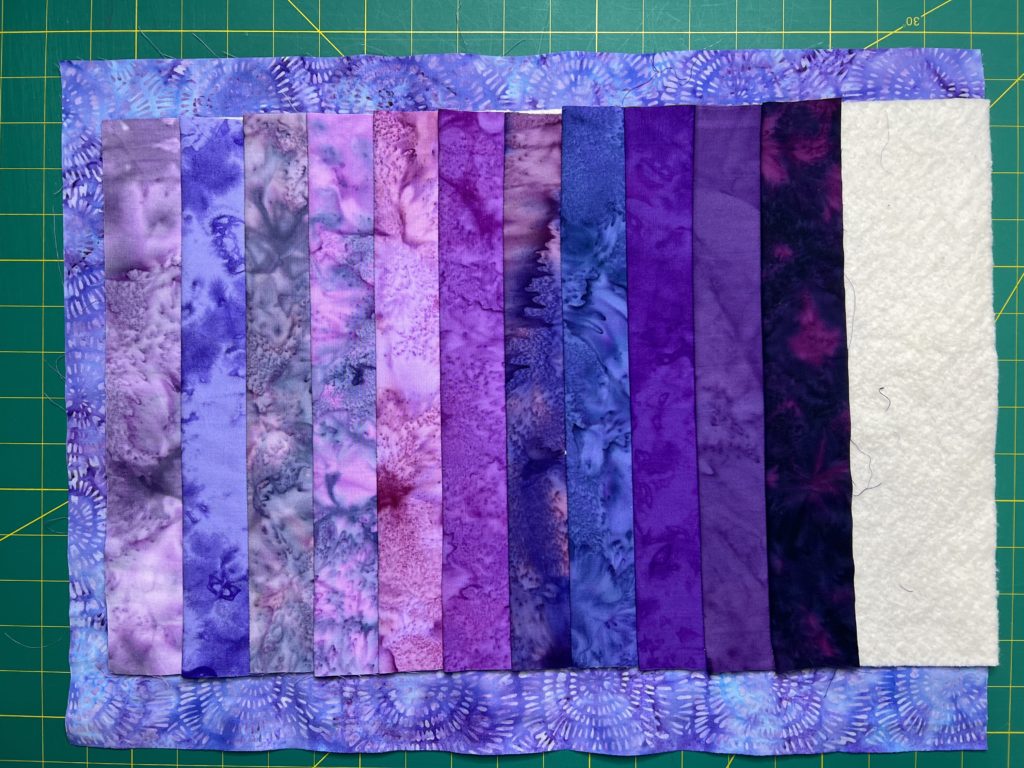
Flip over the top strip and finger press. Then continue by adding the third strip. Repeat the same process until all strips have been added.
Preparing for the Self Binding
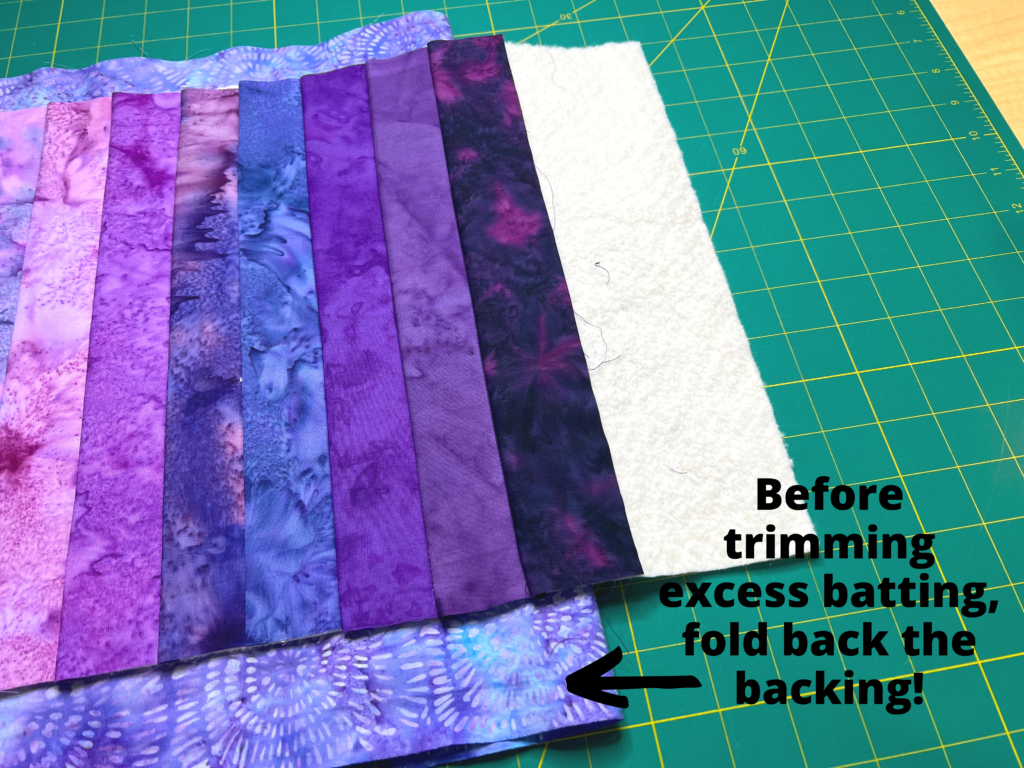
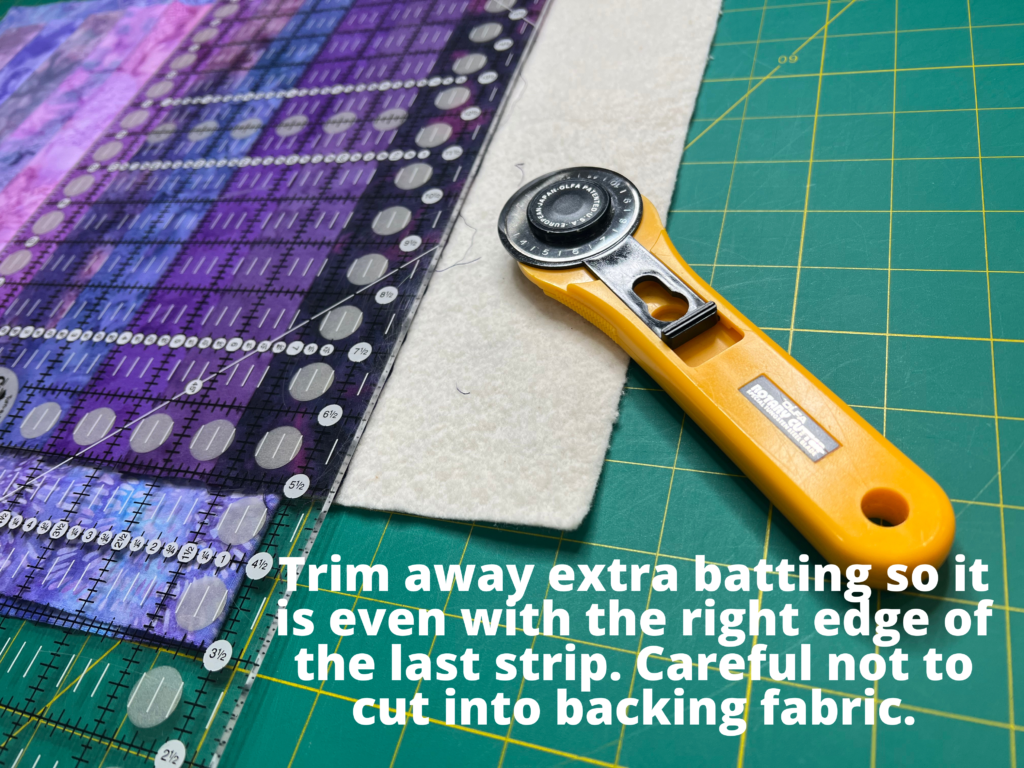
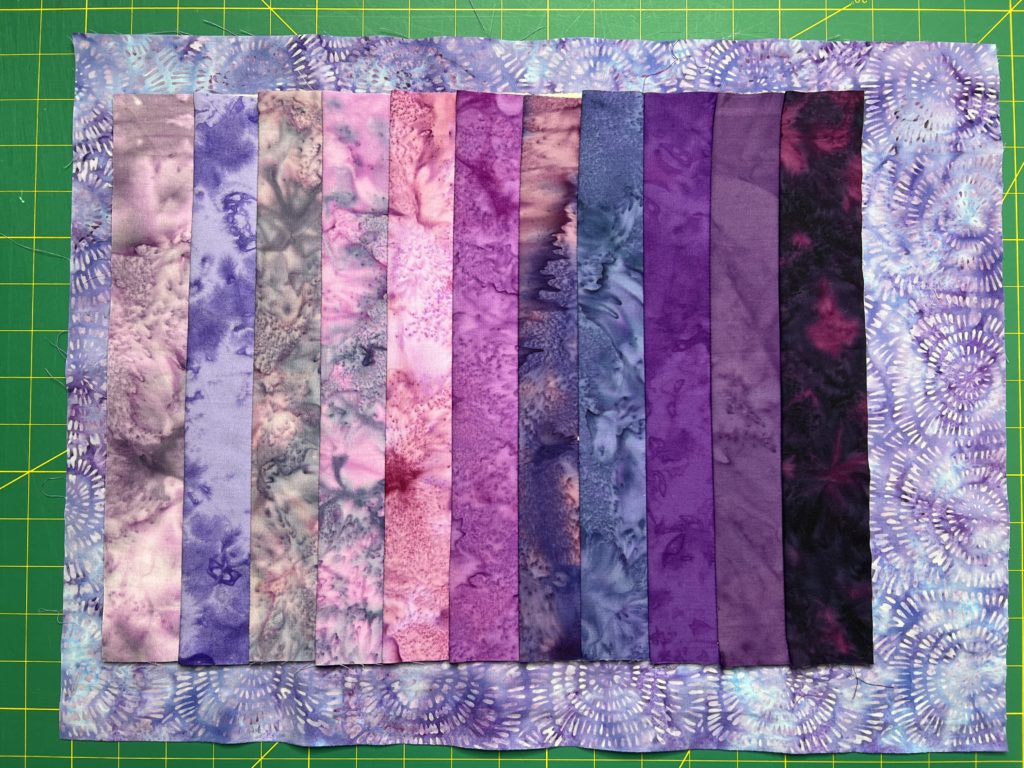
Fold back the backing so it does not get cut. Then trim away the excess batting so that it is even with the right side of the last strip.
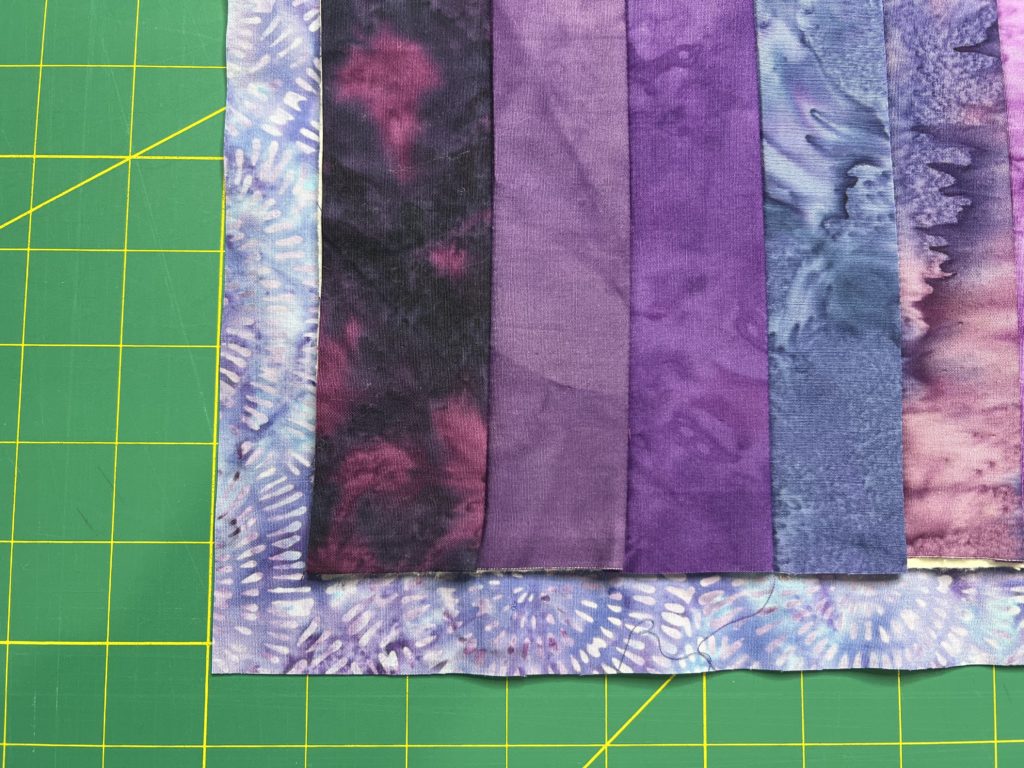
Once the batting has been trimmed, trim the backing fabric around the entire placemat, leaving 1″ of backing fabric around all four edges.
Self Binding the Placemat
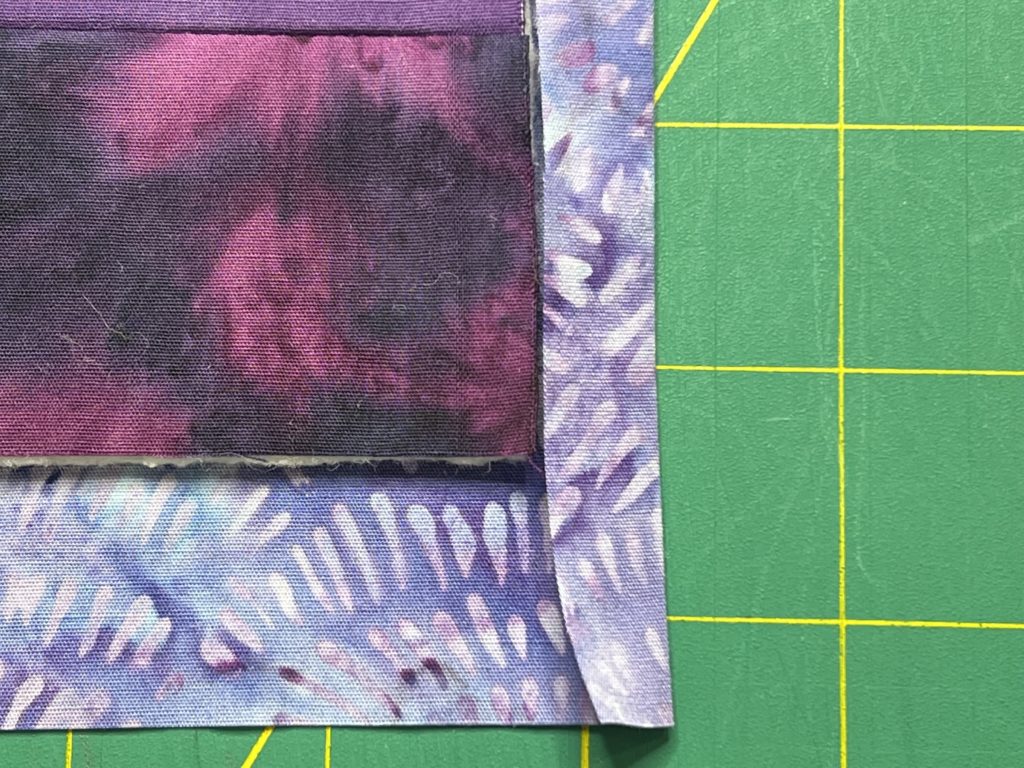
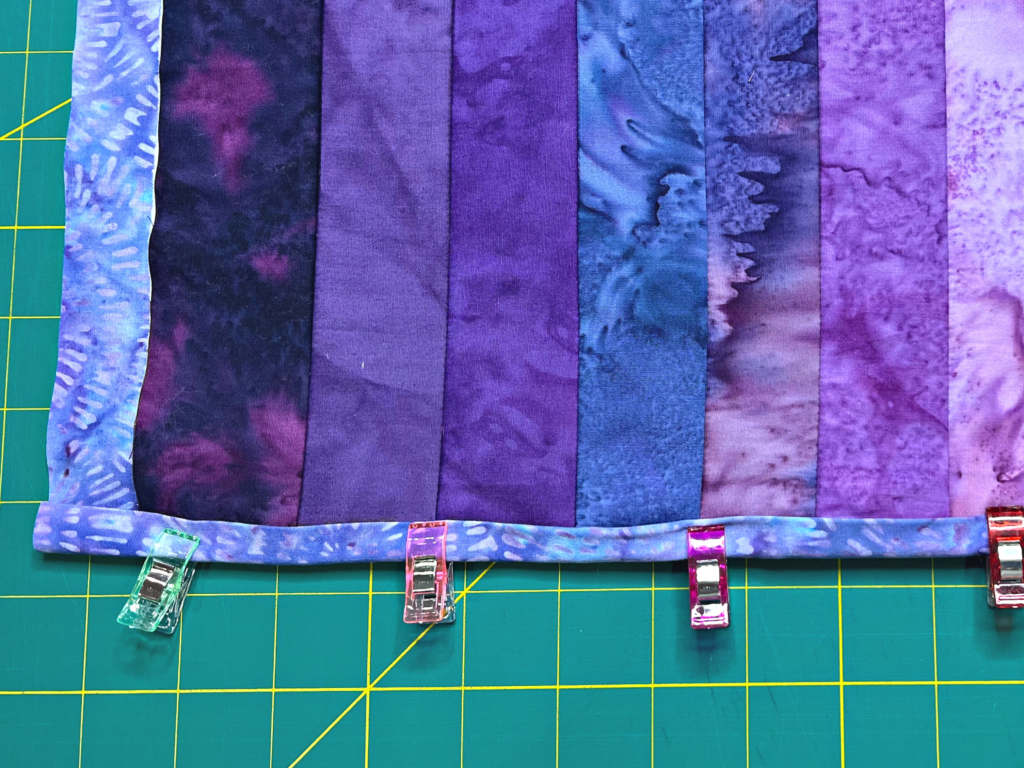
Beginning with one of the long sides, fold the 1″ over hang of backing fabric over, until it barely touches the edge of the strips. Press carefully.
Next, fold that edge over to the top of the strips, so that it covers the edge. Pin or clip in place.
Repeat on opposite long side.
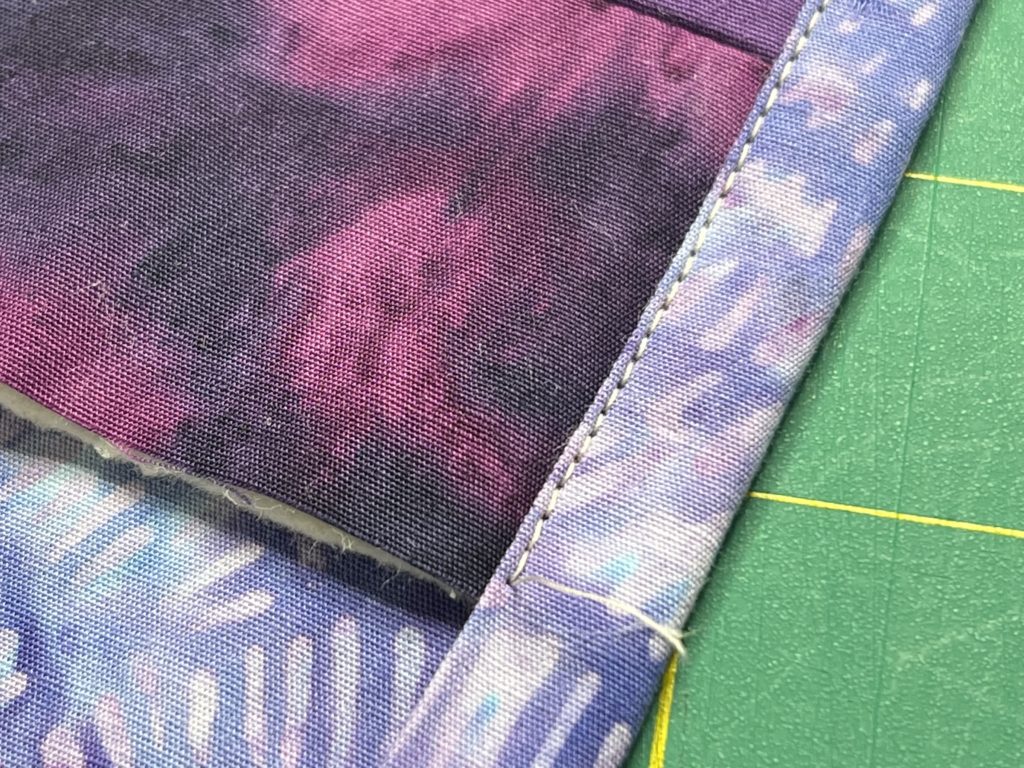
Then, topstitch along the folded edges.
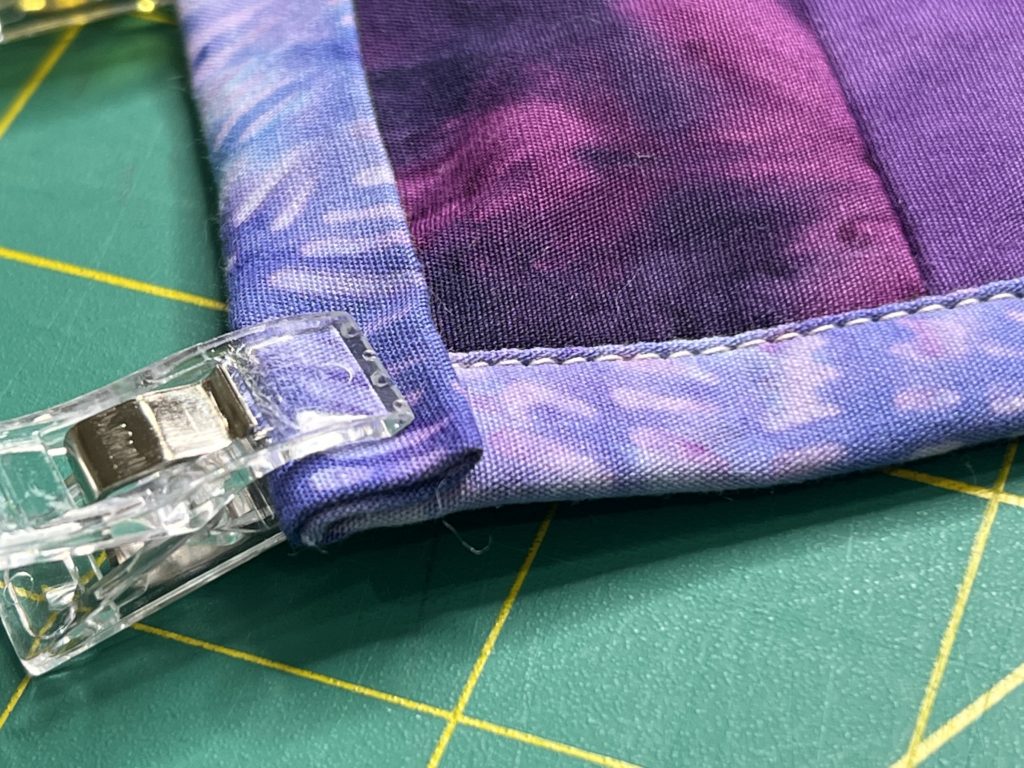
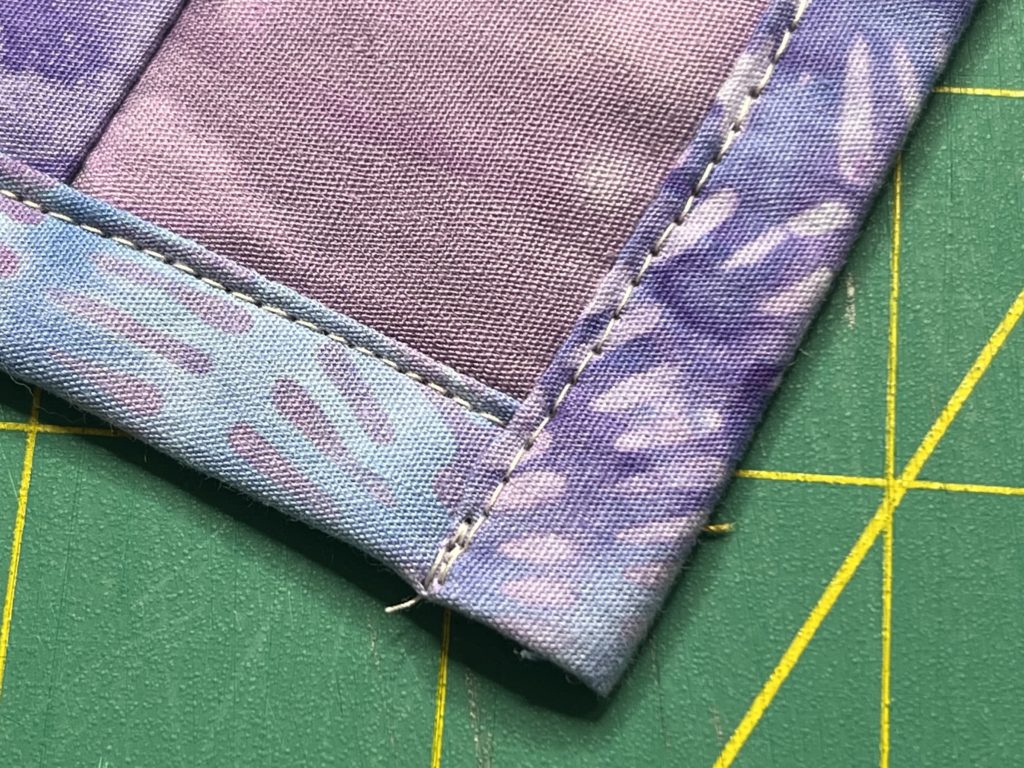
After the two long sides are done, repeat the process on the two short ends. There is bulk on the corners so take care when sewing. Back stitch at the beginning and the end for some security.
I would normally use a coordinating thread so it blends better, but for demonstration purposes I used a lighter color. At this point I give the placemat a quick press and Voila!, you have a gorgeous gradient placemat!
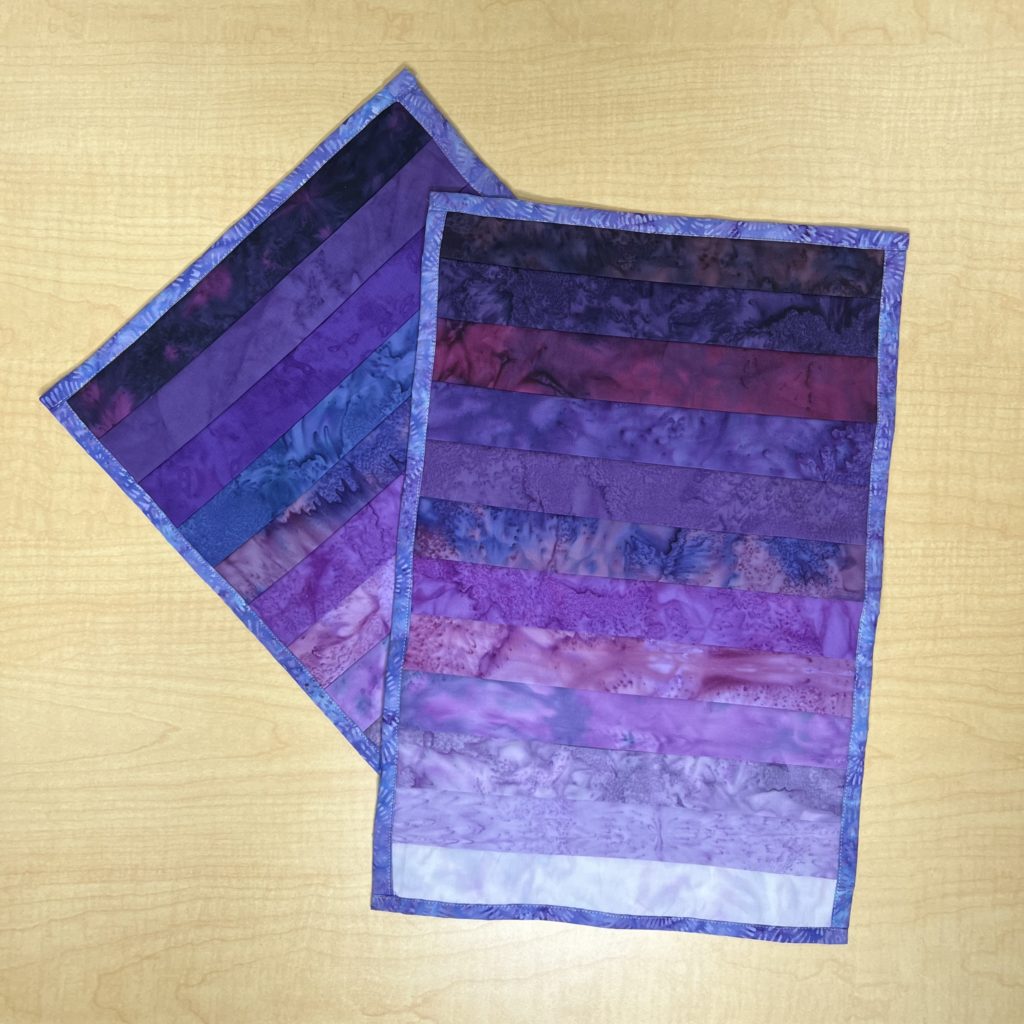
I hope you give these placemats a try.
If you ever make one of my projects and post it in social media I’d love to see it! Make sure to use the hashtag #createwithclaudia.
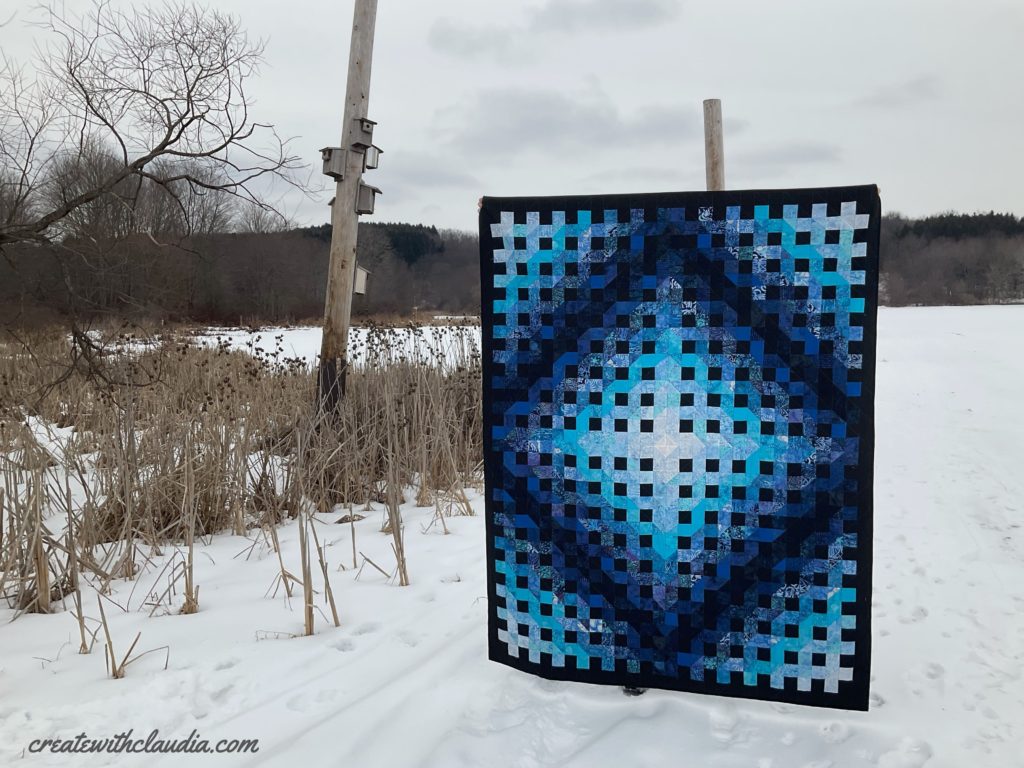
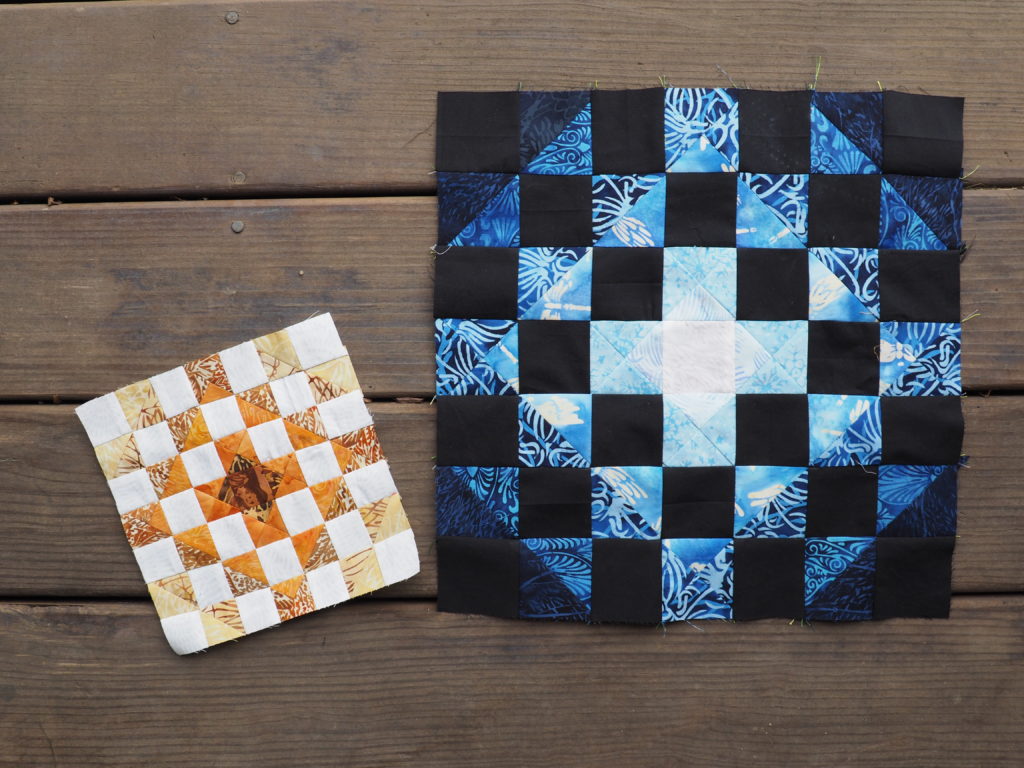
Other Island Batik Gradient Projects
I love making gradient projects with batiks. The colors glow.
What If I Don’t Have Gradient Fabrics?
It is not difficult picking out gradient fabrics. My tutorial can help you get started.


2 Comments
Chin Beley
January 16, 2022 at 12:43 PMGreat tip to leave that 1/8″ bit unstitched top and bottom, I’ve never thought of that! Thanks so much, been trying to figure out how not to do the extra effort of a binding. Much appreciated!
createwithclaudia_7j76hs
January 18, 2022 at 4:50 AMThanks! I always find my strips skew just a bit in qayg so I like that little cushion in case I need to do a quick fix.