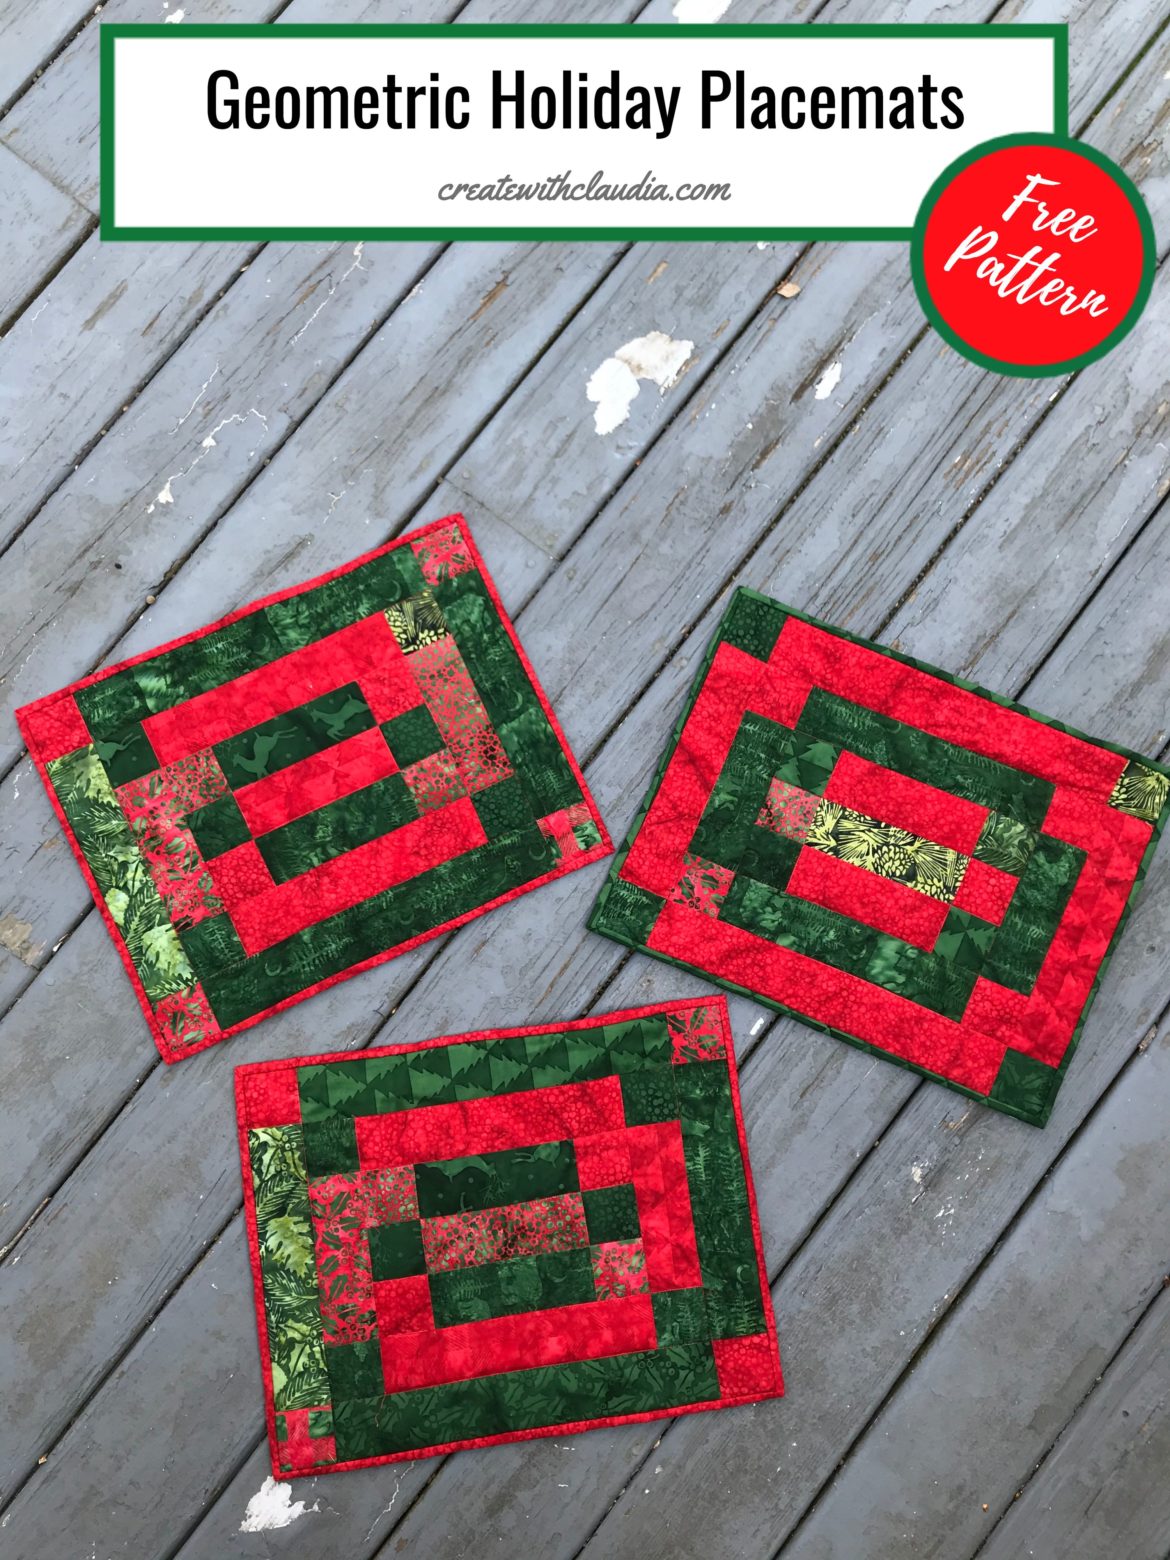
Geometric Holiday Placemats Pattern
For May of 2021, the Island Batik ambassadors were given a bundle of fabrics from their newest lines and challenged to make a modern quilt with them. I was lucky enough to get the Holly Holiday line designed by Kathy Engle. This festive assortment of greens, reds, and golds shipped to stores in May of 2021. As with every challenge so far this year, I decided to add a little something extra to accompany the challenge piece I am making. That is how this geometric holiday placemats pattern came about.
Incredibly easy to make, this design is just various lengths of 2 1/2″ strips. It is an ideal pattern for strips sets and, while I love it in these festive fabrics, it could easily be made in any color combination.
Disclosure: The products in this post were generously provided by Island Batik, Accuquilt, Aurifil, Schmetz Needles, and Hobbs Batting.
My Inspiration for These Placemats
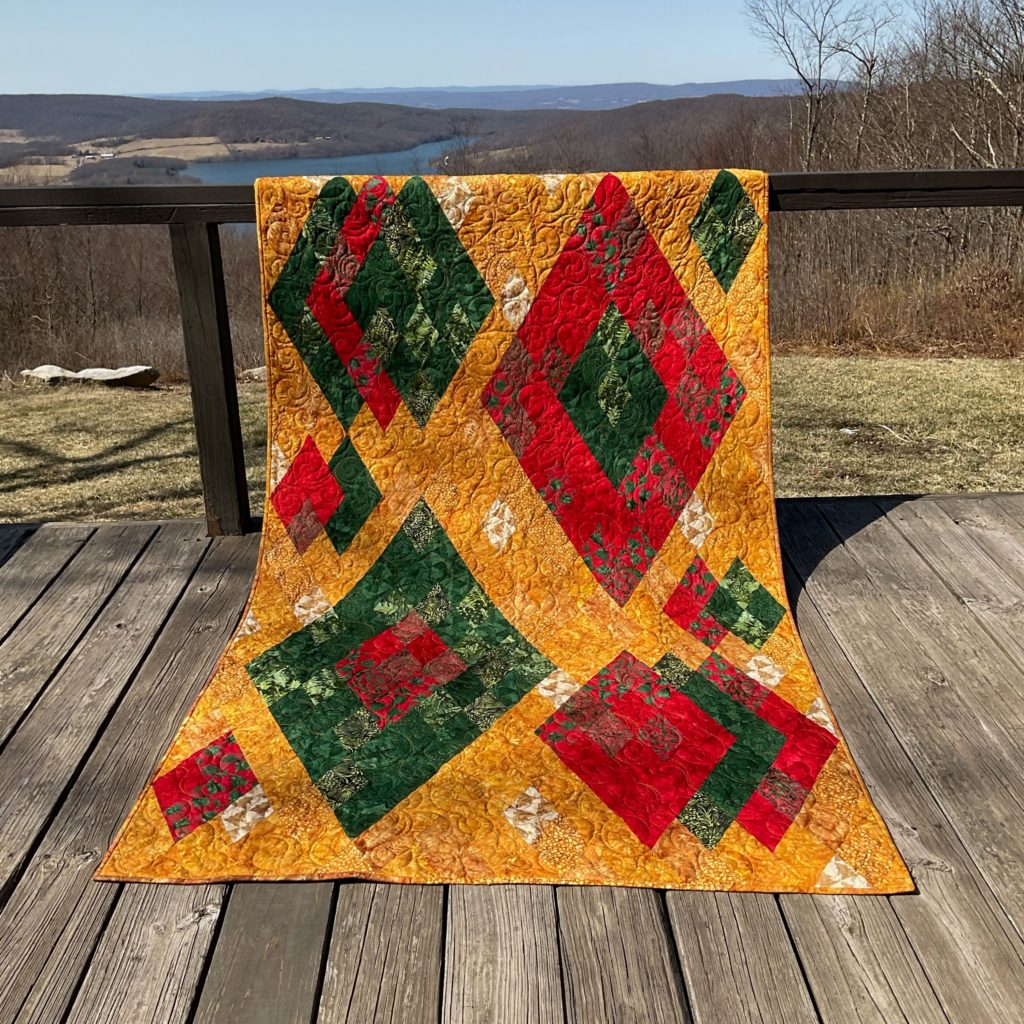
Here is my Holiday Diamonds quilt. We were challenged to make a modern quilt with our fabric lines and this was my festive result.
You will note that there is no gold fabric in any of my placemats. That is because I used up pretty much every single piece of it in my large quilt. It was so beautiful. In fact, as soon as I saw what fabrics I received, the gold pieces just screamed out “I’m perfect for the background”.

The Video Tutorial
I always like to do a video tutorial along with my pattern, and these placemats are no exception.
Before You Begin:
- Read all instructions carefully before beginning.
- A scant ¼” seam allowance is used throughout the project.
*Download the Free Geometric Holiday Placemats Pattern Here*
Fabric Needed:
| For 1 Placemat | For 4 Placemats | |
| Fabric A | 1 Fat Quarter | 1 Yard |
| Fabric B | 1 Fat Quarter | 1 Yard |
| Backing | 1 Fat Quarter | 1 Yard |
| Batting & Binding | As needed | As needed |
You can find many of the items that I used to make this project in my Amazon Store.
As an Amazon Associate I earn from qualifying purchases.
Cutting Instructions:
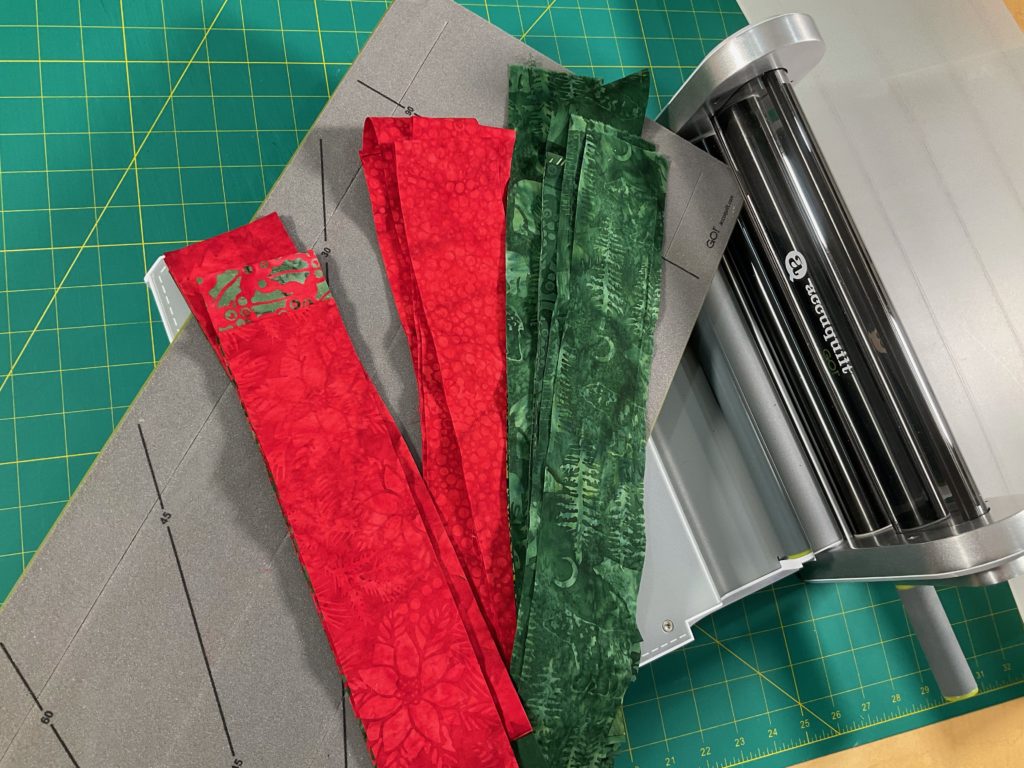
One of the items that the Island Batik ambassadors received in our boxes was the AccuQuiltGo! system. What a difference it has made when I am cutting various shapes. With the exception of the backing, these placemats are made entirely of 2 1/2″ strips of various lengths. The machine made quick work of the entire process.
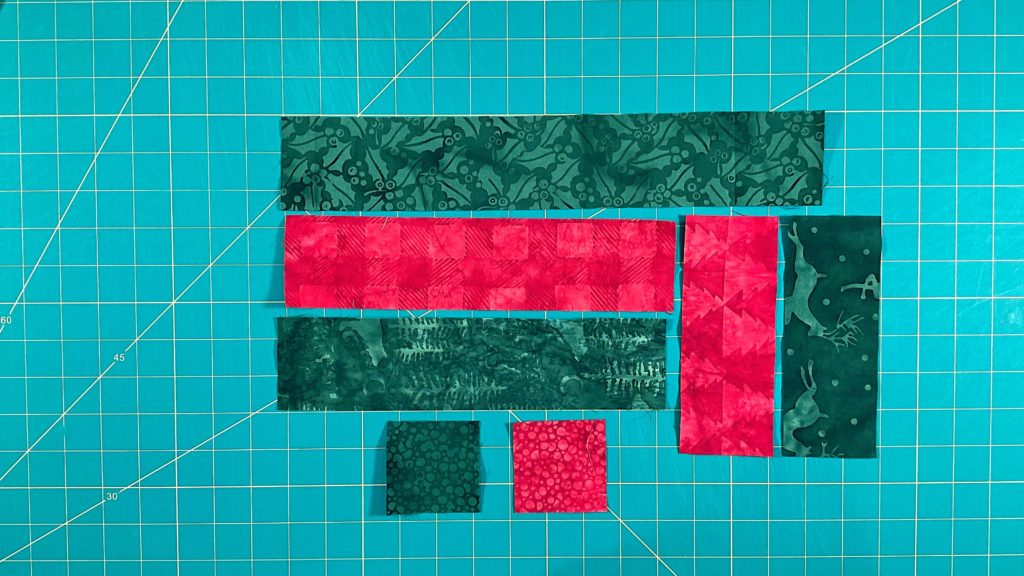
Cutting:
| For 1 Placemat | For 4 Placemats |
| Fabric A: | Fabric A: |
| 8 squares – 2 ½” x 2 ½” | 32 squares – 2 ½” x 2 ½” |
| 3 strips – 2 ½” x 6 ½” | 12 strips – 2 ½” x 6 ½” |
| 2 strips – 2 ½” x 10 ½” | 8 strips – 2 ½” x 10 ½” |
| Fabric B: | Fabric B: |
| 6 squares – 2 ½” x 2 ½” | 24 squares – 2 ½” x 2 ½” |
| 2 strips – 2 ½” x 6 ½” | 8 strips – 2 ½” x 6 ½” |
| 2 strips – 2 ½” x 10 ½” | 8 strips – 2 ½” x 10 ½” |
| 2 strips – 2 ½” x 14 ½” | 8 strips – 2 ½” x 14 ½” |
Assembly:
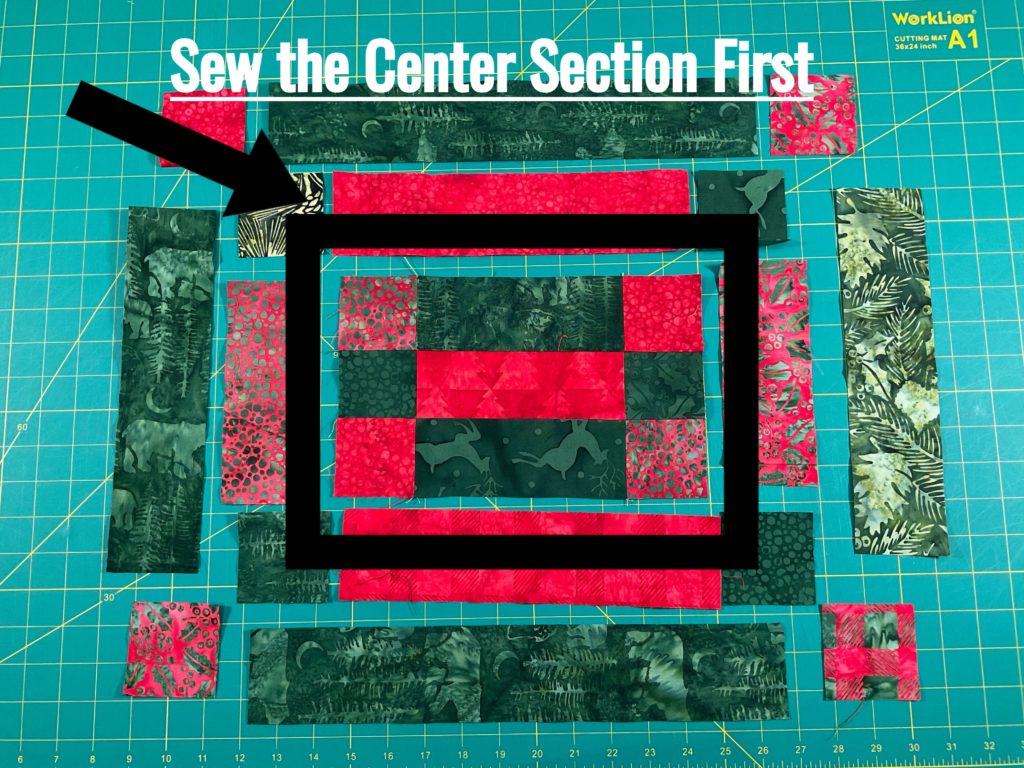
Assemble the center section first. Sew the center 3 strips together, then the squares on each side. Then attach the strips of squares to the center part.
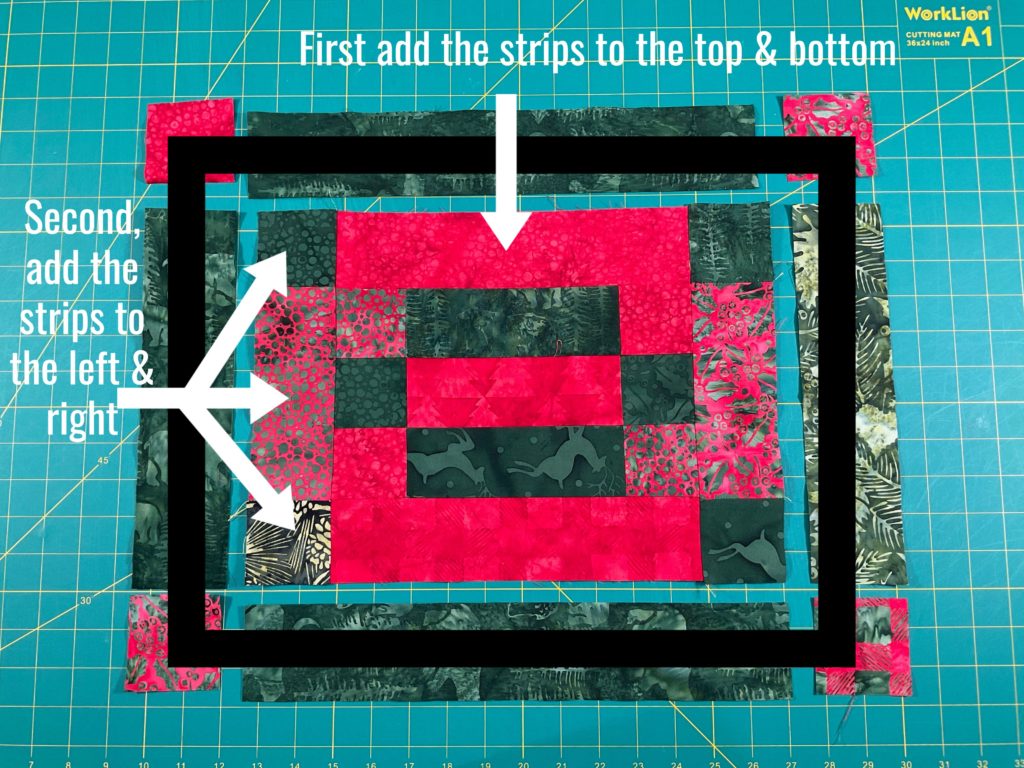
Next, sew the 10 ½” long strips to the top and the bottom of the unit just made. Then sew the squares and strips together for each side. Add those strips to the left and right side of the center unit.
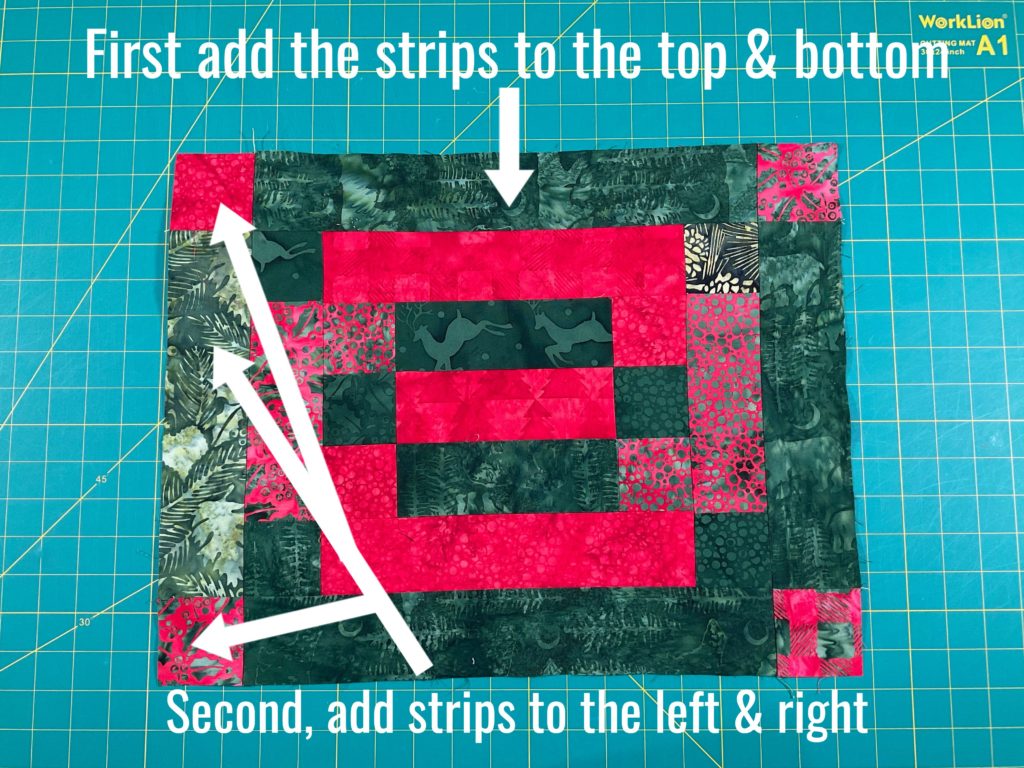
Then sew the 14 ½” strips to the top and bottom of the previously completed unit. Finally, sew the side squares and strips as shown. Attach those to the left and right of the placemat. It will look like this.
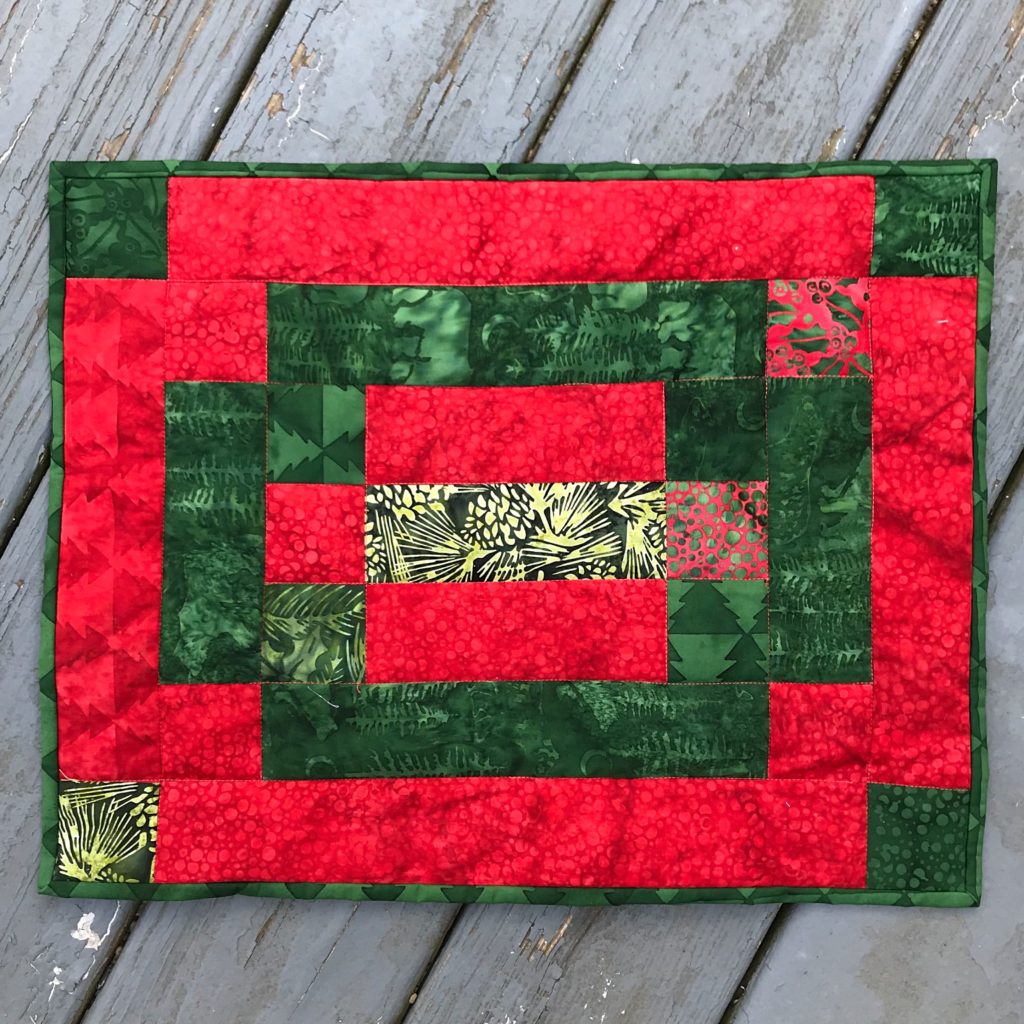
That is all there is to it. This is such and easy pattern you can make a set of four in an afternoon.
To finish up your placemat:
- Lay your backing fabric on a long surface, with wrong side facing up.
- Next, lay your batting on top of the backing.
- Lastly, lay the placemat on top with the right side facing up.
- Baste the layers together using your preferred method.
- Quilt as desired.
- Bind using your preferred method.
Enjoy your new placemats!
For the batting in my placemats I used Hobbs Poly-Down. I used Schmetz needles in my machine and Aurifil thread to piece them.
Happy Quilting!

