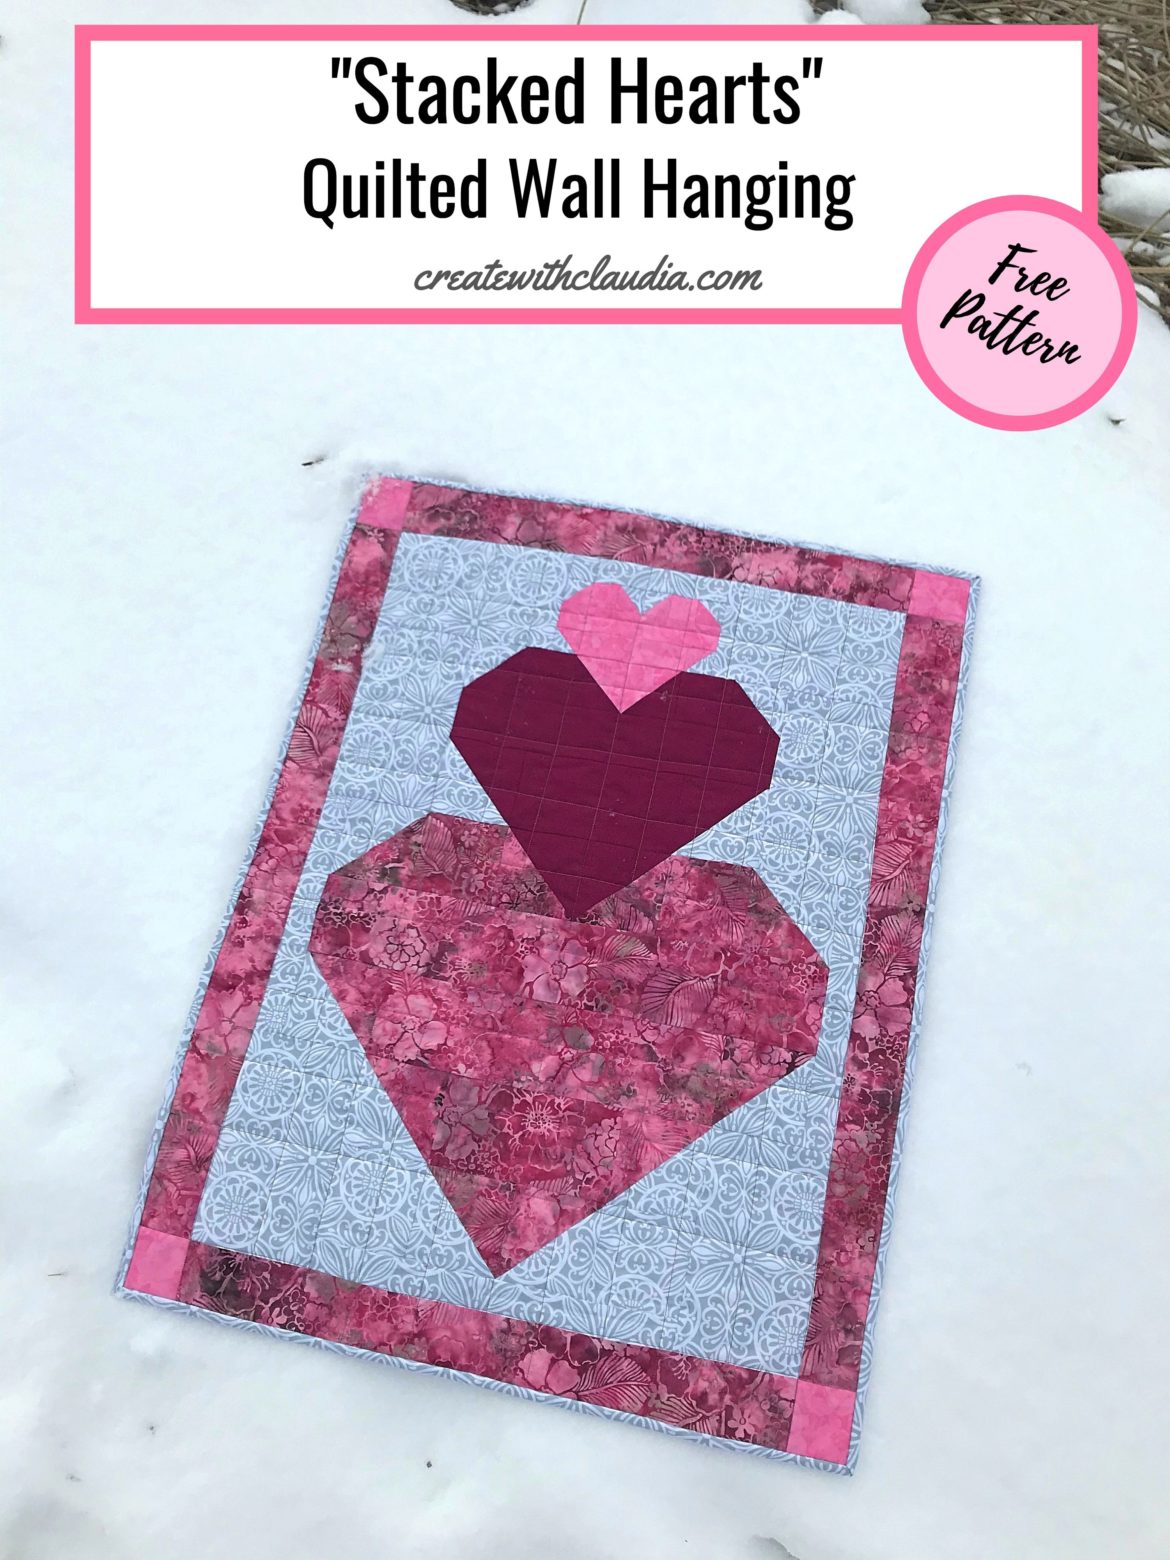
Valentine’s Day Quilt Pattern
Perfect for any sweetheart, this Valentine’s Day quilt pattern is easy to put together and looks great.
I always like making quilts for special occasions. Whether it’s a celebration or a holiday, a festive quilt always adds an extra special touch to a special day. I also like to make patterns that are simple, and this design definitely fits that description.
While you need to stay organized when making it, the quilt is put together in sections, so it is an easy blueprint to follow.
Who doesn’t like to make an easy quilt? This Valentine’s Day quilt pattern comes together quickly, doesn’t require loads of fabric, and can be changed up to any color combination. I think it would look especially pretty in Christmas colors.
Make your special someone this fun and festive quilt.
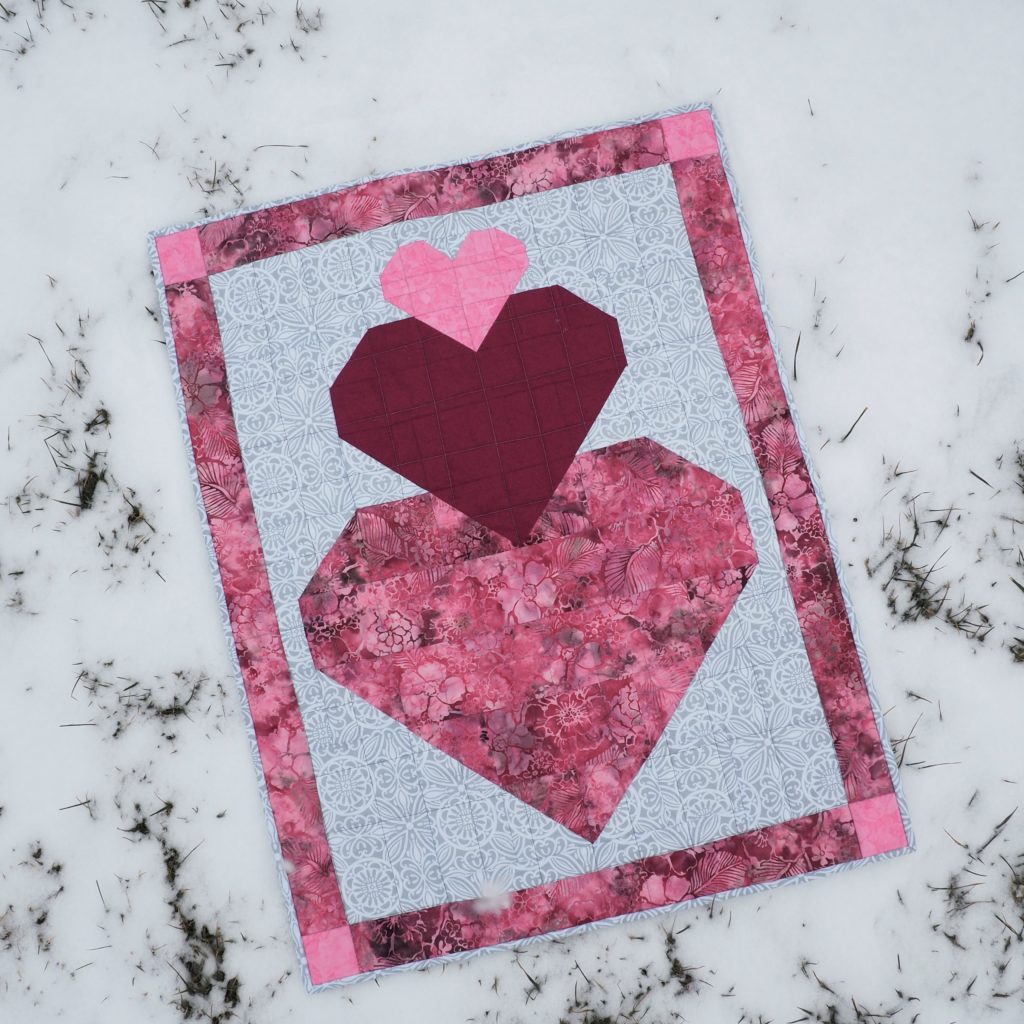
YouTube Tutorial for the Stacked Hearts Valentine’s Day Quilt Pattern
Pattern Specifications
- Finished quilt measures 24” x 31”
- Please read through all instructions carefully before beginning.
- ¼” seam allowance used throughout
*Download the Stacked Hearts Valentine’s Day Quilt Pattern PDF Here*
Items That May Help You Make This Wall Hanging
You can find many of the items that I used to make this project in my Amazon Store.
As an Amazon Associate I earn from qualifying purchases.
Fabric Requirements (generous amounts are given)
- Background – ½ yard
- Small Heart – 1/8 yard
- Medium Heart – ¼ yard
- Large Heart – 3/8 yard
- Border – ¼ yard
- Corner Squares – 1/8 yard
- Backing – 1 yard
Cutting
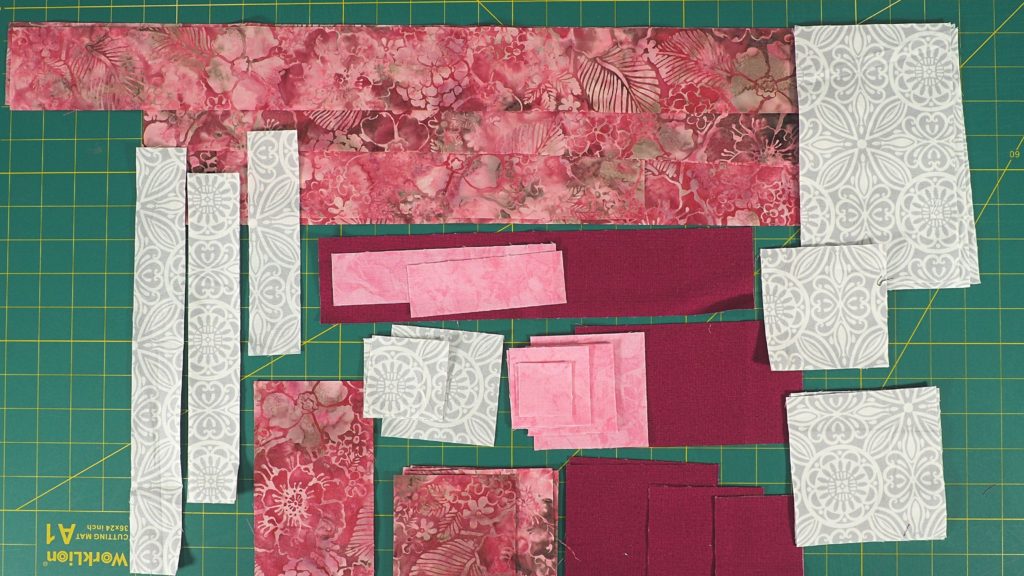
Background
- 6 rectangles cut 4 ½” x 7 ½”
- 5 squares cut 4 ¼” x 4 ¼”
- 3 squares cut 2 ¼” x 2 ¼”
- 1 square cut 3 ¼” x 3 ¼”
- 2 squares cut 3 ½” x 3 ½”
- 2 strips cut 1 ½” x 9 ½”
- 1 strip cut 1 ½” x 6 ½”
- 1 strip cut 1 ½” x 12 ½”
Small Heart
- 3 squares cut 2 ¼” x 2 ¼”
- 2 squares cut 1 ½” x 1 ½”
- 1 square cut 3 ¼” x 3 ¼”
- 1 strip cut 1 ½” x 6 ½”
- 1 strip cut 1 ½” x 4 ½”
Medium Heart
- 2 squares cut 4 ¼” x 4 ¼”
- 2 squares cut 3 ¼” x 3 ¼”
- 2 squares cut 2 ½” x 2 ½”
- 1 strip cut 2 ½” x 12 ½”
- 1 strip cut 3 ½” x 6 ½”
Large Heart
- 5 squares cut 4 ¼” x 4 ¼”
- 2 squares cut 3 ½” x 3 ½”
- 1 strip cut 3 ½” x 18 ½”
- 1 strip cut 3 ½” x 12 ½”
- 1 strip cut 3 ½” x 6 ½”
Borders
- 4 squares for the corners cut 2 ½” x 2 ½”
- 2 strips cut 2 ½” x 27 ½”
- 2 strips cut 2 ½” x 20 ½”
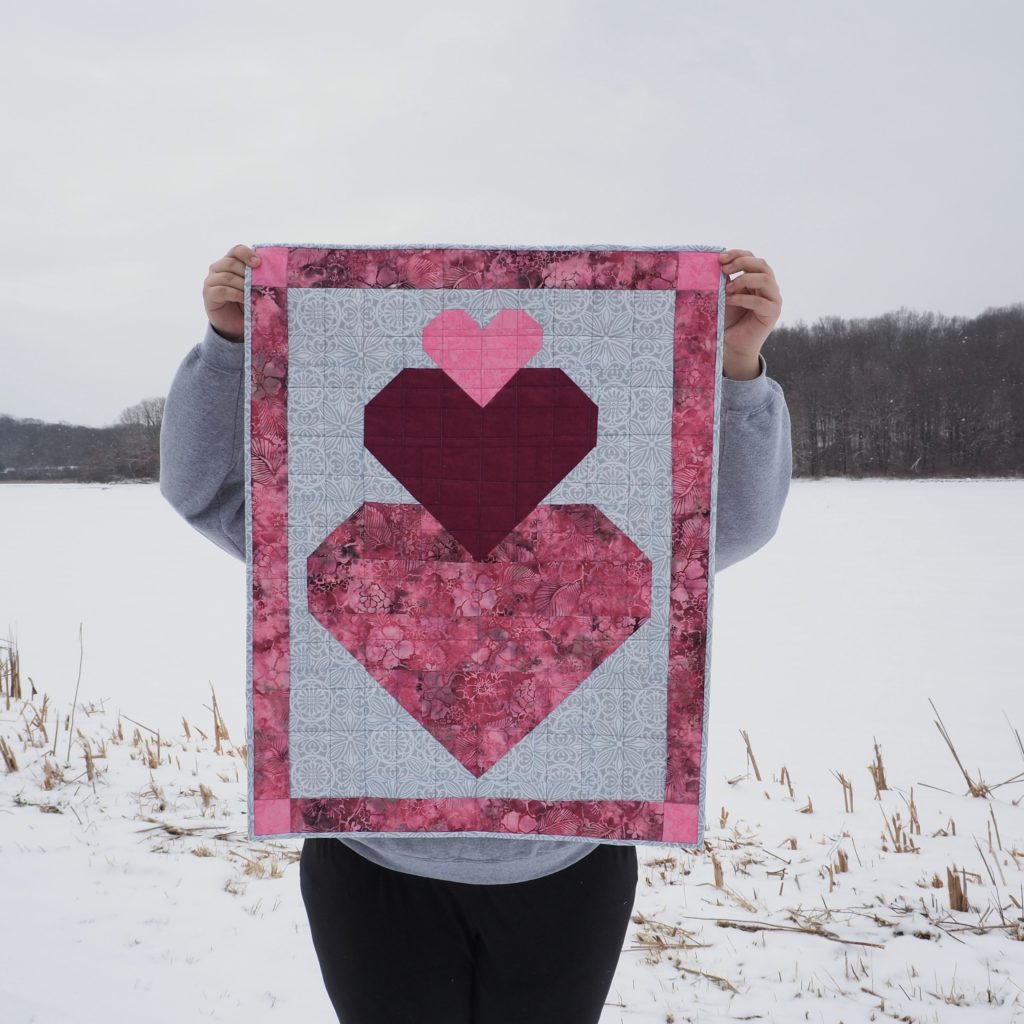
Assembling the Wall Hanging
Step 1 – Making the Half Square Triangles
First, pair up the following squares to make the half square triangles.
- 3 pairs – 2 ¼” background squares with 2 ¼” small hearts squares
- 1 pair – 3 ¼” medium heart square with 3 ¼” small heart square
- 1 pair – 3 ¼” medium heart square with 3 ¼” background square
- 1 pair – 4 ¼” background square with 4 ¼” medium heart square
- 1 pair – 4 ¼” medium heart square with 4 ¼” large heart square
- 4 pairs – 4 ¼” large heart squares with 4 ¼” background squares
Take one of the pairs and…
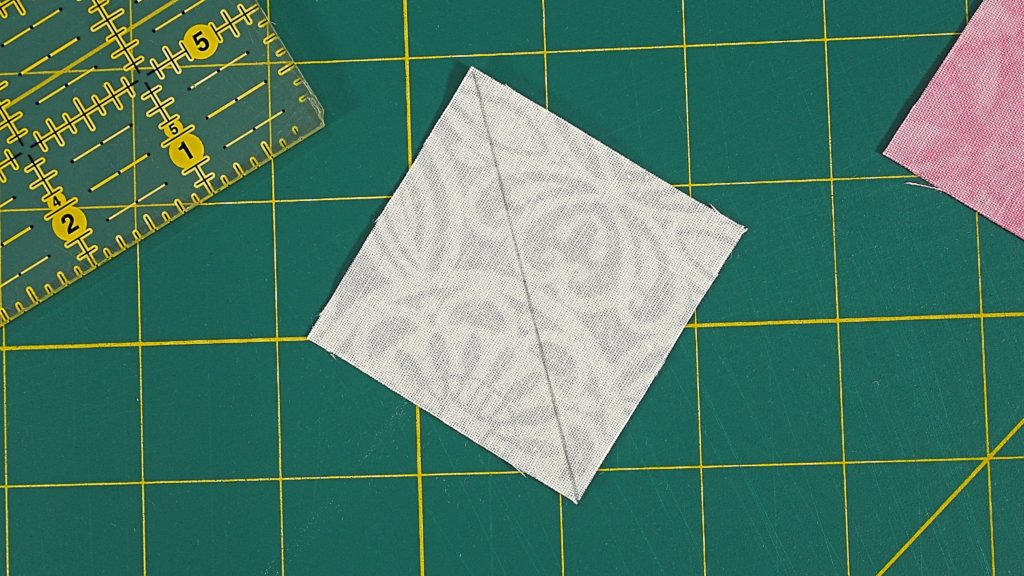
Draw a diagonal line on the back (wrong) side of the lighter fabric. This will be your sewing guide.
Next, line up the squares of fabric with front (right) sides facing each other.
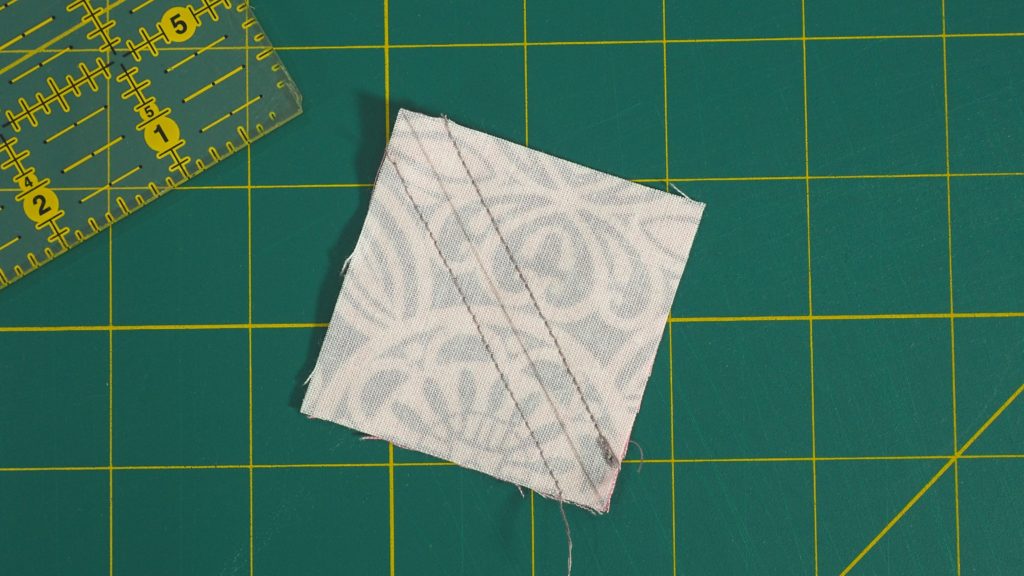
Using a ¼ inch seam allowance, sew along both sides of the drawn diagonal line.
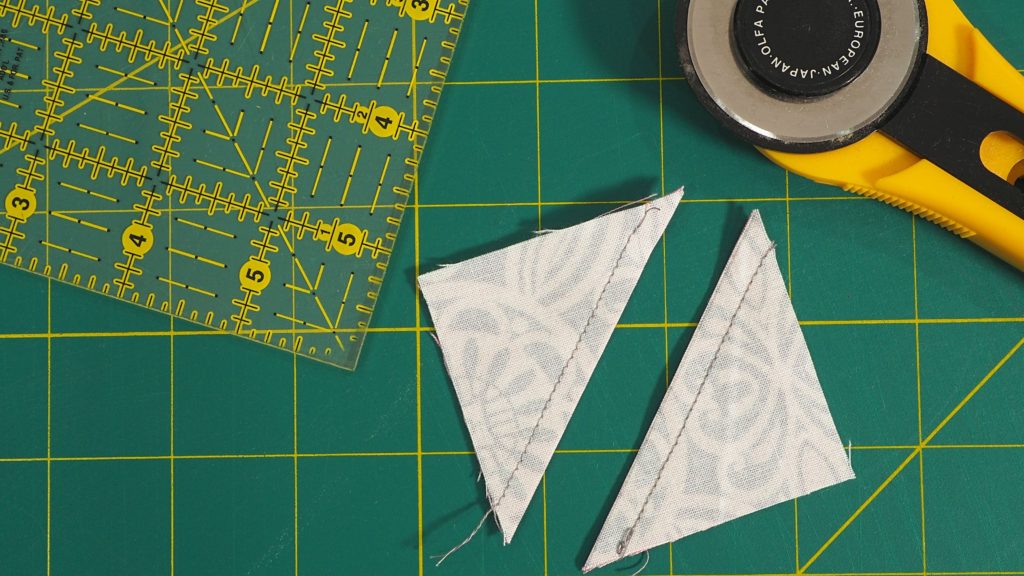
Cut down the center, along the drawn line. You will end up with two blocks that need to be pressed open.
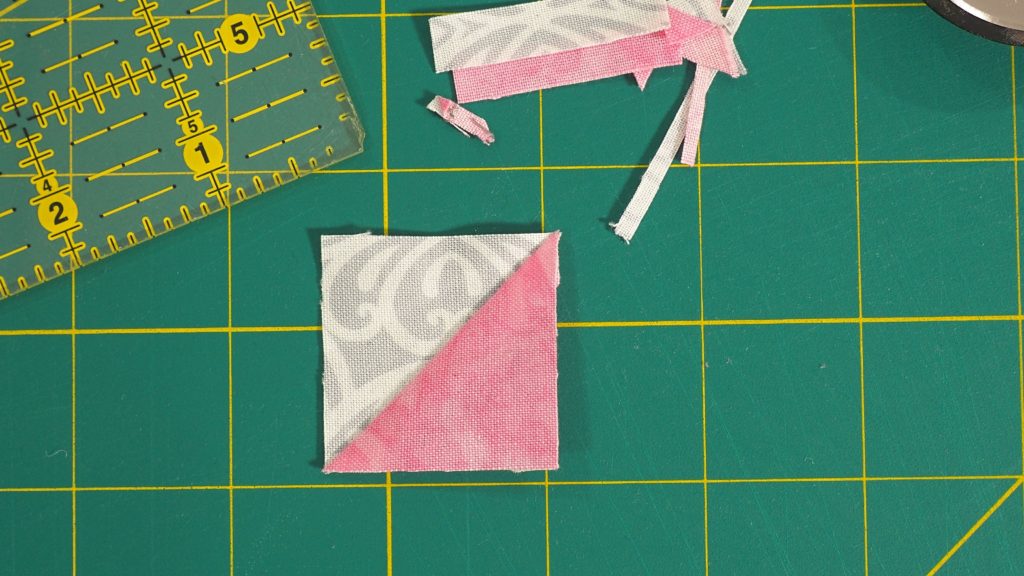
Trim the blocks (sizes shown below) down so they measure the appropriate size. Repeat with rest of the pairs. Following this, you will have a total of 22 half square triangles.
Trimming Sizes For the Half Square Triangles
- Half square triangles made out of the 2 ¼” squares should be trimmed to 1 ½”.
- The ones made out of the 3 ¼” squares should be trimmed to 2 ½”.
- The ones made out of the 4 ¼” squares should be trimmed to 3 ½”.
Step 2 – Assembling the Sections
The quilt gets assembled in sections. Then the sections get sewn together.
Section 1 Layout

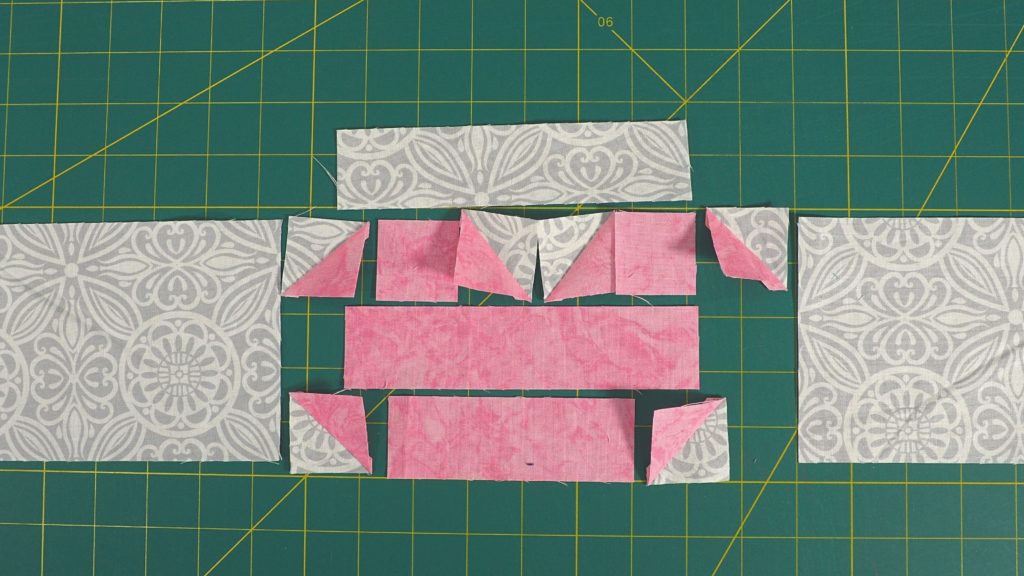
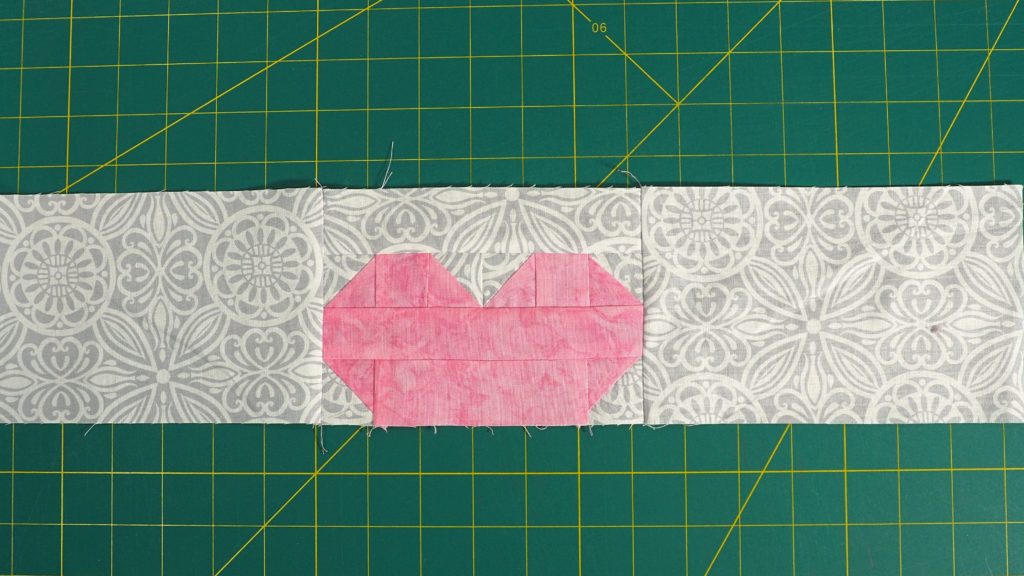
Section 1 is the top section with the small heart. Lay out the pieces as shown. Sew together the center section first, then add the two outside pieces.
Section 2 Layout
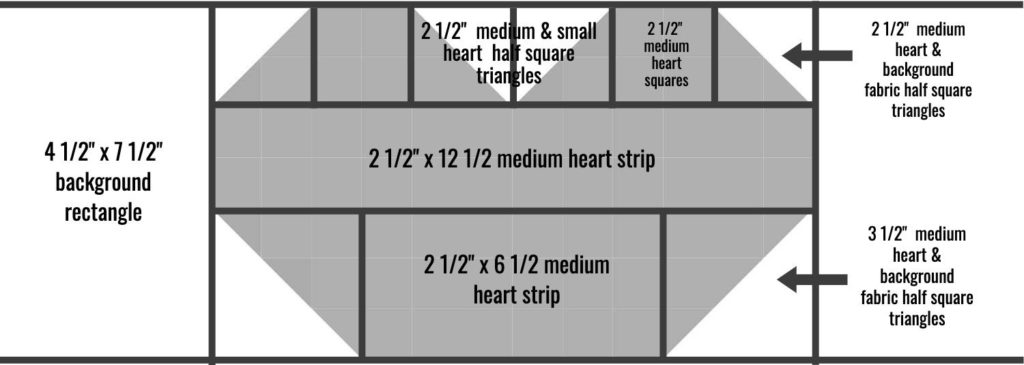
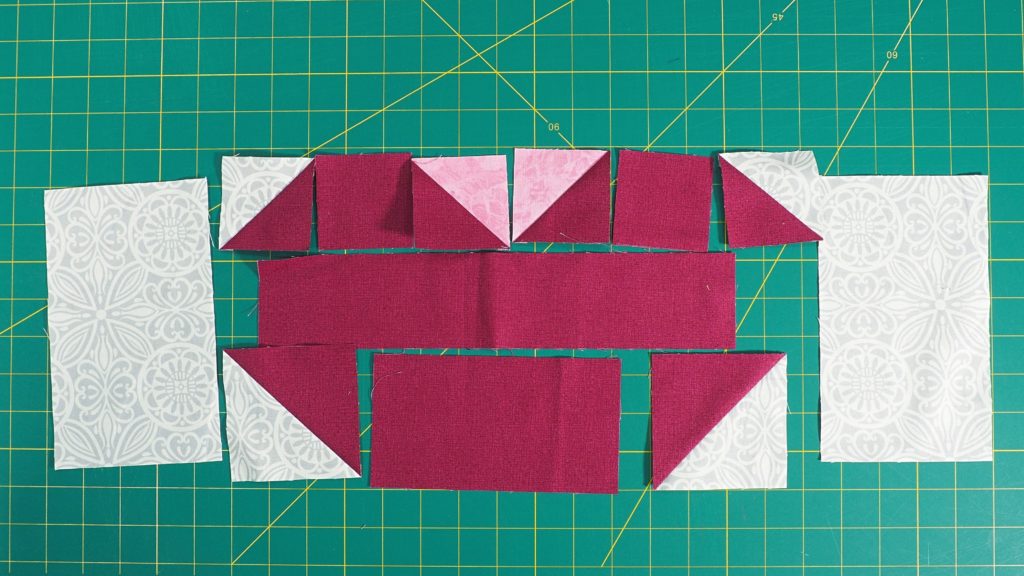
Section 2 is most of the medium heart. Lay out the pieces as shown. Sew the center section first, then add the two outside pieces.
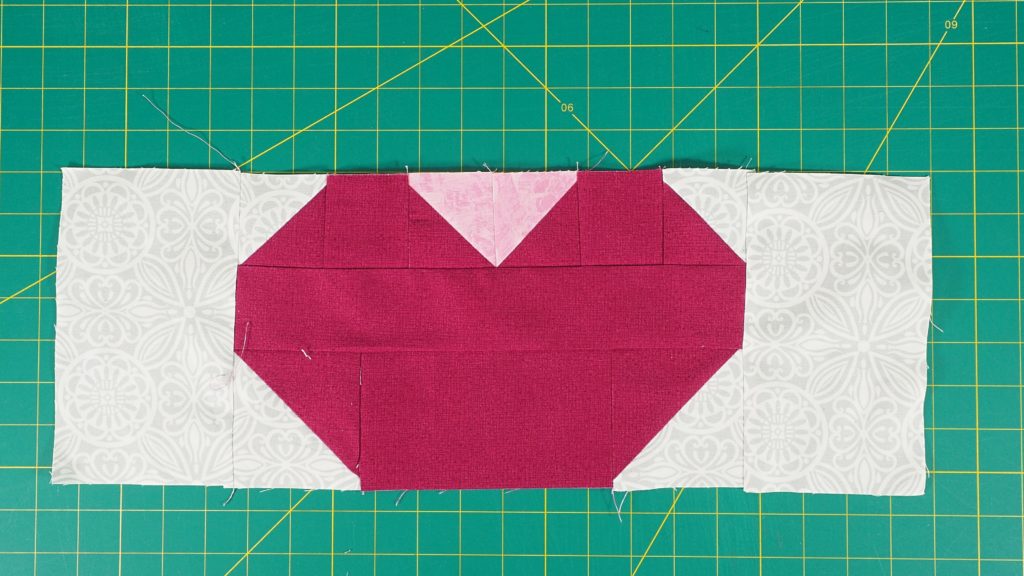
Section 3 Layout
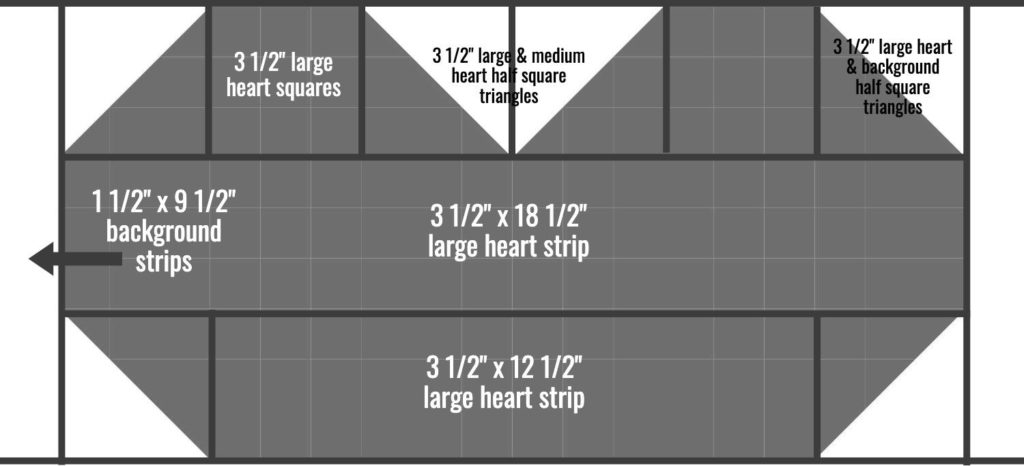
Section 3 is mostly the large heart. Lay out as shown. Sew together the center section first and then add the outside strips.
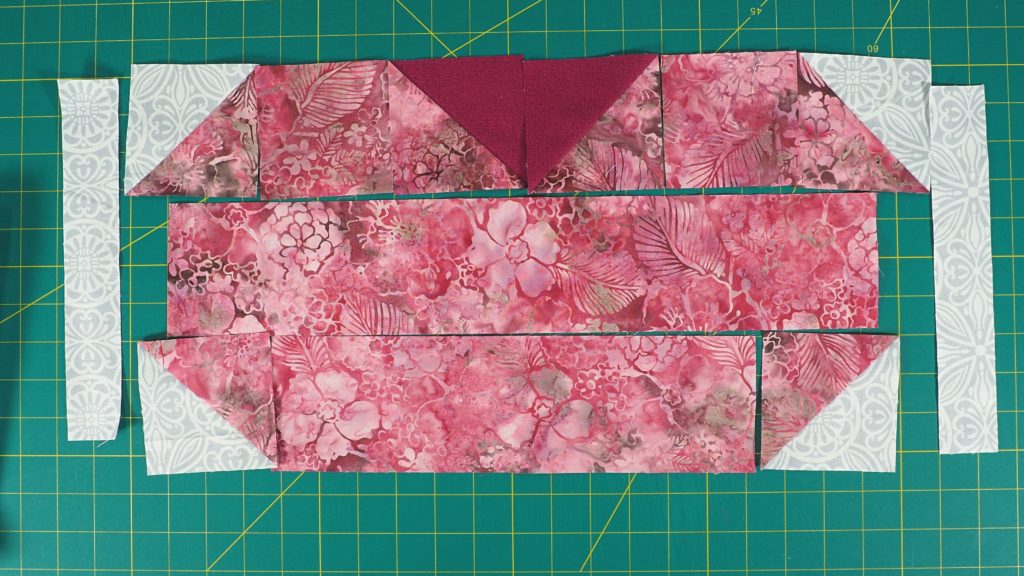
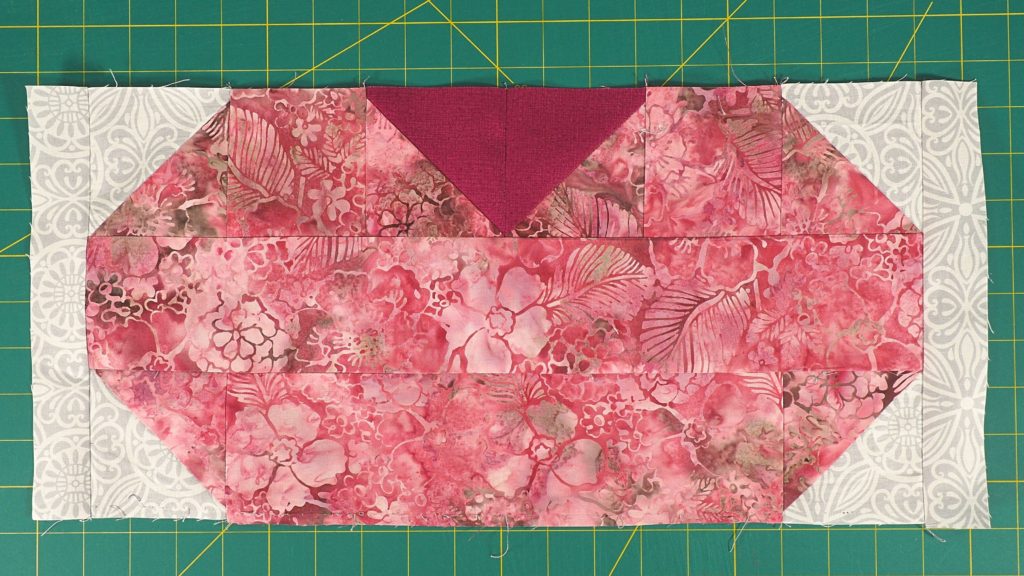
Section 4 Layout
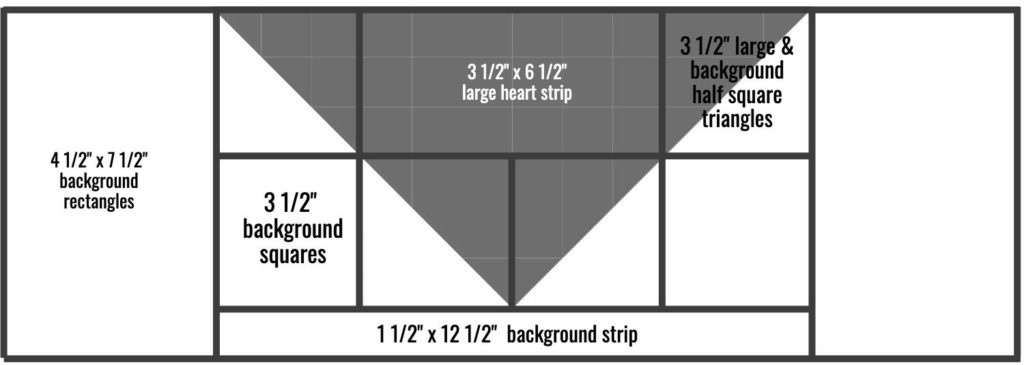
Section 4 finishes up the main part of the quilt. Lay out as shown. Sew together the center section first and then add the outside strips.
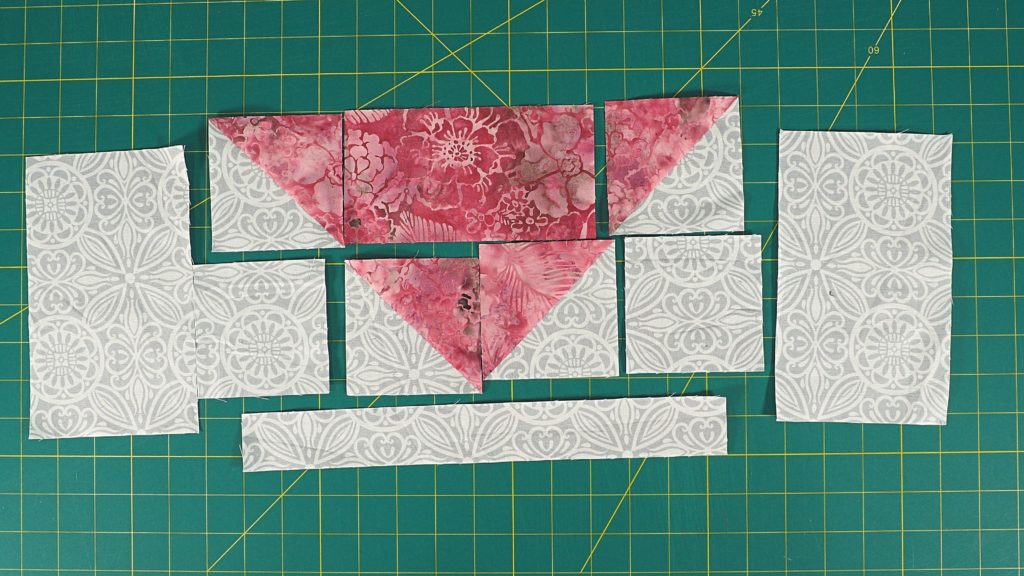
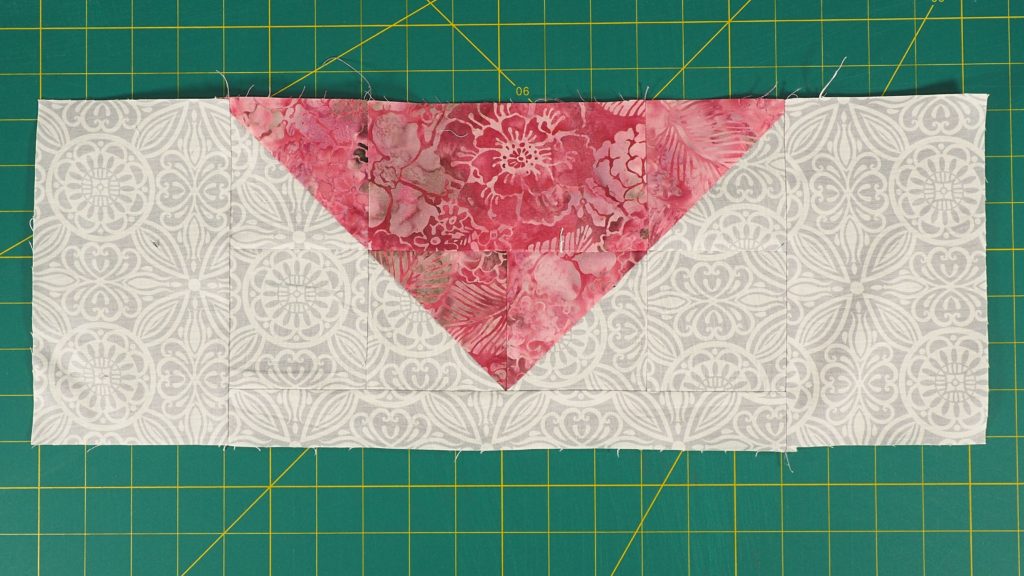
Then sew the four sections together
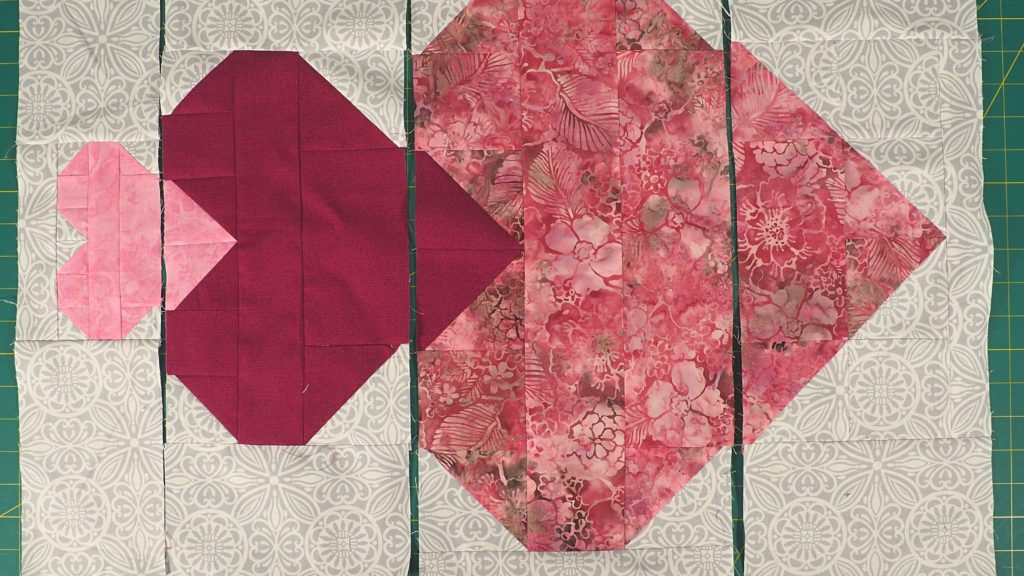
Step 3 – Adding the Borders
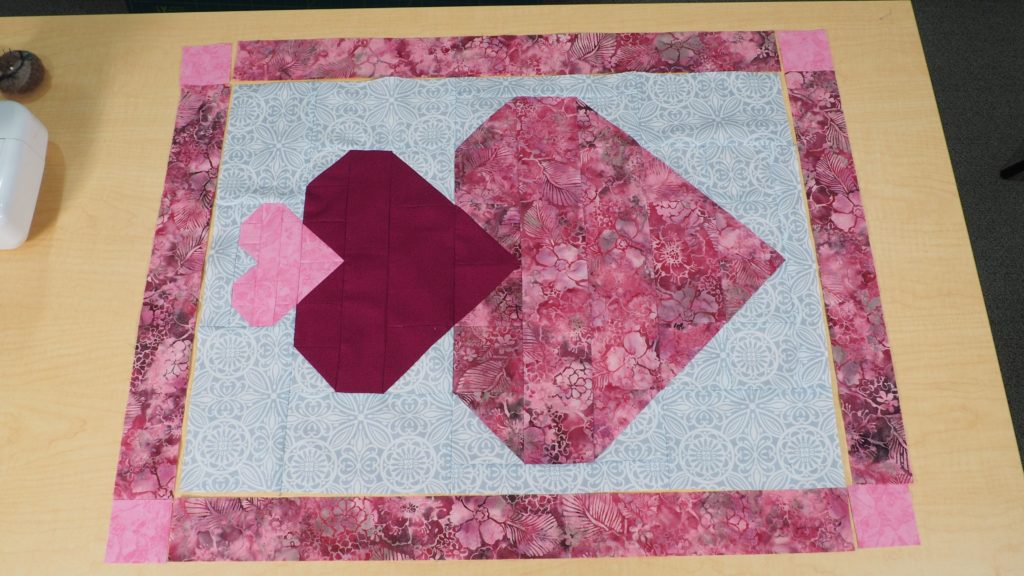
First, add the corner squares to both ends of the shorter border strips.
Second, add one of the longer border strips to the left side of the quilt. Repeat on the right side.
Third, add the shorter strips with the corner blocks to the top and the bottom of the quilt.
Lastly, press the finished quilt top.
Step 4 – Finishing the Stacked Hearts Valentine’s Day Quilt Pattern
- Lay your backing fabric on a long surface, with wrong side facing up.
- On top of that, lay your batting.
- Lay your quilt top on top with the right side facing up.
- Baste the layers together using your preferred basting method.
- Quilt as desired.
- Last, but not least, bind using your preferred method.
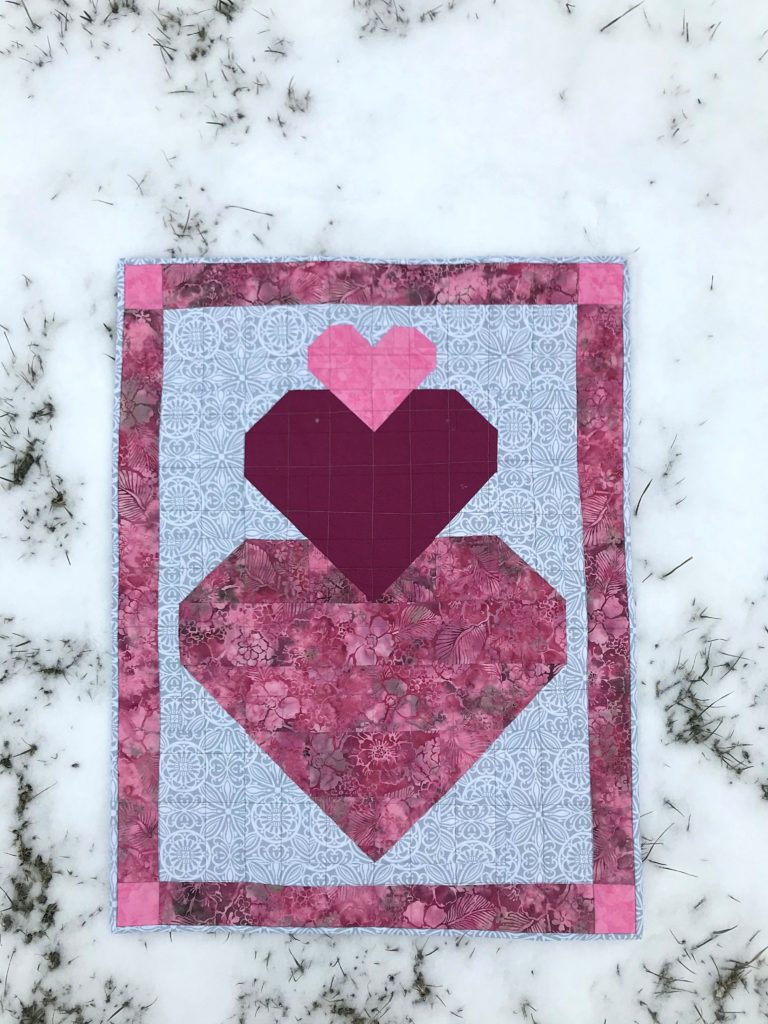
Don’t forget…If you make this pattern (or any of my other ones) and post it to social media, I’d love it if you’d use that hashtag #createwithclaudia so I can see it!
Happy Quilting!

