Jelly Roll Bed Runner Pattern
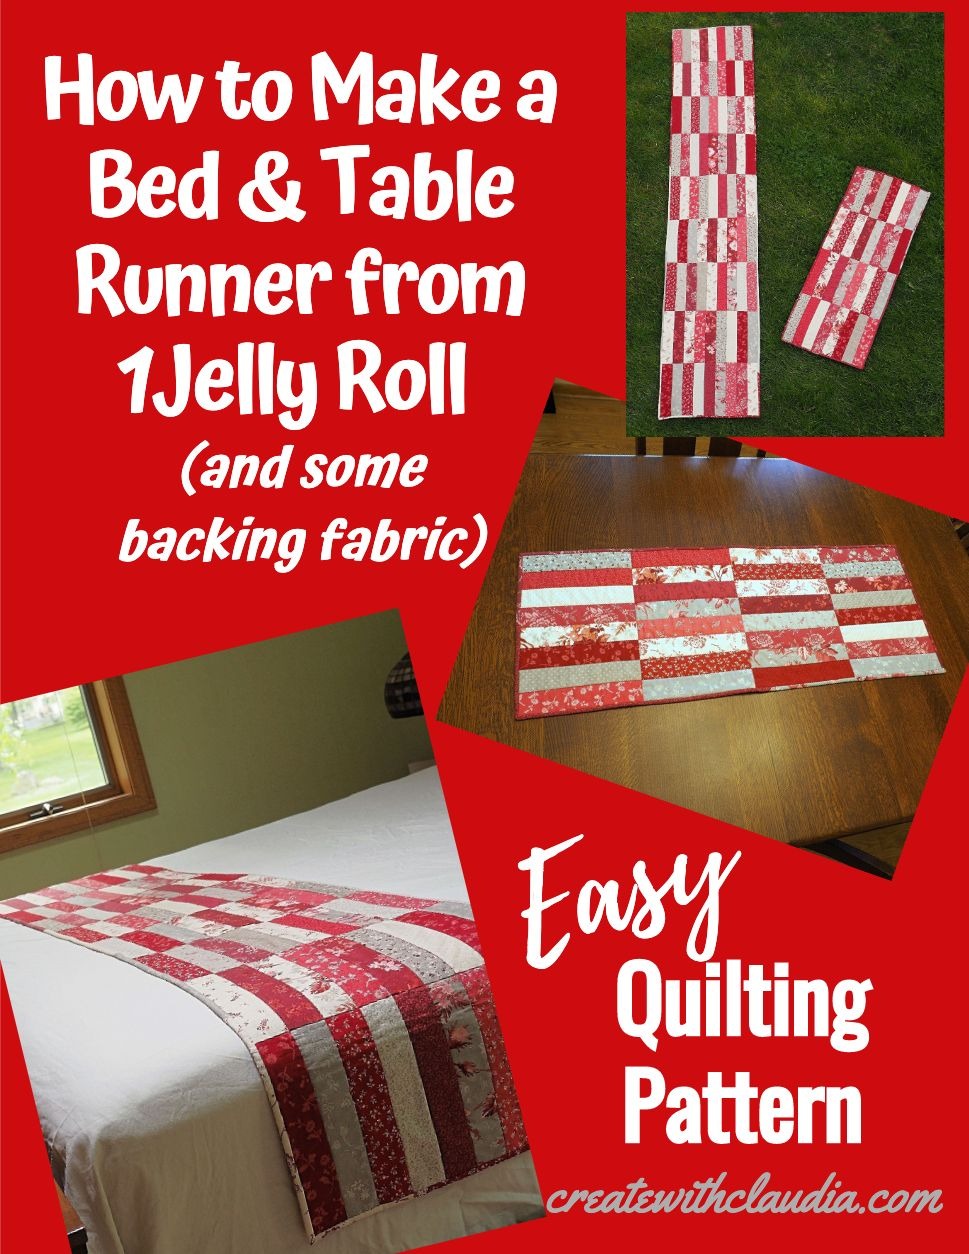
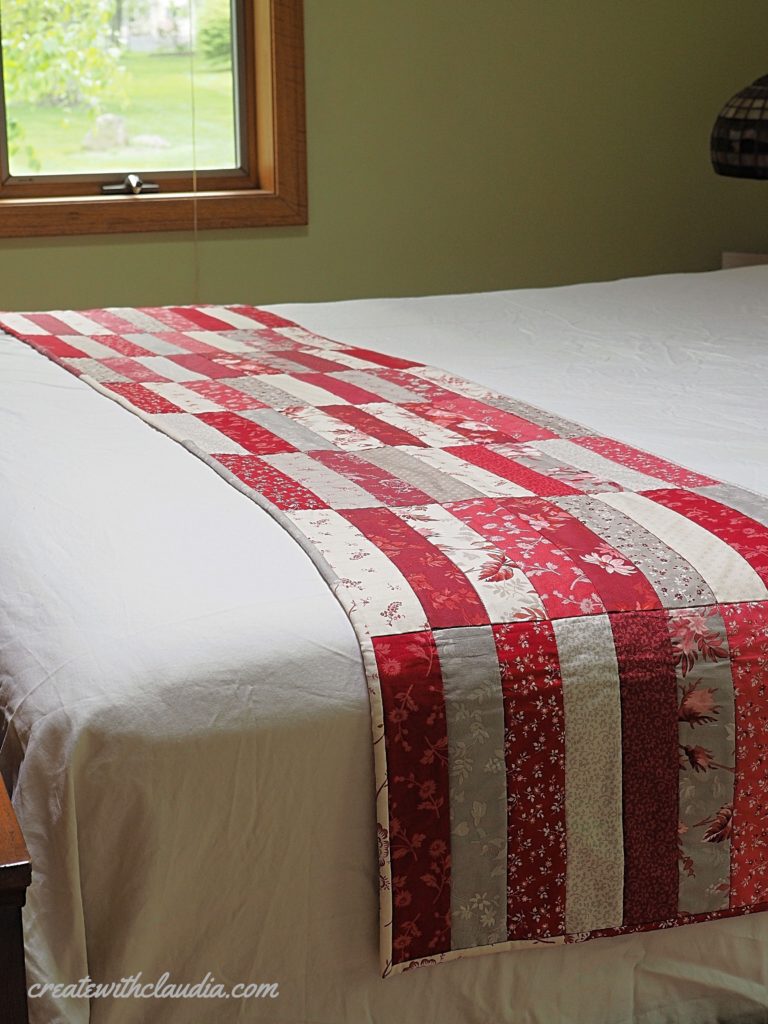
With this easy jelly roll bed runner pattern you’ll be able make a large bed runner and a table runner with just one jelly roll and one yard of extra wide quilt backing fabric.
A little while ago I saw a jelly roll on sale on a fabric website. While they have always intrigued me, I don’t usually work with those beautiful swirls of fabric, but this one caught my eye and the price was definitely right.
So I placed my order and waited for my package. Immediately after it arrived, the ideas started swirling in my head. The colors and patterns were inspiring, and, as a result, I decided on an easy bed runner design.
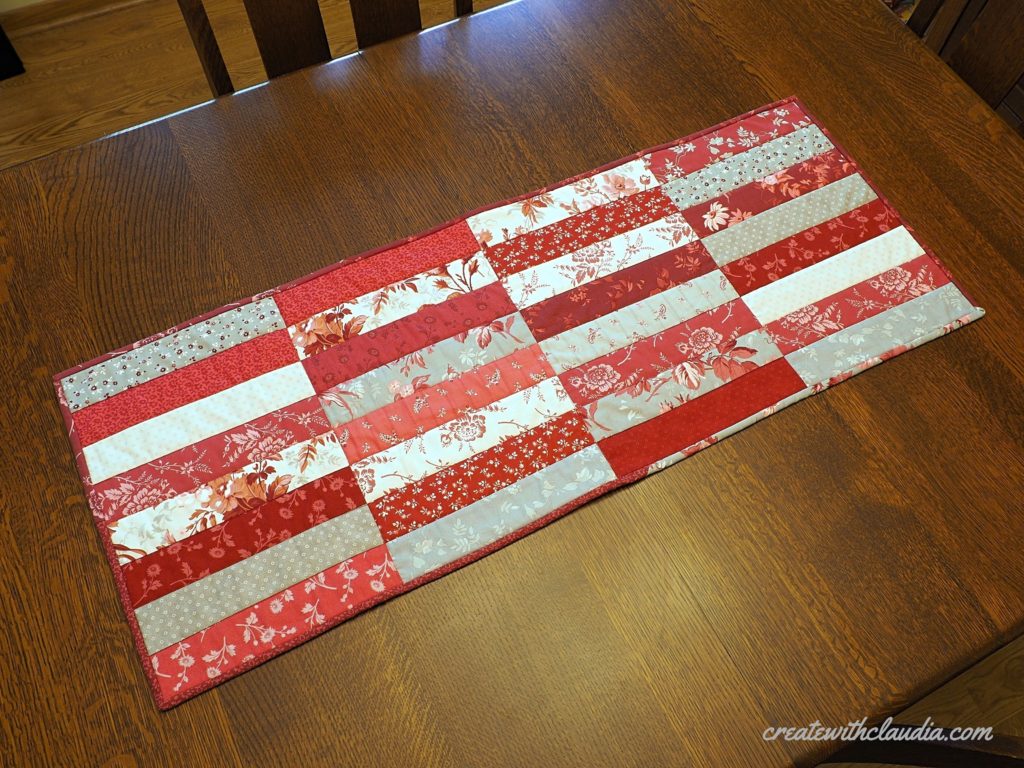
After piecing it, I realized I had plenty of fabric left so I made a table runner too.
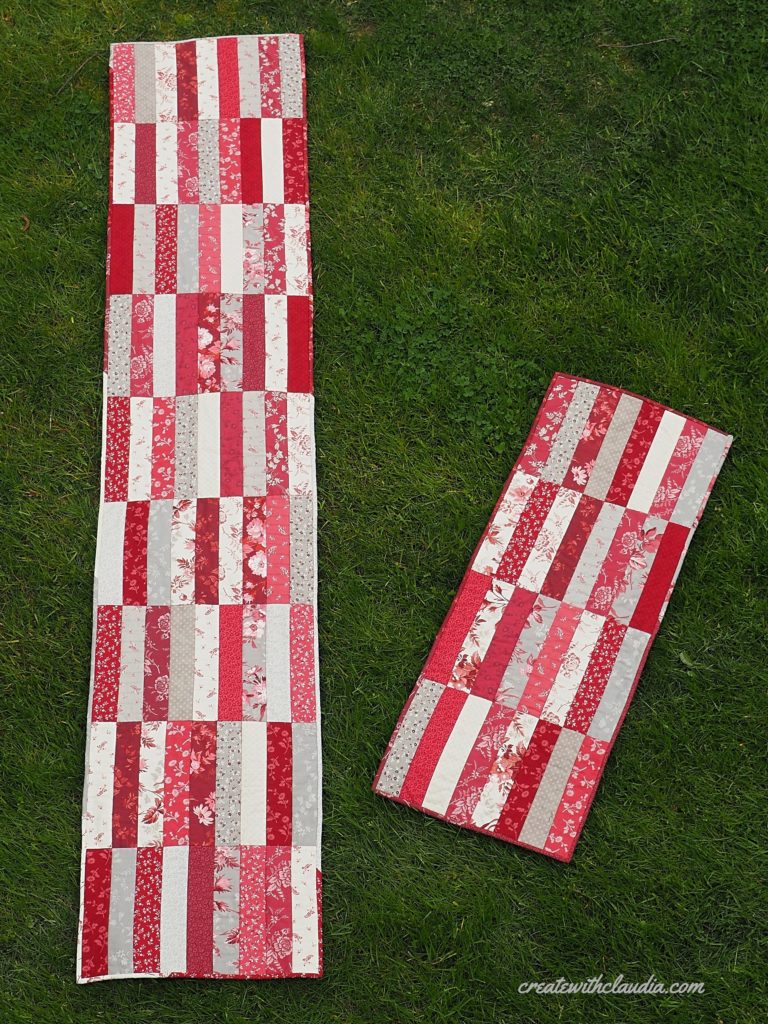
As a result, from one jelly roll and one yard of extra wide quilt backing fabric, I was able to make an 18″ x 90″ bed runner and a 16″ x 40″ table runner, and that included the binding! The only thing I needed to add was batting, and I always have extra pieces of that laying around.
This pattern is just about as easy as it gets and, if you have the supplies on hand, it can be made in no time.
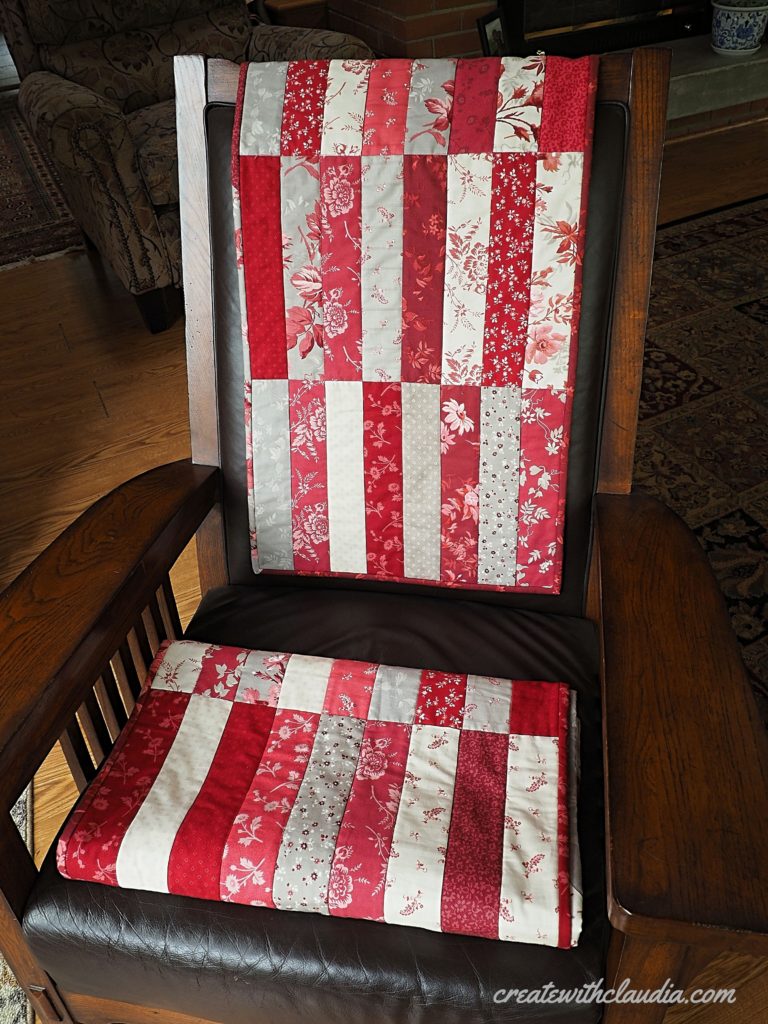
Go ahead and grab that jelly roll that you just don’t know what to do with, and give this jelly roll bed runner pattern a try. Don’t forget to make the matching table runner.
See How to Make It Here
Supplies You Will Need
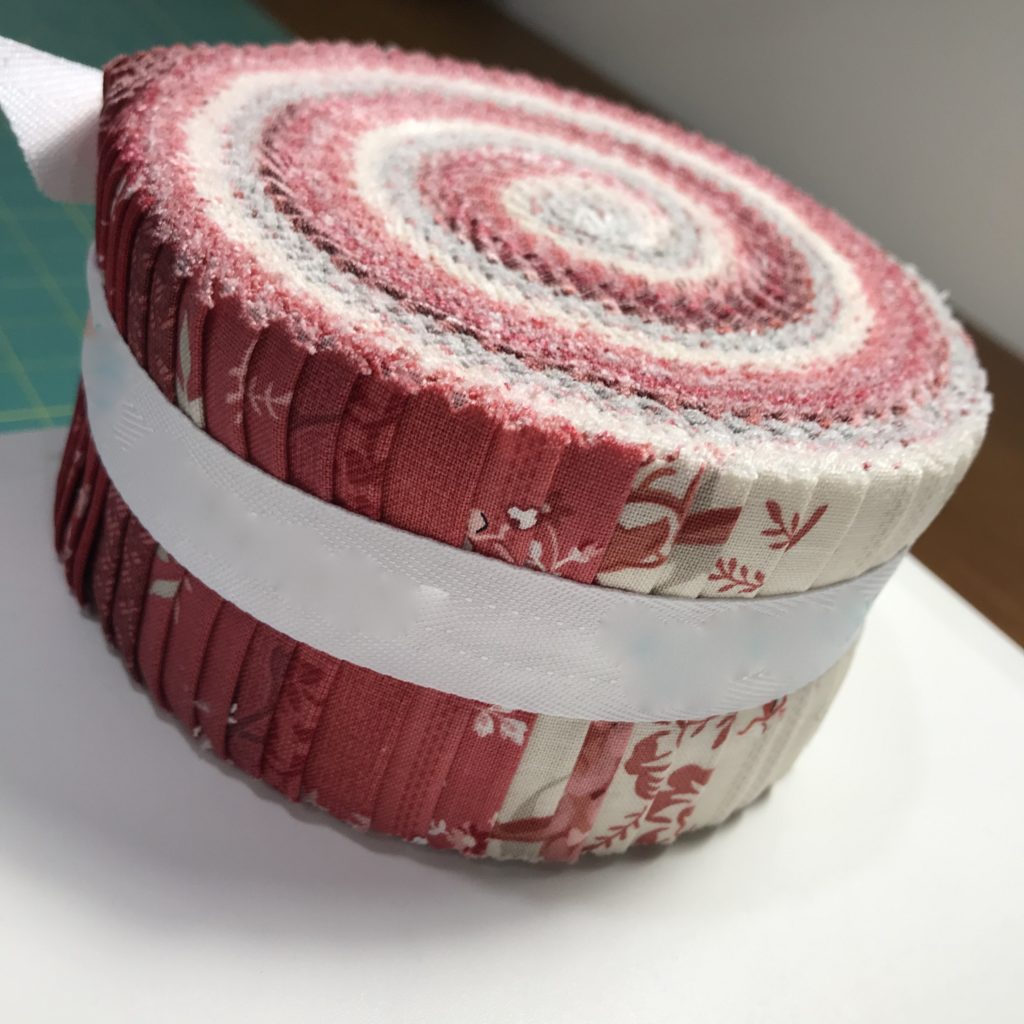
- 1 Jelly Roll – A jelly roll is a roll of 40 strips of 2.5″ x 42″ precut fabric. They come in every color and pattern imaginable. Note: You can get smaller rolls with only 20 strips, but that may not be enough if you plan to make a larger runner or both of them.
- 1 yard of extra wide quilt backing fabric – If you don’t have this, you can piece together the backing with regular quilting fabric.
- Batting
- Standard sewing supplies
Fun Fact
Moda fabrics came up with the term “jelly roll” for their fabric strip sets. I’ve also seen these strip rolls called rolie polies, strip sets, and roll ups.
You May Like These Items To Help You Make The Runner
You can find many of the items that I used to make this project in my Amazon Store.
As an Amazon Associate I earn from qualifying purchases.
Prepare the Fabric
In the chart below you can see the number of 10.5 inch long strips needed for various sizes of runners.
Jelly roll strips are about 42″- 44″ long, so you should be able to cut four 10.5″ strips from one long one. Cut only as many as you need and save the other long strips. They are perfect for the binding.
Strips to Cut
| Runner Size | 16″x 40″ | 18″x 70″ | 18″x 80″ | 18″x 90″ | 18″ x 100″ |
| # of Strips Needed | 32 | 63 | 72 | 81 | 90 |
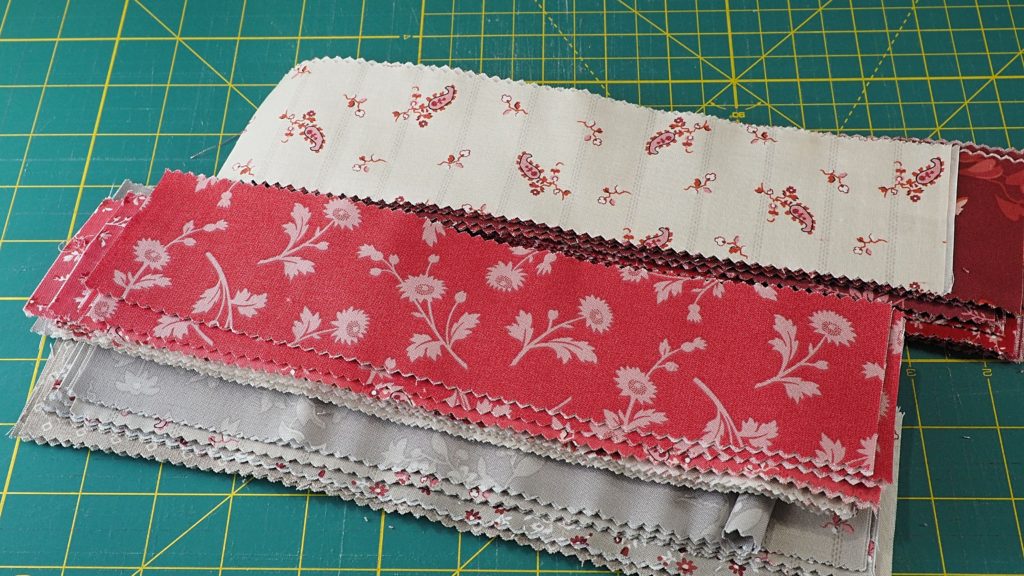
The fun begins after you have cut your strips!
Jelly Roll Runner Layout
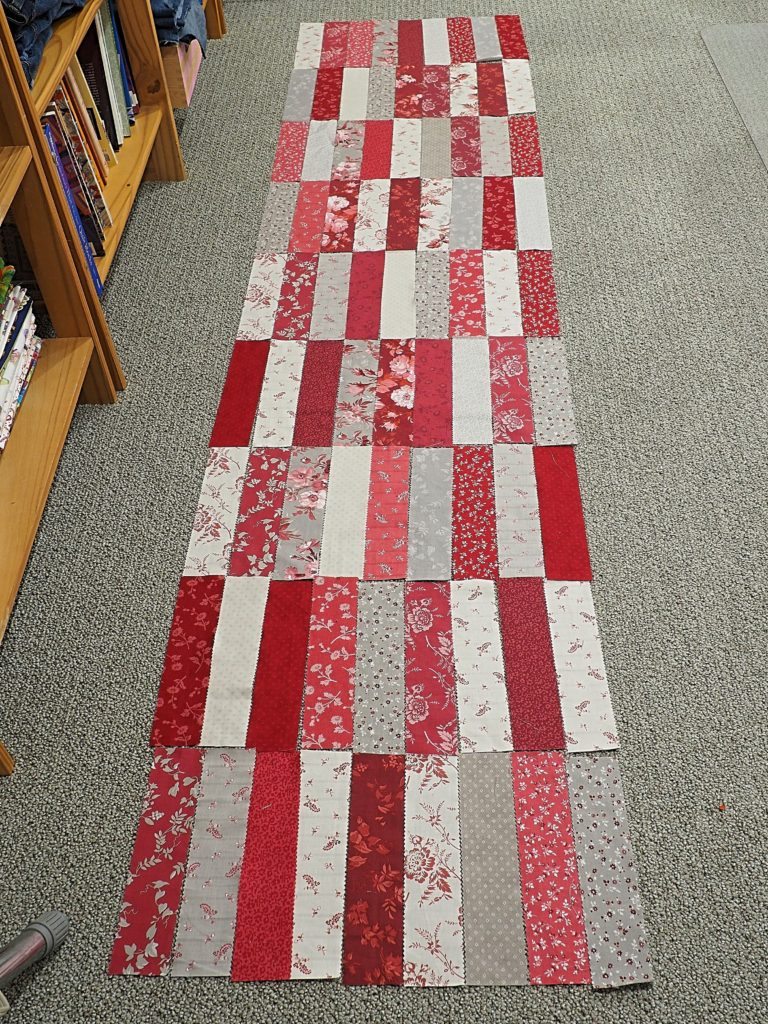
Depending on the runner size you are making, lay out the strips. There were twenty different fabrics in my roll, so I had plenty of options. My only rule of thumb was that I did not use two strips of the same fabric in each section and that no identical fabrics were next to each other.
I used 81 strips for my 18″ x 90″ bed runner and here was my layout: 9 strips by 9 strips.

Piecing the Runner
Use a scant 1/4″ seam allowance when sewing this.
When piecing, it is really easy to mix up the strips. For this reason, it’s important to keep organized. I sew each section together separately and to prepare for that, I pin the strips in one section together and in their order.
I also keep the pin in the top left corner of the strips. Because of this, I know which strip is on top for each section.
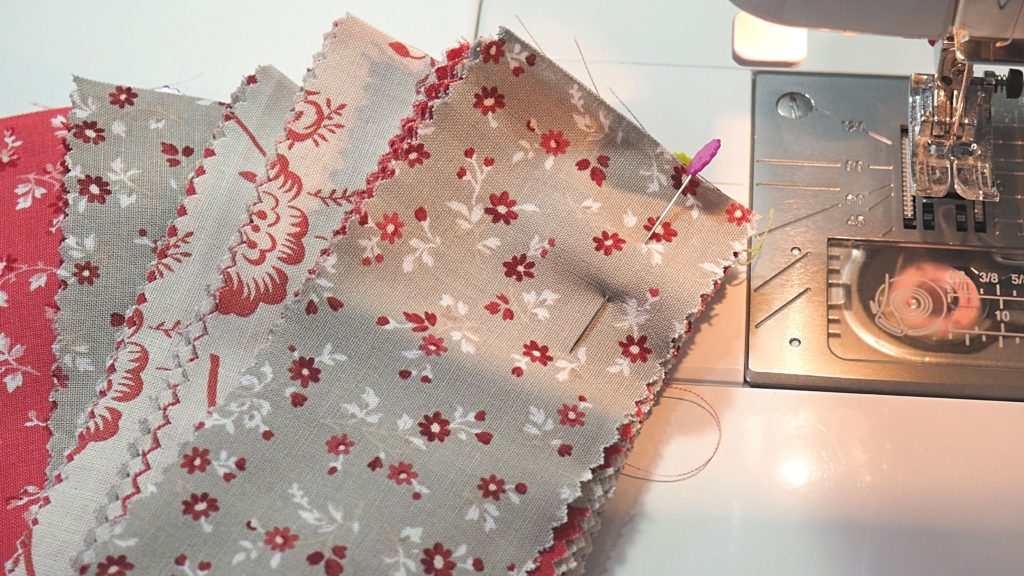
Once I have sewn together one section, I press the seams in one direction. I repeat with the following sections, alway alternating the seam pressing direction.
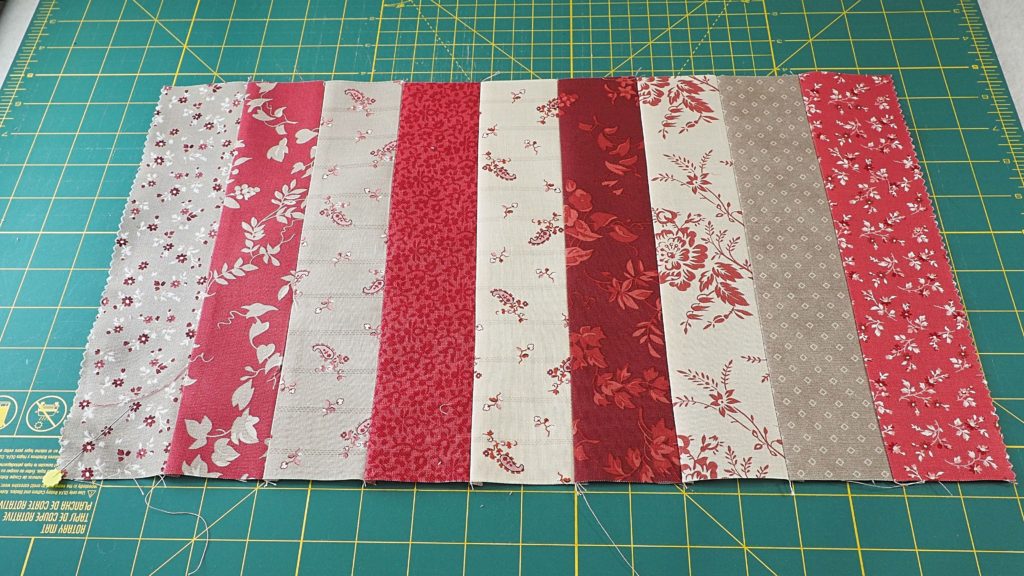
Once all of the sections have been finished it is time to sew them together. Because you pressed each section in the opposite direction, they should come together easily.
Pinning at each seam will help ensure that they are even.
Finishing the Jelly Roll Bed Runner
To finish the runner you will need your backing fabric and batting. This is where that yard of extra wide quilt backing fabric comes in handy. It should measure 36″ by 108″. As a result, it has more than enough length for even the longest (100″) bed runner.
Long batting may be a bit tougher to get. As a rule, I keep a stash of all my batting leftovers and because of this I was able to find a piece just long enough.
If needed, sew together pieces of batting using the zig zag stitch.
Basting the Runner
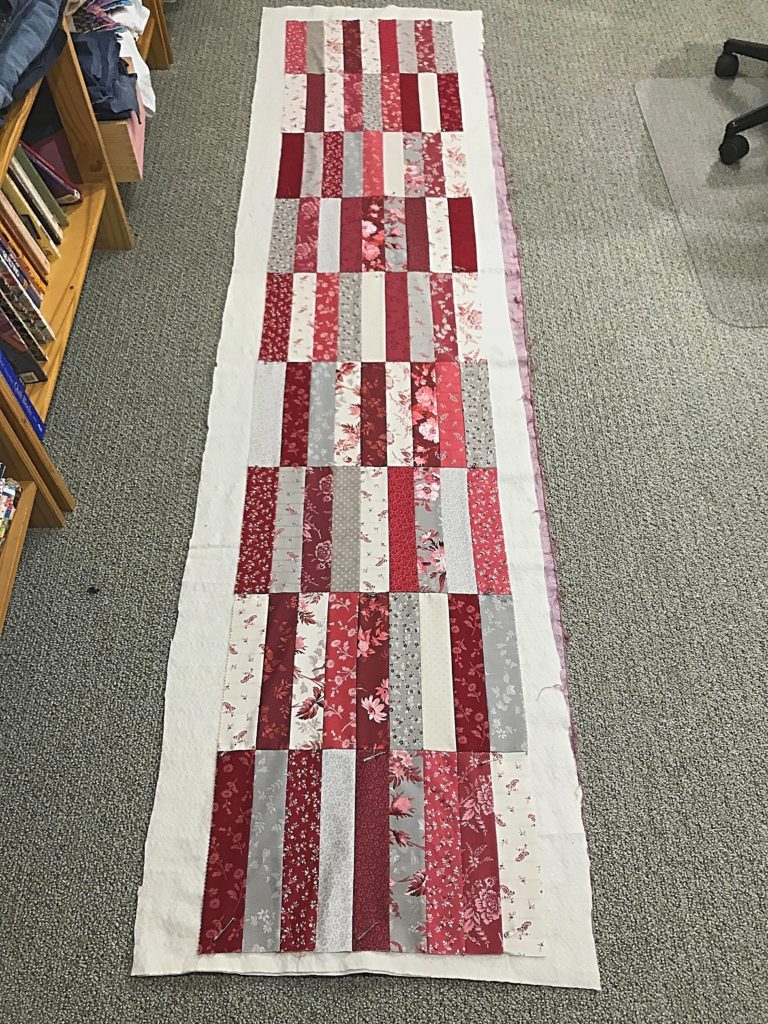
First, lay the backing fabric down, wrong side facing up.
Next, lay the batting on top of the backing fabric.
Finally, lay the pieced runner on the top, making sure there is room to spare on all four sides.
Baste using your preferred method.
Quilting the Runner
I used a straight stitch and sewed along each seam. Basically I stitched in the ditch. As a result, the runner was quilted quickly and easily.
Binding the Runner
Lastly, you will want to bind the runner in your favorite way. Because I really wanted to stick to only using the jelly roll and backing fabric, I used some of the leftover strips for my binding.
Whenever I bind, I use 2.5″ strips so it only made sense to use some of the leftover strips. I just pieced a bunch of them together and, as a result, got a nice scrappy look to my binding.
Leftovers
Once I was done with the bed runner, I realized I still had plenty of strips and a fair amount of backing fabric left over, so I made a 16″ x 40″ table runner. After both projects were done, I only had about nine 10.5″ strips left.
Jelly Roll Bed Runner
If you have an unused jelly roll sitting around your sewing room, why not try this easy pattern. There really isn’t too much work involved, especially because the strip layout is random.
In addition, the sewing involved is pretty simple. And, depending on what size bed runner you make, you should have plenty of fabric left over to make a table runner or even another bed runner. Not bad for one jelly roll and one yard of extra wide quilt backing fabric.
Happy Quilting!
Don’t forget to share pictures of your runners on Instagram and use the hashtag #createwithclaudia so I can see it!


2 Comments
Leisa
August 26, 2021 at 8:31 AMThe bed runners would make ideal gifts for those who lay with the dogs! They are pretty, washable, and easy to assemble, quilt and gift.
createwithclaudia_7j76hs
August 26, 2021 at 3:29 PMDefinitely Leisa – I like that idea and just like you said, easy to make & wash. Thanks!