
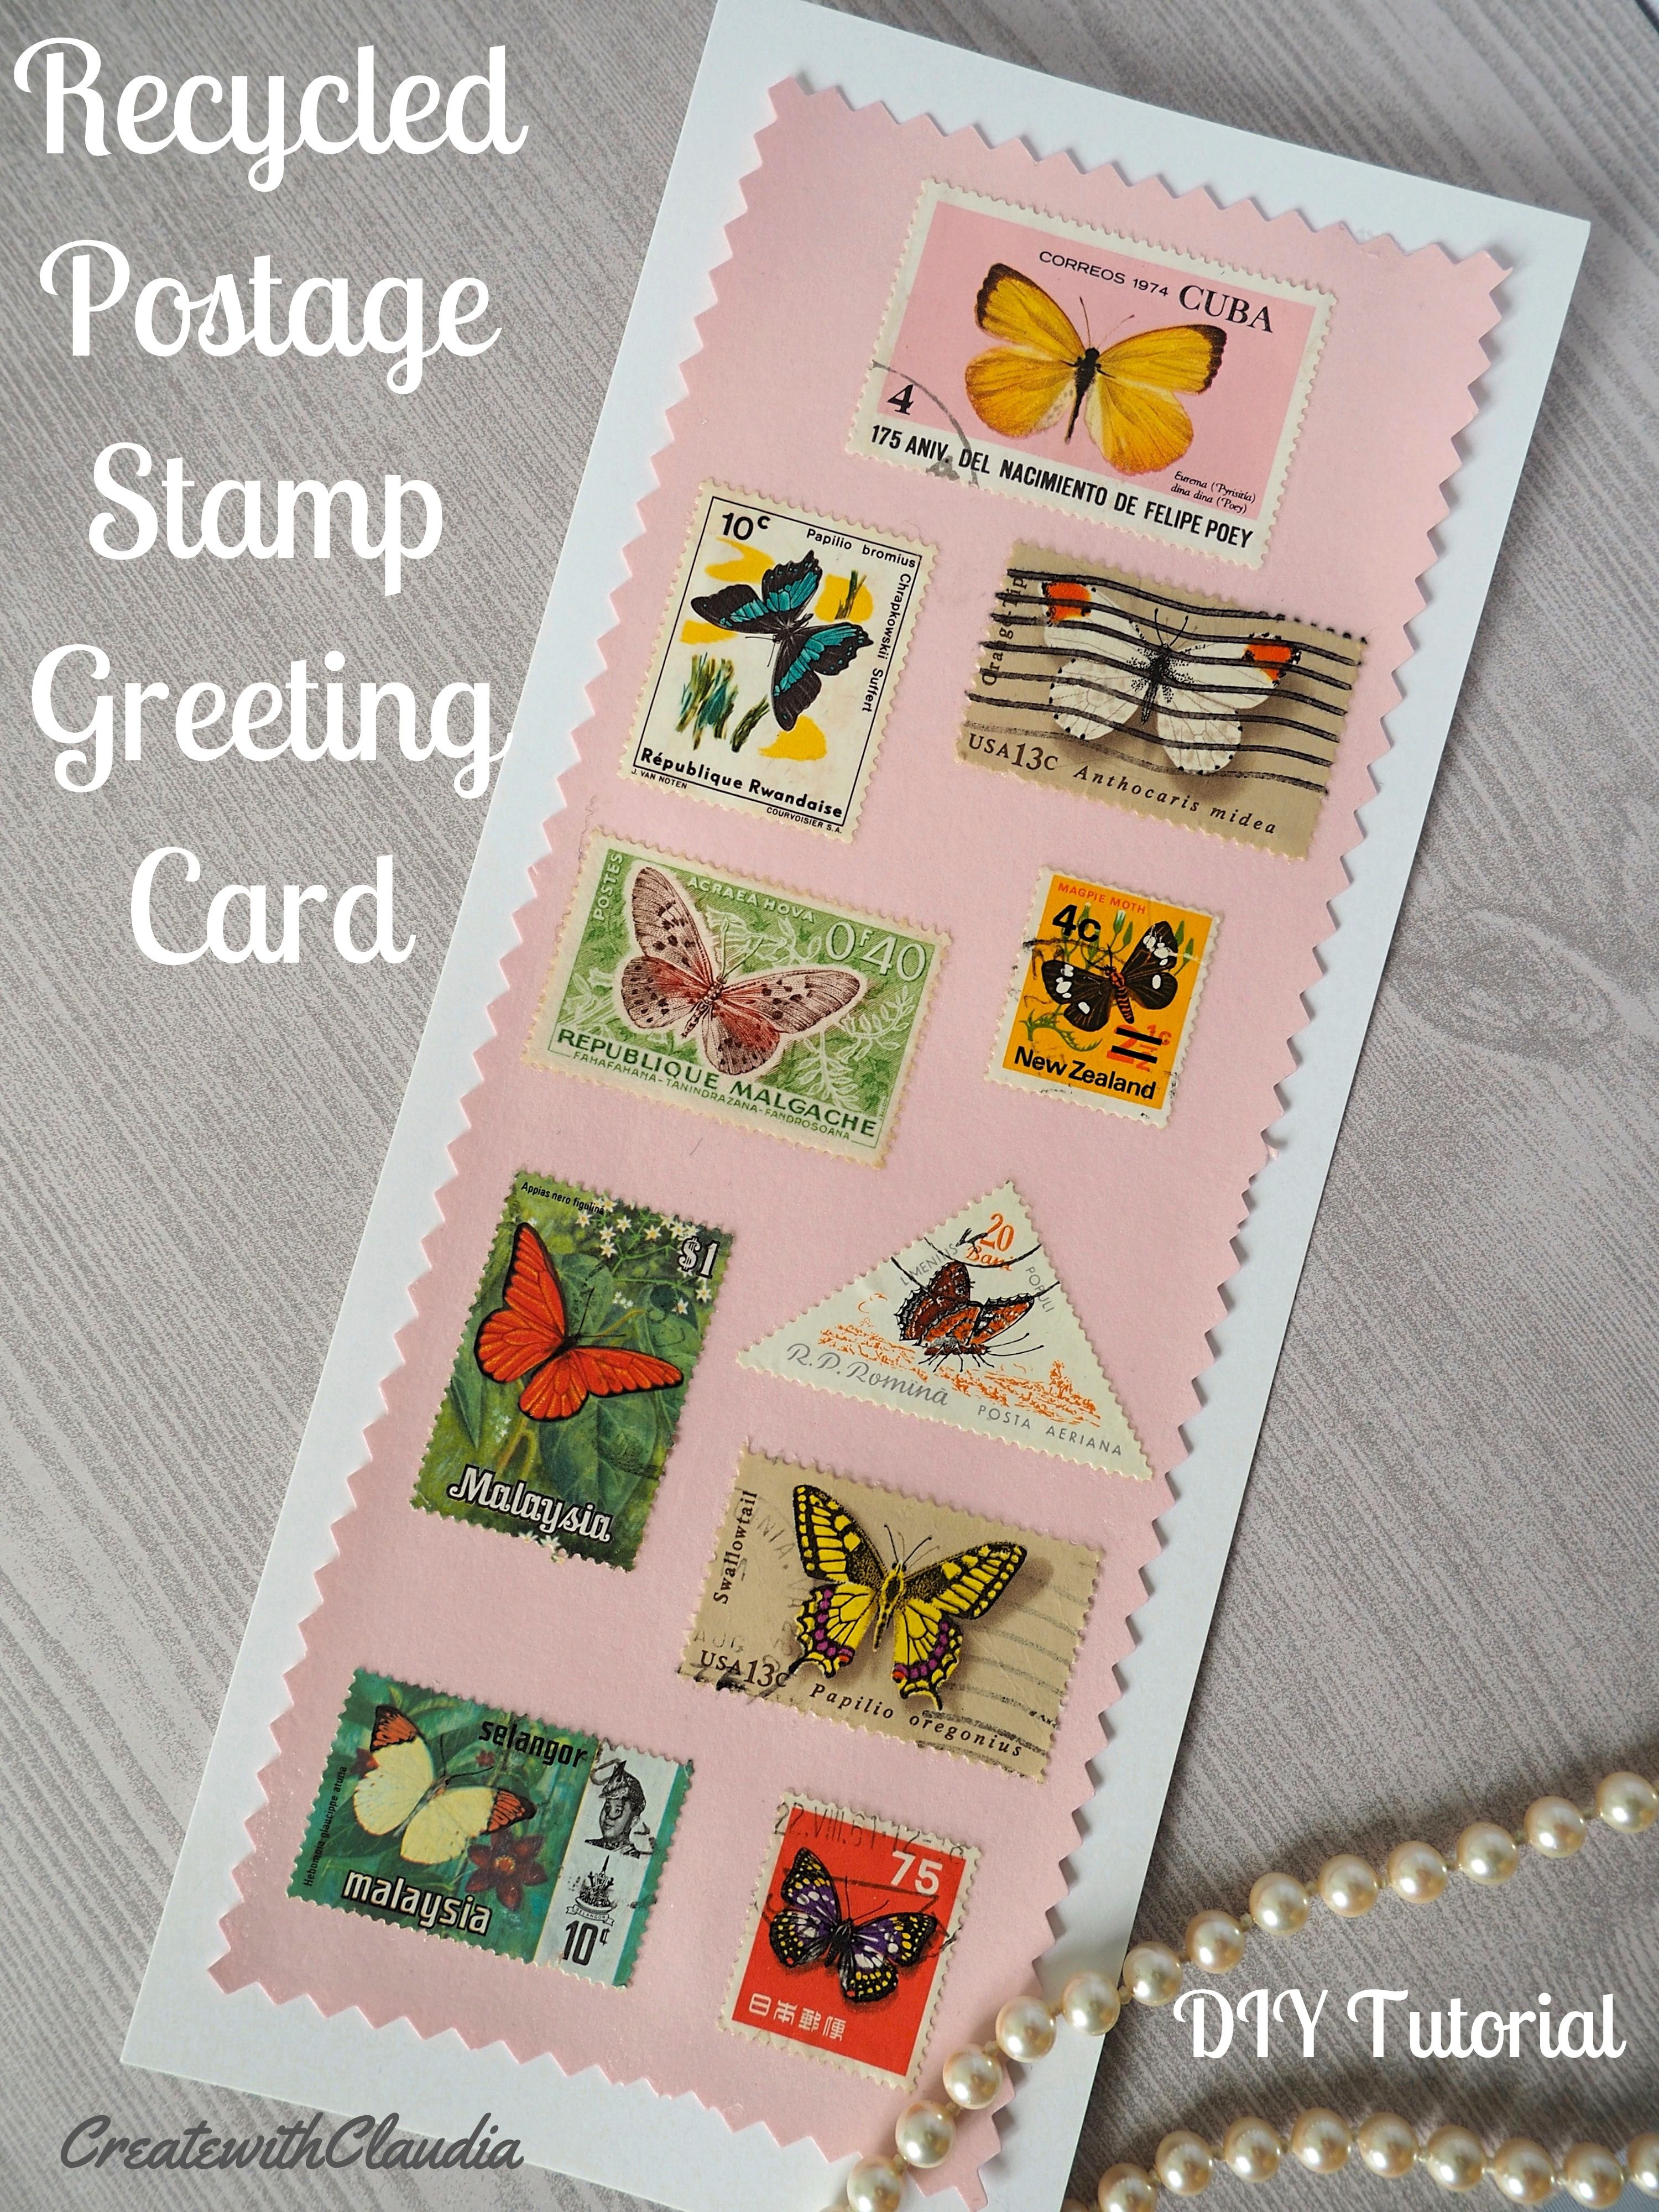
Recycled Postage Stamp Greeting Card Tutorial
When I was a kid, I collected stamps. I was fascinated by all of the beautiful colors and pictures on them. I would spend hours admiring the artwork. Unfortunately, I gave up the hobby about as quickly as I had started it, and never gave it another thought.
A couple of years ago I came across a place selling bags filled with hundreds of stamps for a few dollars. So, on a whim, I bought some. I thought I would use them for crafts, but I set them aside and forgot about them.
Recently, in addition to my fabric projects, I’ve been focusing on creating projects with items that I already have on hand. Not only does it save money, it’s a great way to recycle.
As a result, I dug out those stamps and made these fun and unique greeting cards.
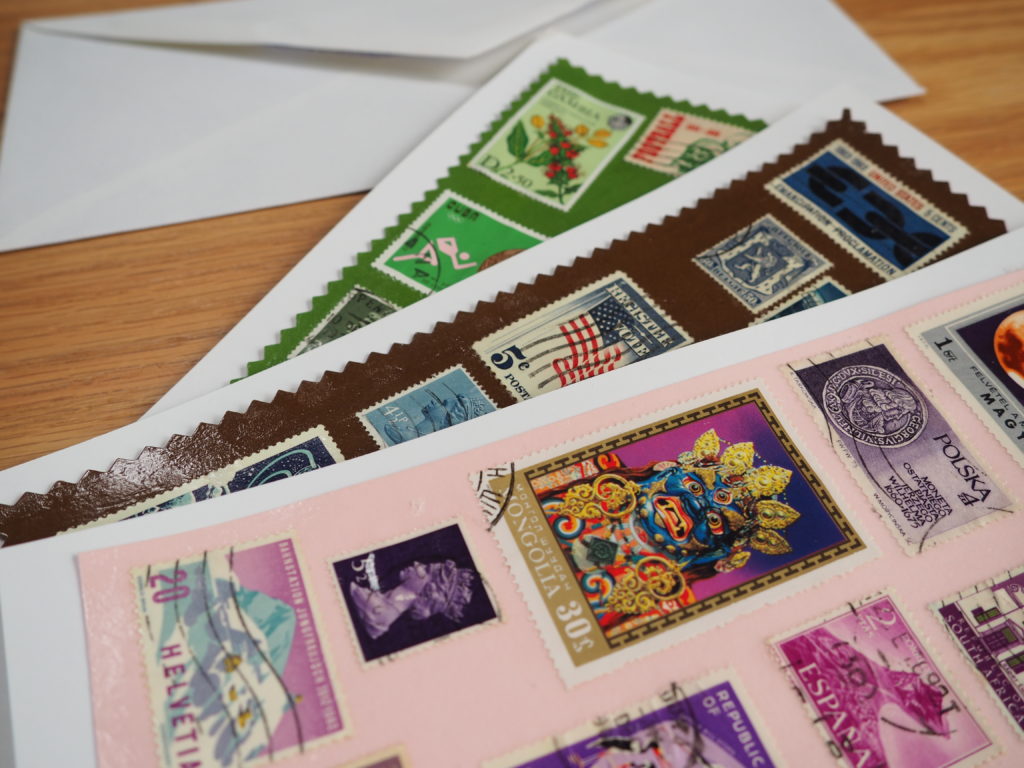
These cards can be personalized for any holiday or special event. Basically, the sky is the limit with this project.
Here are the easy directions. There is also a video at the end which demonstrates the entire process.
Supplies Needed
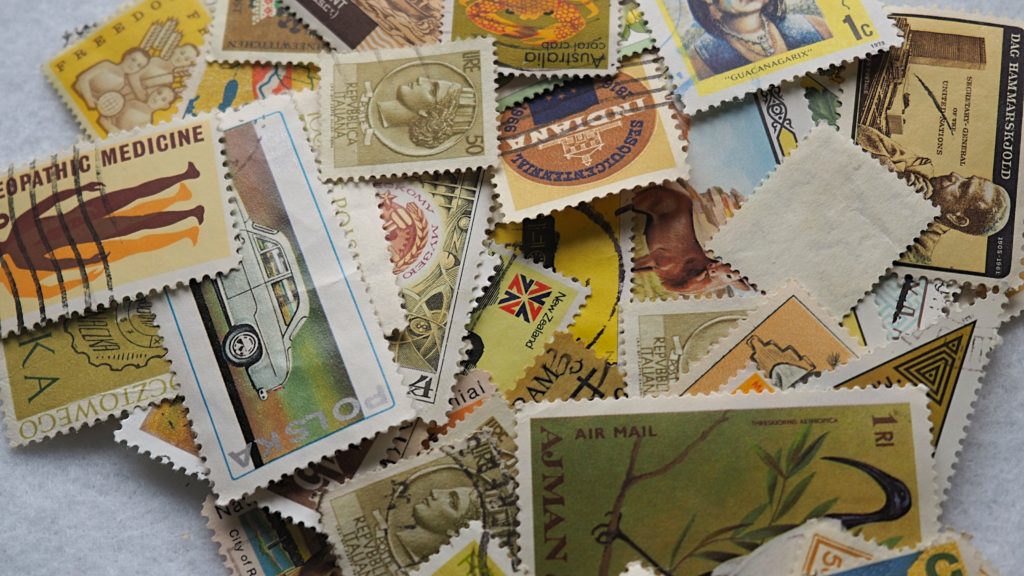
- Assorted Used Postage Stamps – Use care when choosing stamps. You don’t want to use ones that may be worth some money. If in doubt, you can buy inexpensive ones.
- Card Stock – Various colors
- Mod Podge – I used the gloss, but matte can be used as well
- Paint Brush
- Decorative Edge Scissors or Pinking Shears
- Double sided tape
Items You Can Use To Make This Craft
You can find many of the items that I used to make this project in my Amazon Store.
As an Amazon Associate I earn from qualifying purchases.
Step 1: Cut Out Card Stock
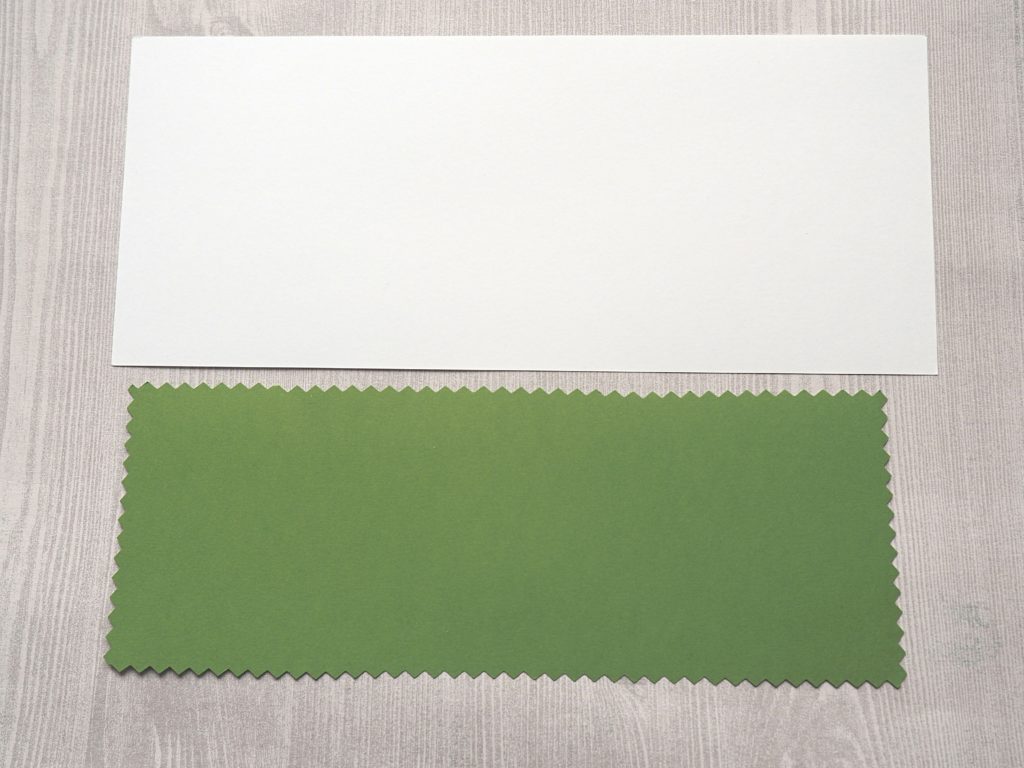
- Using the color of your choice and regular scissors, cut out 1 piece of card stock 3 3/4” X 8 7/8”. For my background piece I used white.
- For the second color, cut out 1 piece 3 1/4” X 8”. If desired, use decorative edge or pinking shears.
- Set aside.
Step 2: Add the Stamps
- First, choose which stamps you will use.
- Next, lay out the design. Once you are satisfied with the way it looks, I suggest taking a picture of it so you remember where the stamps should be placed.
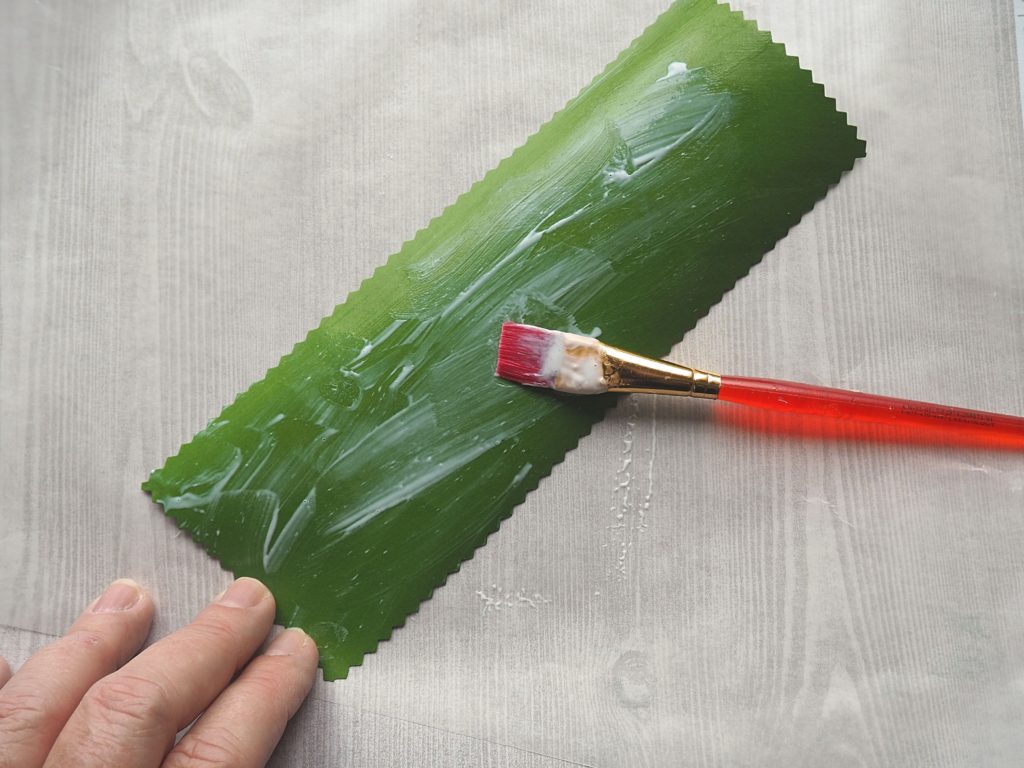
- Then, on a protected work surface, use the paint brush to apply a layer of mod podge to the card stock that you will apply the stamps to, in my case the green paper.
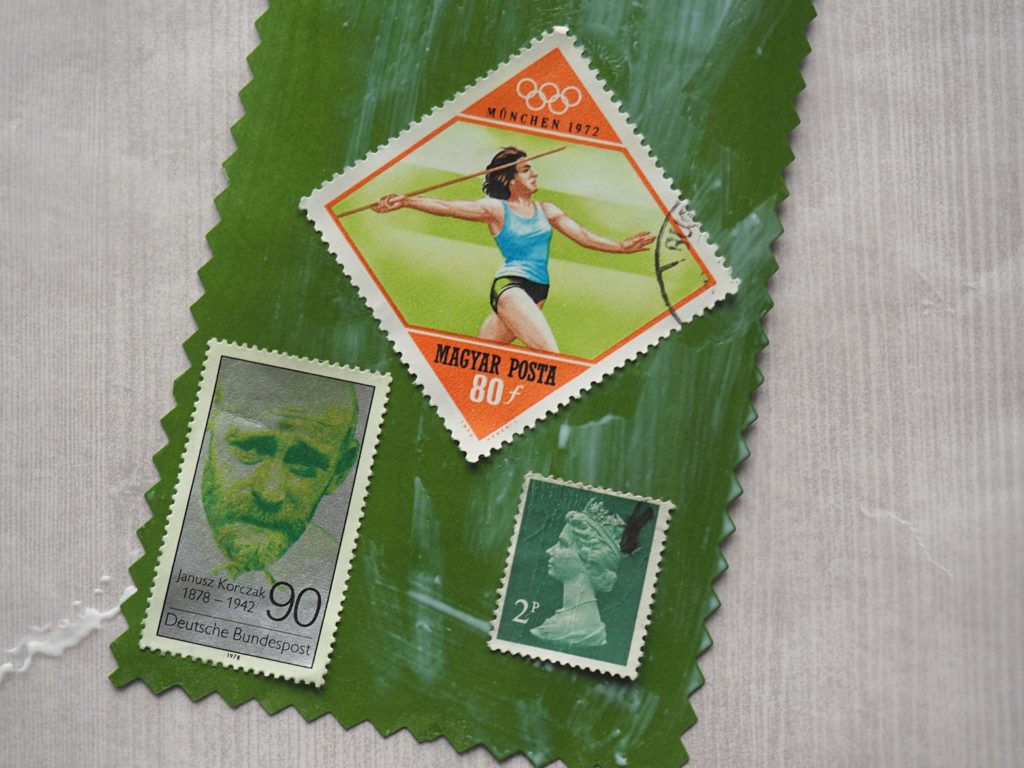
- Working quickly, stick the stamps onto the prepared card stock.
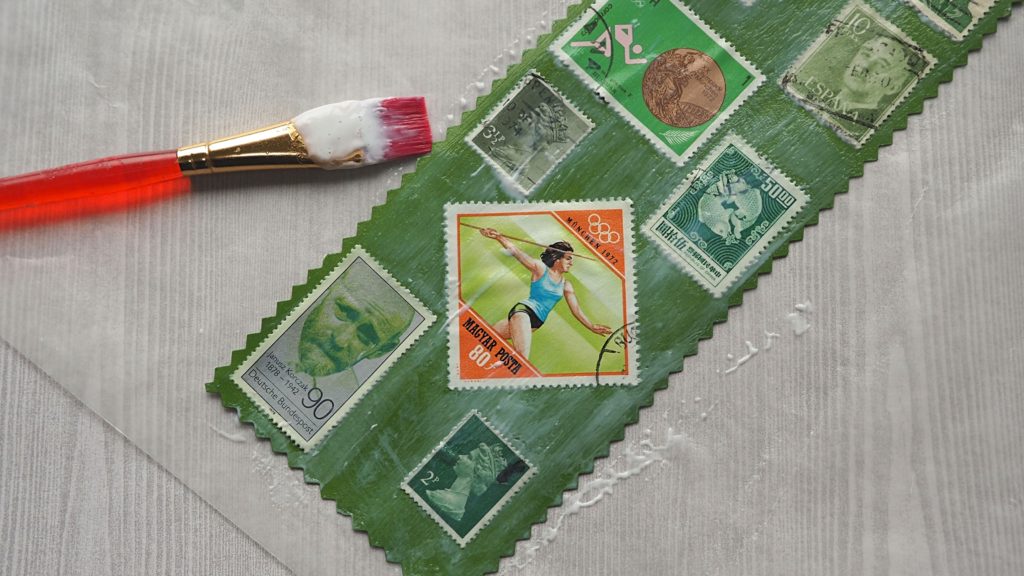
- Once you are done, apply a thin layer of mod podge over the entire surface of the card, gently working out any air bubbles or wrinkles that may have formed.
- Lastly, set aside to dry.
Step 3: Finish the Card
- Once the top part of the card has dried for about 20 minutes, and is no longer tacky, it is time to adhere it to the background card stock.
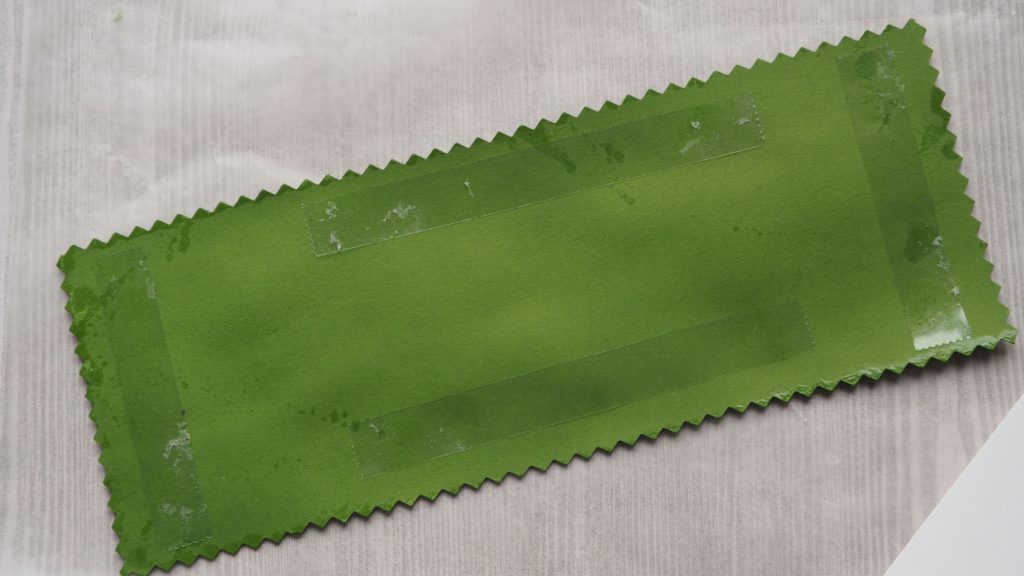
- To begin, add strips of double-sided tape to the back of the card stock with the stamps on it. I like to add strips around all four sides.
- Then flip it over, center it onto the background piece of card stock, and stick them together.
- Finally, set the card aside to dry completely.
That is all there is to it.
Video of the Postage Stamp Card-Making Process
While I was sorting through my stamps, there were quite a few with a similar theme on them.
Some of the more common ones were:
- Famous people
- Flowers
- Animals
- Insects
- Space exploration
- Transportation
I’m sure that the budding astronaut in your family would love to get a card covered in cool spaceships, or that your gardening friend would get a kick out of a card made entirely out of floral stamps.
I love the way all of my cards turned out, but my favorite is definitely the one with the butterflies. I know who I’ll be sending this card to!

2 Comments
Mary
February 15, 2019 at 2:29 PMClaudia you are a repurposer after my own heart. This is a wonderful way to use your stamps and also a great way to share all that beauty with the world.
createwithclaudia_7j76hs
February 15, 2019 at 11:37 PMThank you Mary. I definitely like to repurpose. I just need to come up with more projects to do. Glad you enjoyed the project.