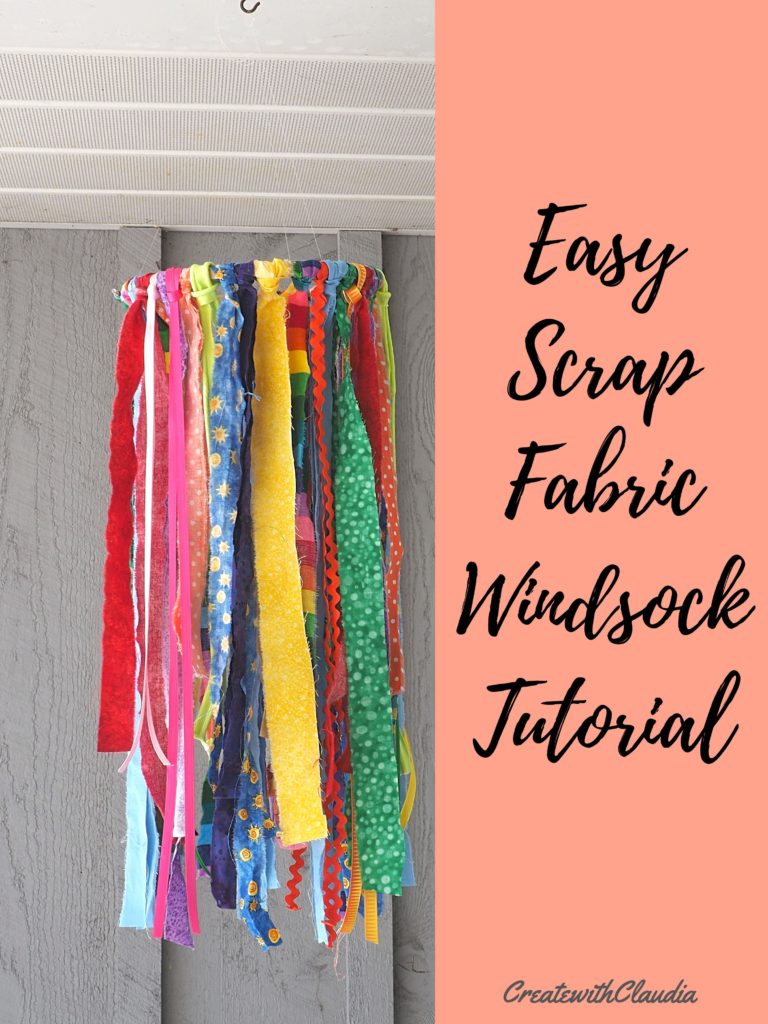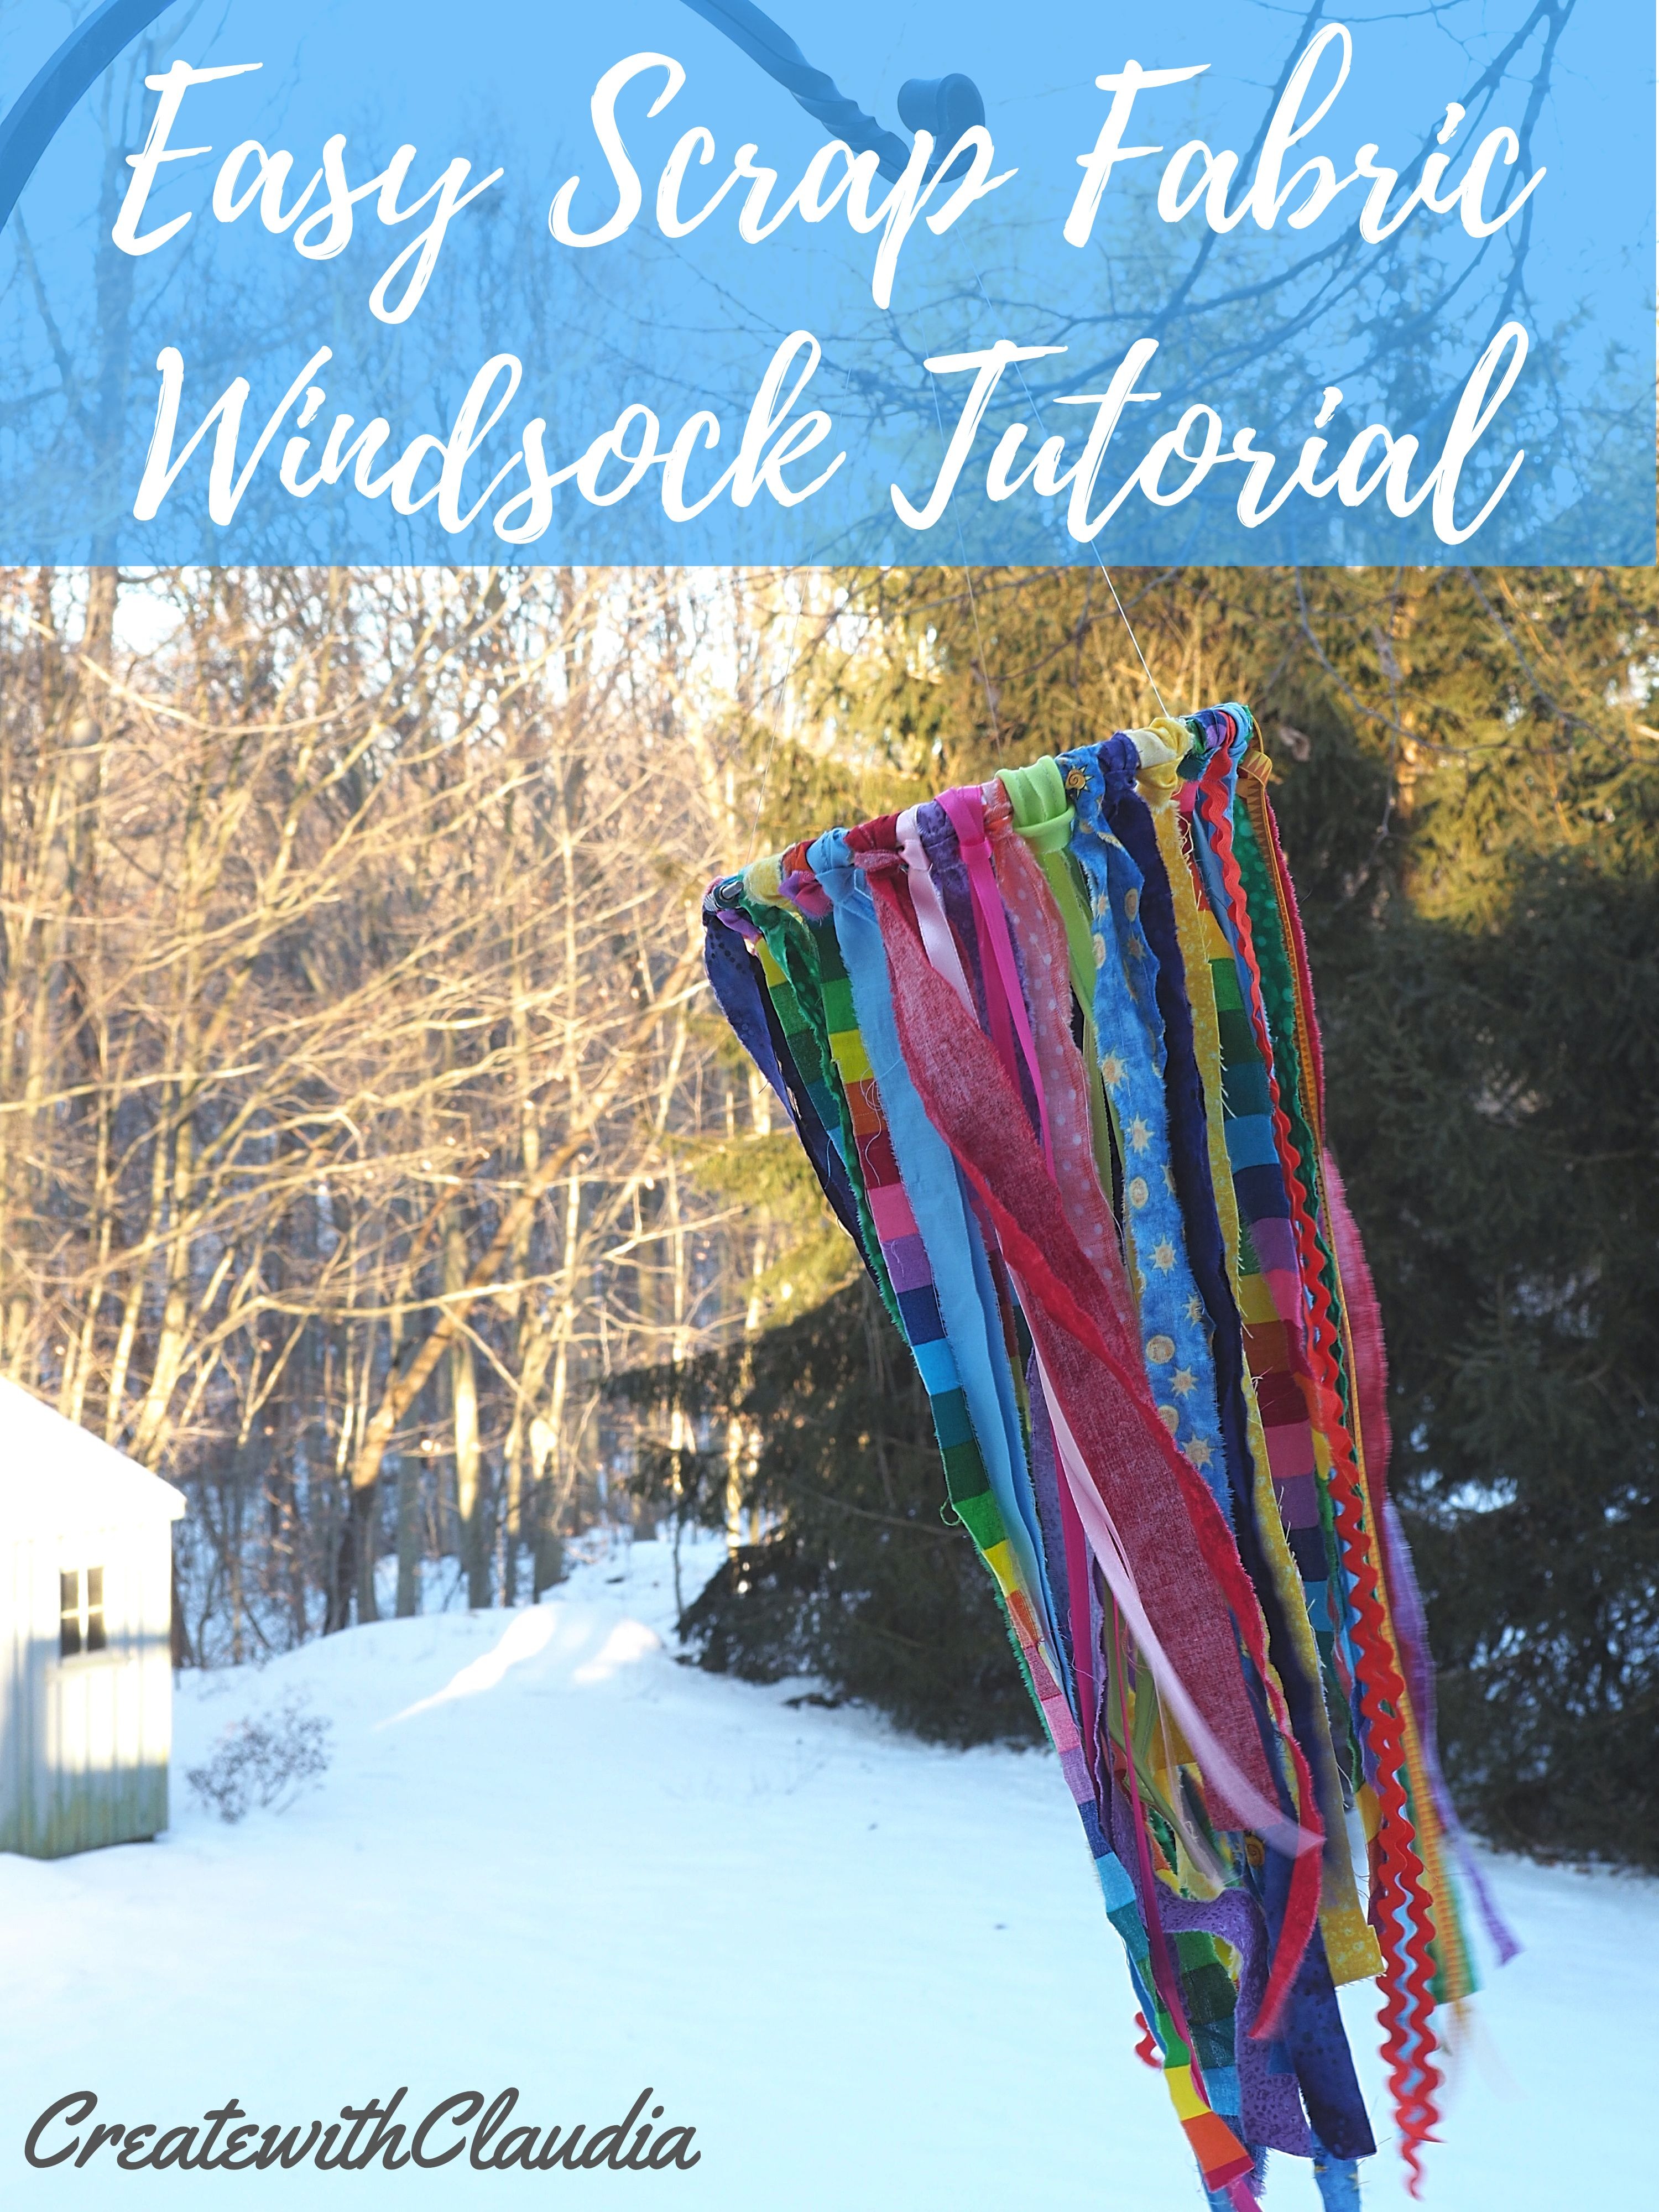
Easy Scrap Fabric Windsock Tutorial
As a child, I was always fascinated by windsocks. I was mesmerized by their movement at even the slightest hint of a breeze.
Nowadays, I often see them in gardens or patios and they still manage to capture my attention.
So, on a particularly cold and blustery winters’ day, I decided to make one for myself.
As usual, the first place where I look for inspiration when I start a new craft, is my fabric scrap bin. Luckily, I found the perfect piece of fabric to get me started, rainbow stripes. What is more summery than a rainbow, with all of its vivid colors?
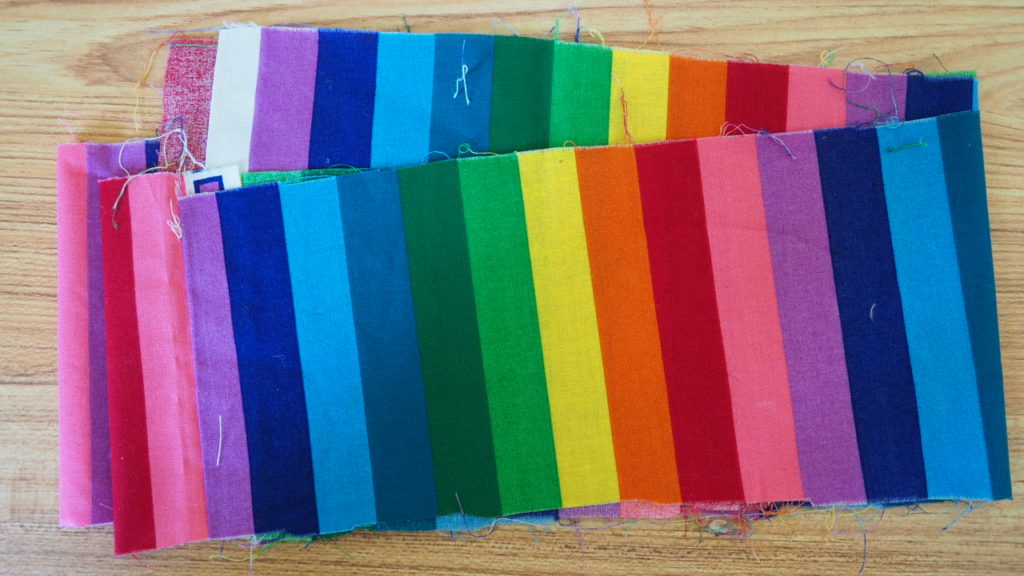
I started going through my stash, pulling pieces that caught my eye, and that reminded me of a rainbow. Additionally, I went through my notions and found some ribbon and rickrack.
The result was this bright and happy windsock, a fun and easy craft project that can be finished in an afternoon.
If you are like me, and have fabric just begging to be used, then this is the project for you.
Let’s get started!
Project Video
For my readers who like to see video tutorials of my projects, the windsock is demonstrated in this one. Plus there are 4 other fun and easy no-sew scrap fabric tutorials to watch. Enjoy!
Here’s What You Will Need
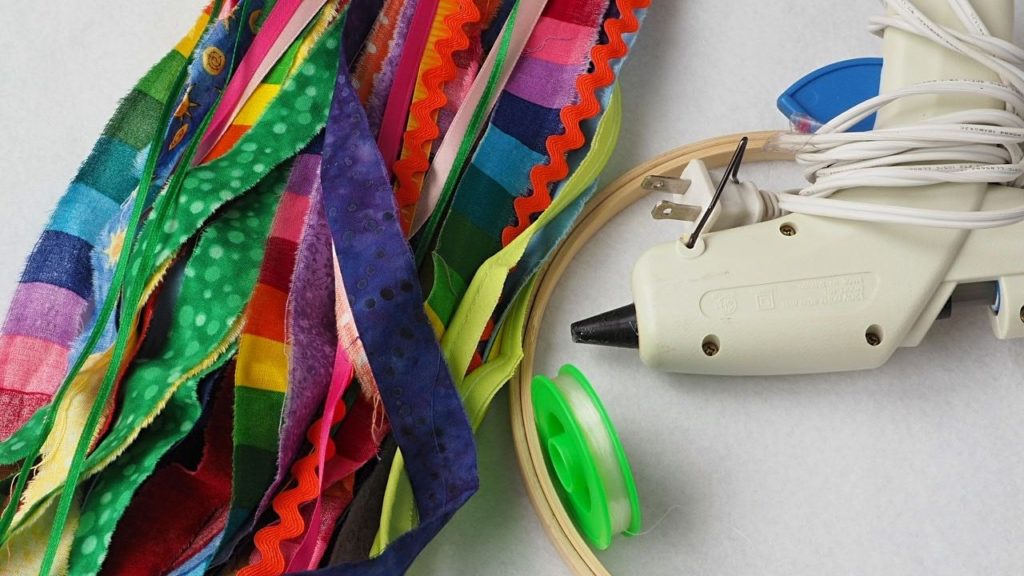
- Various fabric strips, cut about 35” long and about 1/2” to 1” wide. Vary the widths to add a little interest. You will need about 40 strips of scraps, give or take a few, depending on their width.
- Pieces of ribbon, rickrack, and yarn, each piece cut about 35” long
- One 8” embroidery hoop
- Strong nylon monofilament
- Glue gun
Affiliate Links
Items You Can Use To Make This Craft
You can find many of the items that I used to make this project in my Amazon Store.
As an Amazon Associate I earn from qualifying purchases.
Note: You can easily make this larger or smaller by using a different hoop size.
Step 1: Add Fabric Strips
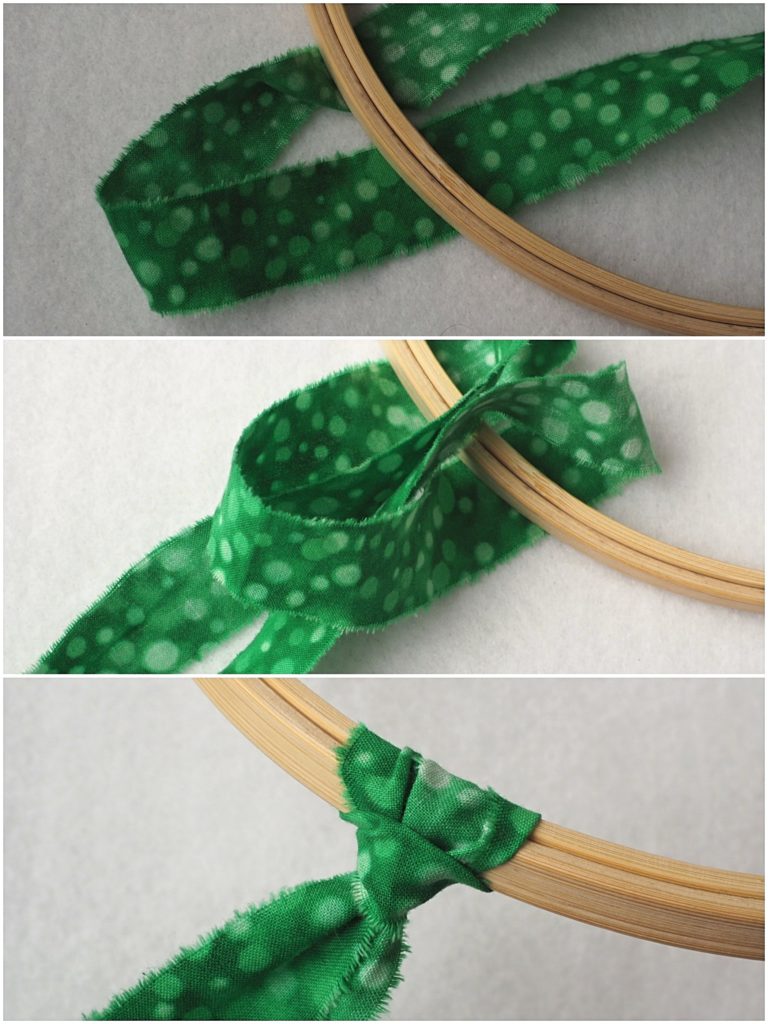
- First, take a strip of fabric or ribbon, and fold it in half.
- Next, lay the looped end under the embroidery hoop, with the looped end towards the outside of the hoop.
- Then, bring the two other ends up and around the hoop and feed them through the loop.
- Finally, pull the strip securely. You may have to adjust the fabric a bit.
- Repeat until the hoop is full.
Step 2: Add the hanger
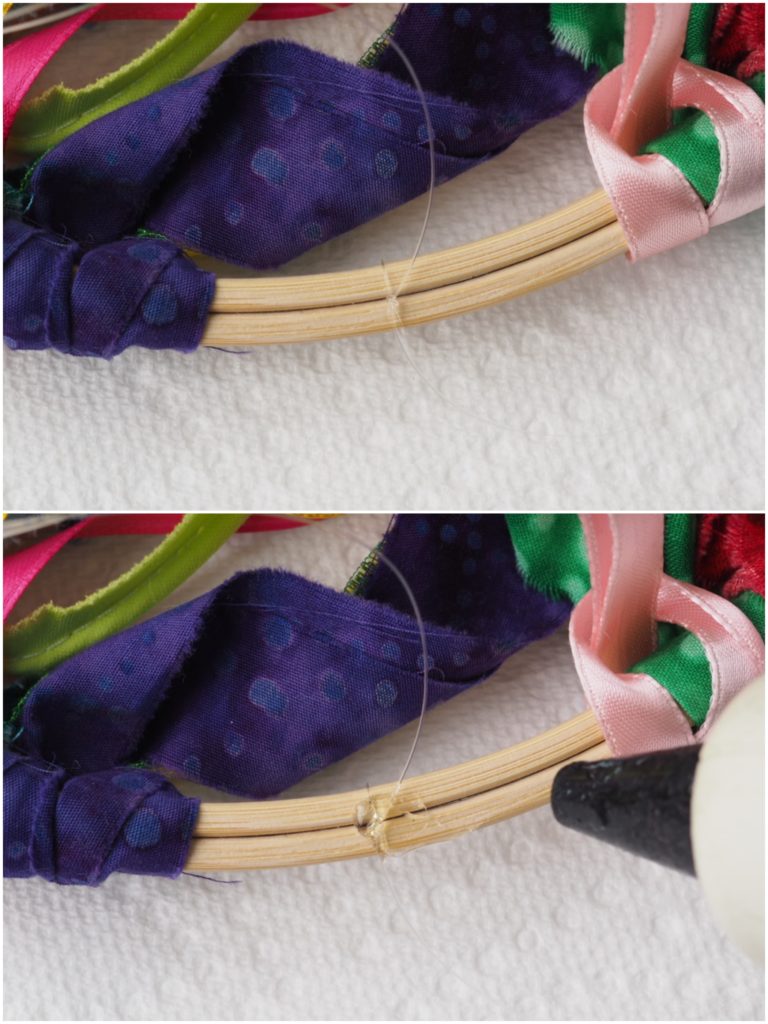
- Cut three 24” long pieces of the monofilament.
- Then take the hoop with the fabric on it and find three equally spaced points around it. Push the fabric away from the points, so you have room to work.
- Next, take one piece of monofilament and tie one end around the hoop, knotting it tightly. I knot it a couple of times.
- Lastly, add a drop of glue to secure the monofilament to the hoop. Trim off the short end.
- Repeat with the other two pieces.
Step 3: Finish the Hanger
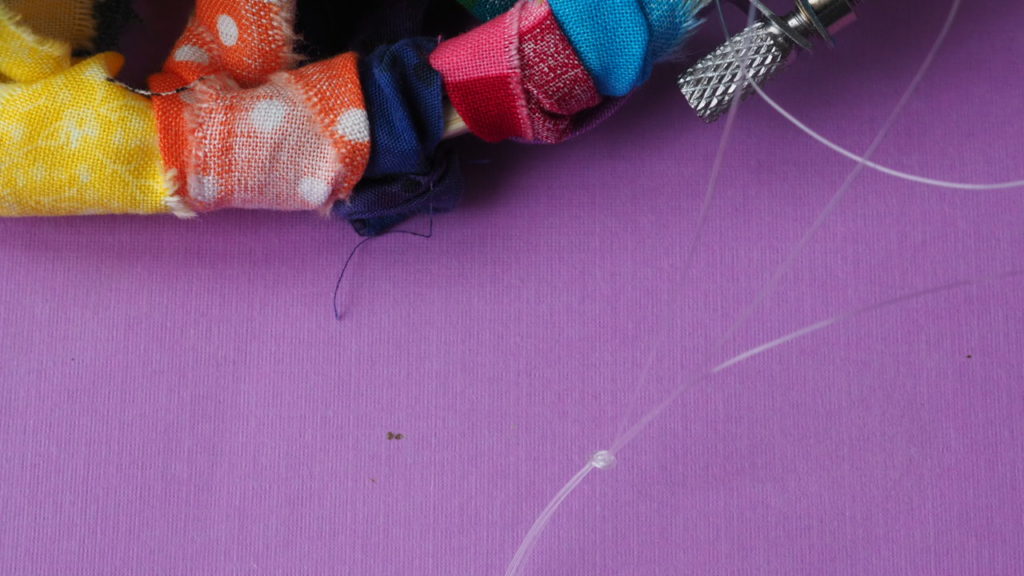
- Take the three pieces of monofilament and join them together at the top.
- While keeping them the same length (so the windsock doesn’t hang unevenly),tie a knot. Before you pull too tightly, make sure it’s hanging evenly. If not, make any adjustments needed.
- Once you are satisfied with it, pull the knot tightly and then tie a few more knots for added security. I knotted it about 5 times. I tend to knot things a lot!
- If needed, hold up the windsock and, using scissors, even up the ends a bit.
- Hang it up and enjoy.
Note: The drop of my windsock is about 12”. If you want to have a longer drop, then cut longer pieces of monofilament. If you want it shorter, make the hanger knot closer to the hoop.
I would not recommend keeping it outside all the time. The hoop hardware will eventually rust and the fabric will get dirty and tattered, but it is ok for a little while.
It would also look pretty inside, however you just won’t get the movement from the breeze.
Wherever you decide to hang it, I’m sure it will look lovely.
