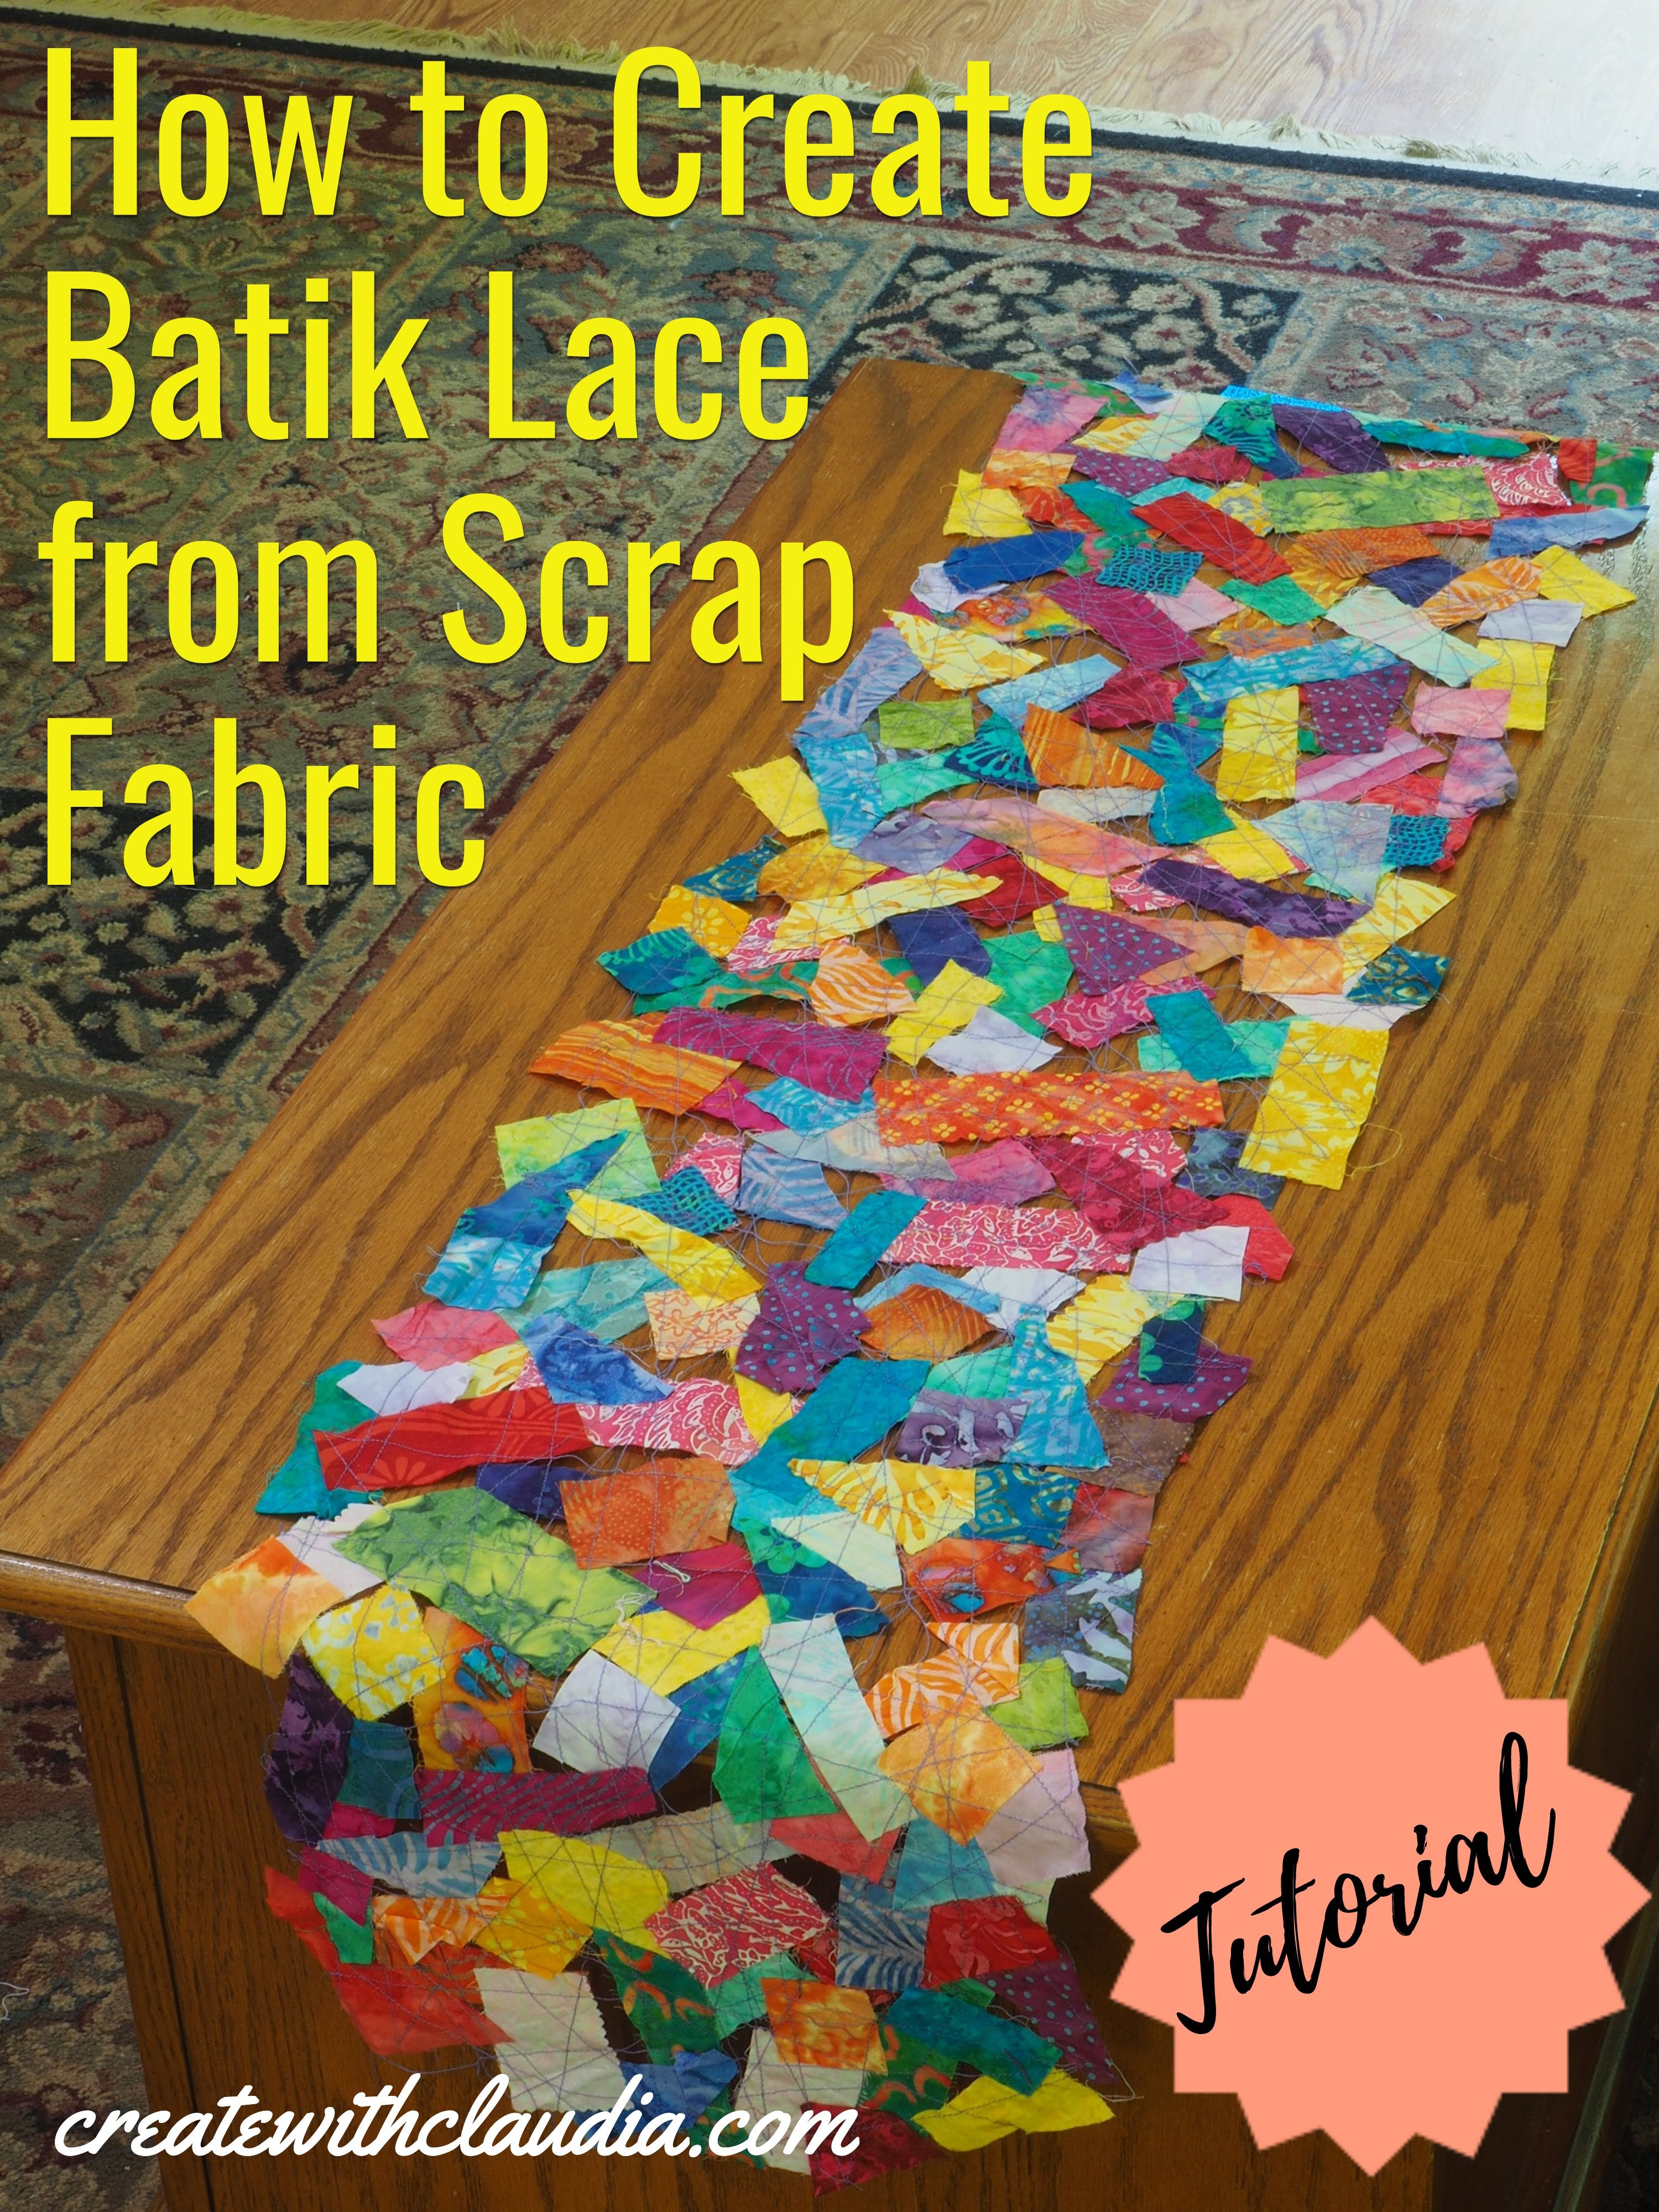
Easy Batik Fabric Scrap Table Runner Tutorial
I’ve probably said this many times with my fabric crafts, but I’ll say it again…as a quilter, I always have loads of fabric scraps. According to my husband, I have way too many of them. Oh well, it is what it is, but because I have so many scraps, I’m always trying to come up with fun projects to use them in.
This colorful batik scrap table runner is one of those projects. It’s fun and quirky, and can be finished in about one afternoon. That’s my favorite kind of project.
For my runner, I used lots of jewel tone batiks, but this could easily be made with shades of one color, or another family of hues, like autumn tones. You can also use other cotton fabrics, but I like the batiks, not only for the saturated color, but for the fact that batiks are reversible. That makes the assembly a lot quicker and easier.
For this project you’ll need some supplies and one is rather specialized, so you may have to purchase it. Here’s what you’ll need:
- Batik scraps
- Water soluble stabilizer – I have a roll of 12 inch by 9 feet which was more than ample for this project.
- Scissors
- Thread
- Sewing machine
- Bowl of water
- Large workspace
- Towel
Items You Can Use To Make This Craft
You can find many of the items that I used to make this project in my Amazon Store.
As an Amazon Associate I earn from qualifying purchases.
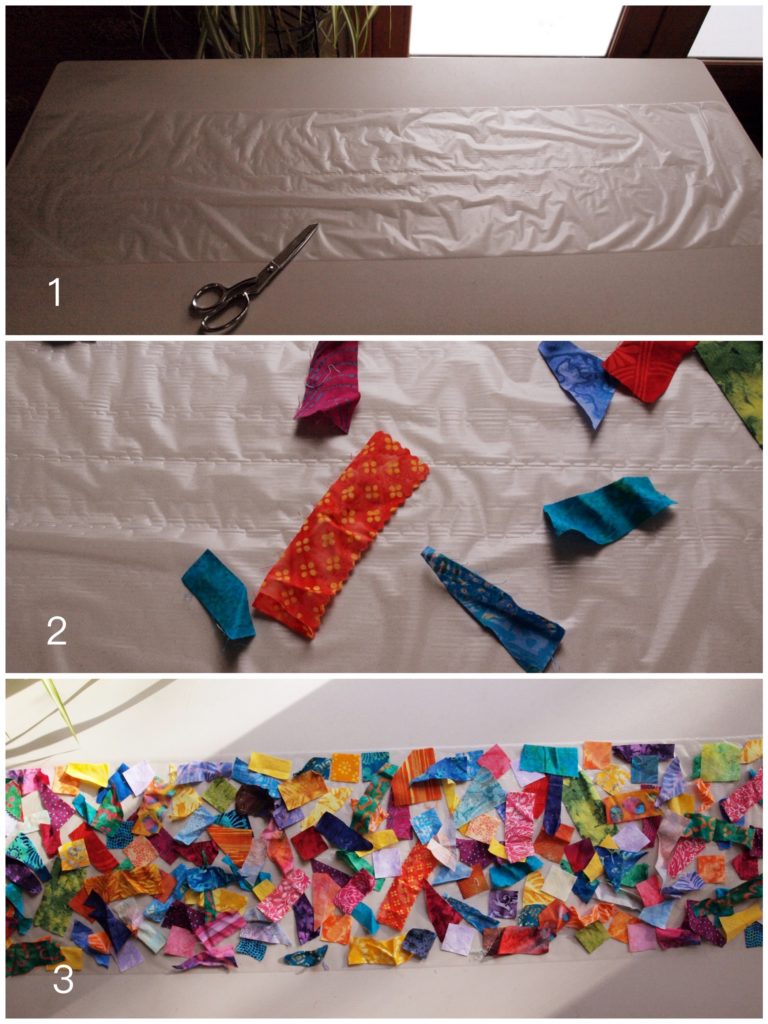
1) Cut two pieces of the water soluble stabilizer to your desired length. Set one aside and lay the other one on your work surface. Something to keep in mind here is that once the sewing is done, the runner does shrink up a bit.
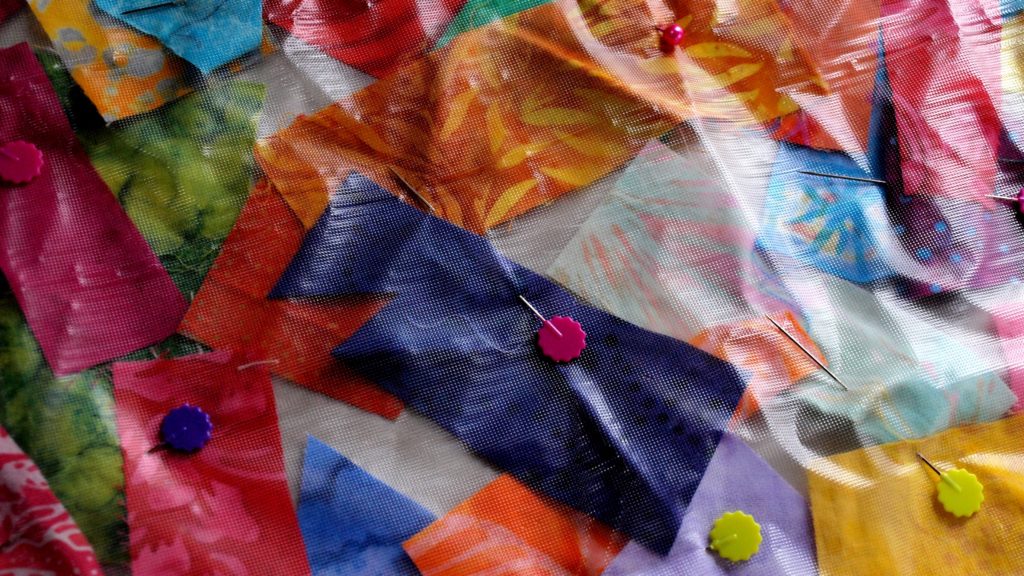
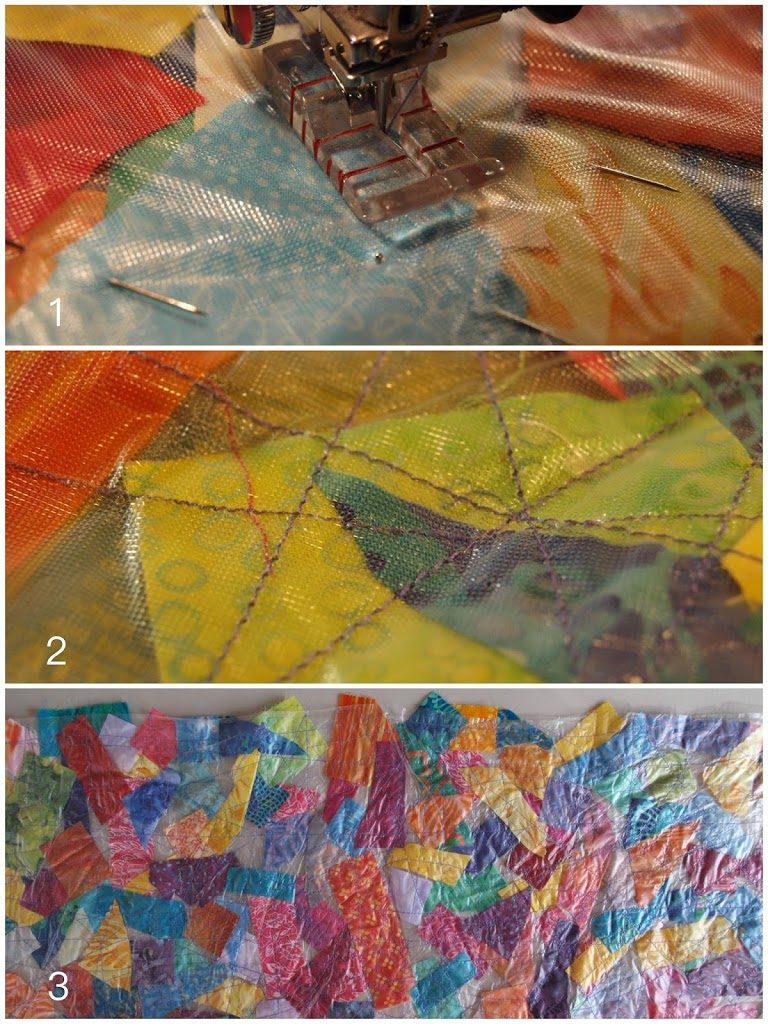
1) Start sewing anywhere on the runner that you like.
2) I like to make one long straight seam down the length of the runner and then keep going back and forth at all sorts of diagonals. This is my favorite part of this project. It’s almost like coloring. I just work my way back and forth, corner to corner or where ever it looks like a piece of fabric needs to be sewn down. You may want to be more methodical about it and sew a grid, or you may want to sew curves. You can do whatever you want. Just have fun.
3) The most important thing when sewing is to make sure every piece of fabric gets sewn together. You will use a lot of thread. My runner is about 11″ wide and 48″ long and I used two full bobbins of thread.
Once you are done sewing, it’s time to remove the stabilizer.
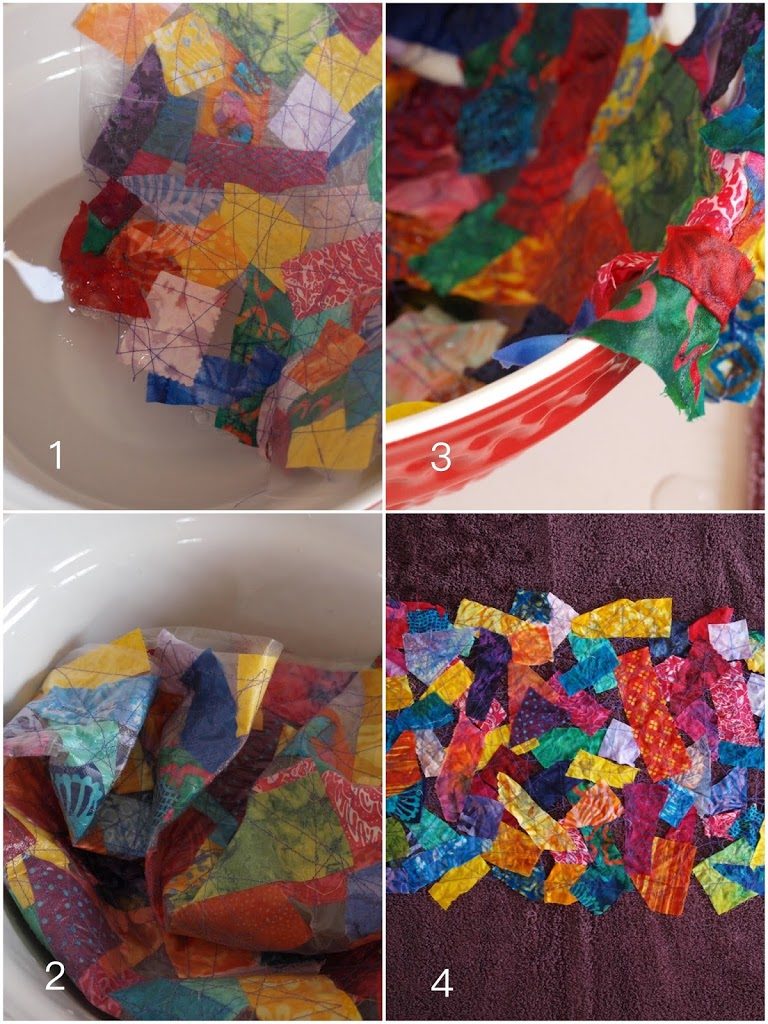
1) Follow the directions on your water soluble stabilizer when removing it. The brand I used called for gently rinsing it in lukewarm water until all of the stabilizer disappears. If you have any kids, this is a definite step for them to help you with.
2) It’s pretty cool for kids to watch what looks like wax paper, disappear in a matter of seconds when dipped in water.
3) I refresh the water a few times and gently rinse the runner out a few times. That helps get rid of some of the residue.
4) After you’ve rinsed the piece out, lay it flat on top of a towel to dry. It dries in a couple of hours.
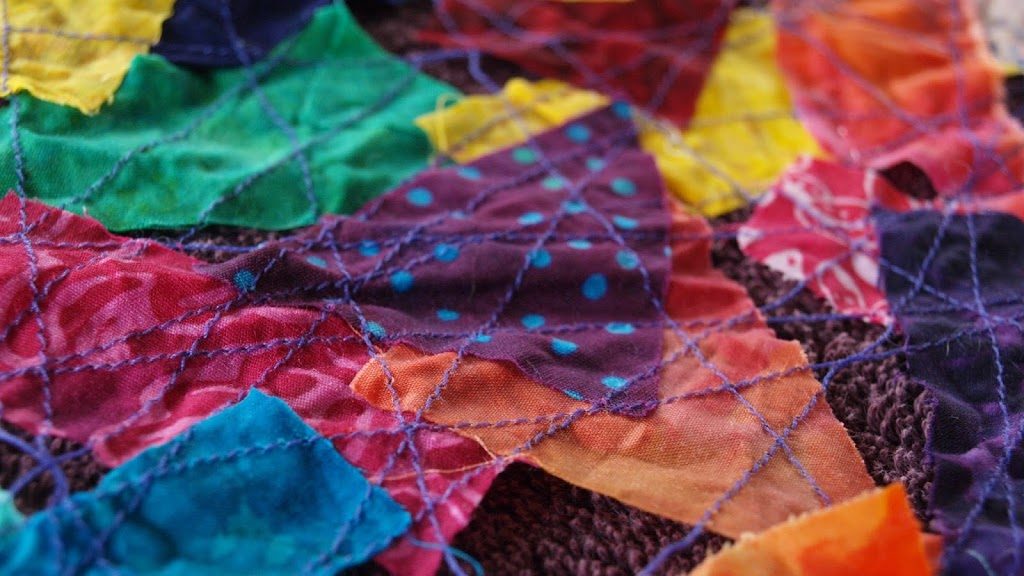
Trim off any loose threads, press if desired, and lay it out on a table. Bingo…you have a unique and beautiful new table runner.
This runner is delicate so if you need to wash it for any reason, make sure to do it by hand and be gentle.
I just love this piece. My dinnerware is brightly colored and this ties my whole table together. It’s a real conversation piece at dinner too.
Let your imagination soar when you make this table runner. It’s loads of fun!


7 Comments
Donna
January 28, 2016 at 12:32 PMYour runner is beautiful! The batik scraps are each so pretty – I can see why you didn't throw them away. I love how the stitching looks on top of all these pieces. So creative!
Hilary Calman
December 26, 2019 at 4:42 AMThis looks ideal for all the smallest scraps, and so simple! Thanks Claudia, for this inspiration. No struggling with backing and binding!
createwithclaudia_7j76hs
December 27, 2019 at 5:49 AMThank you!
Vicki
April 9, 2020 at 2:44 PMI love this fabric also. Beautiful idea for scraps.
createwithclaudia_7j76hs
April 17, 2020 at 5:36 AMThanks so much
Pauline
August 26, 2020 at 2:16 PMThank you for sharing .Very good idea. I will try with my scraps.
Pauline
createwithclaudia_7j76hs
August 27, 2020 at 6:15 AMThank you. It’s a fun process and really looks nice with batiks.