Upcycled Denim Drawstring Bag
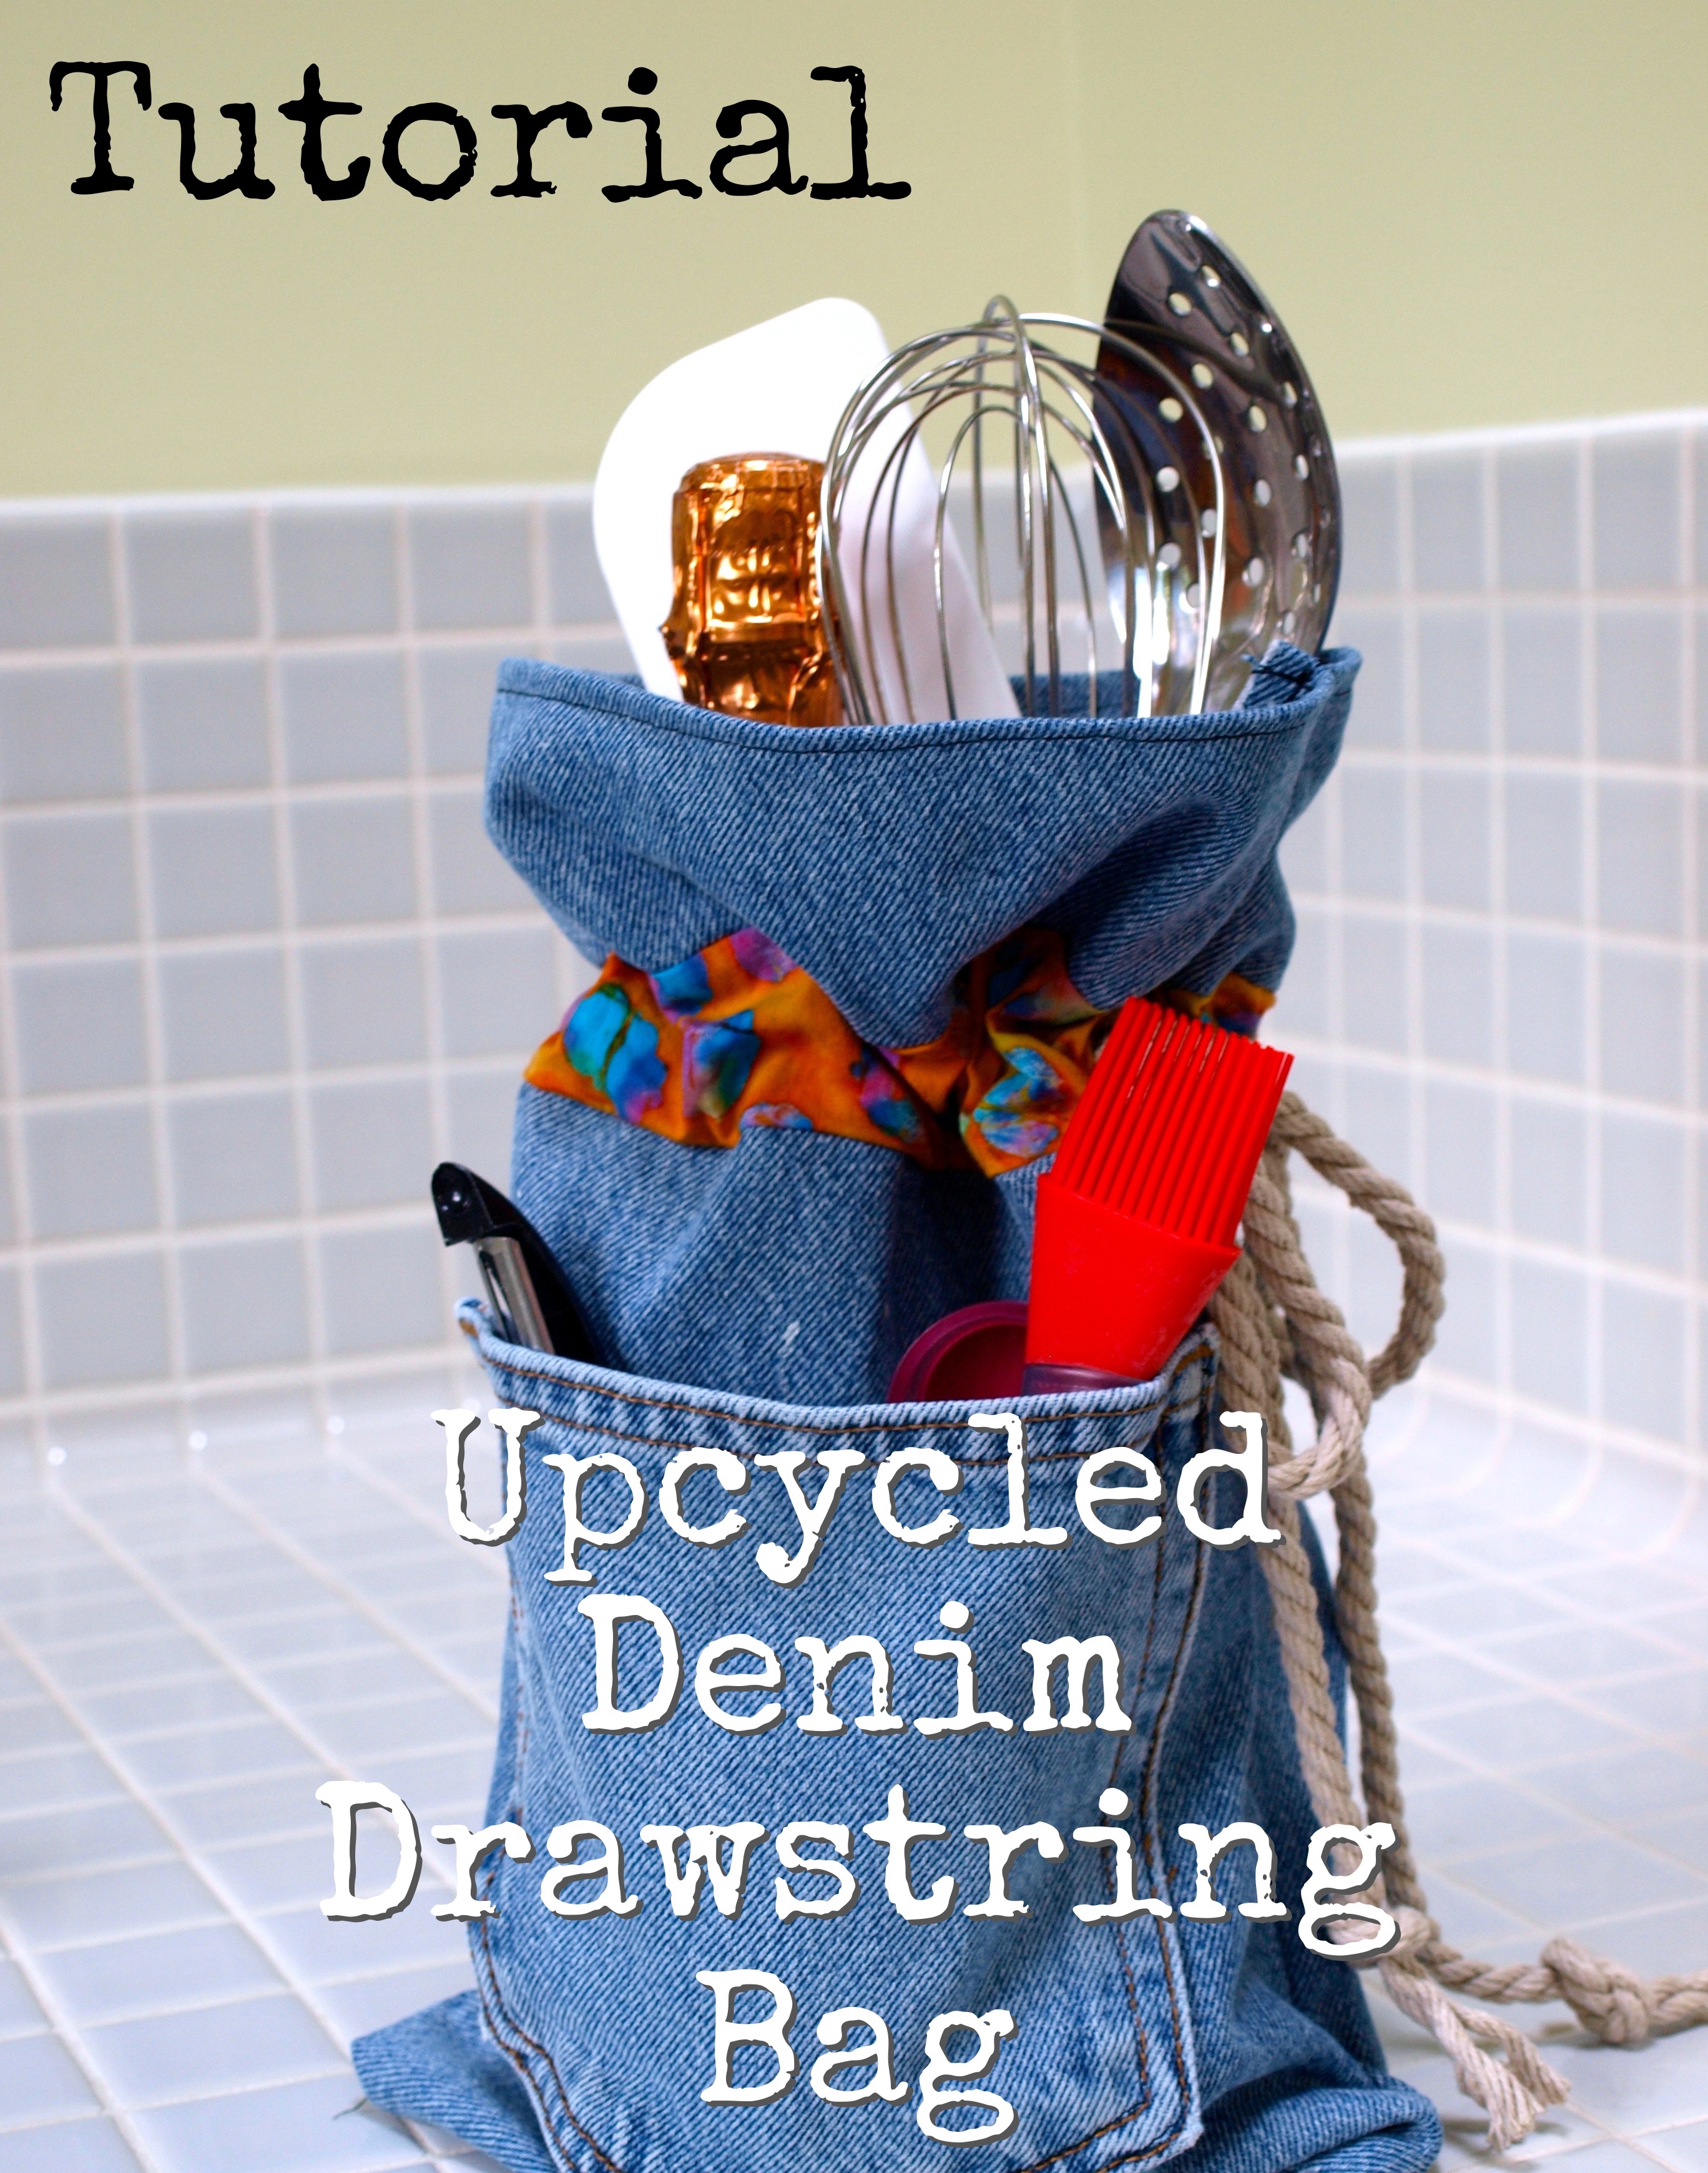
I’m in an upcycling kind of mood lately. I’ve made a few cute projects with denim, like this throw pillow cover and this adorable apron, but my latest project, this drawstring bag, might just be my new favorite! One of the things I like most about it is that it can be used for so many things.
- Add a bottle of something bubbly, some kitchen utensils, and some candies, and you have a perfect housewarming gift.
- Throw in some decorative soaps, a small bottle of shampoo, and a pretty hand towel. Place it in your guest bathroom when you’re expecting visitors.
- Money and lots of yummy goodies make this bag a great gift for your favorite college student heading off to school.
It only took me two hours to make, and that included taking the photos of the steps. Just follow them to make your own upcycled denim drawstring bag.
Supplies you’ll need
Old pair of jeans
Fabric of choice
Cording
Scissors
Ruler
Cutting board
Rotary Cutter
Sewing Machine
Preparing the jeans
- Find an old pair of jeans and cut off one of the legs. You’ll only need a piece about 20″ long. Since my husband goes through jeans quickly, I always have a large supply on hand.
- Trim off the hem.
- Cut along one of the long seams to open up the leg. Cut along the other side of the seam to get rid of the bulk. Remember to leave the other seam. It makes it easier to sew together later.
- Press flat.
Cutting the jeans
Trim two pieces of fabric from the pressed denim to the following sizes:
- 18 1/2″ long by 3 1/2″ wide
- 18 1/2″ long by 10 1/2″ wide
Preparing the fabric insert
- To make the fabric sash that houses the cording, cut a strip of fabric 19″ long by 6 1/2″ wide.
- On both of the 6 1/2″ long sides, turn over a 1/4″ of fabric to the wrong side and press.
- Sew the hems down. The strip should now be 18 1/2″ long. Fold the long edges, right sides of the fabric, together and press.
- Sew along the long edge. You should now have a tube. Turn it inside out and press.
Sewing together the pieces
- Lay out the fabric pieces.
- Pin the fabric strip to the larger denim piece (right side of fabric) and stitch along the long side. Press.
- Pin the smaller piece of denim to the other long edge of the fabric strip. Sew together.
- Press flat.
Hemming the top of the bag
- Fold over the top edge of the denim about 1/4″ and pin.
- Stitch along the top to secure the hem.
Adding the pocket
Remove a pocket from a pair of jeans and pin it where you’d like it to be. Remember not to place it too close to the edge or the bottom, or it may get sewn over later. Stitch it down. I use the previous stitching lines as a guide. Start and end with backstitching to make sure it is secure.
Adding the cording
Feed the cording through the fabric tube.
Finish up the bag
- Fold the denim over, right sides together, and match up the edges and corners. Pin the seams of the fabric sash so that you don’t accidentally sew that section together.
- Sew down the long side of the bag, backstitching at the beginning and the end where the fabric meets the denim. I backstitch a lot because these seams get a lot of wear and tear from using the bag.
- Sew along the bottom of the bag.
The finished project!
Turn the bag inside out, push out the corners for a flatter look, and press.
And there you have it, a cute upcycled denim bag. It’s that easy!

Items You Can Use To Make This Bag
You can find many of the items that I used in my Amazon Store.
As an Amazon Associate I earn from qualifying purchases.


