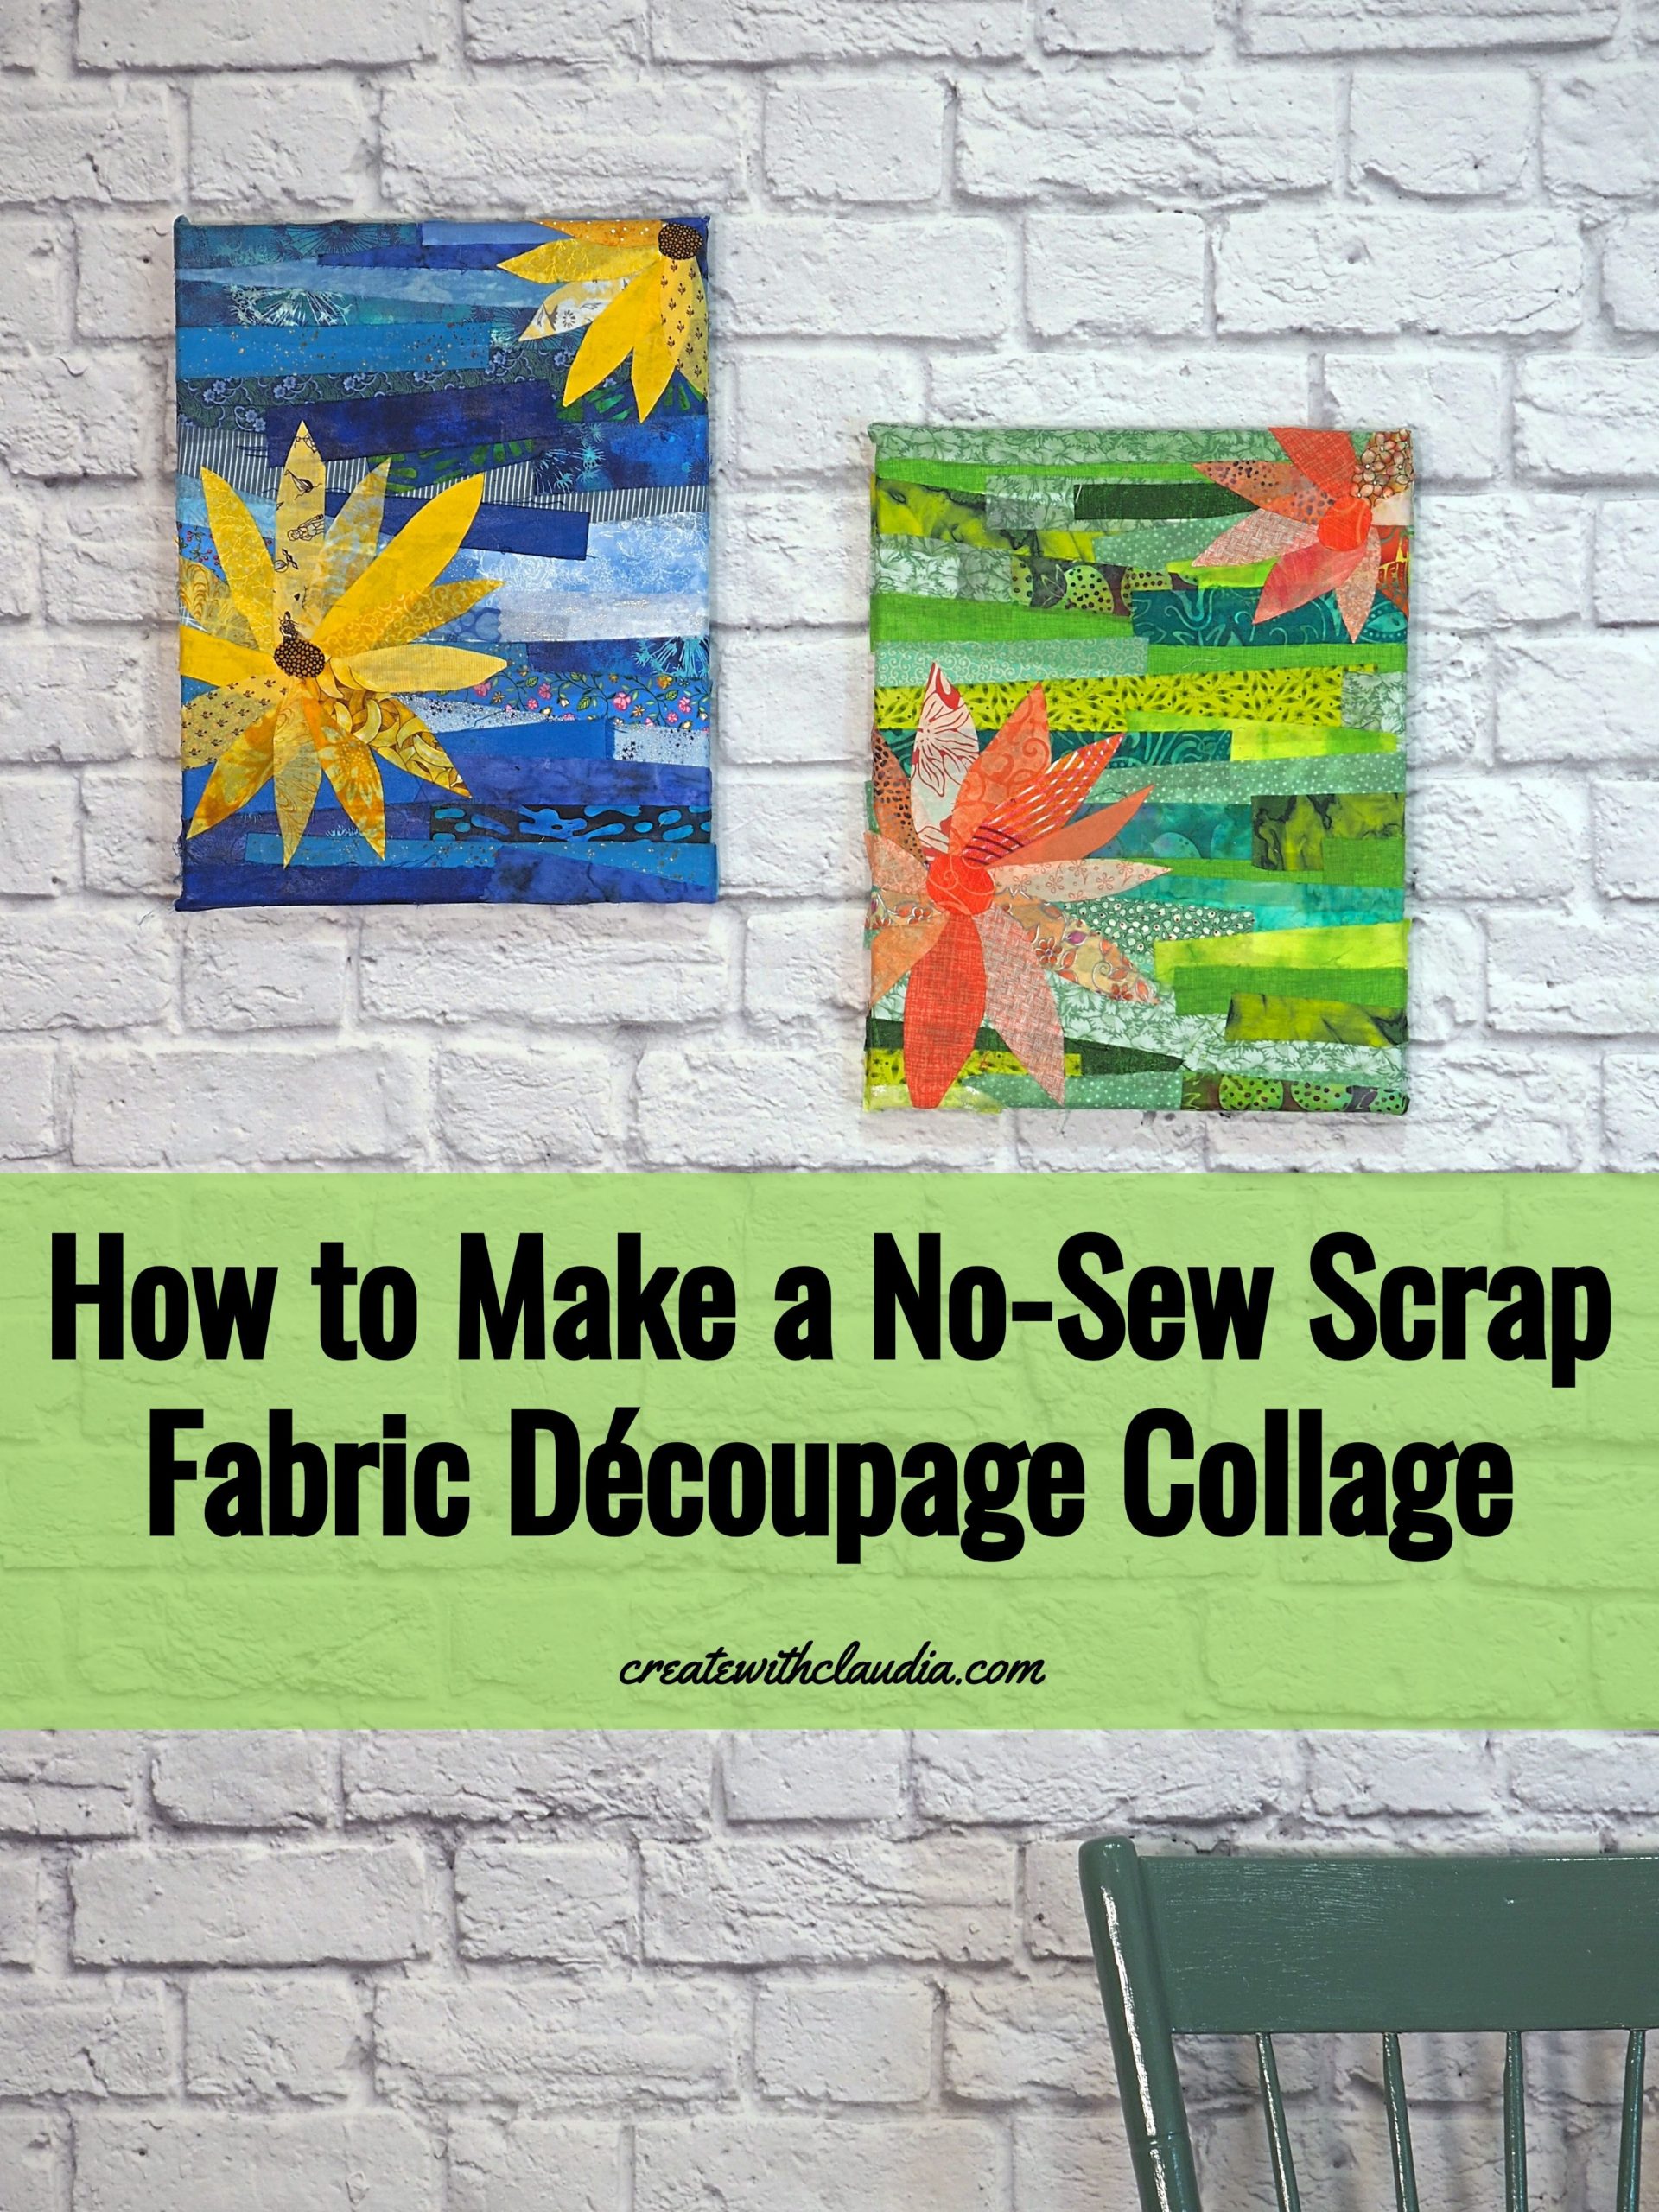
How to Make a Scrap Fabric Découpage Collage
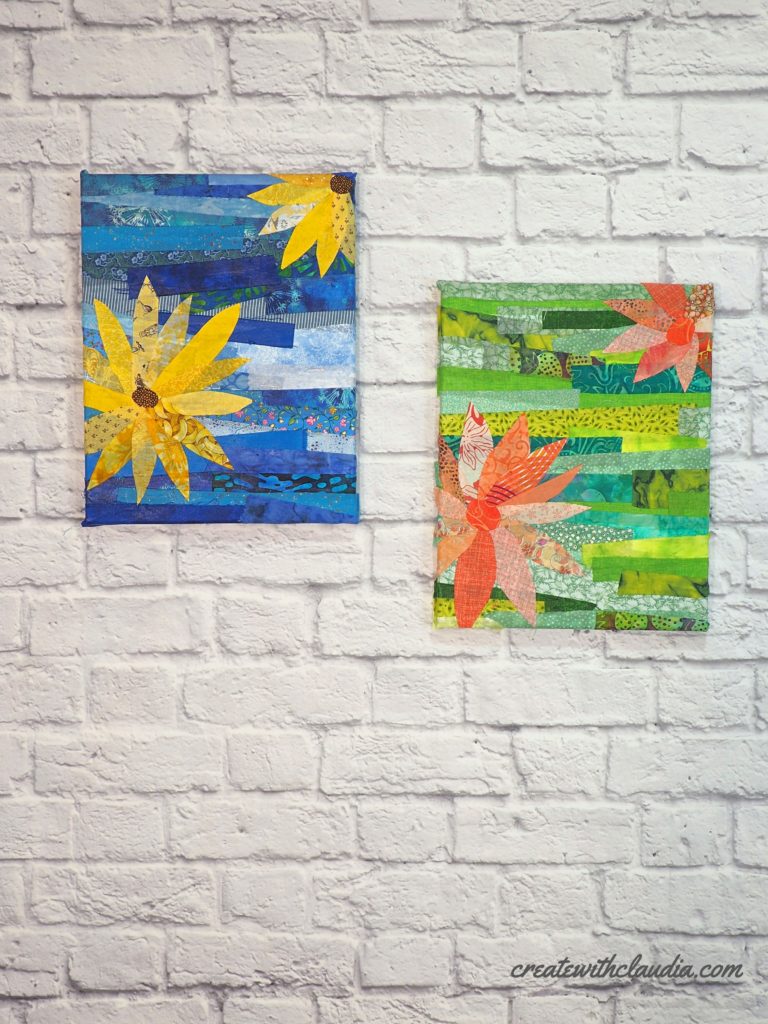
Sometimes we all need a quick craft project that takes us away from our sewing machine, even if it’s only for a little while. Maybe your machine is out for service, or maybe you just need to take a break. Making this no-sew scrap fabric découpage collage is one project that you can do.
These beautiful pieces of art combine the best of everything for quilters like me. We get to use up some of our stash (admit it, we all have bins filled with fabric just begging to be used). Not only that, but we can finish a project in about an hour or two. We all know quilt projects take longer than that.
Best of all though, is the result. You create a gorgeous piece of original art. What more can a quilter ask for.
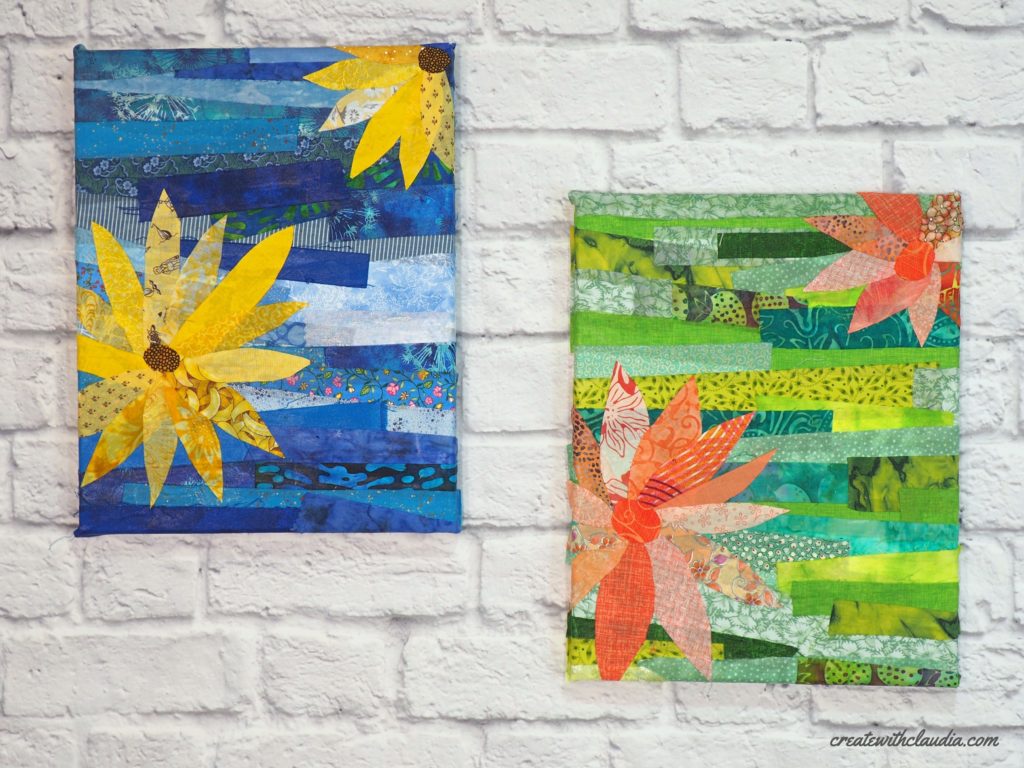
The inspiration for this project came from my garden. Right now (July) many of my flowers are in full bloom and putting on a real show. When I made these, I had just finished sewing for about five days straight and needed a break. Needing to create something, but not wanting to sit behind my sewing machine, I came up with this idea.
I chose to make blossoms for my collages, but let your artistic side shine and make whatever you want. The easy method I am demonstrating is perfect for any scrap fabric découpage collage. You just need to gather a few supplies together.
My Video Tutorial
The video above is perfect for people who like to learn by watching. If you like step by step photos, then keep reading.
Let’s get started!
What You Will Need
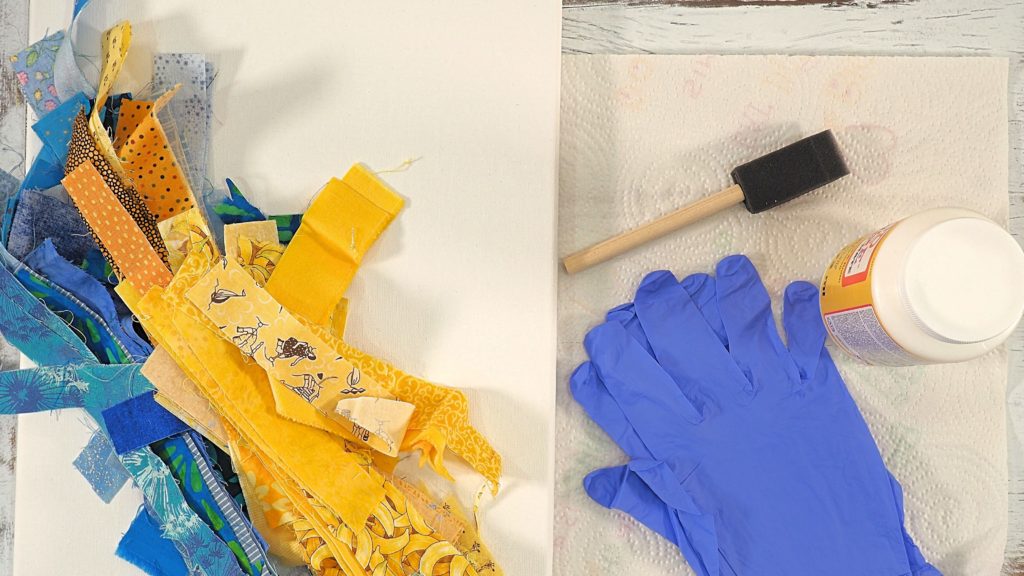
- Scrap Fabric Pieces – I used strips for this, but depending on your design, you may need different shapes.
- Découpage Glue
- Sponge Brush
- Prepared Canvas – Mine was 11″ x 14″, but any size can be used
- Gloves
- Paper Towels
Items That Can Help You Make This Project
You can find many of the items that I used to make this project in my Amazon Store.
As an Amazon Associate I earn from qualifying purchases.
Getting Ready To Work
This project gets pretty messy and you use a lot of glue, so here are a few tips for your work area.
- Protect your work surface with something you can clean or throw away. Glue gets everywhere.
- Follow the manufacturer’s instructions on the glue you use and work in a well ventilated area.
- Wear gloves.
Making Your Scrap Fabric Découpage Collage
After you have chosen you fabric scraps and prepared your work area, it is time for the fun to begin.
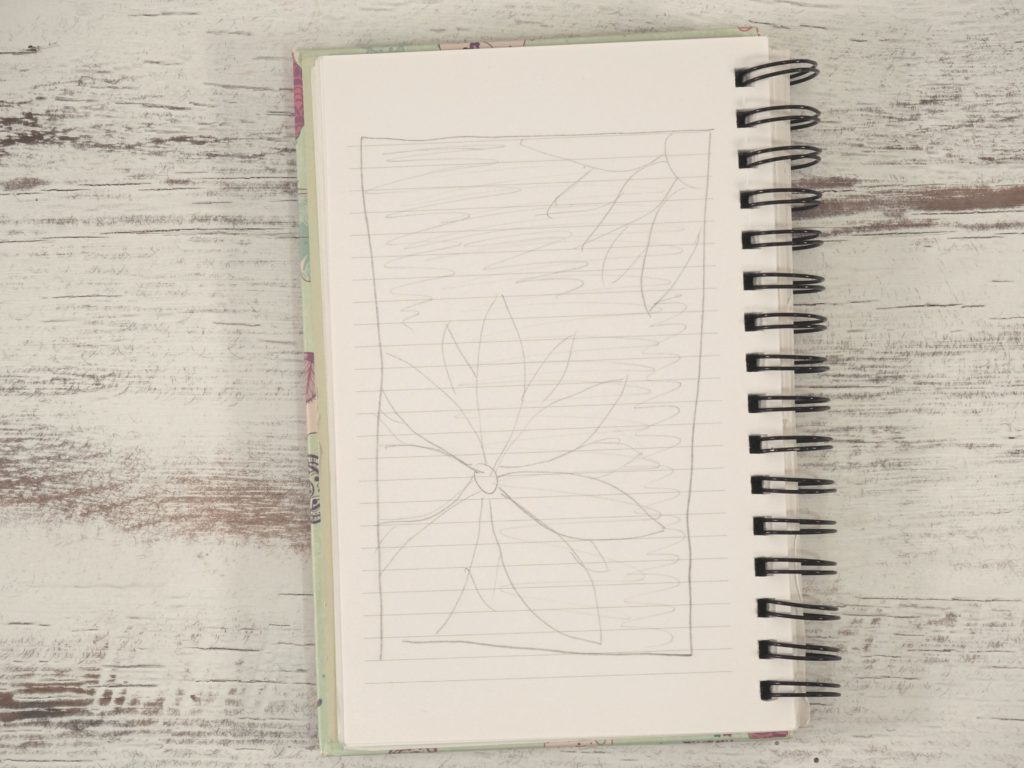
You may want to draw a quick sketch of your idea so you have a bit of a guideline.
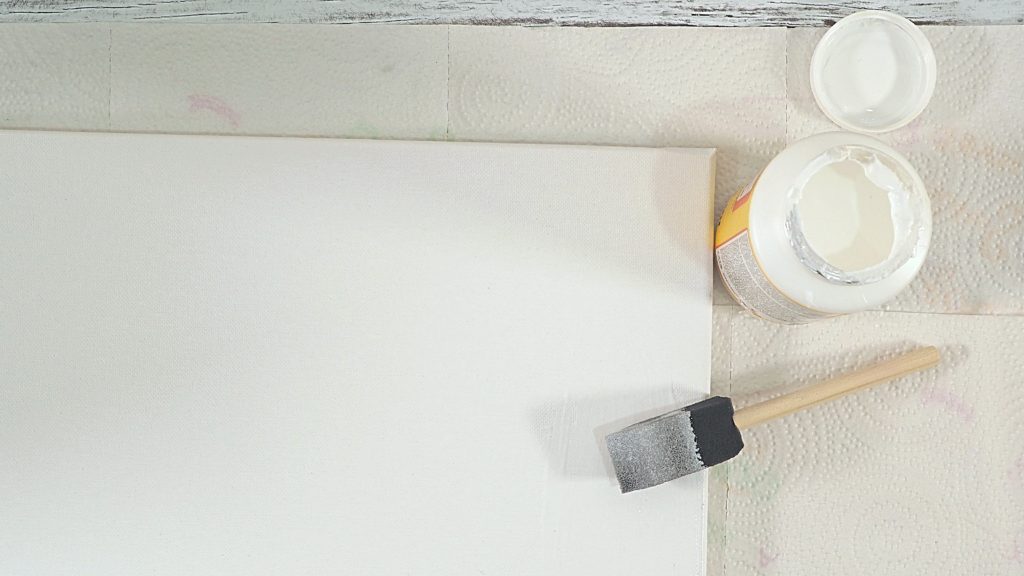
First, apply a generous amount of glue to the canvas where you want to place your first piece of fabric. Don’t put it on too large of an area because you don’t want it to dry before you add fabric.
If you are using canvas that is stretched on a wooden frame, you may want to cover the sides as well.
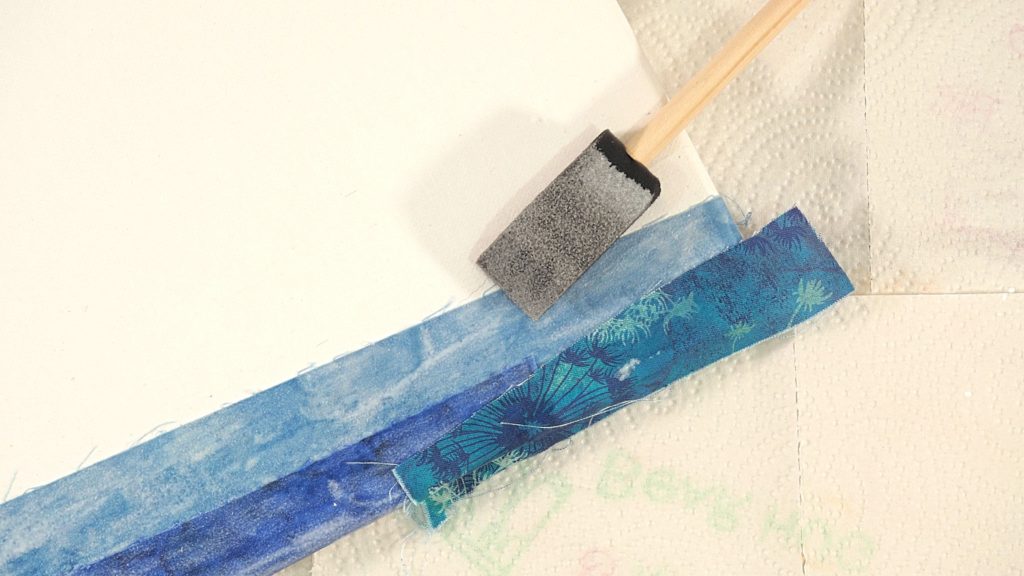
Place your fabric scrap where you want it to go, and gently smooth it down with your fingers. Then apply some glue on top of the fabric.
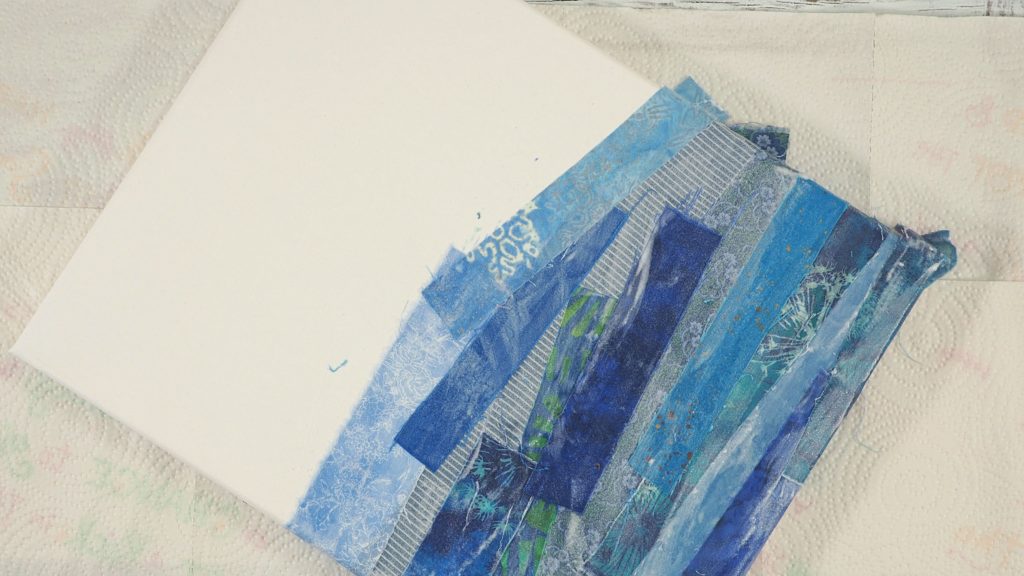
Continue adding glue and fabric to the canvas, layering as you go.
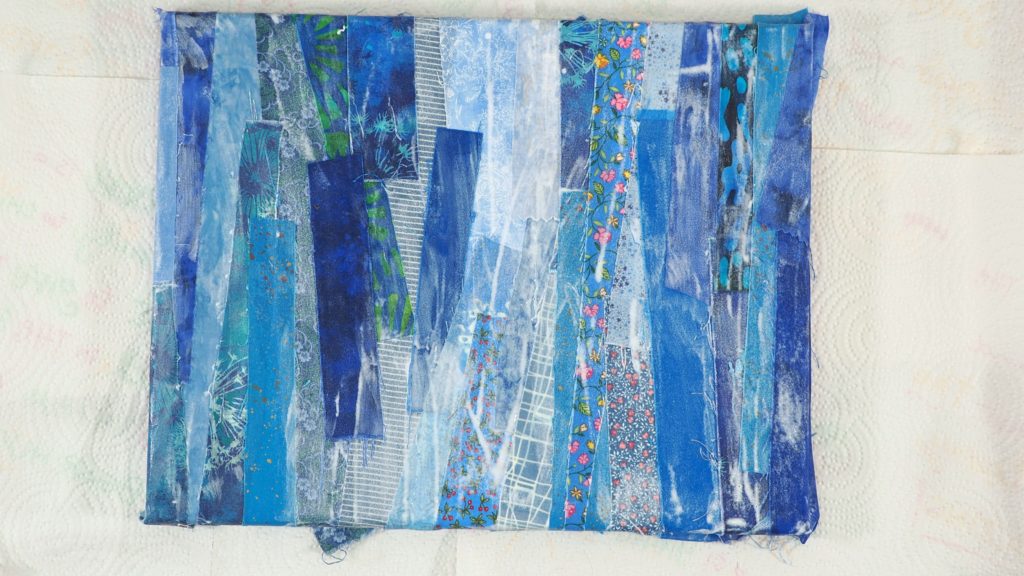
Keep going until the canvas is covered. Don’t worry, those white glue streaks will go away once dry. Once the project is dry, you may need to cut away any strings and fabric that are hanging off.
Adding the Flowers (Or Other Design)
You want to add the flower petals (or other design of your choice) while the glue is still wet. If it is starting to dry, just add a bit to the area you want to add fabric to.
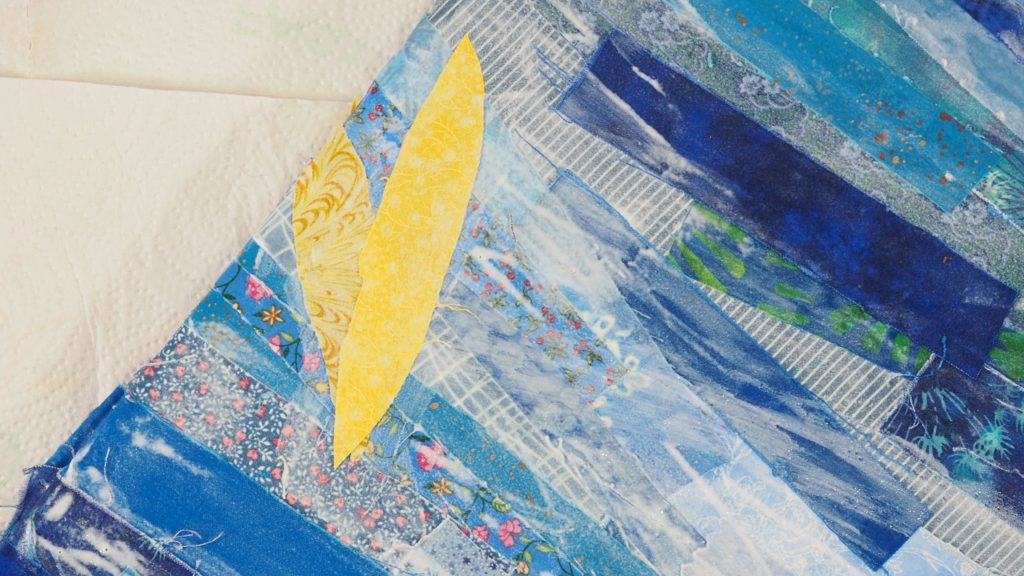
Cut out the desired shape and lay it in place. Cover it with more glue. Continue adding more fabric pieces until you are happy with your creation.
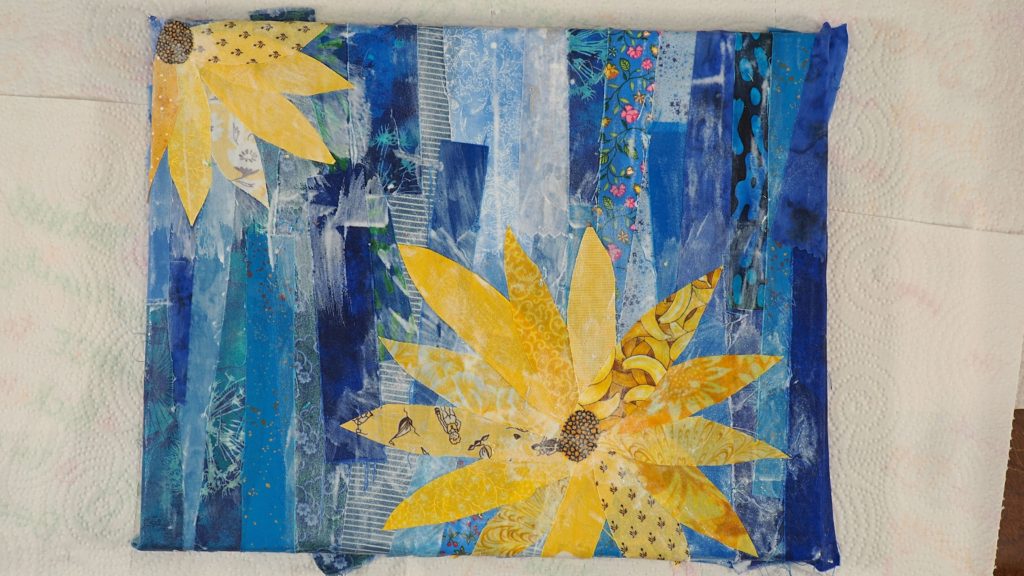
Once you are done, look around the entire piece to make sure everything is glued down nicely. I had to add some glue around the outside edges.
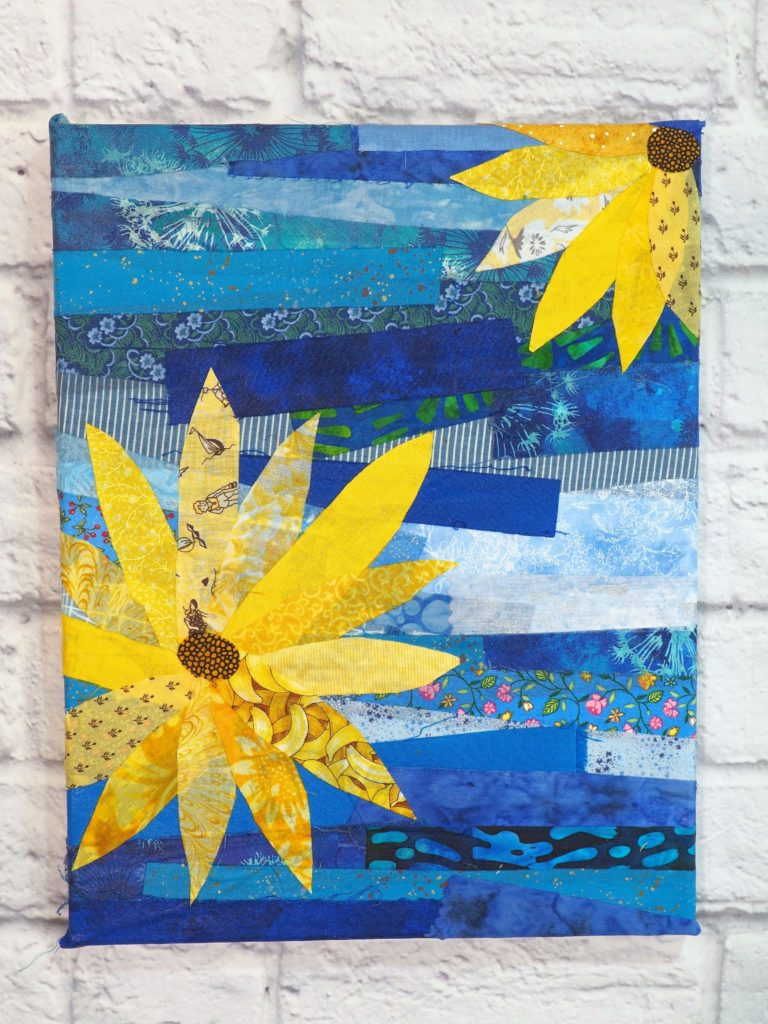
Set it aside to dry, at least overnight. Then it is ready to display.
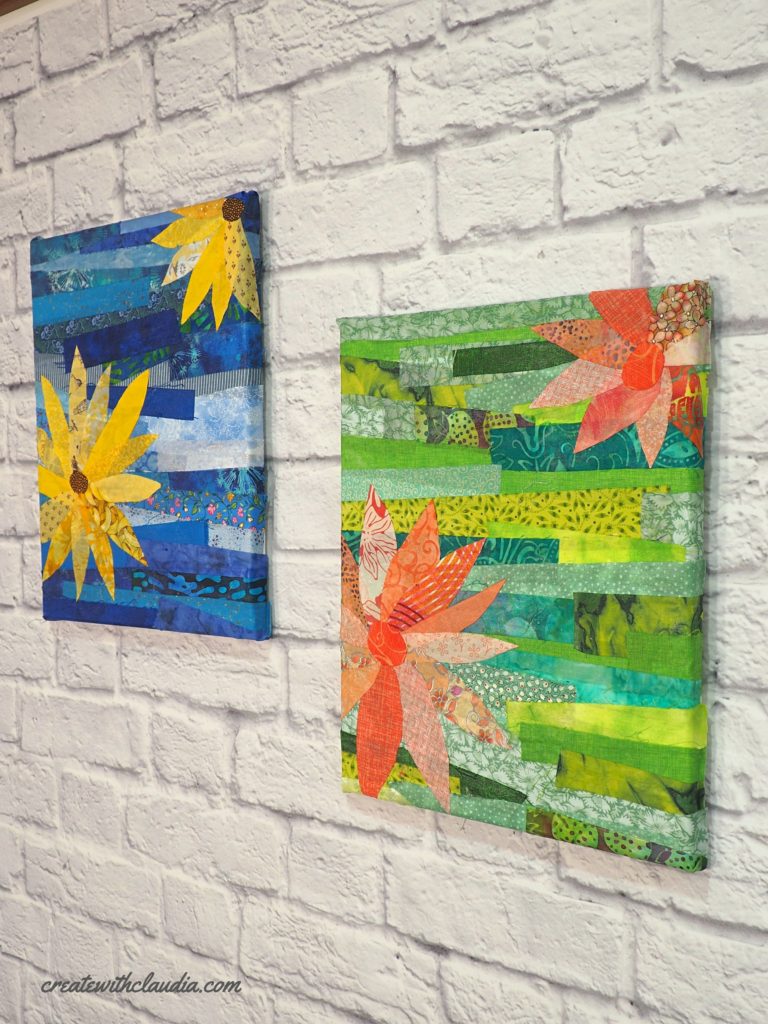
Make a Scrap Fabric Découpage Collage
When you feel like making a fabric art project that yields beautiful results in a short time, but don’t feel like sewing, try this.
It’s almost like being a kid again. The best part is there are no rules and you can definitely color outside of the lines with this project. Even better, you can use up some of your fabric stash. I know I keep trying, but it never seems to get smaller.
Happy Creating!
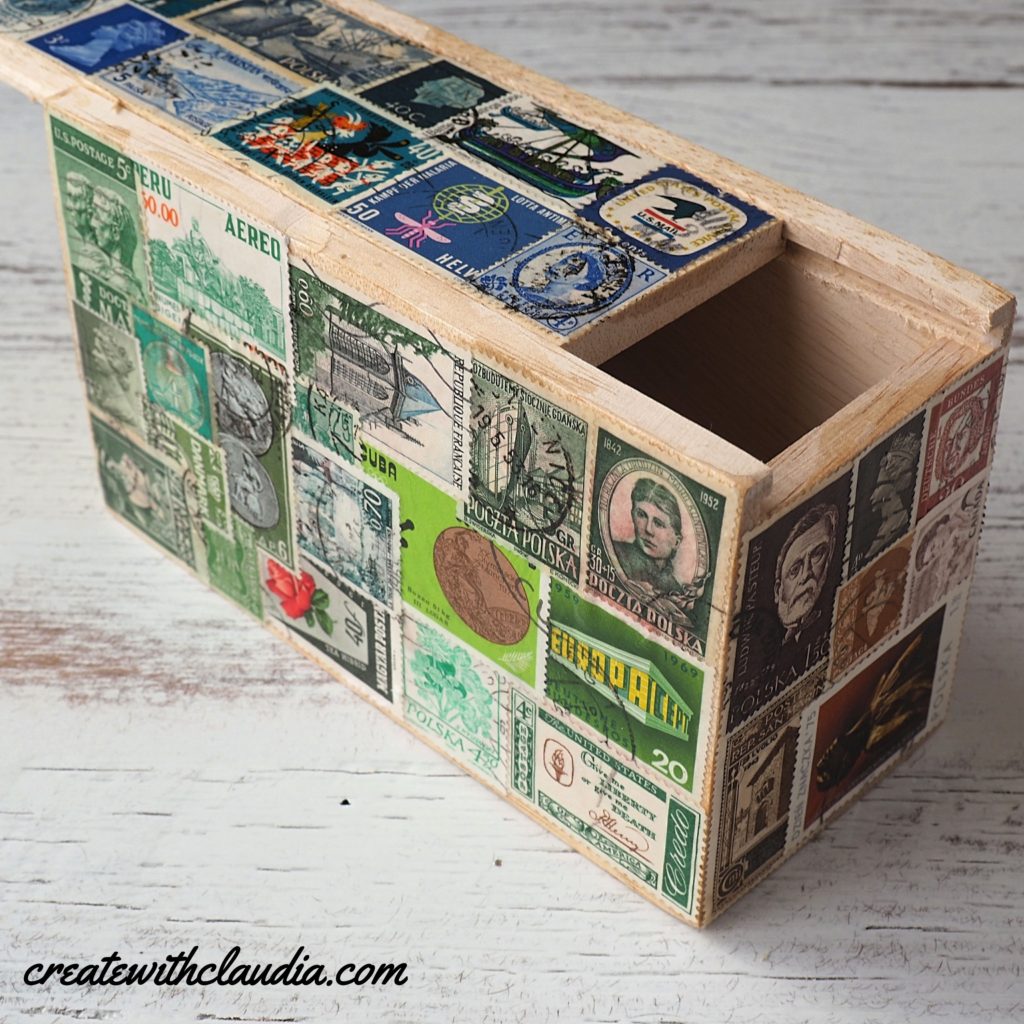
If you like découpage, but don’t want to use fabric, here’s a fun project for you to try. It’s using old postage stamps and it’s a unique way to cover a wooden box.


26 Comments
Deena Tveit
July 15, 2020 at 4:04 PMThis is such a neat idea for using leftover quilt scraps!
createwithclaudia_7j76hs
July 15, 2020 at 8:00 PMGlad you liked it. Hope you give it a try
Cinzia Beley
July 15, 2020 at 6:07 PMGreat idea thanks! I think I will definitely try this!
createwithclaudia_7j76hs
July 15, 2020 at 8:01 PMGreat. I’m glad you liked the collage. It was lots of fun to make.
knoc knoc designs
February 17, 2023 at 7:50 AMI have always loved decoupage. Love your fabric work. Thanks for sharing.
createwithclaudia_7j76hs
February 21, 2023 at 7:29 AMThanks so much! I appreciate it!
Barbra
August 12, 2020 at 8:37 AMLove this idea! Thanks!
createwithclaudia_7j76hs
August 12, 2020 at 1:11 PMThanks so much.
Helen
August 12, 2020 at 11:47 AMReally like this idea .. must try. Thank you
createwithclaudia_7j76hs
August 12, 2020 at 1:11 PMGlad you like it. Thanks for stopping by.
Ginny
August 12, 2020 at 6:47 PMLove the idea. I’m going to try it by heat bonding all the pieces and use it as a mug rug or table topper. I’ll free motion everything down
createwithclaudia_7j76hs
August 13, 2020 at 10:45 AMThat sounds like a neat idea, but you wouldn’t use the glue right? That would not work with the heat. Are you talking about a product that you could use with head to adhere the fabric together? I’m glad you like the project.
Miss Daisy
August 17, 2020 at 9:07 AMJust found your blog and love it , will definitely be following you and yes , I’m a stalker. Haha Will be making the flower collage and who knows what else. Very impressed with your creation , looking forward to many others. Thanks
createwithclaudia_7j76hs
August 19, 2020 at 6:45 AMGreat, glad you will be making the collage. It’s lots of fun and a great way to use up scrap fabric. Thanks.
Winnie Keedy
June 13, 2021 at 1:52 PMThis is great, my friends and I live in an independent living apartments. I try to find things we can do and we have lots of material left, so we are looking forward to see what we can do. Thanks so much.
createwithclaudia_7j76hs
June 17, 2021 at 5:54 AMThanks so much. I’m glad you found my blog.
Ruth
February 24, 2022 at 11:24 PMI never learned how to play with fabrics so I am really impressed with your easy to follow video. Thank you for sharing. Looking forward to more of your videos.
createwithclaudia_7j76hs
February 25, 2022 at 5:15 AMThank you so much. I appreciate that and have fun!
Marty
August 31, 2022 at 7:15 PMI’m thinking this could be a great way to use vintage pieces of orphan blocks that really can’t be sewn into anything, but are too precious to toss!
createwithclaudia_7j76hs
September 2, 2022 at 2:49 PMDefinitely! I am all about scrap quilting and crafting. Hope you give it try. Thanks for stopping by!
Patricia Schafer
January 26, 2023 at 2:50 PMWhat kind of glue do you use? Will modge podge work?
createwithclaudia_7j76hs
January 27, 2023 at 6:43 AMI used Mod Podge and it works great. Thanks for stopping by!
Vicki
April 21, 2023 at 4:52 PMAfter the glue dried the service was quite hard and rough. Is it suppose to be like that?
createwithclaudia_7j76hs
May 1, 2023 at 6:05 AMIt does get like that.
Robyn
November 9, 2024 at 9:33 PMI want to repurpose some painted canvases (previously painted by someone using acrylic paints). I’m wondering if I need to gesso them before I start or do you think I can just apply the ModPodge right over the painted surface?
createwithclaudia_7j76hs
November 10, 2024 at 6:42 PMThat sounds interesting. I don’t know what you would need to do to prep them for this method.