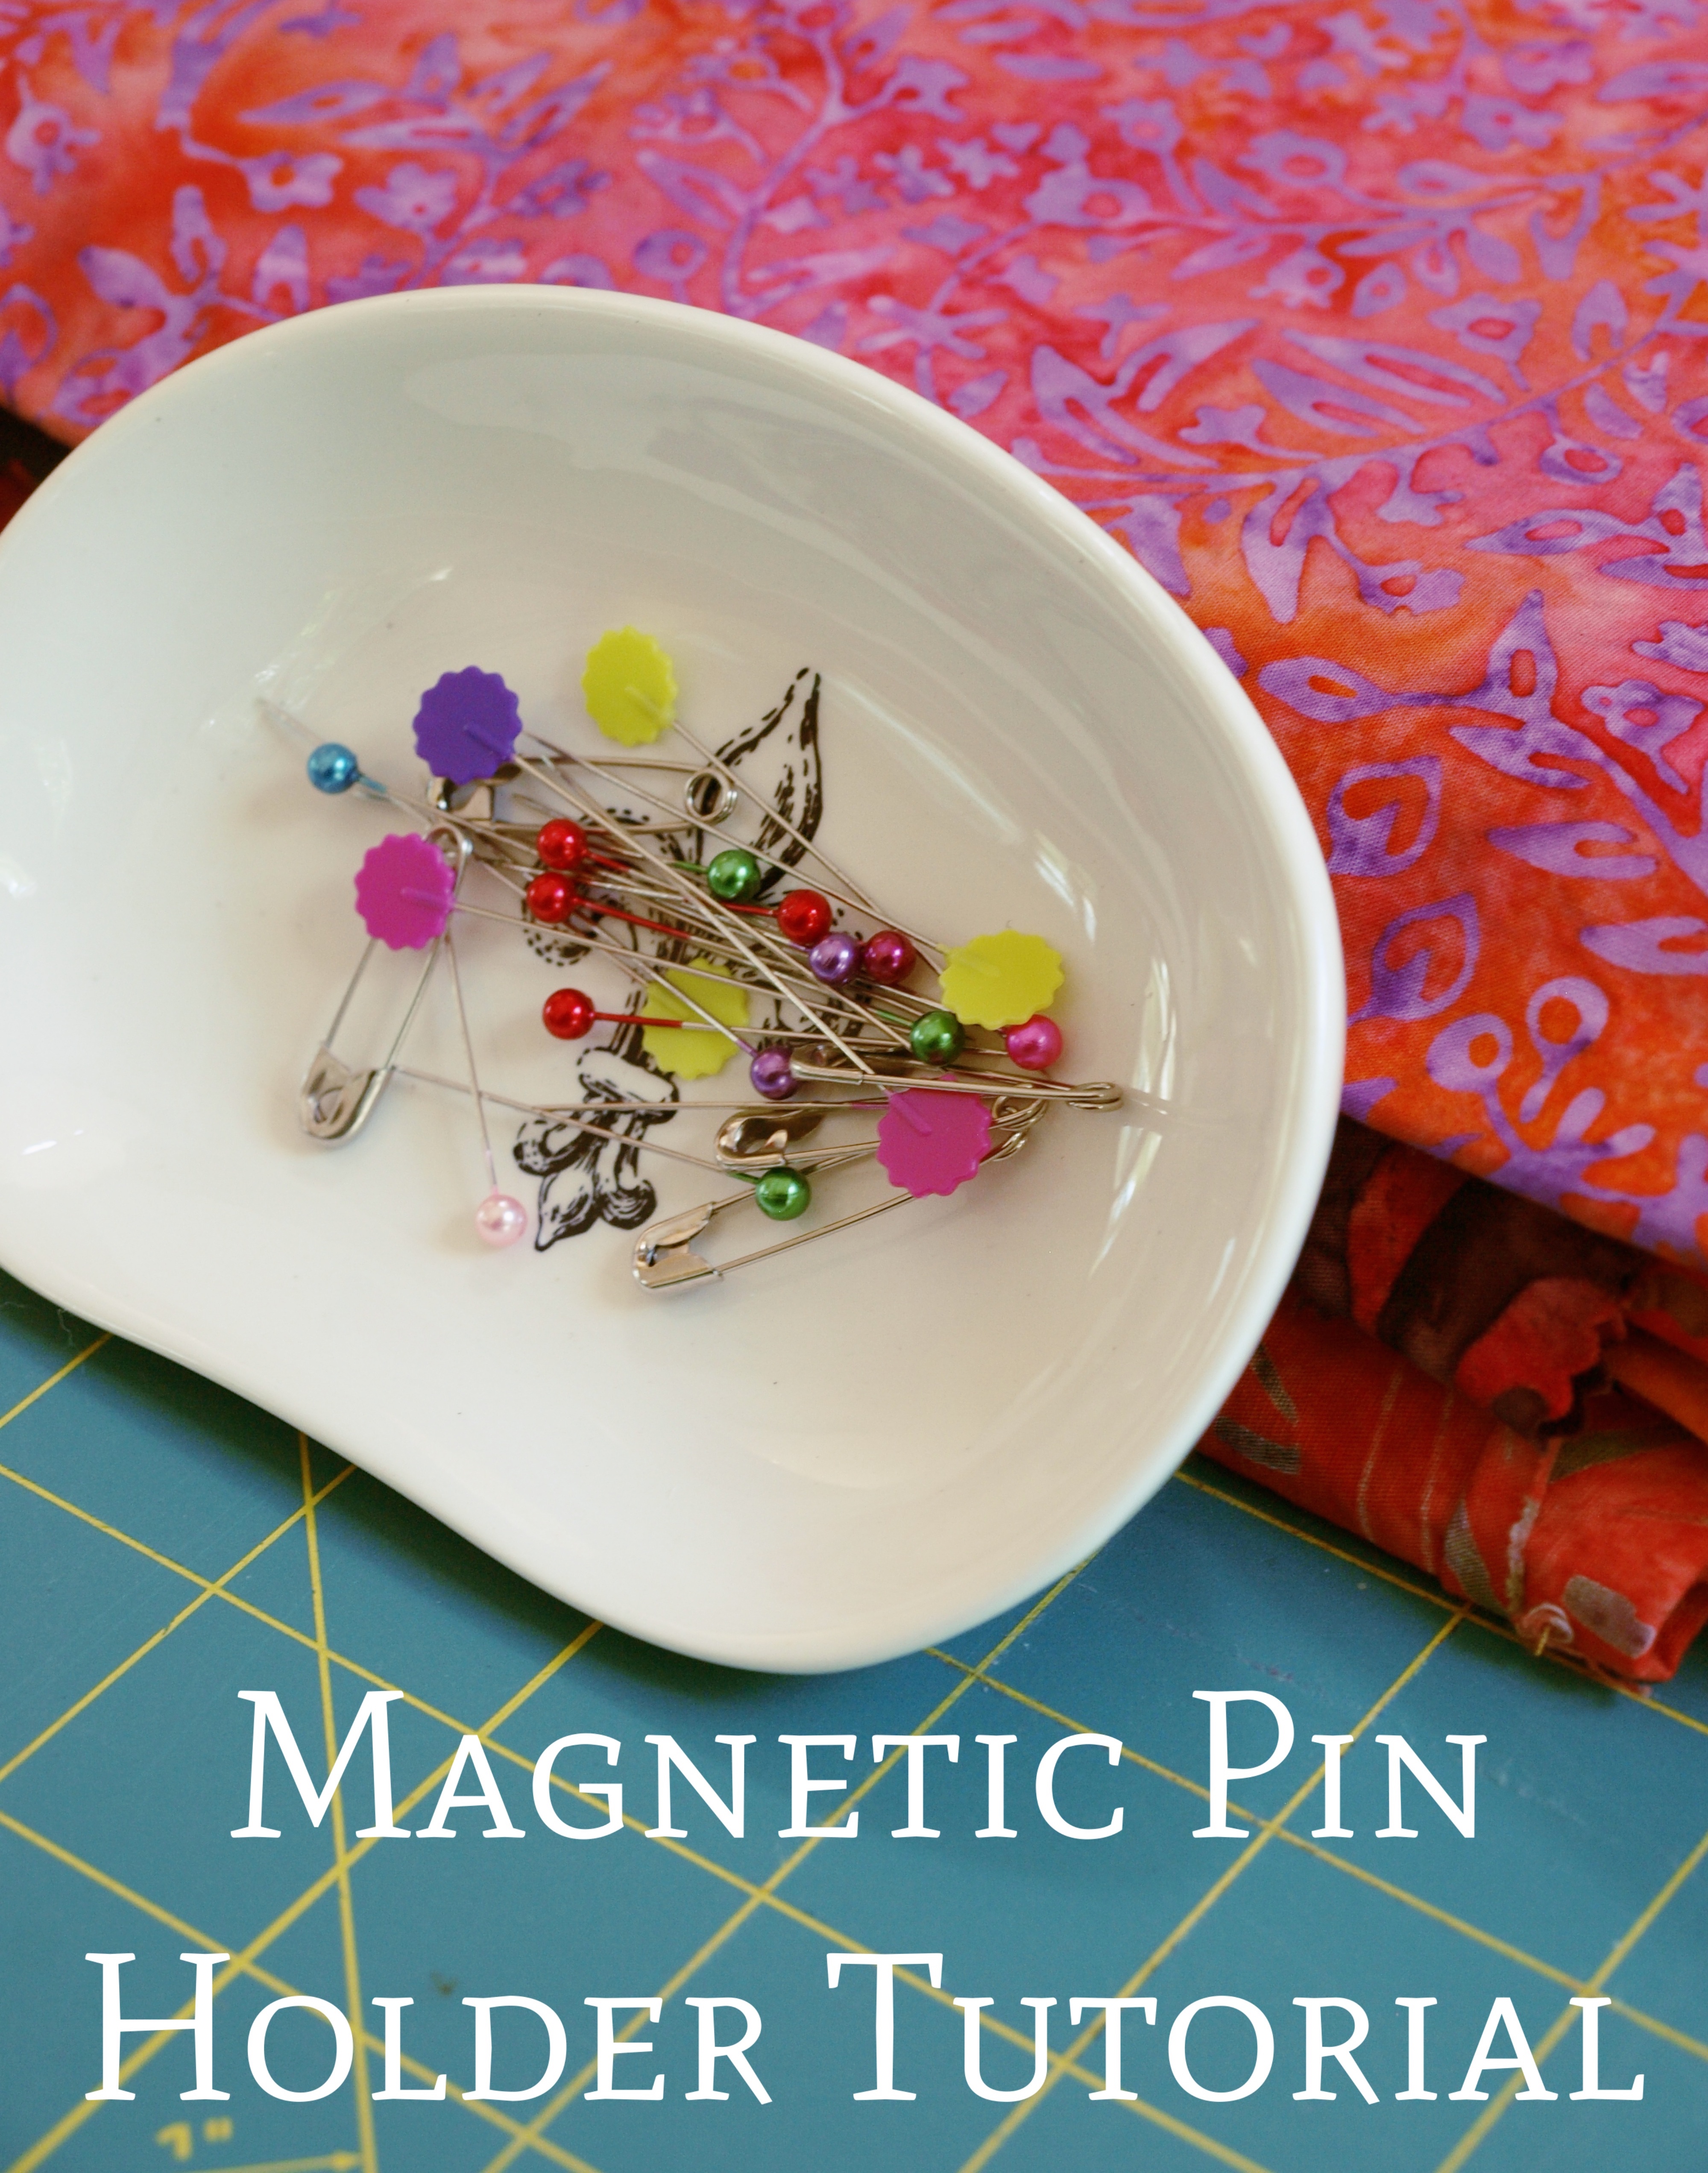
DIY Magnetic Pin Holder Tutorial
I’m not the neatest person when it comes to sewing. I tend to leave pins on the table and fabric scraps on the floor. Inevitably the pins get knocked off of the table and I end up stepping on one. So, if you’ve ever spilled pins all over your sewing space, or if your pincushion gets tattered from overuse like mine does, then this idea is for you.
This magnetic pin dish is probably one of the easiest crafts that you will ever make. I’m not even sure if it can be called a craft, but since the dish can be used in a sewing room, and for making other crafts, then I think it’s okay to call it a craft.
Supplies Needed
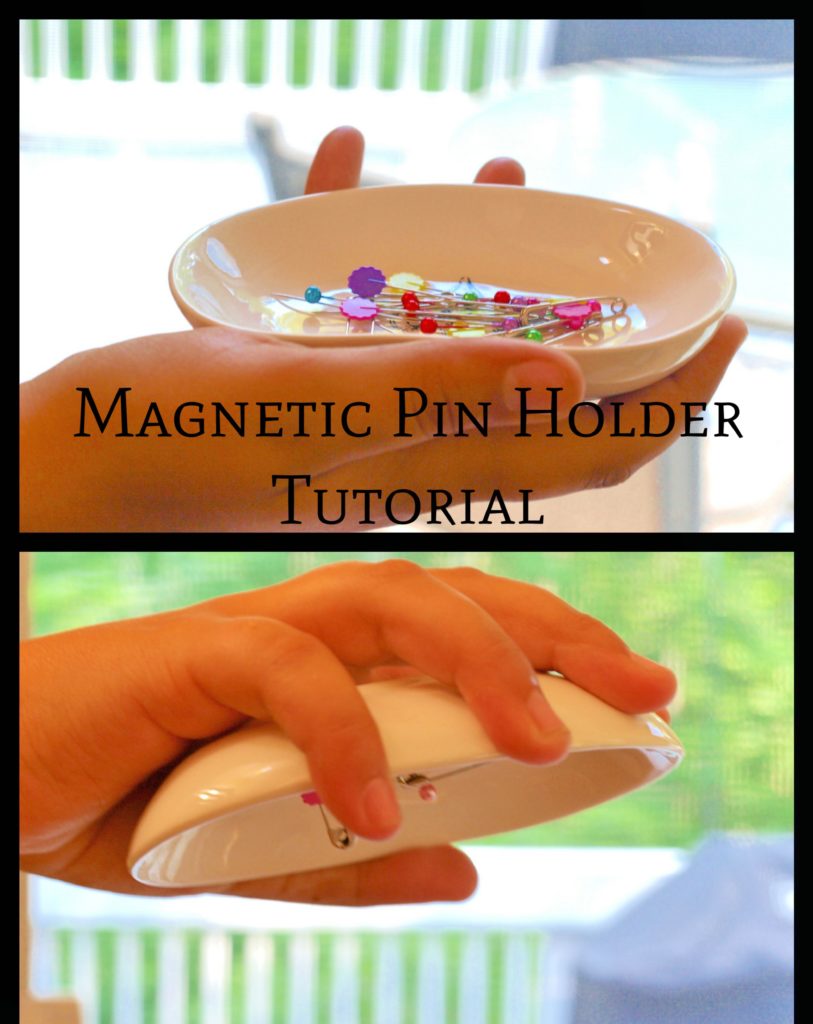
A small dish – with a deep rim on the bottom so the magnet doesn’t go over it (see photo on right). Before you decide on a dish, make sure it’s not one that is worth a lot of money. The magnet won’t come off and you don’t want to ruin a special dish. I picked these up at a dollar store.
Strong ceramic/metal glue
Magnets – I use super strong neodymium magnets – they are relatively thin and strong. Word of caution: Per the package of magnets I used, they should not be used by people with certain medical conditions and medical devices. Read the warning on your package of magnets before using.
On a protected surface, flip over a decorative dish that is clean and dry.
Apply a small amount of glue to the spot where you want the magnet to be. Note that if you use 2 magnets to cover a larger area, let the first magnet set before gluing the second one on. If you look closely at the picture with 2 magnets, you’ll see glue streaks where the magnets kept moving towards each other.
Set aside to dry.
Flip over, add pins and you have a cute little magnetic pin dish.
| Add a small drop of strong glue where you want the magnet to be. |
| Add the magnet and set aside to dry. |
| If you need a second magnet, add another spot of glue. Make sure to let the first magnet dry or they’ll move together. See the next photo. |
| DIY Magnetic Pin Holder Tutorial |

Items You Can Use To Make This Craft
You can find many of the items that I used to make this project in my Amazon Store.
As an Amazon Associate I earn from qualifying purchases.


1 Comment
Stephanie Henkel
July 17, 2014 at 3:35 AMThese are so cute! I have a small saucer that is missing its matching teacup…wouldn't that be perfect? Great idea!